
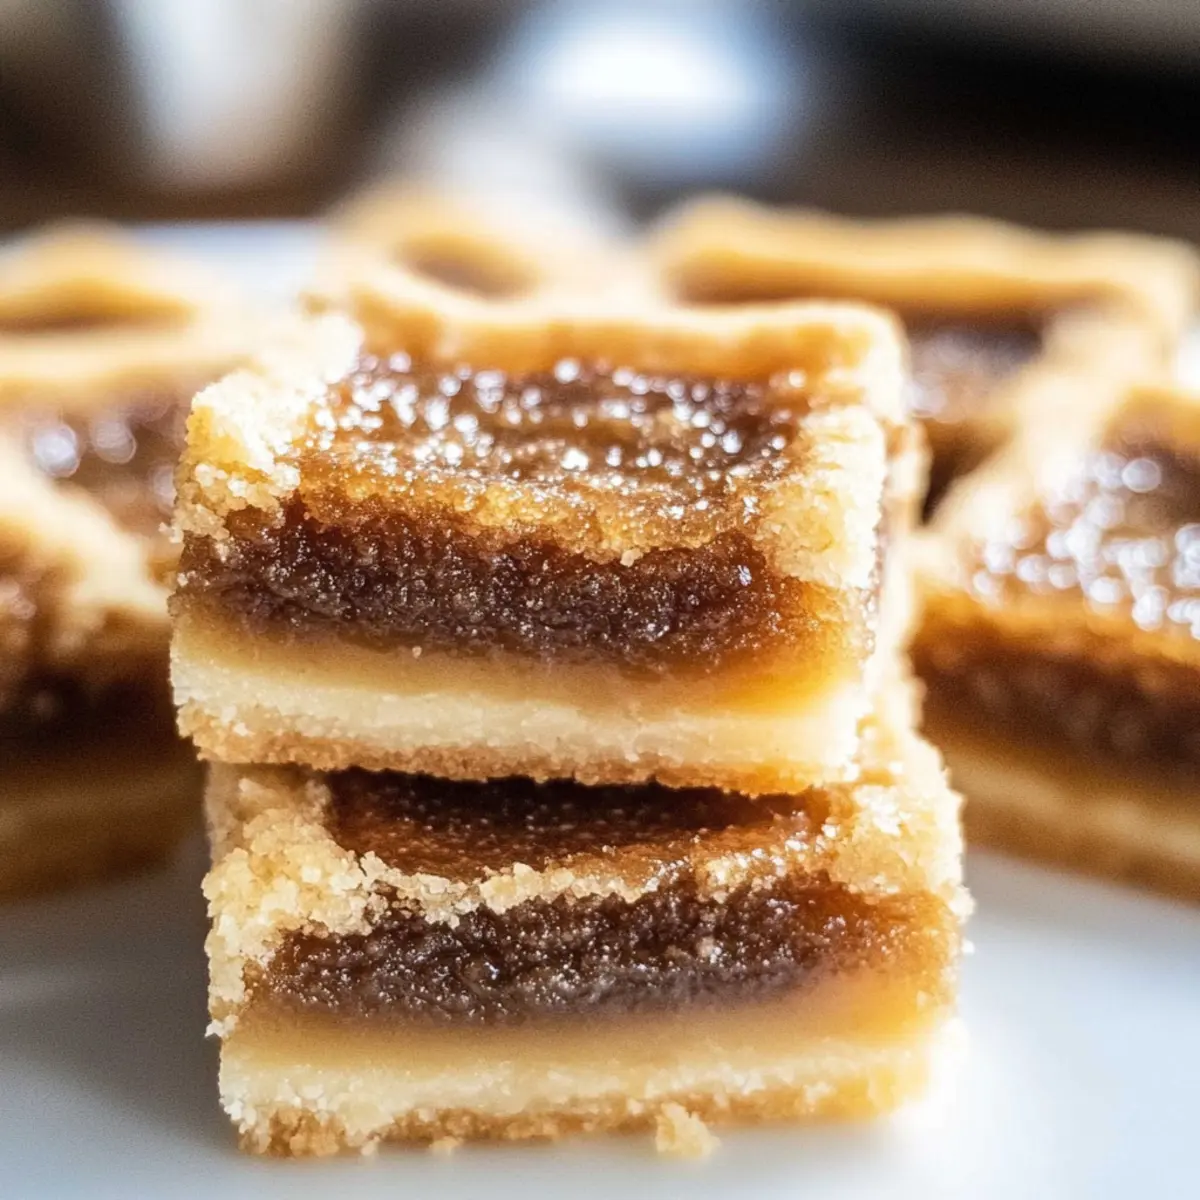
Imagine walking into a cozy kitchen filled with the sweet scent of caramelizing sugar and fresh butter—this is the essence of my Classic Butter Tart Squares. Inspired by the traditional butter tart, these delightful bars capture all the rich indulgence of the original while offering a no-fuss sliceable treat that's perfect for any gathering. What I love most about these squares is their easy preparation; they come together in a snap, making them an ideal addition to your next family dinner or potluck. Plus, their versatility opens the door to endless variations—think chocolate chips or a sprinkle of cinnamon for that personal touch. Ready to discover the magic of Butter Tart Squares? Let’s dive in!
Why are Butter Tart Squares a must-try?
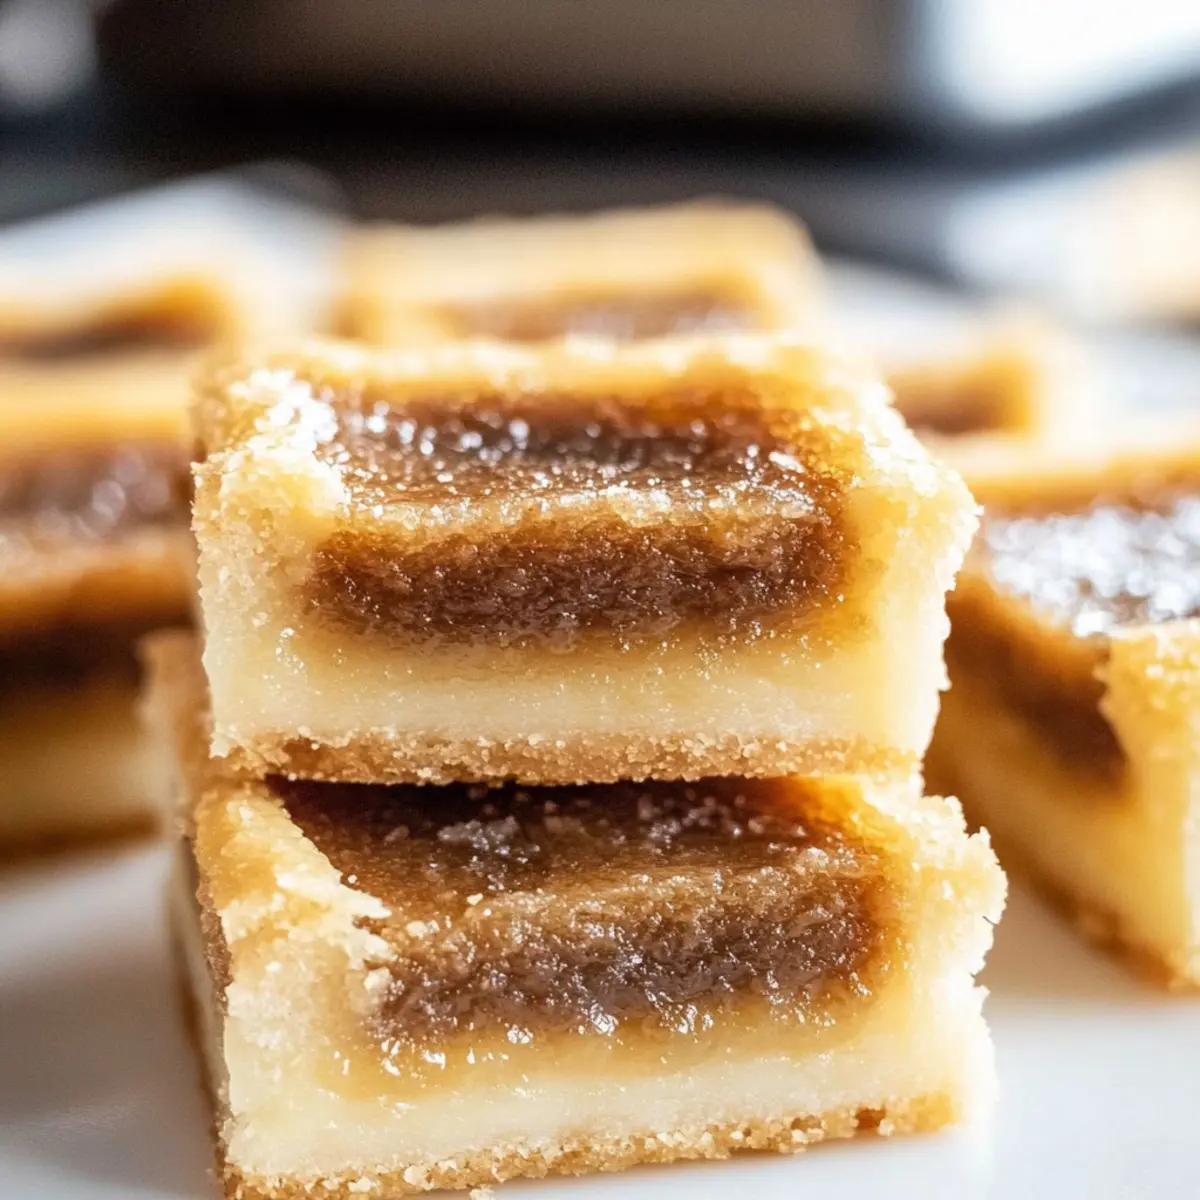
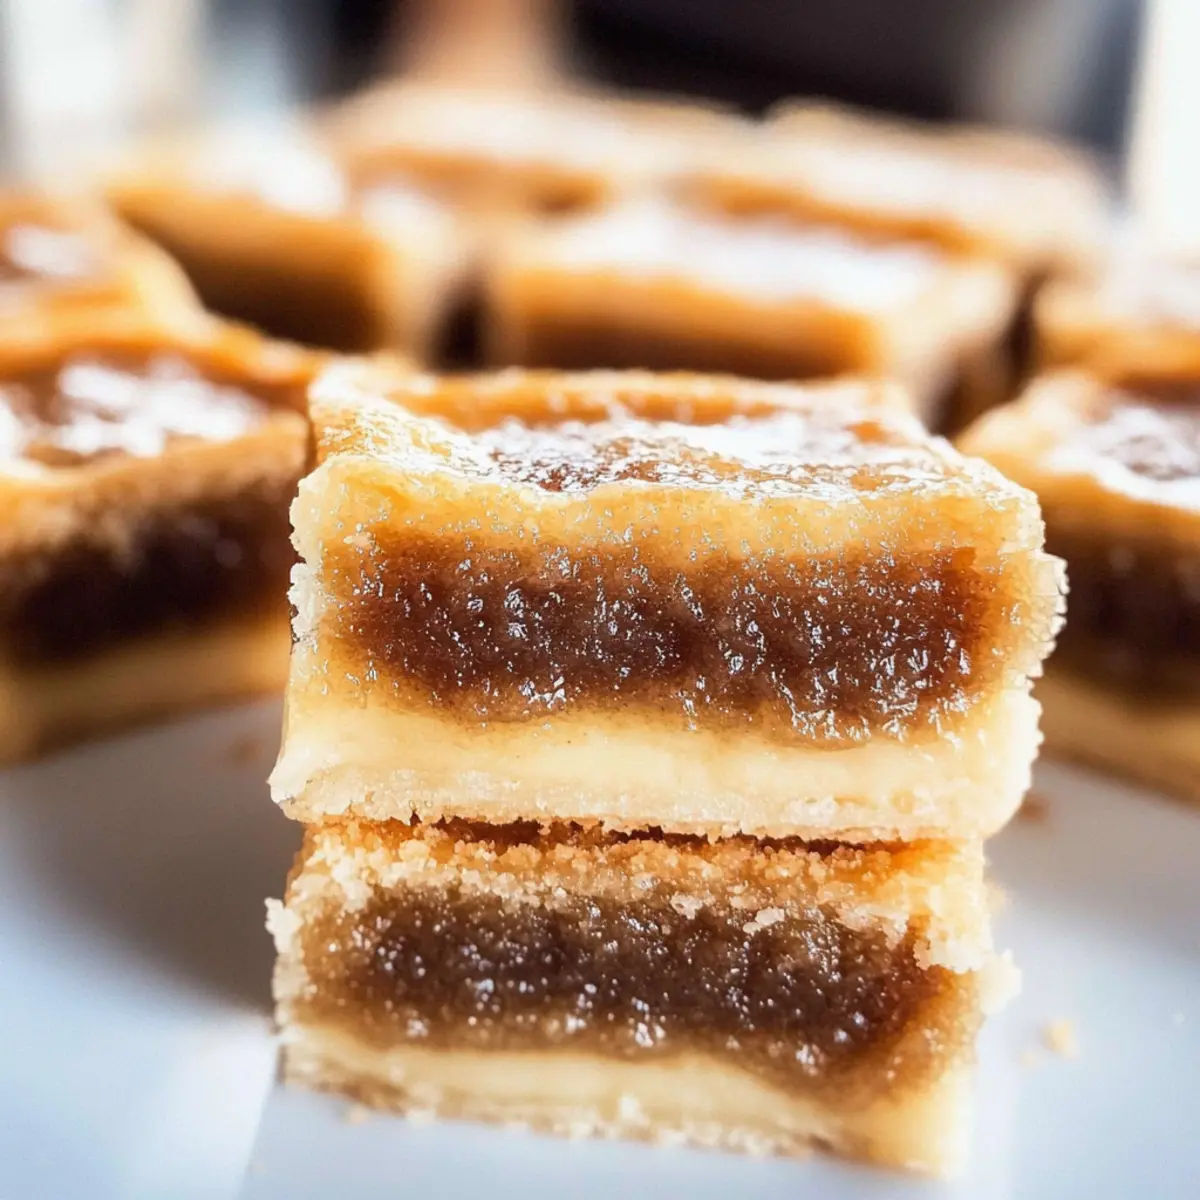
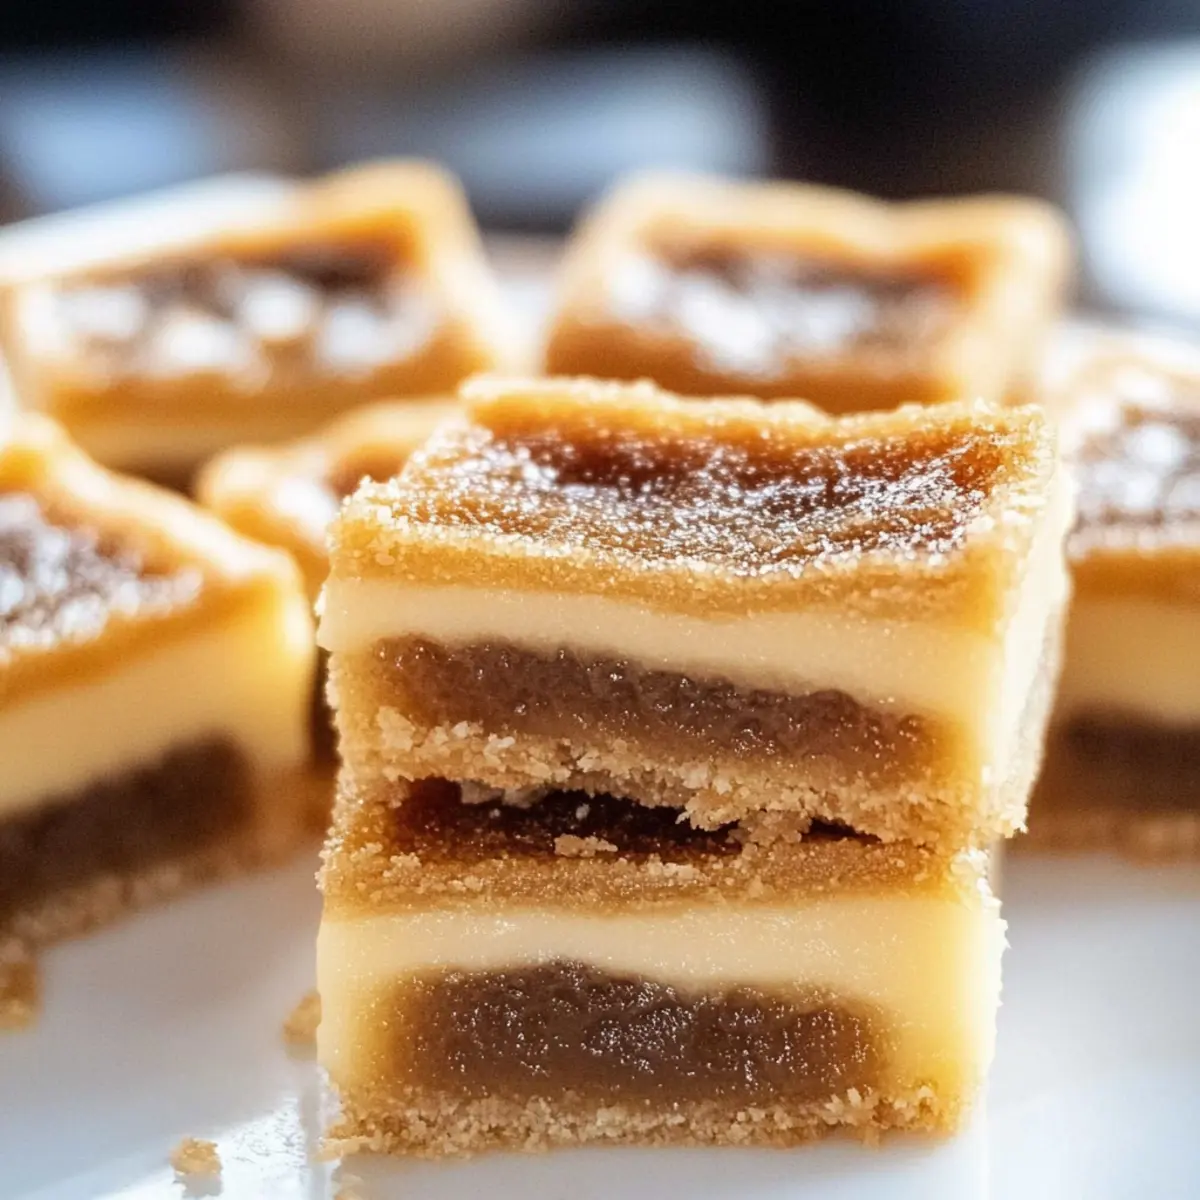
Irresistible flavors: The buttery, sweet filling combines beautifully with the crumbly crust, creating a treat that’s hard to resist.
Effortlessly simple: With quick prep and easy-to-follow steps, these squares are perfect for bakers of all skill levels.
Perfect for gatherings: Their sliceable form makes sharing easy, ensuring everyone gets a taste—ideal for parties or family get-togethers!
Endless versatility: Mix in chocolate chips or nuts for a twist, or sprinkle with cinnamon for seasonal flair—these squares never get boring!
Crowd-pleaser: With flavors that evoke nostalgia, they are sure to delight anyone with a sweet tooth. For more delicious variations, check out my Reeses Peanut Butter or Butternut Squash Soup recipes!
Butter Tart Squares Ingredients
For the Crust
• Butter – Adds richness and flavor; use melted and slightly cooled to avoid cooking the eggs.
• All-Purpose Flour – Gives structure to the crust; no substitutions recommended.
• Salt – Enhances flavor; omit if using salted butter.
For the Filling
• Brown Sugar – Provides sweetness and a deep caramel flavor; substitute with maple syrup for a richer taste.
• Eggs – Binds the filling; ensure they are at room temperature for even mixing.
• White Vinegar – Balances sweetness; can be replaced with lemon juice for a tangy note.
Enjoy making these delicious Butter Tart Squares as a beloved addition to your dessert repertoire!
Step‑by‑Step Instructions for Butter Tart Squares
Step 1: Preheat the Oven
Begin by preheating your oven to 350°F (175°C). While the oven warms, take a 9x9-inch square baking pan and line it with parchment paper, leaving some overhang for easy removal later. This will ensure your Butter Tart Squares come out easily and keep them from sticking to the pan.
Step 2: Prepare the Crust
In a mixing bowl, combine melted butter, all-purpose flour, and salt. Use a fork or your fingers to blend these ingredients until they form a crumbly mixture. Once combined, evenly press the crust into the bottom of the prepared pan. This step should take about 5 minutes, and the crust should feel firm and level.
Step 3: Bake the Crust
Place the crust in the preheated oven and bake for 15-20 minutes, or until it turns a beautiful light golden brown. Keep an eye on it to avoid over-baking. Once done, remove the pan from the oven and allow the crust to cool to room temperature while you prepare the filling.
Step 4: Make the Filling
In a separate bowl, whisk together the eggs, brown sugar, and white vinegar until the mixture is smooth and slightly frothy. This process should take about 2-3 minutes. Be sure to combine them well to incorporate air, which will help the filling rise slightly as it bakes.
Step 5: Pour the Filling
Carefully pour the prepared filling over the cooled crust in the baking pan. Use a spatula to ensure even distribution, creating a uniform layer. This is where the rich flavor of your Butter Tart Squares begins to take shape, so take your time for an even spread.
Step 6: Bake the Squares
Return the pan to the oven and bake for an additional 25-30 minutes, or until the filling is set around the edges but still slightly gooey in the center. Check for doneness by gently shaking the pan; the center should jiggle slightly but not be liquid.
Step 7: Cool and Chill
Once baked, take the Butter Tart Squares out of the oven and let them cool in the pan on a wire rack for about an hour. This step is crucial—then refrigerate for at least 2 hours to fully set. Chilling will make cutting the squares easier and less messy.
Step 8: Serve and Enjoy
After chilling, carefully lift the squares from the pan using the parchment overhang. Cut into even squares with a sharp knife, cleaning it between cuts for neat edges. Serve these delightful Butter Tart Squares at room temperature or chilled, and share them with family and friends!
What to Serve with Butter Tart Squares
Imagine gathering around the table, enjoying delightful bites of buttery goodness paired with complementary flavors and textures.
- Fresh Berries: Juicy raspberries or blueberries provide a tart contrast to the sweetness, enhancing the overall experience.
- Vanilla Ice Cream: A scoop of creaminess brings a lovely balance, plus it melts into the warm squares for an exquisite treat.
- Decadent Whipped Cream: Light and airy, whipped cream adds a touch of elegance, making each bite even more delightful.
- Tea or Coffee: A steaming cup of tea or coffee offers warmth and a bitter note that complements the rich sweetness of the squares.
- Chopped Nuts: Add a crunchy layer to your dessert experience by sprinkling toasted pecans or walnuts on top. Their nutty flavor contrasts beautifully with the buttery filling.
- Chocolate Drizzle: A drizzle of melted dark chocolate adds a luxurious touch, enhancing the indulgence of the buttery, gooey center.
These thoughtfully selected pairings will elevate your Butter Tart Squares experience, creating a cozy and satisfying dessert spread perfect for any occasion.
Expert Tips for Butter Tart Squares
-
Chill Before Cutting: Allow the squares to cool completely in the refrigerator. This helps prevent the filling from becoming messy when you cut them.
-
Use Room Temperature Eggs: Ensure your eggs are at room temperature before whisking. This allows for a smoother filling that binds well, making your Butter Tart Squares perfectly cohesive.
-
Don’t Overbake: Keep an eye on the baking time for the filling. It should be set but slightly gooey in the center. Overbaking may lead to a dry texture.
-
Customize with Additions: Feel free to get creative! Adding nuts or chocolate chips can enhance flavor and texture, making your Butter Tart Squares uniquely yours.
-
Experiment with Flavors: A sprinkle of cinnamon or nutmeg can offer a delightful contrast to the sweetness. Don’t shy away from trying different spices for seasonal variations!
Storage Tips for Butter Tart Squares
Room Temperature: Store leftover Butter Tart Squares in an airtight container at room temperature for up to 3 days to maintain their delicious texture and flavor.
Fridge: For longer freshness, refrigerate the squares in an airtight container for up to 5 days. This helps preserve their gooey center while keeping them enjoyable.
Freezer: You can freeze Butter Tart Squares for up to 2 months. Wrap each square individually in plastic wrap and place them in a ziploc bag. Thaw in the refrigerator before serving for the best taste.
Reheating: If you prefer them warm, gently reheat the squares in the microwave for 10-15 seconds or until just warm. Enjoy the rich, buttery goodness!
Butter Tart Squares Variations & Substitutions
Feel free to get creative with your Butter Tart Squares by including different flavors and ingredients that tickle your taste buds!
-
Nutty Delight: Add chopped pecans or walnuts to the filling for a delightful crunch. Nuts bring a beautiful texture, enhancing the richness of the buttery center.
-
Chocolate Lovers: Stir in chocolate chips for an extra indulgent treat. The melty chocolate complements the caramel notes perfectly, creating a rich burst of flavor.
-
Coconut Twist: Incorporate shredded coconut into the filling for a tropical twist. This addition adds a chewy texture that balances the sweetness beautifully.
-
Spiced Up: Sprinkle cinnamon or nutmeg into the filling for a warm, comforting flavor. These spices are especially delightful during the fall and winter months, making your squares feel festive.
-
Berry Goodness: Top your Butter Tart Squares with fresh raspberries or blueberries for a pop of tartness. The fruity contrast brightens up the rich sweetness, making every bite exciting.
-
Maple Magic: Swap brown sugar for pure maple syrup for an even richer flavor. This switch infuses your squares with a lovely maple essence that's wonderfully aromatic.
-
Zesty Kick: Replace the white vinegar with fresh lemon juice for a tangy zing. The citrus acidity balances the sweetness, giving your squares a refreshing lift.
-
Gluten-Free Option: Use gluten-free flour in place of all-purpose flour to make these squares gluten-free. This swap allows those with dietary restrictions to enjoy this delicious treat without missing out.
For more delightful variations, don't miss my Garlic Butter Steak or seasonal Butternut Squash Soup. Happy baking!
Make Ahead Options
Butter Tart Squares are a fantastic choice for meal prep, allowing you to enjoy a sweet treat without the last-minute rush! You can prepare the crust up to 24 hours in advance—simply mix the ingredients and press the crust into the pan, then tightly cover with plastic wrap to keep it fresh. The filling can be whisked together up to 3 days ahead; refrigerate it in an airtight container to maintain its quality. When you’re ready to bake, just pour the chilled filling over the crust, bake until set (about 25-30 minutes), and allow them to cool before cutting. This way, your Butter Tart Squares will be just as delicious with minimal effort on busy weeknights!
Butter Tart Squares Recipe FAQs
How do I choose ripe ingredients for Butter Tart Squares?
Absolutely! For the best Butter Tart Squares, ensure your eggs are fresh and at room temperature; this helps with mixing and texture. Use unsalted butter, which gives you better control over the flavor without the excess saltiness. If you're adding nuts, choose fresh, unsalted varieties for optimal crunch without overpowering the sweetness.
What’s the best way to store leftover Butter Tart Squares?
Very good question! Leftover Butter Tart Squares can be stored in an airtight container at room temperature for up to 3 days. If you want to keep them longer, place them in the fridge for up to 5 days. Just ensure they are well covered to maintain their gooey center and crumbly crust.
Can I freeze Butter Tart Squares?
Certainly! Butter Tart Squares can be frozen for up to 2 months. To do this, wrap each square individually in plastic wrap, then place them in a ziplock bag. When you’re ready to enjoy them, just thaw them in the refrigerator overnight. This method retains their delightful taste and texture beautifully!
What should I do if my filling is too runny?
If you find that your filling is too runny after baking, don’t worry! This can happen if the squares aren’t cooked long enough. To troubleshoot, simply return the squares to the oven for an additional 5-10 minutes until the edges are set and the center has a slight jiggle. But be careful not to overbake, as this could lead to a drier texture.
Can I adjust the recipe for dietary allergies?
Absolutely, you can! If you're concerned about allergies, consider using gluten-free all-purpose flour for a gluten-free version. For dairy-free options, substitute butter with coconut oil or a dairy-free margarine. Always ensure that any substitutes you choose are safe for the individuals you're serving. Remember, customization makes baking even more fun!
How long do Butter Tart Squares last?
Great question! When stored properly, Butter Tart Squares can last at room temperature for around 3 days, and in the refrigerator, they can last up to 5 days. If frozen, they're good for about 2 months, making them a sweet treat you can always have handy. Just ensure they’re well wrapped to prevent freezer burn!
Buttery Butter Tart Squares: Easy, Irresistible Delight
Ingredients
Equipment
Method
- Preheat your oven to 350°F (175°C) and line a 9x9-inch square baking pan with parchment paper.
- Combine melted butter, all-purpose flour, and salt in a mixing bowl and blend until crumbly.
- Press the crust mixture into the bottom of the prepared pan evenly.
- Bake for 15-20 minutes until light golden brown; let it cool to room temperature.
- Whisk together the eggs, brown sugar, and white vinegar in a separate bowl until smooth and slightly frothy.
- Pour the filling over the cooled crust and spread evenly with a spatula.
- Bake for an additional 25-30 minutes until filling is set around the edges but slightly gooey in the center.
- Cool for about an hour in the pan, then refrigerate for at least 2 hours to fully set.
- Lift out the squares using parchment overhang, cut into even squares and serve at room temperature or chilled.


Leave a Reply