
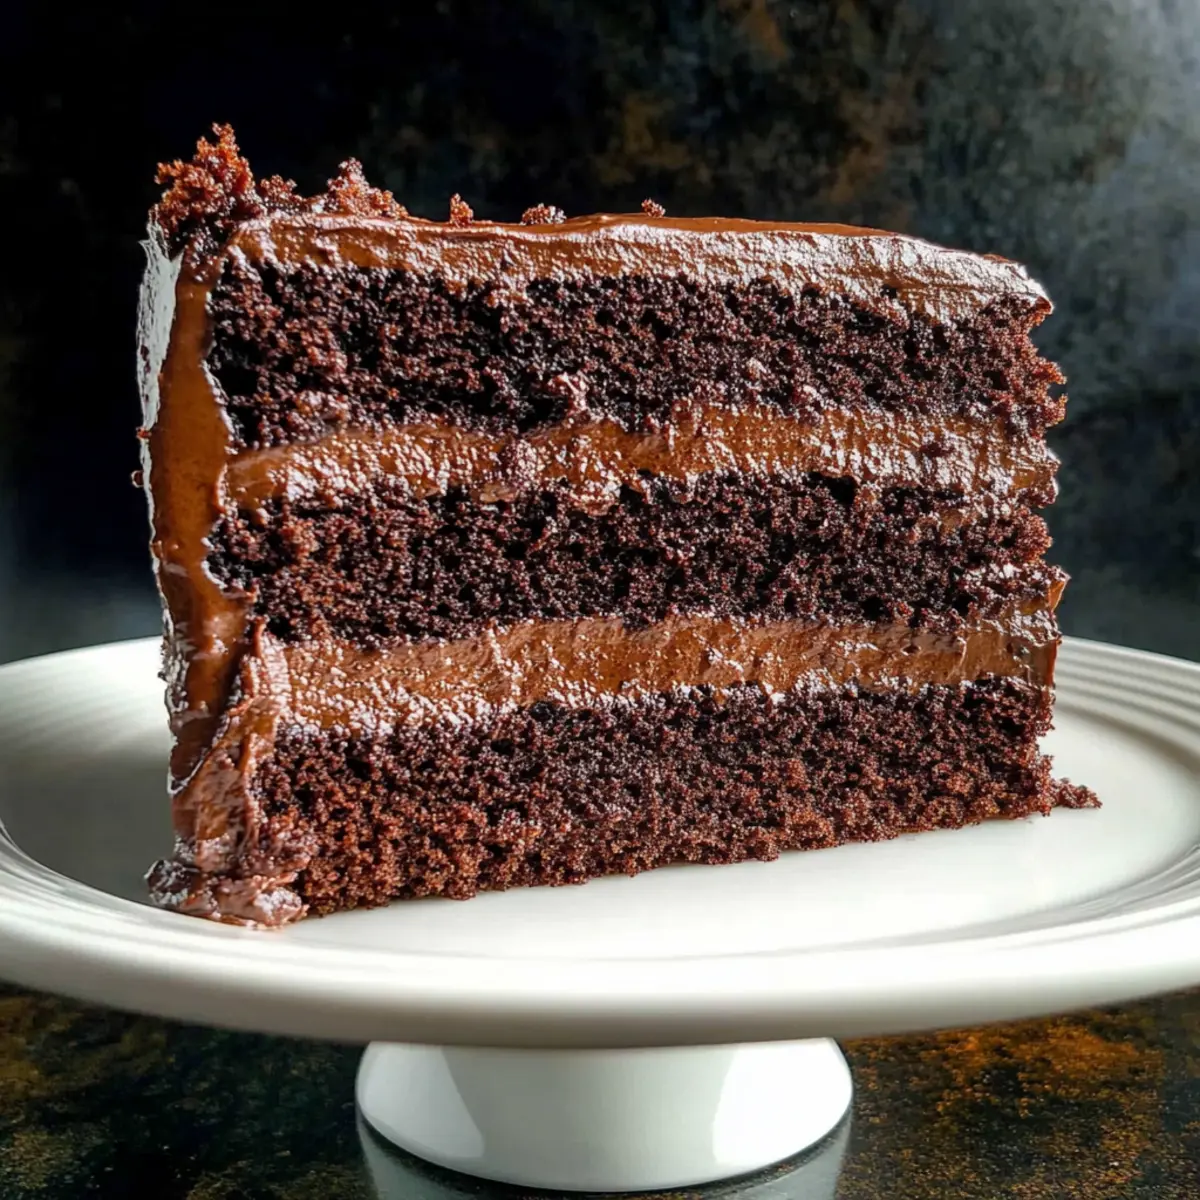
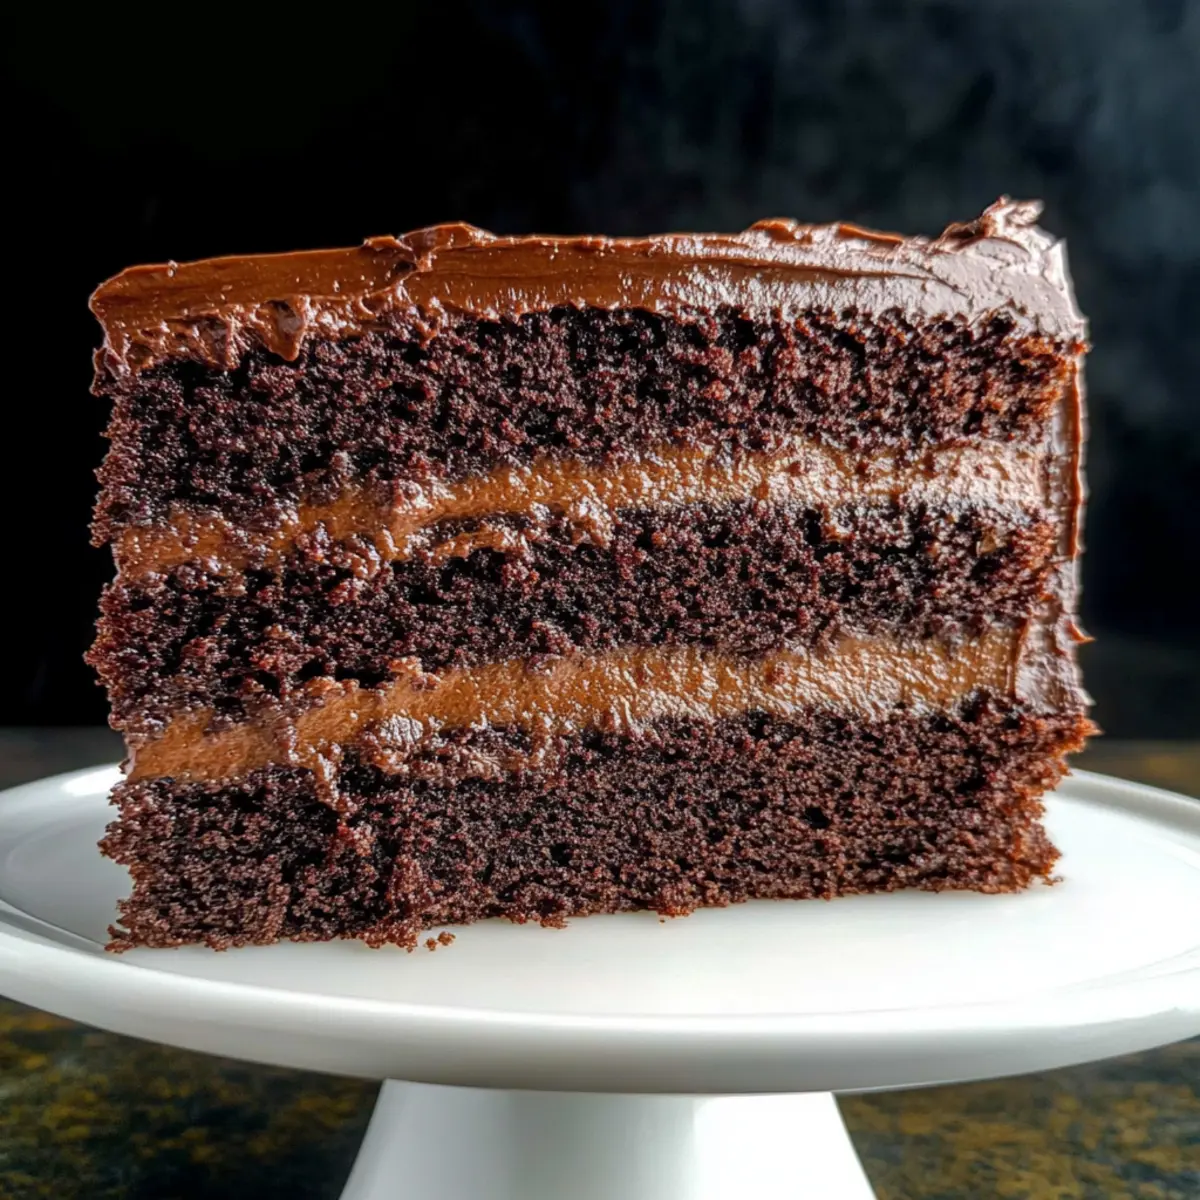
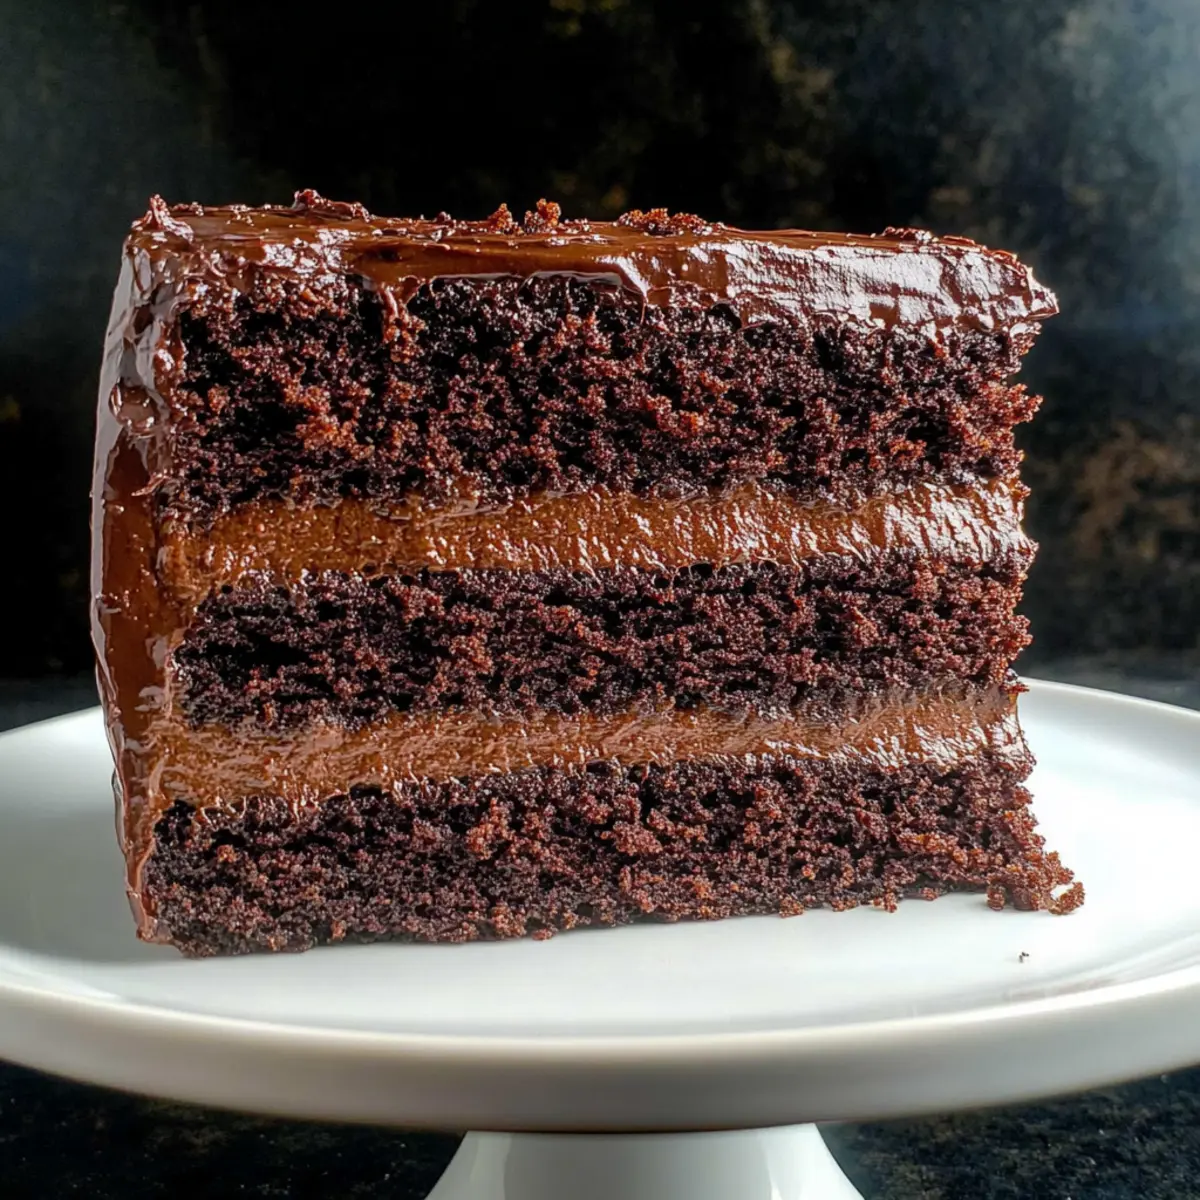
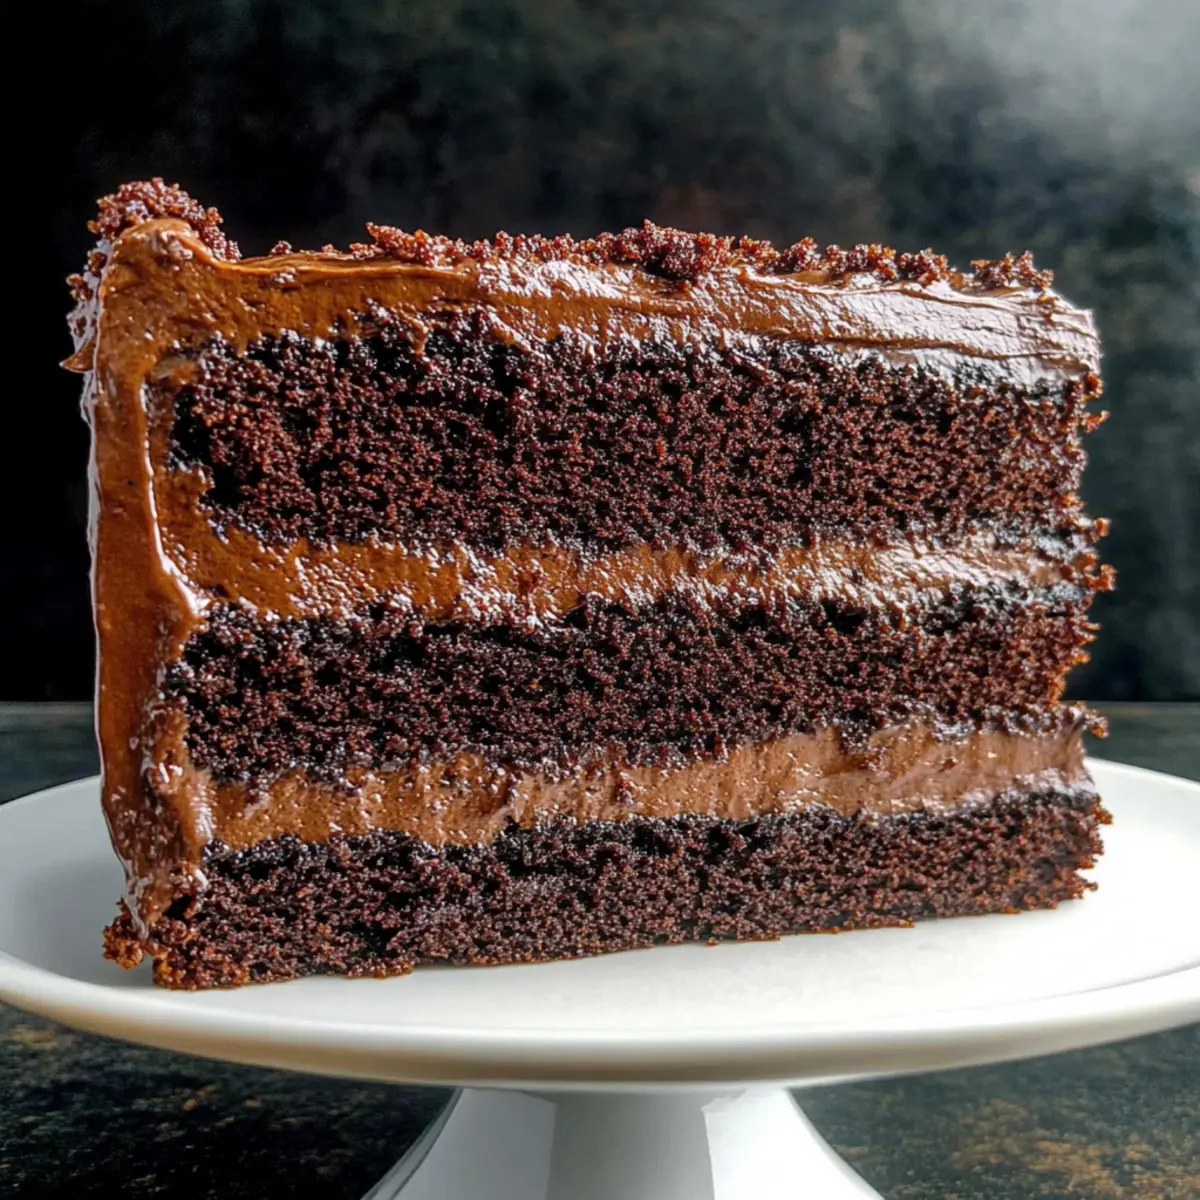
When I first sunk my fork into a slice of Brooklyn Blackout Cake, I knew I had discovered something truly special. Inspired by the legendary Ebinger's bakery, this cake brings together layers of rich devil’s food cake and velvety dark chocolate pudding, all enveloped in silky chocolate frosting. What makes this Brooklyn Blackout Cake stand out is its incredible indulgence without taking all day to make—it’s perfect for those special moments or simply whenever the chocolate cravings hit. Plus, the delightful layers create a stunning presentation that’s sure to impress your friends and family. Ready to whip up this decadent treat that’ll have everyone asking for seconds? Let’s dive in!
Why is This Cake a Must-Try?
Decadence is the name of the game with this Brooklyn Blackout Cake! Rich chocolate flavor shines through in every layer, thanks to the combination of devil’s food cake and dark chocolate pudding. Effortless elegance ensures even novice bakers can impress their guests without the fuss. Consider adding a twist by serving it alongside fresh berries for a refreshing balance or experimenting with different frosting options for variety. This cake is perfect for any occasion, providing a show-stopping centerpiece that appeals to chocolate lovers everywhere. Choose this cake for your next gathering and watch everyone come back for more!
Brooklyn Blackout Cake Ingredients
• Get ready for chocolate bliss!
For the Cake
- Unsweetened Dutch-process cocoa – Adds deep chocolate flavor; substitute with regular cocoa powder if necessary.
- Boiling water – Activates cocoa to enhance its rich flavor.
- Unsweetened chocolate – Provides a rich, intense chocolate base; bittersweet chocolate works as an alternative.
- Milk – Adds moisture and richness; non-dairy milk is a great vegan option.
- Sugar – Sweetens and gives structure; consider brown sugar for extra depth.
- Unsalted butter – Adds richness and stability; can swap with vegan butter for a dairy-free treat.
- Eggs (separated) – Essential for moisture and stability; whipped egg whites create a light texture, no substitute for best results.
- Vanilla extract – Enhances flavor; opt for pure vanilla for maximum impact.
- All-purpose flour – Key for cake structure; gluten-free flour can be used, but may alter the density.
- Baking powder, salt, baking soda – Leavening agents for proper rise; freshness is key for effectiveness.
For the Pudding Filling
- Cornstarch – Thickens the pudding; can use arrowroot powder as a substitute.
- Bittersweet chocolate – Deepens the frosting's richness; semi-sweet chocolate can be used if preferred.
For the Frosting
- Corn syrup – Adds shine and stability; feel free to omit for a less glossy look.
Now that you have everything you need to create the dazzling Brooklyn Blackout Cake, it’s time to embrace your inner chocolatier and delight everyone with this indulgent masterpiece!
Step‑by‑Step Instructions for Brooklyn Blackout Cake
Step 1: Preheat and Prepare
Start by preheating your oven to 375°F (190°C). Grease and flour two 8-inch round cake pans to ensure an easy release later. This foundational step is crucial for the perfect structure of your Brooklyn Blackout Cake, so don’t skip it!
Step 2: Make the Cocoa Paste
In a small bowl, combine 1 cup of unsweetened Dutch-process cocoa with 1 cup of boiling water. Stir until smooth and glossy, letting it cool slightly. This cocoa paste enhances the chocolate flavor in the cake and is an essential building block for your decadent creation.
Step 3: Melt the Chocolate
In a medium saucepan, combine 4 ounces of unsweetened chocolate with 1 cup of milk. Heat over medium, stirring until melted and well blended. Once melted, mix in the cooled cocoa paste until fully combined. This rich chocolate mixture is the heart of your Brooklyn Blackout Cake.
Step 4: Cream Butter and Sugar
In a large mixing bowl, cream together 1 cup of unsalted butter and 2 cups of sugar until light and fluffy, about 3–5 minutes. Carefully add in the 4 egg yolks and 2 teaspoons of vanilla extract, mixing until smooth. This mixture should look creamy and pale, setting the stage for the cake’s luxurious texture.
Step 5: Combine Dry Ingredients
In a separate bowl, whisk together 2 cups of all-purpose flour, 1 teaspoon of baking powder, 1 teaspoon of baking soda, and ½ teaspoon of salt. Gradually add the dry ingredients to the butter mixture, alternating with the chocolate mixture, beginning and ending with flour. Mix until just combined to maintain a light batter texture.
Step 6: Fold in Egg Whites
In another bowl, beat the 4 egg whites until soft peaks form, which should take about 3 minutes. Gently fold the whipped egg whites into the chocolate batter, being careful not to deflate them. This step is key to achieving the fluffy consistency of your Brooklyn Blackout Cake.
Step 7: Bake the Cakes
Divide the batter evenly between the prepared pans and smooth the tops with a spatula. Bake in the preheated oven for about 45 minutes, or until a toothpick inserted in the center comes out clean. The cakes should be springy to touch and deeply chocolatey in aroma.
Step 8: Cool the Cakes
Once baked, remove the cakes from the oven and let them cool in the pans for 15 minutes. After cooling slightly, carefully transfer the cakes to wire racks to cool completely. Proper cooling is essential to avoid any melting when adding layers to your Brooklyn Blackout Cake.
Step 9: Prepare the Pudding Filling
For the chocolate pudding filling, mix ½ cup of unsweetened cocoa with 1 cup of boiling water and stir in 1 cup of sugar and melted 4 ounces of bittersweet chocolate. In a separate bowl, dissolve 2 tablespoons of cornstarch in a small amount of cold water, then add to the chocolate mixture, cooking until thickened over low heat. Cool this rich pudding before filling the cake layers.
Step 10: Make the Frosting
To prepare the frosting, melt 4 ounces of bittersweet chocolate in a bowl. Once melted, beat in ½ cup of unsalted butter until smooth. Gradually add in ¼ cup of corn syrup and just enough hot water to achieve a spreadable consistency, letting it cool to thicken slightly before using.
Step 11: Assemble the Cake
Carefully slice each cooled cake in half horizontally to create four layers. Place the first layer on a serving platter, spread a generous layer of chocolate pudding on top, and repeat for the remaining layers. Top with the final cake layer before frosting the entire cake with your chocolate frosting.
Step 12: Decorate and Serve
Finally, decorate the sides of your Brooklyn Blackout Cake with crumbled cake or extra frosting for an impressive look. Slice and serve your luscious creation, ensuring to enjoy every rich bite. Celebrate your chocolate masterpiece with friends and family, and relish in their amazement!
Tips for the Best Brooklyn Blackout Cake
- Soften Butter: Ensure your butter is at room temperature for easy creaming with sugar, resulting in a light and fluffy cake.
- Whip Egg Whites: Beat egg whites until soft peaks form to maintain a light texture in your Brooklyn Blackout Cake. This step is crucial!
- Use Fresh Ingredients: Always check the freshness of your baking powder, baking soda, and flour for optimal rise and texture.
- Layer Evenly: Use a sharp knife or cake leveler to create even layers; this makes frosting easier and looks professional.
- Cool Before Frosting: Allow cakes to cool completely before frosting to prevent melting and achieve a smooth finish.
How to Store and Freeze Brooklyn Blackout Cake
- Room Temperature: Keep cake uncovered at room temperature for up to 24 hours for the best flavor and texture. Keeping it on a cake stand allows for air circulation.
- Fridge: Store leftovers in an airtight container in the fridge for up to 3 days. Bring to room temperature before serving to enhance the flavors and maintain moisture.
- Freezer: For long-term storage, wrap each layer tightly in plastic wrap and then in aluminum foil. The Brooklyn Blackout Cake can be frozen for up to 2 months.
- Reheating: If you want to enjoy it warm, microwave a slice for 10-15 seconds, or let it sit at room temperature for about 30 minutes before indulging.
What to Serve with Decadent Brooklyn Blackout Cake
Indulging in a slice of this chocolate creation calls for the perfect accompaniments to elevate your dessert experience.
- Whipped Cream: The airy sweetness of fresh whipped cream perfectly balances the richness of the cake, adding a light texture that enhances every bite.
- Fresh Berries: Juicy strawberries or raspberries provide a burst of tartness that cuts through the cake’s sweetness, creating a vibrant contrast that refreshes the palate.
- Vanilla Ice Cream: Creamy vanilla ice cream creates an undeniable marriage with the decadent chocolate layers, providing a contrasting temperature and texture that’s pure bliss.
- Coffee or Espresso: The bold flavors of a steaming cup of coffee or espresso harmonize beautifully with the chocolate, making every forkful richer and more gratifying.
- Chocolate Sauce: Drizzling warm chocolate sauce over a slice intensifies the cake’s indulgence, inviting pure decadence that chocolate lovers can’t resist.
- Pecan Shortbread Cookies: Crunchy, buttery pecan cookies offer a delightful textural contrast, enhancing the overall dessert experience while adding a nutty flavor note.
- Mint Tea: The refreshing quality of mint tea provides an aromatic escape, cleansing the palate between bites to accentuate the cake’s chocolatey richness.
- Caramel Sauce: A drizzle of silky caramel adds a sweet, buttery richness that complements the chocolate without overwhelming it, enriching each delightful bite.
- Chocolate Mousse: Serving small cups of airy chocolate mousse brings an additional dimension to your dessert table, letting guests indulge in varying textures of chocolate delight.
- Milkshake: A chocolate milkshake served alongside the cake makes for a playful and nostalgic pairing, evoking childhood memories and turning dessert into a fun-filled experience.
Brooklyn Blackout Cake Variations & Substitutions
Feel free to enhance this already decadent Brooklyn Blackout Cake with your own creative twists and substitutions!
-
Fruity Filling: Add raspberry or cherry flavoring to the pudding for a delightful fresh twist that complements the rich chocolate. The sweetness of the fruit will contrast beautifully with the deep chocolate flavors.
-
Mocha Buzz: Incorporate a tablespoon of espresso or strong coffee into the chocolate mixture. This will intensify the chocolate flavor and offer a sophisticated mocha twist—perfect for coffee lovers!
-
Lighter Topping: Swap the frosting for a layer of cream cheese or whipped cream to lighten up the cake. This creates a fluffy topping that balances the rich chocolate beautifully, offering a contrasting texture.
-
Gluten-Free Option: Substitute all-purpose flour with a gluten-free flour blend. Keep in mind that the texture may slightly differ but still yield a delicious cake!
-
Nutty Crunch: Add crushed nuts, such as walnuts or hazelnuts, into the cake batter for added texture and flavor. It will provide a delightful crunch that contrasts with the smooth pudding and frosting.
-
Spice it Up: Sprinkle in a dash of cinnamon or cayenne pepper to the dry ingredients for a subtle spicy kick that enhances the chocolate's richness and depth.
-
Lower Sugar: Use a sugar alternative like coconut sugar or stevia to reduce the sweetness without sacrificing moisture or texture. It’s an excellent option for those watching their sugar intake!
If you're already in the baking spirit and want to explore more scrumptious indulgences, check out the delightful Pecan Caramel Cake or treat your friends with homemade Chocolate Cupcake Decadent for an equally dreamy experience. Enjoy customizing your Brooklyn Blackout Cake—let your taste buds lead the way!
Make Ahead Options
These Decadent Brooklyn Blackout Cakes are perfect for busy home cooks who want to impress without the last-minute rush! You can prepare the cake layers up to 3 days in advance. Simply bake the cakes, let them cool completely, and wrap them tightly in plastic wrap before refrigerating. Similarly, the chocolate pudding filling can be made up to 24 hours ahead; store it in an airtight container in the fridge to maintain its creamy texture. The frosting can also be prepared a day in advance—just allow it to cool and thicken before storing. When you're ready to serve, just assemble the layers, fill with the pudding, and frost the cake to enjoy that rich chocolate indulgence without the stress!
Brooklyn Blackout Cake Recipe FAQs
How do I select the best cocoa powder for this recipe?
Absolutely! When choosing cocoa powder, look for unsweetened Dutch-process cocoa for a deeper flavor, which is what this Brooklyn Blackout Cake thrives on. If you can't find it, regular unsweetened cocoa powder will work in a pinch, but expect a slightly different flavor profile.
What’s the best way to store leftover Brooklyn Blackout Cake?
Very simple! After enjoying your cake, store leftovers in an airtight container in the refrigerator for up to 3 days. Allow it to reach room temperature before serving for the best taste and texture, as this will help maintain the cake's moistness.
Can I freeze Brooklyn Blackout Cake for later enjoyment?
Absolutely! To freeze, wrap each layer tightly in plastic wrap, followed by aluminum foil. This will protect it from freezer burn and help preserve its rich flavor. You can freeze it for up to 2 months. When ready to indulge, let it thaw in the refrigerator overnight or on the counter for a couple of hours.
What if my cake layers are too dense or fall apart?
Don’t worry! If your Brooklyn Blackout Cake turns out dense, it may be due to overmixing the batter or improper measurement of ingredients. Make sure to measure flour accurately and gently fold in the whipped egg whites, being careful not to deflate them. If a layer falls apart, use crumbs to your advantage—simply sprinkle them on the frosting for a rustic look!
Are there any dietary considerations I should keep in mind for this cake?
Very much so! For those with dairy allergies, replace the milk and butter with non-dairy alternatives such as almond or oat milk and vegan butter. Additionally, if you're making this cake for someone with gluten intolerance, using a gluten-free flour is an option; just be mindful of potential changes in texture.
Can I make this cake ahead of time?
Definitely! I often prepare the cake layers a day in advance and store them wrapped in plastic wrap at room temperature. The pudding filling can also be made ahead and stored in the refrigerator. Just assemble and frost on the day you plan to serve for the freshest flavor.
Decadent Brooklyn Blackout Cake That Will Wow Your Guests
Ingredients
Equipment
Method
- Preheat your oven to 375°F (190°C). Grease and flour two 8-inch round cake pans.
- In a small bowl, combine 1 cup of unsweetened Dutch-process cocoa with 1 cup of boiling water until smooth.
- In a medium saucepan, combine 4 ounces of unsweetened chocolate with 1 cup of milk. Heat until melted and blended, then mix in cooled cocoa paste.
- Cream together 1 cup of unsalted butter and 2 cups of sugar until light and fluffy. Add in 4 egg yolks and 2 teaspoons of vanilla extract.
- In a separate bowl, whisk together 2 cups of all-purpose flour, 1 teaspoon of baking powder, 1 teaspoon of baking soda, and ½ teaspoon of salt. Gradually add dry ingredients to butter mixture.
- Beat the 4 egg whites until soft peaks form, then gently fold into the chocolate batter.
- Divide the batter evenly between the prepared pans and bake for about 45 minutes.
- Let the cakes cool in the pans for 15 minutes, then transfer to wire racks to cool completely.
- For the pudding filling, mix ½ cup of unsweetened cocoa with 1 cup of boiling water, stir in 1 cup of sugar and melted bittersweet chocolate. Thicken with dissolved cornstarch.
- To prepare the frosting, melt 4 ounces of bittersweet chocolate, mix with ½ cup of unsalted butter and corn syrup to achieve a spreadable consistency.
- Slice each cooled cake in half, assemble with layers of pudding and top layer, then frost the entire cake with chocolate frosting.
- Decorate the sides with crumbled cake or extra frosting and serve.


Leave a Reply