
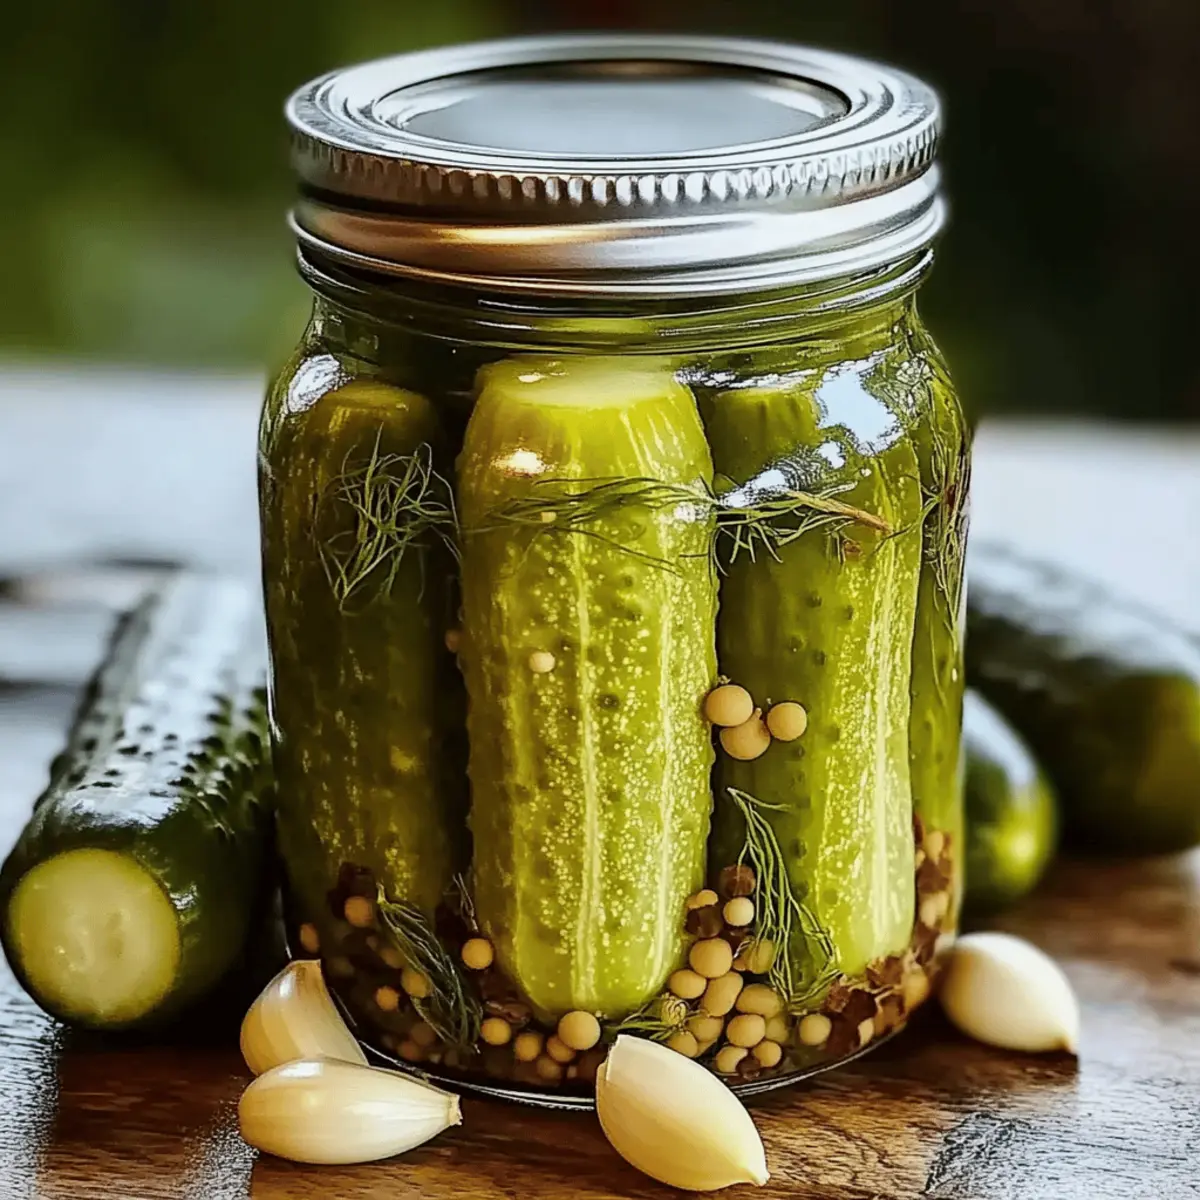
The aroma wafting through my kitchen transported me back to countless summer barbecues, where homemade canned dill pickles ruled the table. With just a few simple ingredients, this delightful recipe not only captures that nostalgic flavor but also brings an irresistible crunch that enhances any meal or acts as the perfect snack. Utilizing fresh cucumbers and a tangy brine, these canned dill pickles are a fantastic way to embrace the art of preservation while offering a low-carb option that’s both delicious and economical. Plus, the joy of crafting these pickles allows for creativity—play with spice levels or even swap out vinegars for a personal twist! Are you ready to create your own jar of goodness and embark on a flavorful journey?
Why are Homemade Canned Dill Pickles Amazing?
Freshness Guaranteed: The flavor of homemade pickles is unbeatable, capturing summer’s garden freshness in every bite.
Creative Freedom: Tailor your recipe by adjusting spices or swapping vinegars to make it uniquely yours!
Time-Saving Sensation: This quick and simple canning process results in jars of deliciousness ready to enhance meals anytime.
Low-Carb Delight: Enjoy a guilt-free snack option that satisfies cravings without the carbs, perfect for a health-conscious lifestyle.
Nostalgic Bliss: Bring back memories of family gatherings with a tangy crunch that elevates lunch bags or appetizers with ease.
Transform your home cooking experience while preserving the joy of summer flavors—don’t forget to check out our tips on utilizing Spicy Pickle Brine for bold variations!
Canned Dill Pickle Ingredients
• Get ready to craft your perfect pickles!
For the Brine
- Water – This forms the base of your brine, ensuring proper dilution of flavors.
- White vinegar – Use distilled for a sharp taste or apple cider for a milder brine; both work beautifully.
- Canning salt – Essential for clarity; avoid regular table salt to keep your brine crystal clear.
- Sugar – Balances out the acidity; feel free to adjust or omit based on your sweetness preference.
For the Pickles
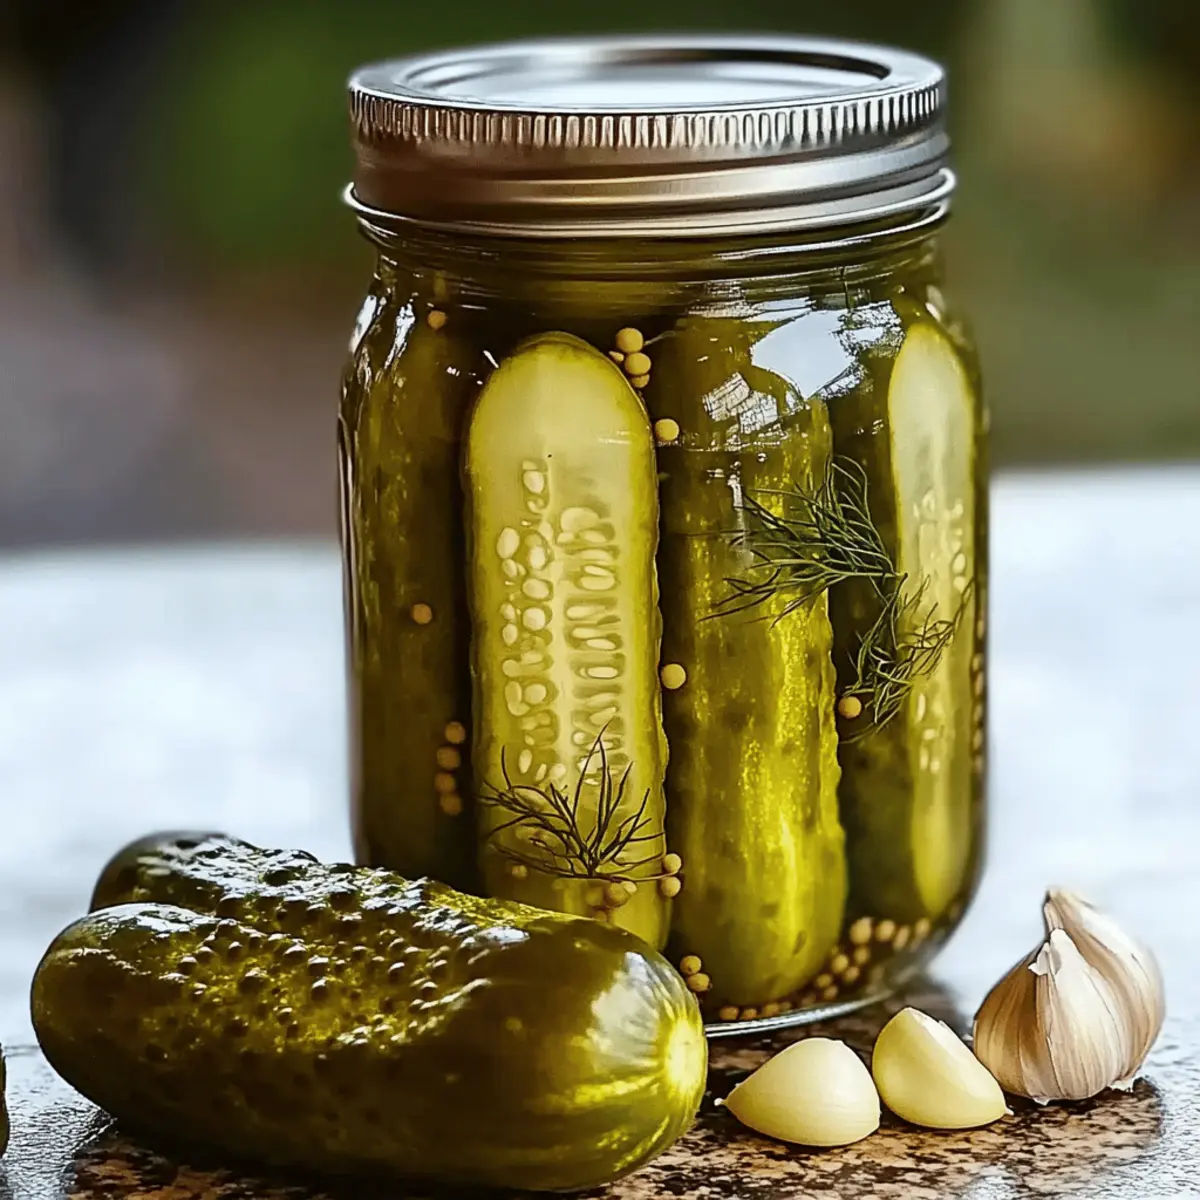
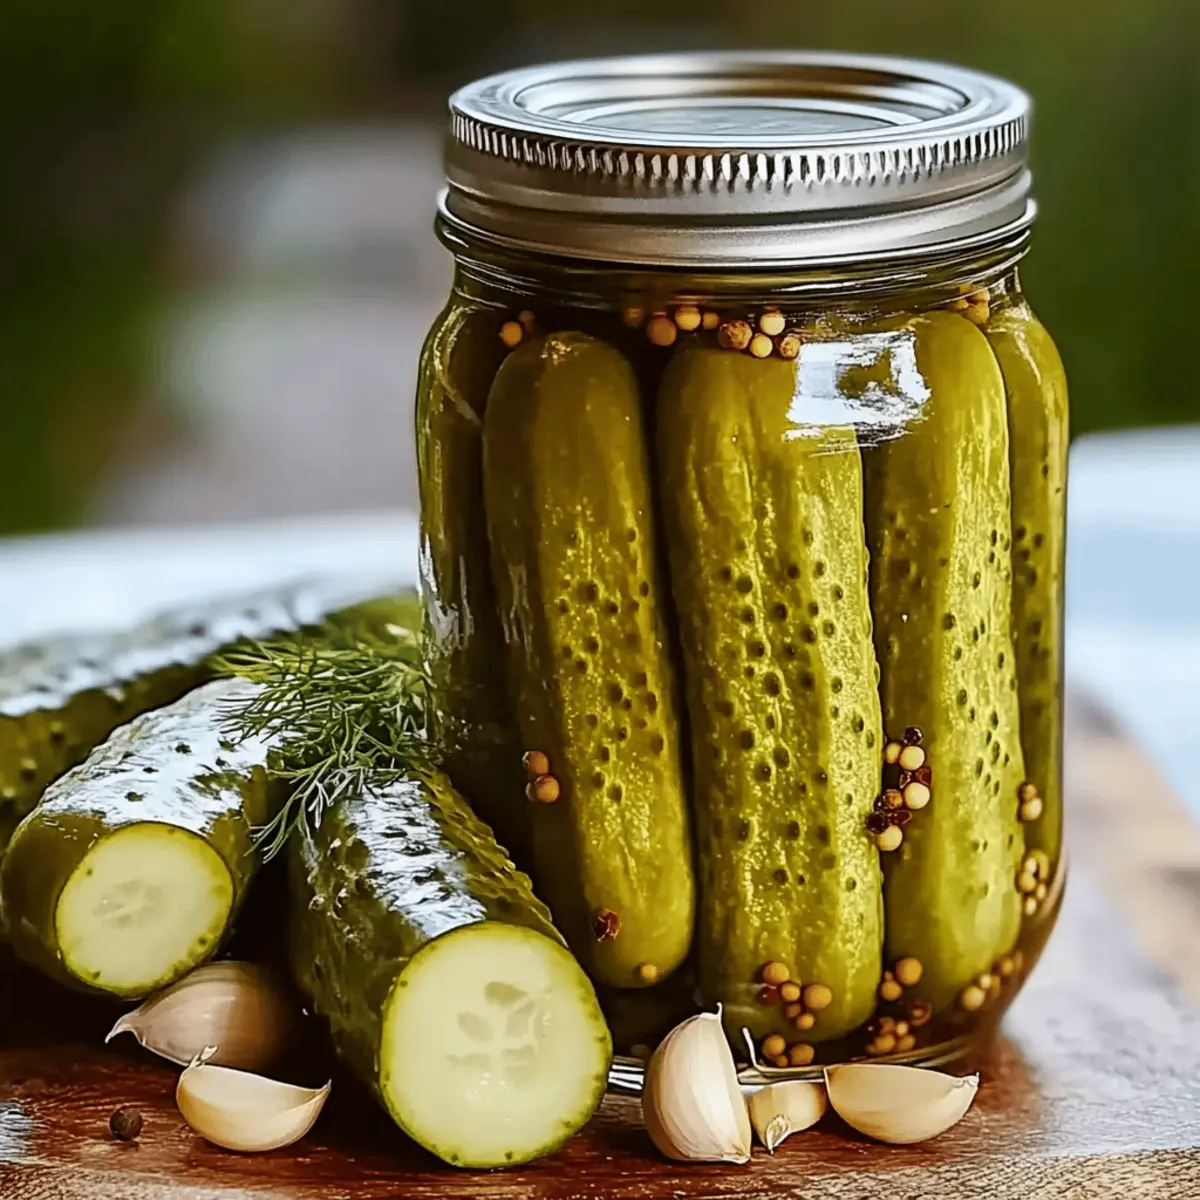
- Fresh pickling cucumbers – Choose firm, smooth-skinned ones for that perfect crunch!
- Garlic cloves – Introduces aromatic depth; adjust amounts for your desired intensity.
- Fresh dill sprigs – This is your key flavor; if fresh isn't available, dill weed is a great alternative.
Optional Extras
- Crushed red pepper flakes – Add a kick of heat for a spicy twist.
- Mustard seeds – Toss these in for an extra layer of flavor that pairs well with the brine.
- Alternative vinegars – Experiment with rice vinegar for a unique take on traditional flavors.
Get ready to enjoy the zesty delight of homemade canned dill pickles!
Step‑by‑Step Instructions for Canned Dill Pickles
Step 1: Sterilize Jars
Begin by preparing your canning jars to ensure a safe preservation process. Submerge the jars and lids in boiling water for 10 minutes; this sanitization will keep your canned dill pickles fresh longer. As they boil, prepare a clean workspace where you can easily access all your equipment and ingredients.
Step 2: Prep Cucumbers
While the jars are sterilizing, wash 2 pounds of fresh pickling cucumbers under cold water to remove any dirt or residue. Slice the cucumbers into spears or rounds, depending on your preference. Lay them out on a clean kitchen towel to dry as you set up for the next step; their crunch depends on using firm cucumbers.
Step 3: Make Brine
In a pot, combine 1 cup of water, 1 cup of white vinegar, 2 tablespoons of canning salt, and 1 tablespoon of sugar. Bring this mixture to a boil over medium heat, stirring until the salt and sugar dissolve completely. The pungent aroma will fill your kitchen, signaling that the brine is ready as it reaches a rolling boil.
Step 4: Pack Jars
Remove the sterilized jars from the boiling water and place them on a clean towel. Begin to layer in the cucumber slices, adding a few garlic cloves and fresh dill sprigs to each jar for that signature flavor. Leave about half an inch of headspace at the top of each jar; this will facilitate sealing during the next step.
Step 5: Add Brine
Carefully pour the hot brine over the packed cucumbers in each jar, ensuring they are fully submerged. Fill each jar with brine to just below the rim; this helps to maintain the pickles’ crunch while preventing spoilage. Use a wooden skewer to remove any air bubbles, ensuring your canned dill pickles stay properly sealed.
Step 6: Process Jars
Place the filled jars back into the boiling water bath, ensuring they are fully submerged. Allow them to boil for an additional 10 minutes. This processing step is crucial for sealing the jars tightly, making your homemade canned dill pickles safe for long-term storage.
Step 7: Cool and Cure
Once processed, carefully remove the jars from the boiling water and set them upright on a clean kitchen towel. Allow the jars to cool completely at room temperature. For the best flavor development, store the sealed pickles in a dark, cool place for at least one week before you dive in to taste the tangy goodness.
How to Store and Freeze Canned Dill Pickles
Room Temperature: Store unopened jars in a cool, dark place like a pantry, where they can last for up to 1 year. Ensure they are properly sealed for optimal preservation.
Fridge: Once opened, transfer jars to the refrigerator. Consume within 2 months for the best flavor and quality, keeping them tightly sealed to maintain freshness.
Freezer: Freezing canned dill pickles is not recommended, as it may alter their texture and taste. Enjoy them fresh from the jar instead!
Reheating: There’s no need to reheat canned dill pickles; simply enjoy them cold. Add them to sandwiches, salads, or snack directly from the jar for a crisp, tangy treat!
Expert Tips for Canned Dill Pickles
Fresh Cucumber Selection: Choose firm, smooth-skinned cucumbers to prevent mushy pickles. Overripe cucumbers can lead to undesirable textures.
Proper Sterilization: Always sterilize jars thoroughly to avoid spoilage. Even the smallest crack can compromise your pickles' integrity, so check for imperfections.
Allow for Curing Time: Patience is key! Let the canned dill pickles sit and develop their flavors for at least two weeks for the best taste.
Customize Spice Levels: Adjust the amount of garlic or add other spices according to your preference. Too much can overpower the pickle’s zing.
Brine Balance: Ensure the sugar and salt levels align with your taste. Experimenting with vinegar types can also bring out different flavor notes in your canned dill pickles.
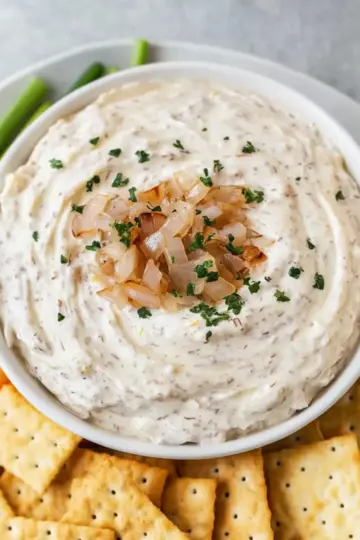
What to Serve with Canned Dill Pickles?
Elevate your meals with delightful companions that complement the tangy crunch of homemade canned dill pickles.
- Classic Grilled Cheese: The melty, warm cheese paired with crispy bread creates a comforting harmony, perfectly offset by the pickles’ tanginess.
- Hearty Sandwiches: Layer in some pickles with pastrami or turkey for a refreshing crunch amid rich flavors, balancing the savoriness of the meats.
- Creamy Potato Salad: The smooth creaminess intertwines beautifully with the sharp, briny flavor of pickles, adding a cool contrast that's simply irresistible.
- Savory Charcuterie Board: Serve pickles with an array of meats, cheeses, and fruits to create a vibrant, colorful board that welcomes guests.
- Zesty Tacos: Add a few slices to your soft or hard-shell tacos for a surprising twist that enhances flavors with a crunchy bite.
- Spicy Bloody Mary: The tang from pickles complements the drink's zesty flavors beautifully, adding depth and a refreshing crunch.
- Looking for dessert? Pairing pickles with sweet treats like chocolate cake provides an intriguing flavor contrast that surprises the palate.
- Fresh Garden Salad: Sprinkle slices over a crunchy salad for a delightful pop of flavor, brightening up the dish with each crisp bite.
Make Ahead Options
Homemade canned dill pickles are ideal for meal prep, and you can get a head start on this flavorful endeavor! You can wash and slice the fresh pickling cucumbers up to 24 hours in advance; just store them in an airtight container in the refrigerator to retain their crunch. Additionally, you can prepare the brine (water, vinegar, salt, and sugar) up to 3 days ahead. Keep it stored in a sealed jar in the fridge to preserve its zing. When you’re ready to finish your pickles, simply layer the cucumbers with garlic and dill, pour over the prepared brine, and process as directed for delicious results! Enjoy having this delightful treat ready when you need it most!
Canned Dill Pickle Variations & Substitutions
Feel free to bring your own twist to these delightful homemade canned dill pickles, creating variations that suit your taste!
- Spicy Kick: Add crushed red pepper flakes to the brine for a bold heat that heightens the flavor and excitement.
- Zesty Twist: Swap white vinegar for apple cider vinegar to create a milder yet tangy flavor profile that dances on the palate.
- Sweet and Tangy: Adjust the sugar content up or down, creating a sweeter pickle for those who prefer a balanced bite.
- Herb Infusion: Include fresh herbs like thyme or oregano along with the dill for a fragrant spin that elevates the classic taste.
- Garlic Lovers: Increase the number of garlic cloves for a stronger aromatic flavor that pairs beautifully with the tangy brine.
- Mustard Seed Crunch: Toss in mustard seeds for an added crunch and slight tang that brings an exciting texture to each bite.
- Pickle Perfection: Experiment with different cucumber varieties like Kirby or English cucumbers for varied textures and flavors.
- Vinegar Variety: Use rice vinegar for a milder and slightly sweeter taste—your pickles will have a unique zest that's hard to resist!
Want to kick things up a notch? Check out our guide on crafting an irresistible Spicy Pickle Brine for even more delicious variations!
Canned Dill Pickles Recipe FAQs
How do I select the best cucumbers for pickling?
Absolutely! Look for fresh pickling cucumbers that are firm and smooth-skinned. Avoid those with dark spots all over or that feel soft to the touch, as they can lead to mushy pickles. Ideal cucumbers are typically harvested when they are about 4-6 inches long, making them the perfect size for canning.
How should I store my canned dill pickles?
When stored in a cool, dark place, unopened jars of canned dill pickles can last up to 1 year. It's essential to keep them in a pantry where the temperature is stable. Once a jar is opened, transfer it to the refrigerator and consume within 2 months for the best flavor and quality.
Can I freeze canned dill pickles?
Very! However, freezing is not recommended for canned dill pickles, as this method can alter their crisp texture and tangy flavor, making them less enjoyable. Instead, savor them fresh from the jar or enjoy them cold in your favorite dishes.
What should I do if my pickles are mushy?
If your pickles turn out mushy, it could be due to using overripe cucumbers. To prevent this, always choose firm cucumbers and ensure they are stored properly. Another tip is to add some fresh grape leaves or a pinch of alum to the brine, which can help maintain the crispness in future batches.
Are homemade dill pickles safe for my pets or individuals with allergies?
Very! While homemade canned dill pickles are typically safe for most people, you should avoid giving them to pets, as the high salt content and spices may not be suitable for their diets. Always check for common allergens in the ingredients if serving to others, ensuring everyone can enjoy these flavorful snacks!
How long do I need to wait before eating my pickles?
I often make my pickles and let them cure for at least 1 week before tasting, but ideally, allowing them to sit for 2 weeks will give the flavors time to meld beautifully. This patience ensures a delightful tangy crunch that enhances salads, sandwiches, or even snacks straight from the jar!

Canned Dill Pickles for Crisp, Flavor-Packed Snacking
Ingredients
Equipment
Method
- Begin by preparing your canning jars in boiling water for 10 minutes to sterilize them.
- Wash the cucumbers and slice them into spears or rounds. Lay them to dry on a kitchen towel.
- Combine water, white vinegar, canning salt, and sugar in a pot and bring to a boil until dissolved.
- Layer cucumber slices, garlic, and dill into sterilized jars, leaving headspace.
- Pour hot brine over cucumbers in jars until fully submerged. Remove air bubbles.
- Process jars in boiling water bath for 10 minutes to seal.
- Let processed jars cool completely and store in a dark, cool place for at least a week.

Leave a Reply