
As the sun warms the sky and fireworks prepare to ignite, nothing says “Fourth of July” quite like a vibrant, homemade treat. These Red, White, and Blue White Chocolate Pudding Pops are my go-to summer dessert that not only celebrate the spirit of the holiday but also keep everyone cool and refreshed. Combining the creamy texture of white chocolate pudding with layers of juicy strawberries and blueberries, these popsicles are not only a fun take on classic flavors but also incredibly easy to whip up, making them a perfect addition to any summer gathering. Plus, they’re gluten-free, so everyone can enjoy this festive delight! Ready to make a deliciously simple statement at your next barbecue? Let’s dive into this delightful recipe together!
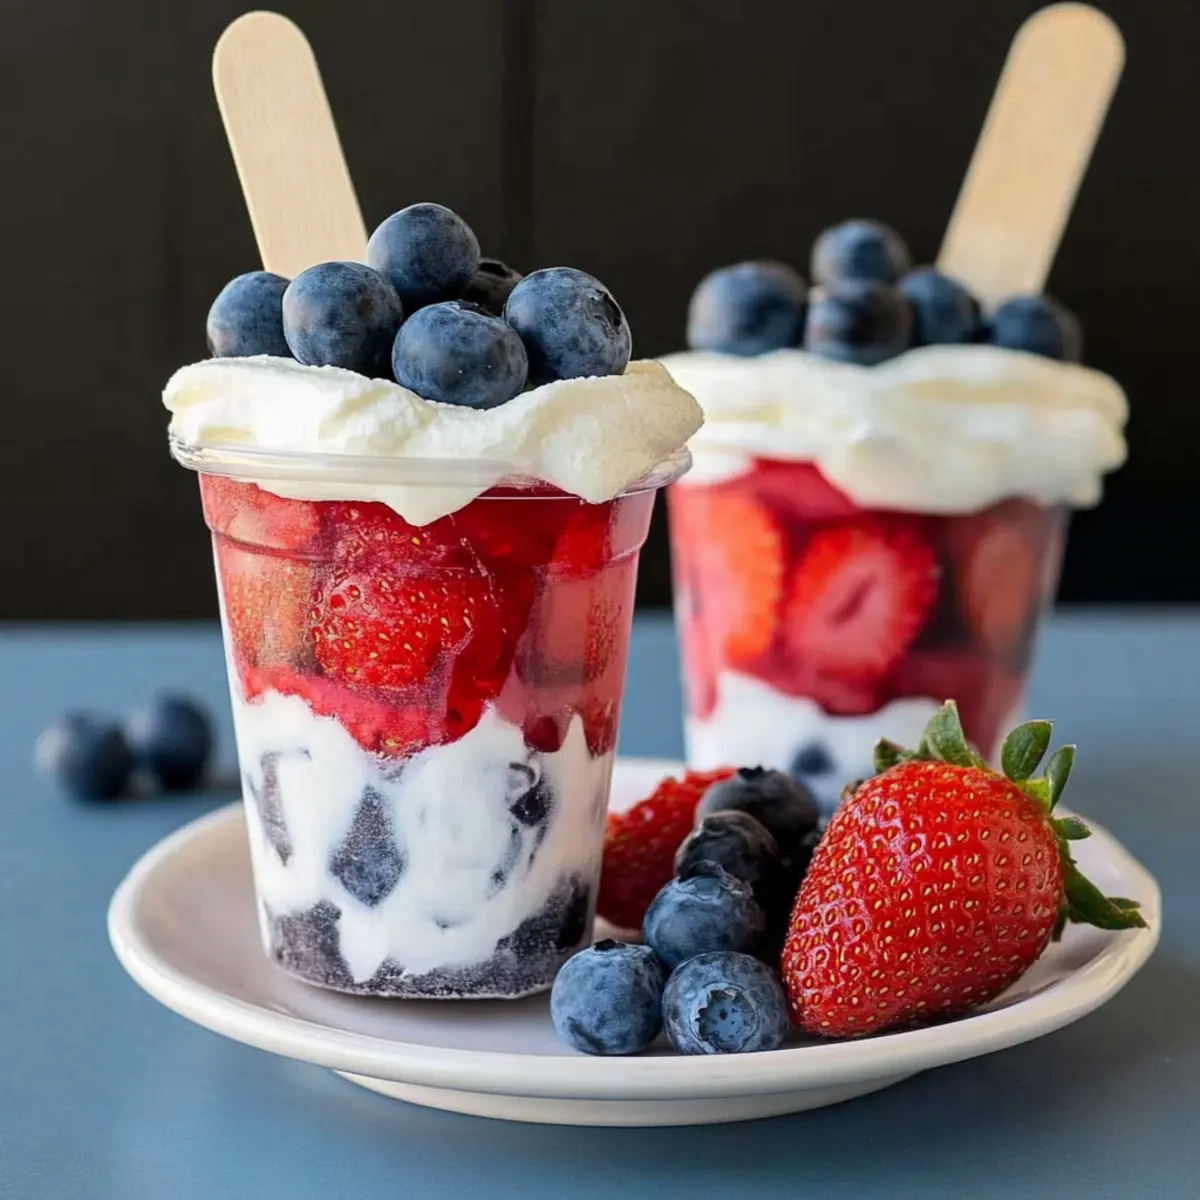
Why Make These Pudding Pops?
Simplicity at Its Finest: With just a handful of ingredients, these pops are easy to whip up, requiring minimal baking skills.
Patriotic Presentation: The striking red, white, and blue layers not only taste incredible but also create an eye-catching centerpiece for your summer celebrations.
Refreshing Flavor: The creamy white chocolate pudding paired with juicy berries is a delightful combination that keeps you cool on hot days.
Crowd-Pleasing Treat: Perfect for kids and adults alike, these pops make an exciting addition to any gathering, ensuring there's something for everyone.
Versatile Variations: Feel free to get creative! You can swap in different fruits or even use cheesecake pudding for a fun twist, much like my Chocolate Zucchini Cake.
Get ready to impress your guests while enjoying a fun, homemade dessert that embodies the spirit of the holiday!
Red, White, and Blue White Chocolate Pudding Pops Ingredients
For the Pudding Base
- Instant White Chocolate Pudding – This is the star ingredient, providing a creamy and deliciously sweet foundation for your pops. Ensure the brand is gluten-free if dietary restrictions are a concern.
- Milk – Essential for achieving that perfect pudding consistency; it hydrates and enhances the creamy texture. You can substitute with lactose-free alternatives like almond or coconut milk if needed.
- Thawed Whipped Topping – This ingredient adds a lightness and extra creaminess to your mixture. Whipped coconut cream is a great substitute for a dairy-free option.
For the Fruit Layers
- Blueberries – They bring a burst of juicy flavor and a beautiful deep blue hue. Fresh or frozen blueberries work wonderfully in this patriotic dessert.
- Strawberries – Adding a sweet and vibrant contrast, they make the pops visually appealing. Sliced strawberries provide the best layered presentation; you can lightly mash them for a smoother texture if preferred.
These Red, White, and Blue White Chocolate Pudding Pops are all about simplicity and flavor, making them the perfect treat to celebrate summer fun!
Step‑by‑Step Instructions for Red, White, and Blue White Chocolate Pudding Pops
Step 1: Prepare the Pudding Base
In a medium bowl, use a whisk to combine the instant white chocolate pudding mix with 2 cups of cold milk. Stir for about 2 minutes until the mixture thickens and is smooth with no lumps. This creamy base is essential for your Red, White, and Blue White Chocolate Pudding Pops, so ensure it's well mixed before proceeding.
Step 2: Fold in the Whipped Topping
Gently fold in 1 cup of thawed whipped topping into the pudding mixture using a spatula. Turn the bowl as you fold to keep the lightness of the whipped topping, creating a fluffy, creamy consistency. The combined mixture should be smooth and luscious, perfect for building the layers in your pops.
Step 3: Layer the Fruit
Select five 5-ounce or 3-ounce cups to form your pops. Start by placing a layer of sliced strawberries or blueberries at the bottom of each cup. Aim for an even distribution to ensure a visually appealing presentation later on. The vibrant fruit will be the first burst of flavor in your delightful Red, White, and Blue White Chocolate Pudding Pops.
Step 4: Add the Pudding Mixture
Carefully spoon a layer of the creamy pudding mixture over the fruit in each cup, filling it about halfway. Use the back of the spoon to smooth out the layer, ensuring it completely covers the fruit. This creamy filling adds richness, hugging the berries, and provides a delightful contrast in texture when frozen.
Step 5: Continue Layering
Add another layer of the opposite fruit on top of the pudding in each cup. For example, if you initially added strawberries, now fill with blueberries. Repeat this layering until the cups are nearly filled, finishing with a layer of pudding on top, leaving about ½ inch of space at the rim. This layering creates a fun, colorful effect in your Red, White, and Blue White Chocolate Pudding Pops.
Step 6: Insert Popsicle Sticks
Insert popsicle sticks into the center of each cup, ensuring they are steady and centered. You want the sticks to be able to support the pops when they're frozen. Make sure the layers remain intact as you place the sticks; this step is crucial to get lovely, hand-held popsicles.
Step 7: Freeze the Pops
Place the cups in the freezer and allow them to freeze for at least 24 hours. This ensures that your Red, White, and Blue White Chocolate Pudding Pops will stand up well and won't melt too quickly upon serving. Make sure they are positioned upright for the best results.
Step 8: Unmold and Serve
To serve, run each cup under warm water for about 5-10 seconds to loosen the pops from the walls. Carefully wiggle the pops to release them from the cups. Place the beautiful, layered pops on a platter and enjoy this refreshing summer dessert with friends and family!
Make Ahead Options
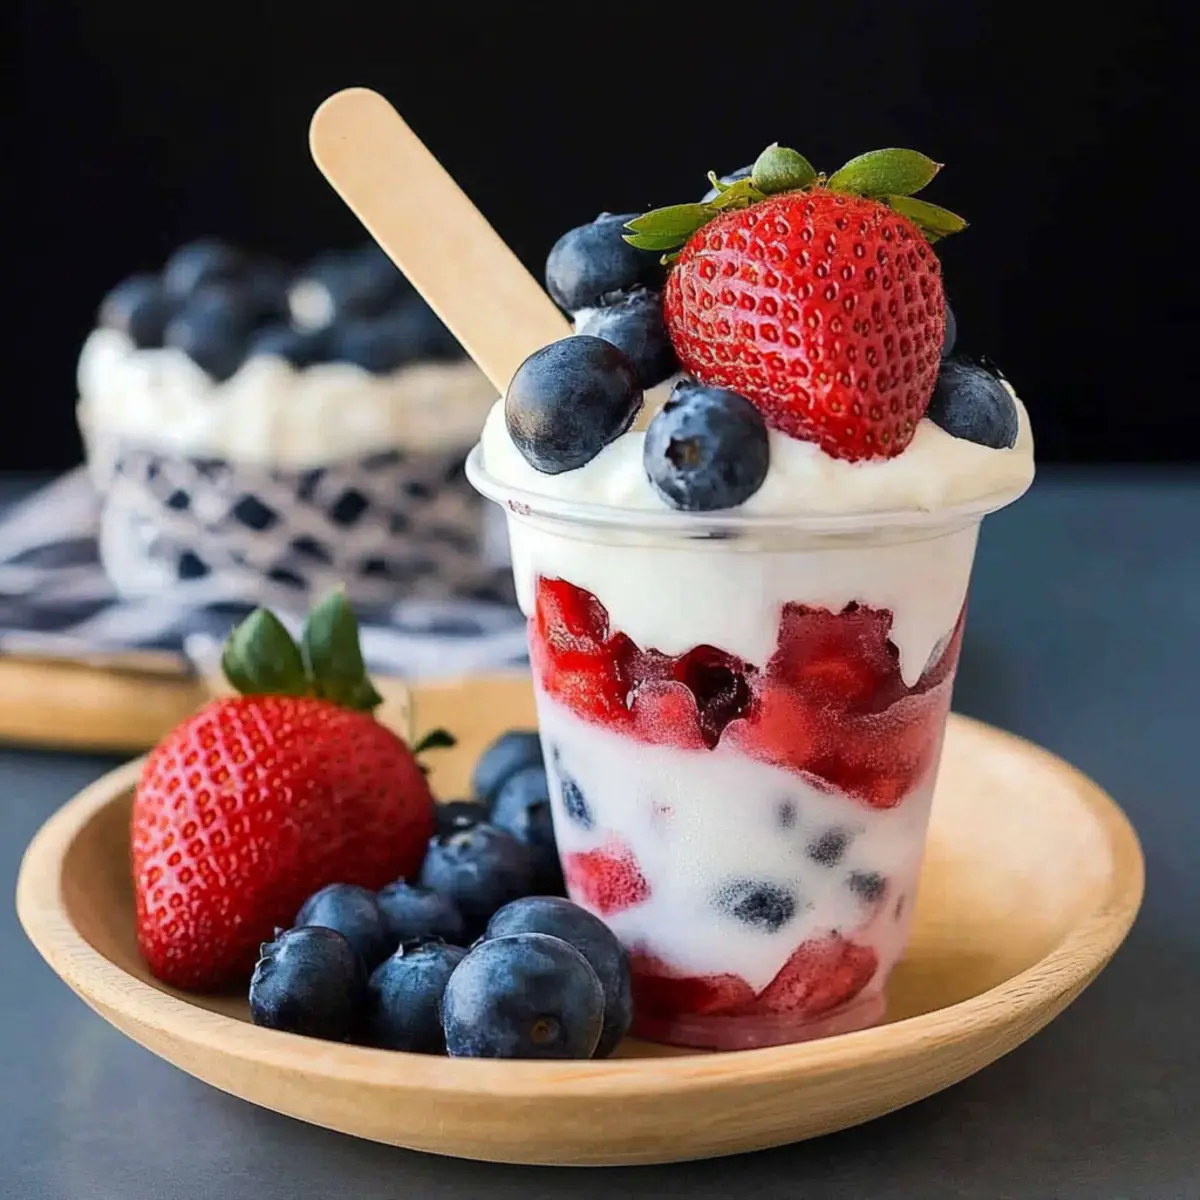
These Red, White, and Blue White Chocolate Pudding Pops are perfect for meal prep, allowing you to enjoy a festive treat without the last-minute rush! You can prepare the pudding base and layer the fruit in advance, up to 24 hours before serving. Simply follow the first five steps of the recipe, then cover the cups with plastic wrap and refrigerate until ready to freeze. To maintain their quality, freeze the pops at least overnight to ensure they firm up nicely. When you're ready to enjoy these delightful pops, just insert the sticks and freeze them for another 24 hours. This way, you’ll have an impressive, delicious dessert ready to impress your guests with minimal effort!
What to Serve with Red, White, and Blue White Chocolate Pudding Pops
Imagine a warm summer evening filled with laughter, sparklers, and the scent of barbecues wafting through the air as you enjoy these festive pudding pops.
- Grilled Corn on the Cob: The sweet, smoky flavors of corn pairs perfectly with the creamy pops, balancing savory and sweet.
- Caprese Salad Skewers: Juicy tomatoes, fresh basil, and mozzarella create a refreshing bite that contrasts beautifully with the rich pudding pops.
- Watermelon Feta Salad: The bright, juicy watermelon and tangy feta elevate the meal with freshness and zest, making it a great accompaniment.
- Lemonade Spritzers: A fizzy, citrusy drink adds a delightful sparkle to your celebration and complements the sweetness of the pops.
- Vanilla Ice Cream: A scoop of classic vanilla ice cream provides a creamy texture that pairs well with the fruity layers of the pudding pops for a double treat.
- Miniature Sliders: Juicy sliders filled with a variety of fillings add a savory touch that contrasts beautifully with the cool sweetness, keeping the festive vibe alive.
These delightful pairings will ensure your summer celebrations are not just memorable but also a feast for the senses, invigorating taste buds and spirits alike!
Storage Tips for Red, White, and Blue White Chocolate Pudding Pops
Room Temperature: Do not leave these pudding pops out for more than 10 minutes; they can start to melt quickly in warm conditions.
Fridge: If you'd like to store leftover pops (unmolded) in the fridge, they can last for about 3 days. Cover them with plastic wrap to keep them fresh.
Freezer: Keep your pudding pops in an airtight container in the freezer for up to 1 month. This ensures they maintain their creamy texture and vibrant berry flavor.
Reheating: There’s no need to reheat these pops; serve them frozen right from the freezer for the best experience with these Red, White, and Blue White Chocolate Pudding Pops!
Expert Tips for Red, White, and Blue White Chocolate Pudding Pops
-
Perfect Pudding Consistency: Whisk thoroughly for 2 full minutes to ensure the mixture is lump-free; this creamy base is vital for smooth pops.
-
Layering Fruits: Alternate the layers creatively for the best visual appeal. Press down gently after adding fruit to keep layers distinct without mixing.
-
Popsicle Sticks: Make sure to insert the sticks straight and centered to avoid pops falling apart when served; this step assures sturdy pops.
-
Freezing Time: Be patient! Freeze the pops for a full 24 hours to achieve the ideal texture. Shorter freezing time may lead to soft pops that fall apart.
-
Easy Unmolding: To remove pops smoothly, run cups under warm water for 5-10 seconds. This method loosens them without damaging the layers for your stunning Red, White, and Blue White Chocolate Pudding Pops.
Variations & Substitutions for Red, White, and Blue White Chocolate Pudding Pops
Feel free to mix things up and customize your pudding pops to your liking, adding even more deliciousness!
-
Cheesecake Pudding: Swap the white chocolate pudding for cheesecake pudding for a rich, tangy flavor that takes these pops to the next level. Just imagine creamy cheesecake with refreshing fruit!
-
Berry Medley: Add layers of raspberries or blackberries along with your strawberries and blueberries for an exciting twist of flavor and a pop of color. This berry mix will keep your taste buds dancing!
-
Nondairy Delight: Use almond or coconut milk in place of regular milk for a completely dairy-free version that doesn’t skimp on flavor. You’ll still enjoy the same creamy goodness with a new twist!
-
Coconut Cream: Replace the whipped topping with whipped coconut cream to make these pops dairy-free. The slight coconut flavor pairs beautifully with the fruit and adds a tropical element to your summer treat.
-
Chocolate Layers: For a chocolatey kick, drizzle melted dark chocolate over the pudding layers before freezing. It will add a delightful contrast and make these pops even more indulgent!
-
Zesty Appeal: A splash of lemon or lime juice in your pudding base will brighten the flavors and provide a refreshing zing that pairs wonderfully with the berries.
-
Spicy Kick: Add a pinch of cayenne pepper or chili powder to the pudding mixture for a surprising touch of heat. Just a hint of spice can elevate the sweet and fruity flavors beautifully!
You can also take inspiration from other recipes such as my Garlic Butter Potatoes or create delightful desserts like Pistachio White Chocolate for more party-friendly options!
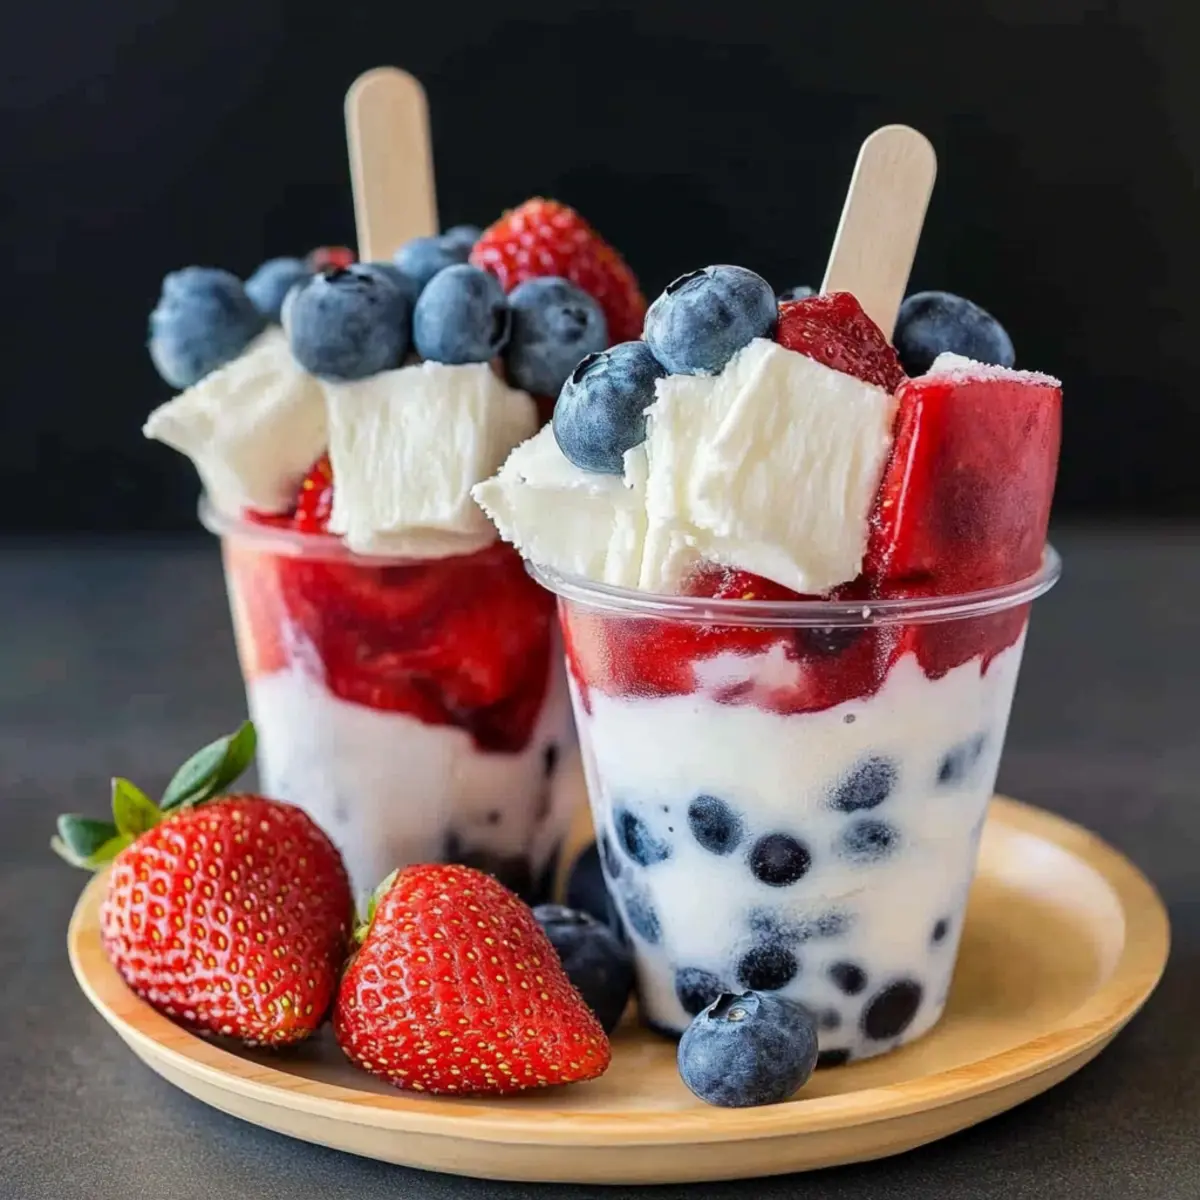
Red, White, and Blue White Chocolate Pudding Pops Recipe FAQs
What kind of berries should I use for these pops?
Absolutely! Fresh, juicy strawberries and blueberries are ideal for these Red, White, and Blue White Chocolate Pudding Pops. You can use fresh or frozen berries; however, fresh berries provide a better texture and flavor contrast. Ensure the strawberries are ripe and bright red, while blueberries should be plump and firm for the best results.
How should I store my pudding pops?
Great question! Store any leftover pudding pops in an airtight container in the freezer for up to 1 month. Just make sure to separate layers with parchment paper if they might stick together. They can remain fresh while maintaining their delicious creamy texture and bursting berry flavor for a delightful treat later!
Can I freeze these pops for longer than a month?
While you technically can freeze the Red, White, and Blue White Chocolate Pudding Pops longer than a month, I recommend consuming them within 1 month for the best quality. Freezing beyond this time can lead to a change in texture and flavor due to ice crystal formation.
What is the best way to unmold the pudding pops?
To effectively unmold your pops, run the cups under warm water for 5-10 seconds. This slight warmth will help loosen the pops from the walls of the cups without damaging the beautiful layers you've created. Give them a gentle wiggle, and they should slide out smoothly!
Are these pudding pops gluten-free?
Yes! The Red, White, and Blue White Chocolate Pudding Pops can easily be made gluten-free. Just ensure that the instant white chocolate pudding mix you choose is labeled gluten-free. This way, everyone, including those with gluten sensitivities, can enjoy this festive summer treat.
How can I adjust the recipe for dietary restrictions?
Great idea for accommodating various dietary needs! You can use non-dairy milk, like almond or coconut milk, instead of regular milk for a lactose-free option. Additionally, substitute the whipped topping with whipped coconut cream if you're aiming for a dairy-free twist. Following these swaps, everyone can enjoy your delicious pudding pops without worry!
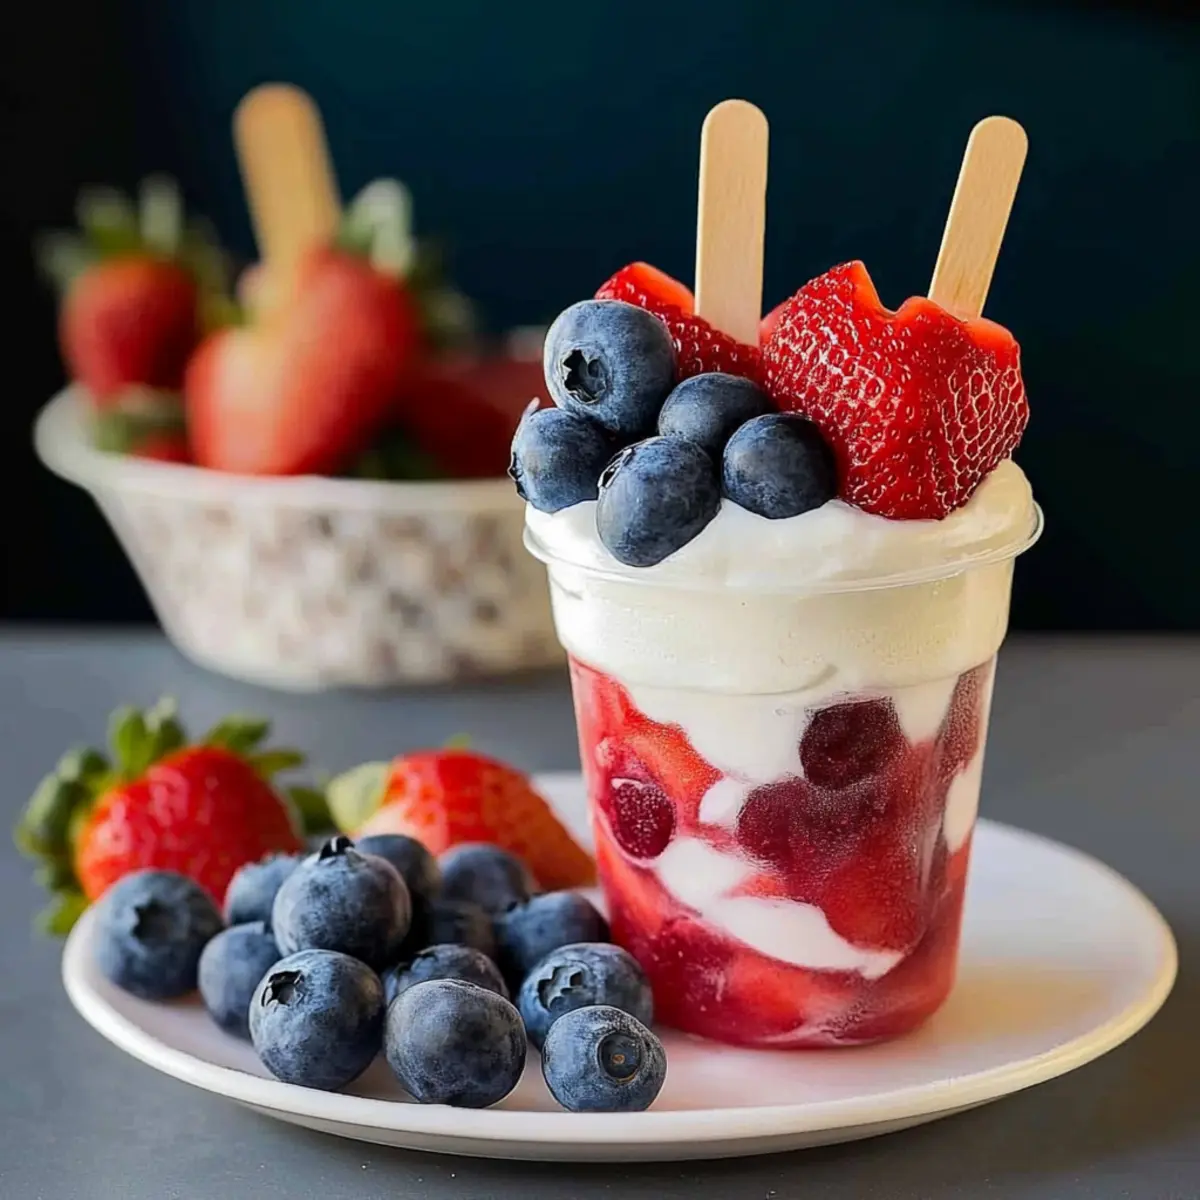
Red, White, and Blue White Chocolate Pudding Pops for Summer Fun
Ingredients
Equipment
Method
- In a medium bowl, whisk together the instant white chocolate pudding mix and 2 cups of cold milk for 2 minutes until thick and smooth.
- Gently fold in 1 cup of thawed whipped topping into the pudding mixture until combined.
- Select five 5-ounce or 3-ounce cups and layer sliced strawberries or blueberries at the bottom of each cup.
- Spoon a layer of the pudding mixture over the fruit in each cup, filling about halfway.
- Add another layer of the opposite fruit on top of the pudding in each cup.
- Insert popsicle sticks into the center of each cup.
- Place the cups in the freezer and allow them to freeze for at least 24 hours.
- Run each cup under warm water for about 5-10 seconds to loosen the pops and carefully wiggle them out.

Leave a Reply