
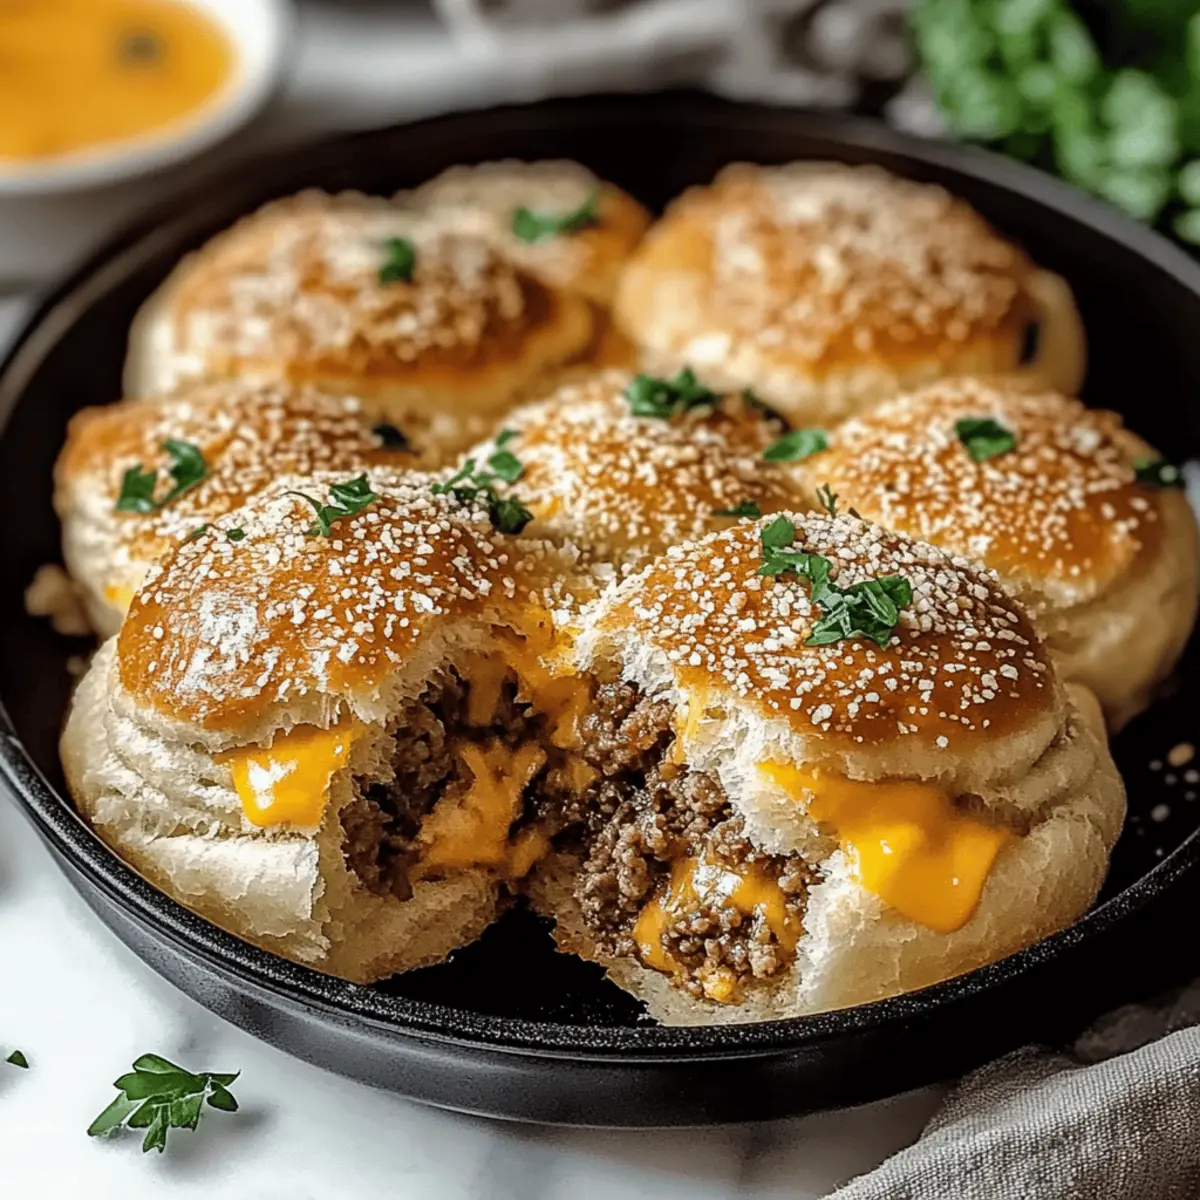
As I was rummaging through my pantry, hoping to whip up a snack that would impress even my toughest critics (my family), a brilliant idea struck me: Garlic Parmesan Cheeseburger Bombs! Combining the iconic flavors of a juicy cheeseburger and the irresistible scent of roasted garlic, these bite-sized treasures are not just a treat, but an experience. They’re perfect for cozy family movie nights or lively gatherings, offering an easy recipe that won’t leave you glued to the stovetop for hours. Inside each fluffy biscuit shell, juicy seasoned beef mingles with gooey cheese, all kissed with golden garlic butter and fresh parsley. Trust me, these little bites are bound to steal the show. Ready to get started on making your new favorite appetizer?
Why make Garlic Parmesan Cheeseburger Bombs?
Irresistible Flavor: Each bite is a delightful explosion of cheeseburger goodness infused with rich garlic and buttery notes.
Easy to Make: This recipe simplifies your cooking experience, allowing even novice chefs to create amazing bites in no time.
Party Perfect: These bombs are designed for sharing, making them a hit at any gathering or family movie night.
Versatile Ingredients: With simple substitutions like Garlic Parmesan Chicken and side options such as Garlic Parmesan Zucchini, you can customize based on what you have on hand.
Crowd-Pleasing: Watch people's faces light up as they indulge in these tasty morsels—perfect for game days or casual get-togethers!
Garlic Parmesan Cheeseburger Bombs Ingredients
• Here’s everything you need to create these mouthwatering snacks!
For the Filling
- Ground Beef – Provides the hearty, savory base for the filling; consider ground turkey for a lighter option.
- Salt – Enhances all flavors in the filling; adjust according to taste preference.
- Black Pepper – Adds spice and complexity; freshly ground pepper is recommended for optimal flavor.
- Worcestershire Sauce – Imparts a tangy umami depth; soy sauce can be used as a substitute for a similar flavor.
- Garlic Powder – Infuses the meat with a gentle garlic note; fresh minced garlic can replace garlic powder for an aromatic kick.
- Mozzarella Cheese – Offers stretchy, gooey creaminess; cheddar can be mixed in for an extra sharp flavor.
- Parmesan Cheese – Adds nuttiness and saltiness; Pecorino Romano can be used for a sharper taste.
For the Dough
- Refrigerated Biscuit Dough – Forms a soft, fluffy exterior; homemade biscuit dough can also be used if preferred.
For the Garlic Butter
- Unsalted Butter – Serves as the base for the garlic brush, delivering richness; oil can be used in place of butter for a non-dairy option.
- Minced Garlic – Adds a punchy, aromatic essence to the garlic butter; dried garlic can be used but limits flavor depth.
For Garnish
- Fresh Parsley – Provides a bright, herbaceous finishing touch; chopped green onions can be used as an alternative for garnish.
Step‑by‑Step Instructions for Garlic Parmesan Cheeseburger Bombs
Step 1: Preheat and Prepare the Baking Sheet
Begin by preheating your oven to 375°F (190°C). While the oven heats, line a baking sheet with parchment paper to ensure that your Garlic Parmesan Cheeseburger Bombs don’t stick, making for easy cleanup. This setup makes it easy to transfer the bombs directly to the oven once they’re ready.
Step 2: Cook the Ground Beef
In a skillet, heat over medium heat and add the ground beef. Cook it for about 7-8 minutes, stirring occasionally, until it is well browned and fully cooked, then drain any excess fat. The beef should look golden and crumbly, providing a savory base for your cheeseburger bombs.
Step 3: Season the Beef Mixture
Once the beef is cooked, season it generously with salt, black pepper, Worcestershire sauce, and garlic powder. Stir well to combine the flavors and let the mixture cool slightly. The Worcestershire sauce will add depth, ensuring a rich taste for your filling.
Step 4: Incorporate the Cheeses
In a mixing bowl, combine your seasoned beef with mozzarella and parmesan cheeses. Stir until the ingredients are completely integrated, forming a cheesy meat mixture that's aromatic and incredibly inviting. This filling will provide the gooey, delightful center of each Garlic Parmesan Cheeseburger Bomb.
Step 5: Prepare the Biscuit Dough
Open your refrigerated biscuit dough and separate it into 8 pieces. Flatten each piece into a disc about the size of your palm, using your fingers or a rolling pin. This will create the perfect pocket to hold your savory filling, ensuring even and tasty bites in every bomb.
Step 6: Fill the Dough Discs
Place a generous spoonful of the beef and cheese mixture in the center of each flattened dough disc. Be careful not to overfill, as that might make them difficult to seal. The filling should look tantalizing; this step is key for creating those delicious flavors contained within each juicy bomb.
Step 7: Form the Bombs
Fold the edges of the dough around the filling to enclose it completely, pinching to seal securely. Roll each filled dough ball gently in your hands to smoothen and shape. This process ensures that your Garlic Parmesan Cheeseburger Bombs will hold their shape during baking while keeping the filling nice and melty.
Step 8: Arrange on the Baking Sheet
Carefully place the sealed bombs seam-side down on your prepared baking sheet, making sure to space them apart. This spacing allows them to expand while baking, giving them room to rise and develop that lovely golden exterior. The bombs should look plump and inviting ready for the oven!
Step 9: Prepare the Garlic Butter
In a small saucepan, melt the unsalted butter over low heat. Once melted, add the minced garlic and sauté it briefly until fragrant—around 1-2 minutes. This aromatic garlic butter will add a wonderful layer of flavor and richness to your Garlic Parmesan Cheeseburger Bombs right before baking.
Step 10: Brush with Garlic Butter
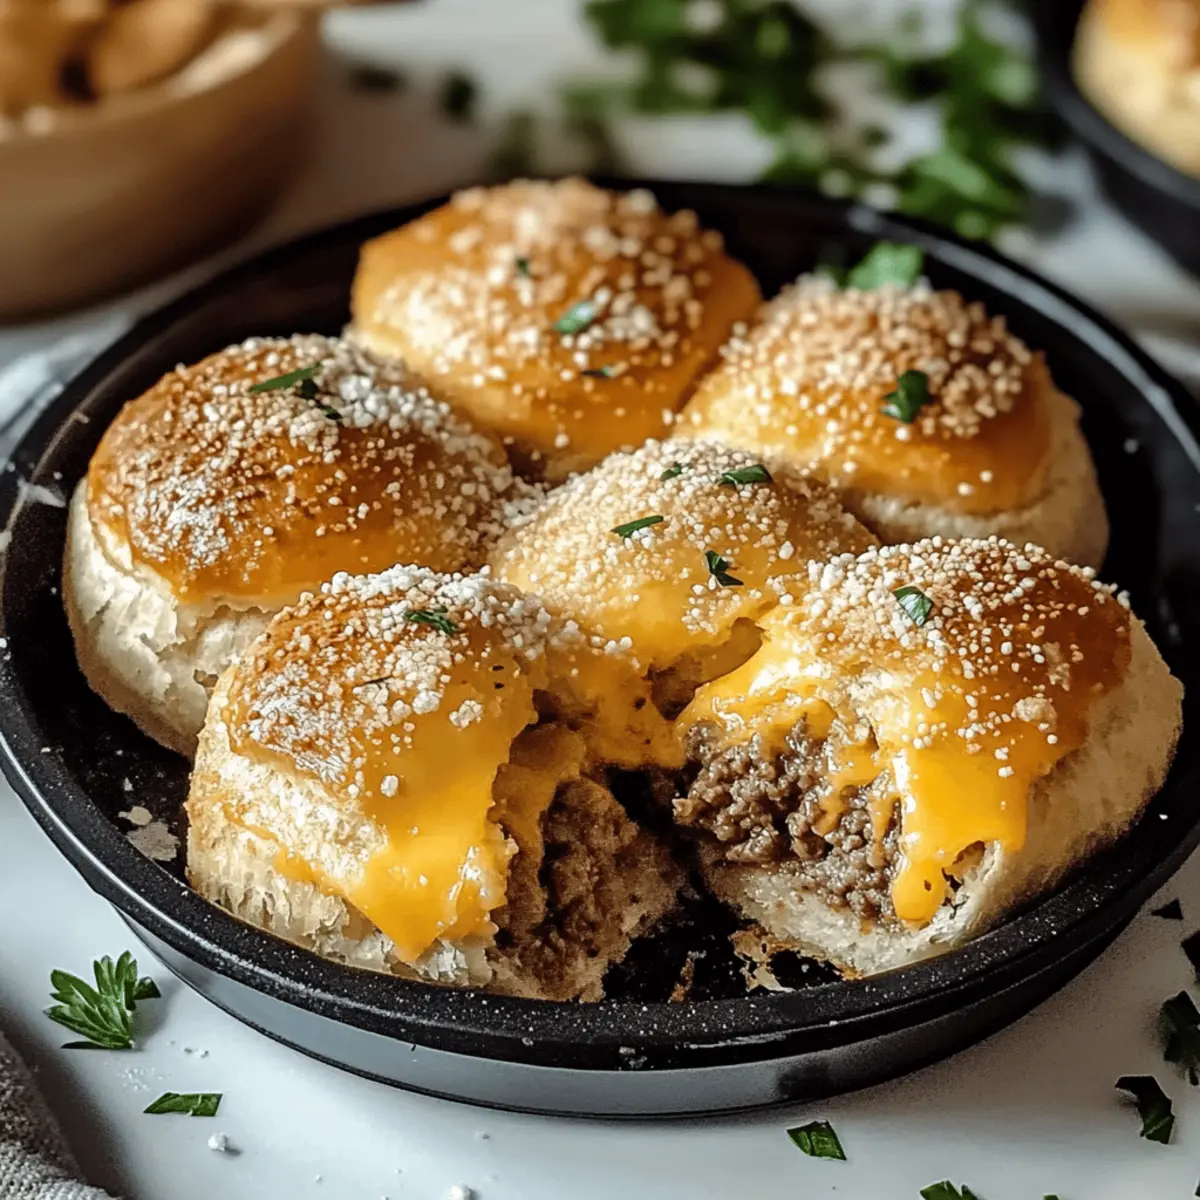
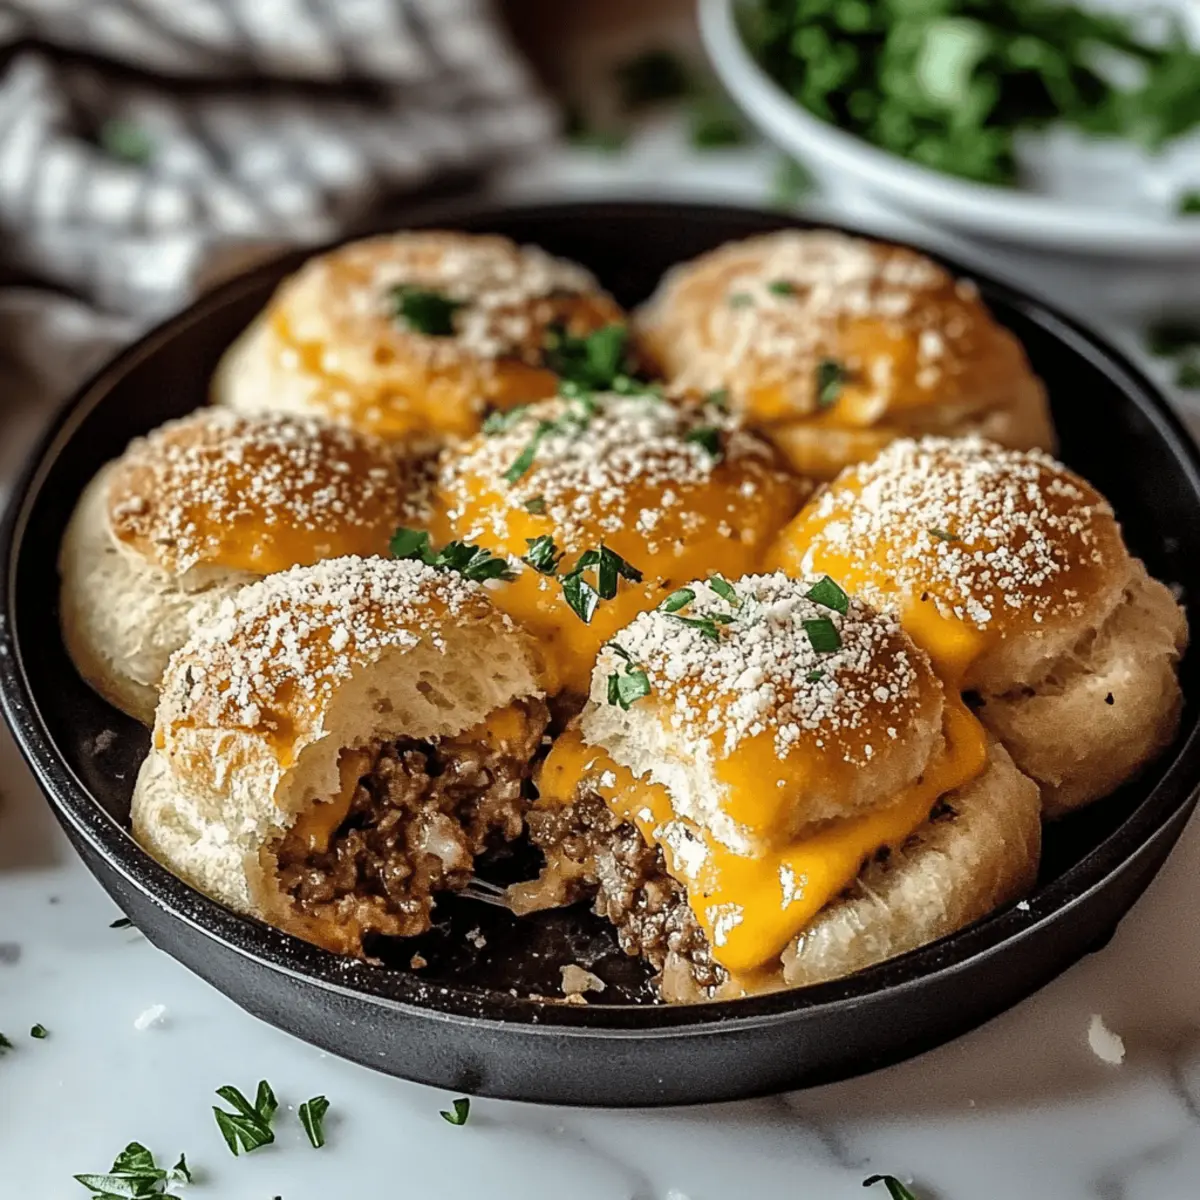
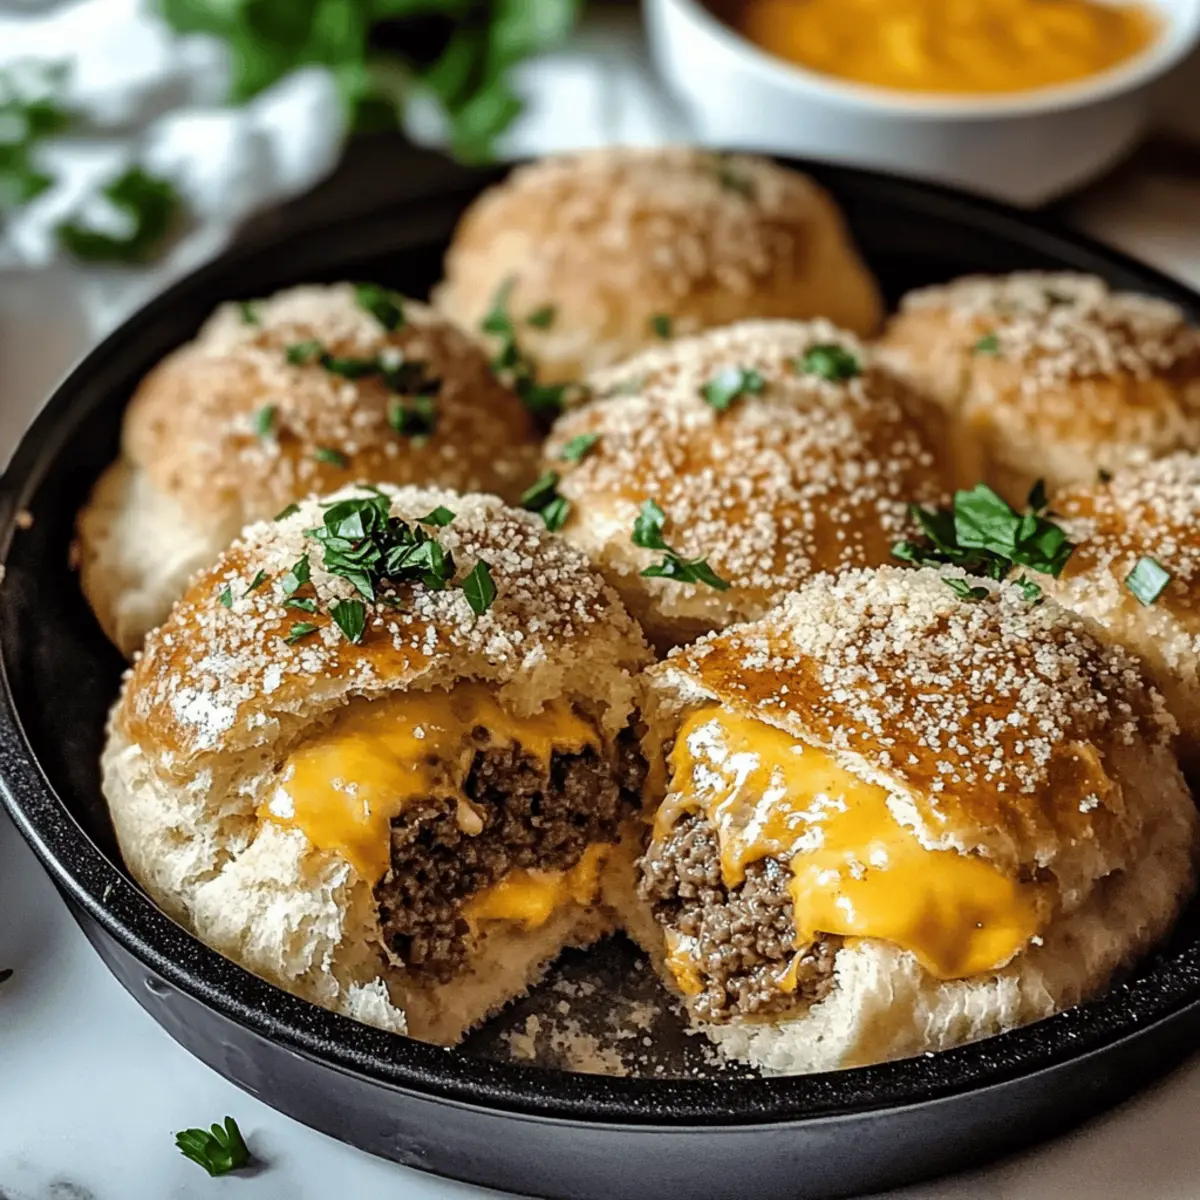
Once the garlic butter is ready, brush a generous amount over each dough ball using a pastry brush to ensure even coating. This will enhance their flavor with a rich garlic kick. Now it's time to sprinkle each bomb with freshly chopped parsley for a pop of color and freshness!
Step 11: Bake Until Golden
Transfer the baking sheet to the preheated oven and bake the Garlic Parmesan Cheeseburger Bombs for about 15-18 minutes. Keep an eye on them; they should turn golden brown and have a lovely puffed appearance when done. The delightful aroma will fill your kitchen!
Step 12: Cool and Serve
Once baked, remove the bombs from the oven and let them cool slightly on the baking sheet. Allowing them to cool for a few minutes will help prevent any molten cheese mishaps when serving. Now they’re ready to be enjoyed warm, bursting with delicious cheeseburger flavors!
Garlic Parmesan Cheeseburger Bombs Variations
Don’t be shy to add your personal touch to these delightful bombs—your creativity is welcome here!
-
Cheese Swap: Try using cheddar or pepper jack cheese for an exciting flavor twist. The melted cheese, oozing from the bombs, will be irresistible!
-
Veggie Boost: Add sautéed onions or bell peppers to the beef mixture for a pop of color and extra flavor. These vibrant vegetables bring a refreshing crunch that perfectly complements the richness.
-
Spicy Kick: Incorporate diced jalapeños or a splash of hot sauce into the filling for those who crave a little heat. This adds excitement and makes each bite uniquely thrilling.
-
Herb Infusion: Enhance the garlic butter with fresh herbs like thyme or oregano for a fragrant twist. This infusion will elevate the overall flavor, making your bombs feel gourmet.
-
Different Meat: Swap ground beef for ground turkey or chicken for a leaner option. The flavors may change a bit, but they’ll still be delicious, especially with the added garlic butter!
-
Baking Twist: Instead of baking, try air frying the bombs at 375°F (190°C) for a crispier exterior. You’ll love the crunch while enjoying that familiar gooey interior—perfect for a healthier alternative!
-
Gourmet Dips: Pair your Garlic Parmesan Cheeseburger Bombs with adventurous dipping sauces like honey mustard or spicy aioli. These dips can enhance the flavors and provide a fun variety for your guests.
-
Side Suggestions: Serve with Garlic Parmesan Zucchini or Garlic Butter Steak for a hearty meal that elevates the flavor experience, ensuring a well-rounded feast that everyone will adore!
Make Ahead Options
These Garlic Parmesan Cheeseburger Bombs are a fantastic choice for meal prep, allowing you to save time during your busy week! You can assemble the bombs and refrigerate them up to 24 hours in advance before baking. Simply place the uncooked bombs on a baking sheet, cover them tightly with plastic wrap, and keep them chilled. This not only maintains their quality but also allows the flavors to meld beautifully. When you’re ready to enjoy them, just bake as instructed, adjusting the cooking time by a few extra minutes if they’re still cold from the fridge. This way, you’ll have warm, cheesy delights ready with minimal effort, perfect for a quick snack or a party treat!
Expert Tips for Garlic Parmesan Cheeseburger Bombs
- Drain Beef Well: Ensure the ground beef is well-drained after cooking to prevent greasy filling that can soak the biscuit dough.
- Use Fresh Herbs: Opt for fresh parsley instead of dried to add a vibrant flavor and color. Fresh ingredients elevate your Garlic Parmesan Cheeseburger Bombs.
- Watch Baking Time: Keep an eye on your bombs while they bake; overbaking can lead to a dry texture. They're done when golden brown and puffed!
- Seal Carefully: Pinching the dough to seal tightly is crucial; otherwise, the filling may ooze out during baking. Proper sealing keeps all that cheesy goodness inside!
- Experiment with Fillings: Feel free to mix in sautéed vegetables or different cheeses in your filling for unique flavors—creativity is key in enjoying these Garlic Parmesan Cheeseburger Bombs!
How to Store and Freeze Garlic Parmesan Cheeseburger Bombs
Fridge: Store leftover Garlic Parmesan Cheeseburger Bombs in an airtight container for up to 3 days. This keeps them fresh and ready for snacking!
Freezer: For longer storage, freeze assembled (but unbaked) bombs in a single layer on a baking sheet. Once frozen, transfer to a freezer bag for up to 2 months.
Reheating: To enjoy your bombs after freezing, bake them directly from frozen at 375°F (190°C) for about 20-25 minutes until heated through and golden brown.
Make-Ahead: You can assemble the bombs in advance and refrigerate them for up to 24 hours before baking, making it easy to prepare for gatherings!
What to Serve with Garlic Parmesan Cheeseburger Bombs
These delightful bites are so versatile, and pairing them with the right sides can transform your gathering into an unforgettable feast.
-
Creamy Coleslaw: This tangy, crunchy side adds a refreshing contrast to the warm, cheesy bombs, balancing the flavors beautifully.
-
Crispy French Fries: Golden, crispy fries are a classic favorite, perfect for dipping into your favorite sauce and complementing the cheeseburger essence.
-
Garlic Breadsticks: Enhance the garlicky goodness by serving these warm, buttery sticks that are perfect for soaking up any extra flavors.
-
Buffalo Cauliflower Bites: For a surprising twist, these spicy, crunchy bites provide a hearty texture and vibrant flavor that pairs well with the bombs.
-
Classic Caesar Salad: The creamy dressing and crunchy croutons add a fresh and zesty element, perfectly balancing the richness of the cheeseburger bombs.
-
Chipotle Ranch Dip: This zesty dip elevates the experience, bringing a smoky kick that beautifully pairs with the savory flavors of the bombs.
-
Sparkling Lemonade: A refreshing drink option, this fizzy beverage complements the savory snacks while providing a zesty, citrusy finish to each bite.
Garlic Parmesan Cheeseburger Bombs Recipe FAQs
What kind of ground meat can I use for the filling?
Absolutely! While ground beef provides a hearty and savory base for your Garlic Parmesan Cheeseburger Bombs, you can certainly swap it out with ground turkey or chicken for a lighter option. Just keep in mind that it may alter the flavor profile slightly, giving you unique variations to try!
How should I store leftover Garlic Parmesan Cheeseburger Bombs?
After enjoying these delicious bites, store any leftovers in an airtight container in the refrigerator. They’ll stay fresh for up to 3 days—perfect for snacking anytime! Just make sure to reheat them in the oven at 350°F (175°C) for about 10 minutes for the best results.
Can I freeze Garlic Parmesan Cheeseburger Bombs?
Yes, you can freeze them! Assemble the bombs but do not bake them. Place them in a single layer on a baking sheet and freeze until solid. Once frozen, transfer to a freezer bag and store for up to 2 months. When you're ready to bake, just transfer them directly from the freezer to a preheated oven at 375°F (190°C) and bake for about 20-25 minutes.
What if my dough tears when I’m filling the bombs?
Very common! If your dough tears a bit while filling, don’t fret. Simply pinch the tear closed carefully to seal it. If the dough is too cold or stiff, let it sit at room temperature for a few minutes to soften, making it more pliable for your hands! If you need extra assurance, you can patch it up with a small piece of dough.
Are these Garlic Parmesan Cheeseburger Bombs suitable for kids?
Absolutely! These bombs are a fun and kid-friendly snack, making them perfect for family movie nights or birthday parties. Just be sure to keep an eye on the baking time to avoid any overly hot molten centers. They love the cheesy goodness packed inside!
Can I swap out any ingredients based on dietary restrictions?
Absolutely! These Garlic Parmesan Cheeseburger Bombs are versatile. You can use non-dairy butter and cheese to make them dairy-free, or leave out specific ingredients if allergies are a concern. Just be sure to taste and adjust the seasoning accordingly to keep the flavors rich and delightful!
Garlic Parmesan Cheeseburger Bombs for Easy Party Snacking
Ingredients
Equipment
Method
- Preheat your oven to 375°F (190°C) and line a baking sheet with parchment paper.
- In a skillet, heat over medium heat and add the ground beef. Cook for 7-8 minutes until browned and fully cooked, then drain excess fat.
- Once the beef is cooked, season with salt, black pepper, Worcestershire sauce, and garlic powder. Stir well and let cool slightly.
- Combine the seasoned beef with mozzarella and parmesan cheeses in a mixing bowl, stirring until integrated.
- Open the refrigerated biscuit dough and separate it into 8 pieces. Flatten each piece into a disc.
- Place a spoonful of the beef and cheese mixture in the center of each flattened dough disc, being careful not to overfill.
- Fold the edges of the dough around the filling and pinch to seal, rolling each ball gently to smoothen.
- Place the sealed bombs seam-side down on the baking sheet, spacing them apart.
- In a small saucepan, melt the unsalted butter, then add the minced garlic and sauté until fragrant.
- Brush the garlic butter over each dough ball and sprinkle with freshly chopped parsley.
- Bake the bombs in the preheated oven for 15-18 minutes until golden brown and puffed.
- Remove from the oven and let cool slightly before serving warm.


Leave a Reply