
While rummaging through my grandmother's collection of handwritten recipes, I stumbled upon a gem that instantly transported me back to lively family gatherings: Olive Cheese Balls. These delightful morsels are a total game changer—perfect for impressing guests or indulging in a cozy night at home. The flaky, tender dough encases briny green olives, delivering unexpected warmth and richness in every bite. Best of all, this recipe is easy to prep and freezer-friendly, allowing you to whip them up in advance for stress-free entertaining. Whether you're seeking the ultimate crowd-pleaser for your next get-together or just a comforting snack, these Olive Cheese Balls are sure to satisfy all cravings. Who’s ready to dive into a flavor-packed adventure?
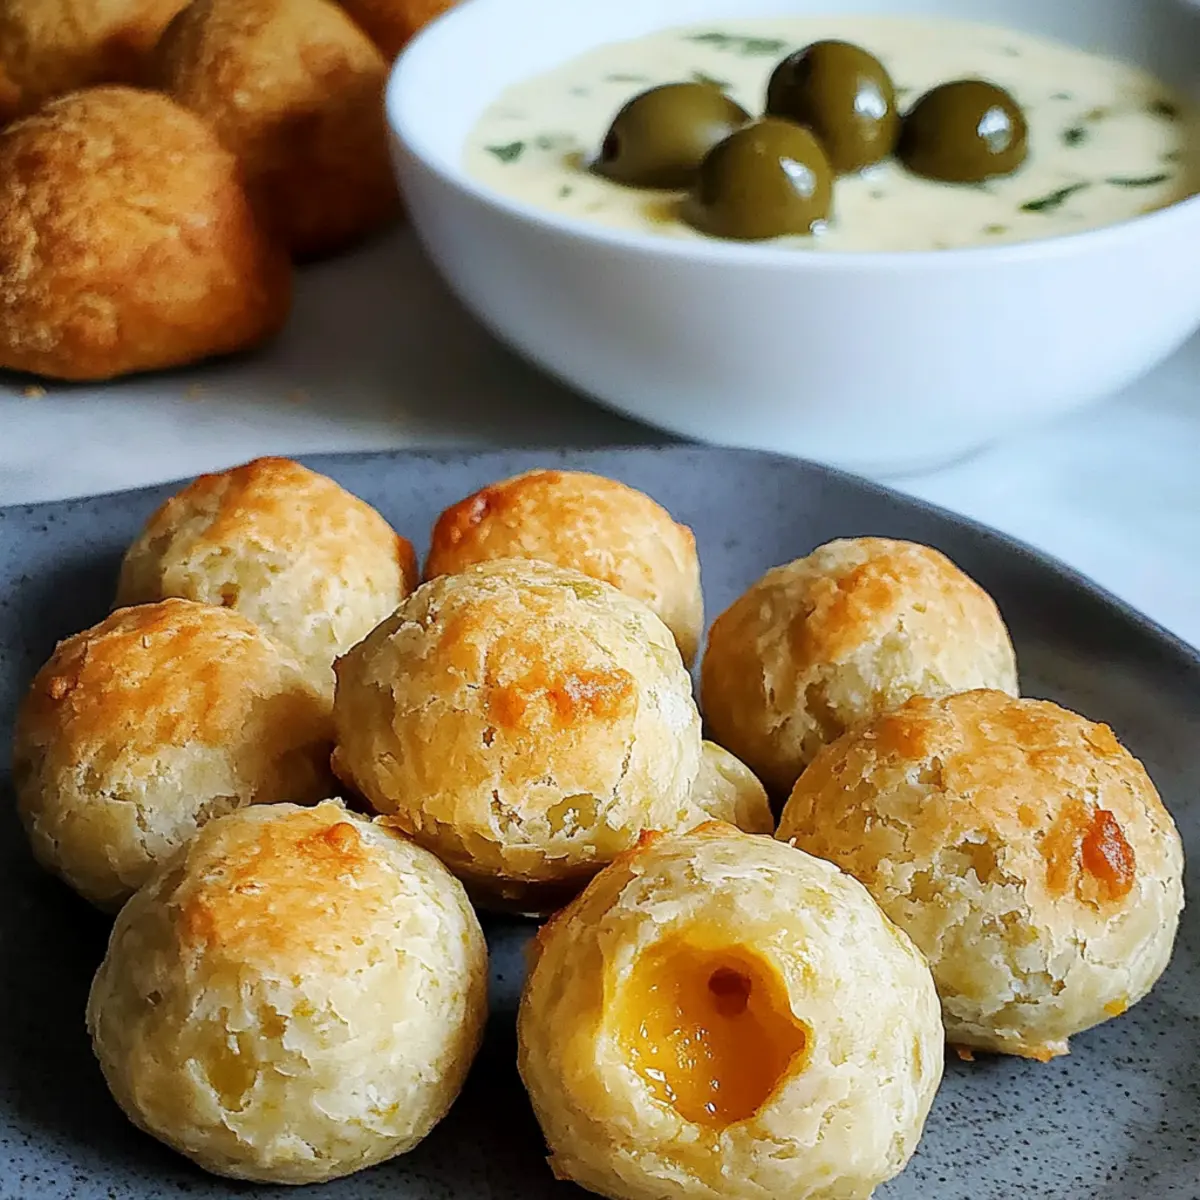
Why Are These Olive Cheese Balls Perfect?
Unforgettable Flavor: The combination of cheesy dough enveloping briny olives creates an irresistible burst of taste that's hard to resist.
Easy Preparation: With only a few simple steps, you can whip these up in no time, making them an excellent choice for busy weeknights or last-minute gatherings.
Freezer-Friendly: Make ahead and store for later! These Olive Cheese Balls remain delicious when frozen, allowing for stress-free hosting.
Versatile Appeal: Serve them warm, accompanied by your favorite dips like ranch or tzatziki, and watch them disappear at your next get-together. You could even pair them with homemade Oreo Balls Decadent for a delightful dessert contrast!
Nostalgic Charm: Reminiscent of American potlucks, these appetizers bring back cherished memories, making them a perfect addition to any nostalgic evening.
Olive Cheese Balls Ingredients
-
For the Dough
• Queen Olives (18, stuffed with pimento) – These provide a briny burst of flavor; you can substitute with black olives if desired.
• Unsalted Butter (¼ cup, softened) – Adds richness and moisture; ensure it's softened to room temperature, not melted.
• Sharp Cheddar (4 ounces, shredded) – The primary cheese for flavor and texture; feel free to swap it for Parmesan for a different taste.
• All-Purpose Flour (½ cup + 1 tablespoon, divided) – Gives structure to the dough; using gluten-free flour may alter the texture.
• Paprika (¼ teaspoon) – Adds a hint of smokiness; it's optional and based on your flavor preference.
• Morton Kosher Salt (¼ teaspoon) – Enhances flavor; adjust to taste or omit in variations.
• Black Pepper (¼ teaspoon) – Provides a touch of heat; substitute with cayenne for extra kick. -
For Serving
• Buttermilk Ranch Dressing – Perfect for dipping and enhances the flavor of the Olive Cheese Balls, creating a delightful combination.
Step‑by‑Step Instructions for Olive Cheese Balls
Step 1: Prepare the Olives
Begin by draining the queen olives and patting them dry with a paper towel. This ensures that they don't release excess moisture into the dough later on. Make sure to choose olives that are plump and flavorful to enhance your Olive Cheese Balls. Set the prepared olives aside as you mix the dough.
Step 2: Mix the Cheese Dough
In a mixing bowl, combine the softened unsalted butter and shredded sharp cheddar cheese. Using a wooden spoon, cream them together until well blended and the mixture is smooth. This should take about 2-3 minutes, resulting in a rich and creamy base that adds flavor and texture to your Olive Cheese Balls.
Step 3: Form the Dough
Add the all-purpose flour, paprika, kosher salt, and black pepper to the cheese mixture. Stir it all together initially with the wooden spoon, then use your hands to knead gently until a moist, cohesive dough forms. This process should take around 3-4 minutes, and the dough should feel soft but not sticky.
Step 4: Portion the Dough
Divide the dough into 18 equal portions for your Olive Cheese Balls for consistent baking. Roll each portion into a ball, then flatten it slightly using your fingers to create a disk that can easily envelop the olive. Each piece should be about the size of a golf ball for even cooking and an ideal bite.
Step 5: Wrap the Olives
Take one flattened disk, and place a prepared olive in the center. Carefully mold the dough around the olive, sealing it completely, and roll gently to form a smooth ball. Repeat this process with the remaining dough and olives, ensuring each Olive Cheese Ball is well sealed to keep the flavor intact during baking.
Step 6: Refrigerate the Balls
Once all the Olive Cheese Balls are formed, arrange them on an ungreased baking sheet. Cover them with plastic wrap and refrigerate for 1-2 hours. This chilling step helps the dough firm up, ensuring the cheese balls maintain their shape while baking, resulting in perfect bites of cheesy delight.
Step 7: Preheat & Bake
Preheat your oven to 400°F (200°C). Once heated, remove the Olive Cheese Balls from the refrigerator and place them in the oven. Bake for approximately 15 minutes or until they are lightly browned and firm to the touch. The aroma will fill your kitchen, indicating they are almost ready to enjoy!
Step 8: Cool & Serve
After baking, let the Olive Cheese Balls cool on the baking sheet for 5-10 minutes. This cooling time allows the flavors to settle and makes the cheese balls easier to handle. Serve warm for the best experience, and consider pairing them with a creamy dipping sauce like buttermilk ranch to enhance that irresistible savory flavor.
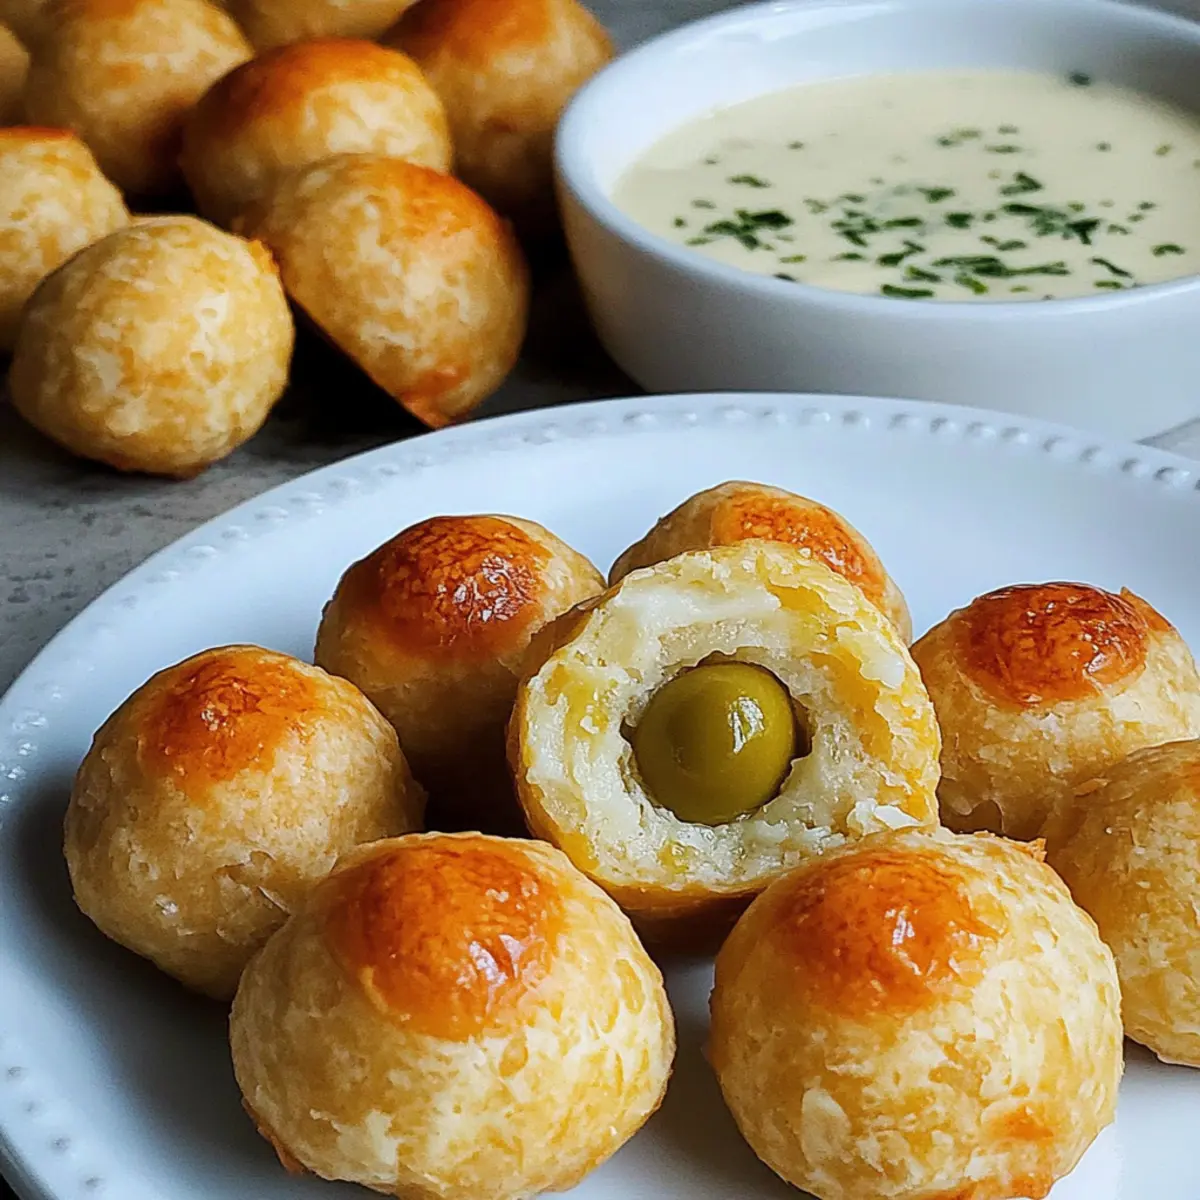
Make Ahead Options
These Olive Cheese Balls are a fantastic option for meal prep, saving you time and stress when entertaining! You can prepare the olive-filled dough up to 24 hours in advance by forming the balls and placing them on a baking sheet. Cover and refrigerate them to maintain their freshness. For longer storage, freeze the uncooked Olive Cheese Balls for up to 1 month; just be sure to let them chill in the refrigerator overnight before baking. When you’re ready to serve, simply bake straight from the chilled state at 400°F (200°C) for about 15 minutes until golden brown. Enjoy the convenience of delicious, homemade appetizers with minimal effort!
Expert Tips for Olive Cheese Balls
-
Consistent Sizing: Use a small scoop to portion the dough evenly, ensuring that your Olive Cheese Balls bake uniformly and achieve the perfect texture.
-
Chill for Success: Refrigerate the balls for 1-2 hours before baking to help them hold their shape. This step is crucial for a consistent outcome.
-
Freezing Friendly: Prepare and freeze the Olive Cheese Balls before chilling. This way, you can enjoy stress-free hosting and bake them straight from the freezer.
-
Experiment with Cheese: Don't hesitate to swap sharp cheddar for other types, like Parmesan or pepper jack, for different flavor profiles that elevate your Olive Cheese Balls.
-
Serve Warm: These cheesy delights are best enjoyed fresh from the oven. Pair them with homemade dips, like ranch, to amplify the flavors and impress your guests.
What to Serve with Savory Olive Cheese Balls
Elevate your dining experience by pairing these cheesy delights with exciting accompaniments that enhance their rich flavors and textures.
-
Creamy Buttermilk Ranch: The tangy flavor of ranch dressing complements the savory Olive Cheese Balls perfectly, adding an extra layer of deliciousness.
-
Crispy Salad: A fresh, mixed greens salad drizzled with lemon vinaigrette provides a delightful crunch, balancing the richness of the cheese balls.
-
Garlic Breadsticks: Soft, buttery breadsticks enhance the warm, cheesy notes while adding a comforting touch to the appetizer spread.
-
Stuffed Jalapeños: For the spice lovers, these fiery bites contrast beautifully with the creamy cheese balls, creating an exciting flavor journey.
-
Spiced Nuts: A bowl of roasted spiced nuts offers crunchy and savory bites that amplify the snackable nature of the Olive Cheese Balls.
-
Chilled White Wine: Pairing these bites with a chilled glass of Sauvignon Blanc enhances their flavors and adds a sophisticated touch to your gathering.
-
Homemade Tzatziki: This cooling Greek yogurt dip brings refreshing flavors, making for a fantastic contrast to the warm, cheesy treats.
-
Seasoned Potato Wedges: Crispy, seasoned wedges provide a heartier side that pairs well with the Olive Cheese Balls, ensuring no one leaves hungry.
Olive Cheese Balls Variations & Substitutions
Feel free to get creative with your Olive Cheese Balls, exploring new flavors and textures that will delight your taste buds!
-
Parmesan Twist: Substitute sharp cheddar with Parmesan and add ranch seasoning for a zesty, herby flair. This uplifting variation brings a deliciously bold twist!
-
Spicy Kick: Incorporate diced jalapeños into the dough for an extra kick of heat. The added spice perfectly complements the creamy cheese.
-
Cheesy Variety: Experiment with different cheeses like pepper jack or gouda for a unique flavor profile. Each cheese brings its own character, making the snack exciting and delicious!
-
Herbed Delight: Add chopped fresh herbs, like dill or parsley, to the dough for a refreshing twist. The herbal notes will brighten each savory bite!
-
Gluten-Free Option: Substitute all-purpose flour with a gluten-free flour blend. Be aware that this might alter the texture slightly, but the flavor will still be scrumptious.
-
Vegan Variation: Replace butter with a plant-based alternative and use vegan cheese. You can still have a crowd-pleasing appetizer that aligns with your dietary preferences!
-
Smoky Flavor: Experiment by adding a touch of smoked paprika to the dough. This will provide a warm, smoky depth that pairs beautifully with the olives.
-
Stuffed Surprise: Instead of just olives, stuff the dough with sun-dried tomatoes or roasted red peppers for a delightful, unexpected filling—perfect for those looking to elevate their appetizer game!
Feel encouraged to mix and match these variations. After all, cooking is all about exploration and making dishes truly yours! If you're in the mood for more delicious recipes, try your hand at this One Pot Cheeseburger or for dessert, some delightful Oreo Balls Decadent!
How to Store and Freeze Olive Cheese Balls
Fridge: Any leftover Olive Cheese Balls can be stored in an airtight container for up to 3 days. Make sure they cool completely before sealing to maintain their texture.
Freezer: For longer storage, freeze the Olive Cheese Balls before baking. Place them on a baking sheet until firm, then transfer to a freezer-safe bag for up to 1 month.
Reheating: To enjoy leftovers, reheat in a preheated oven at 350°F (175°C) for about 10-12 minutes, or until warmed through and slightly crispy. Avoid microwaving, as this can make them soggy.
Prep Ahead: If you’re making these Olive Cheese Balls for an event, preparing them in advance allows you to simply bake and serve when you're ready!
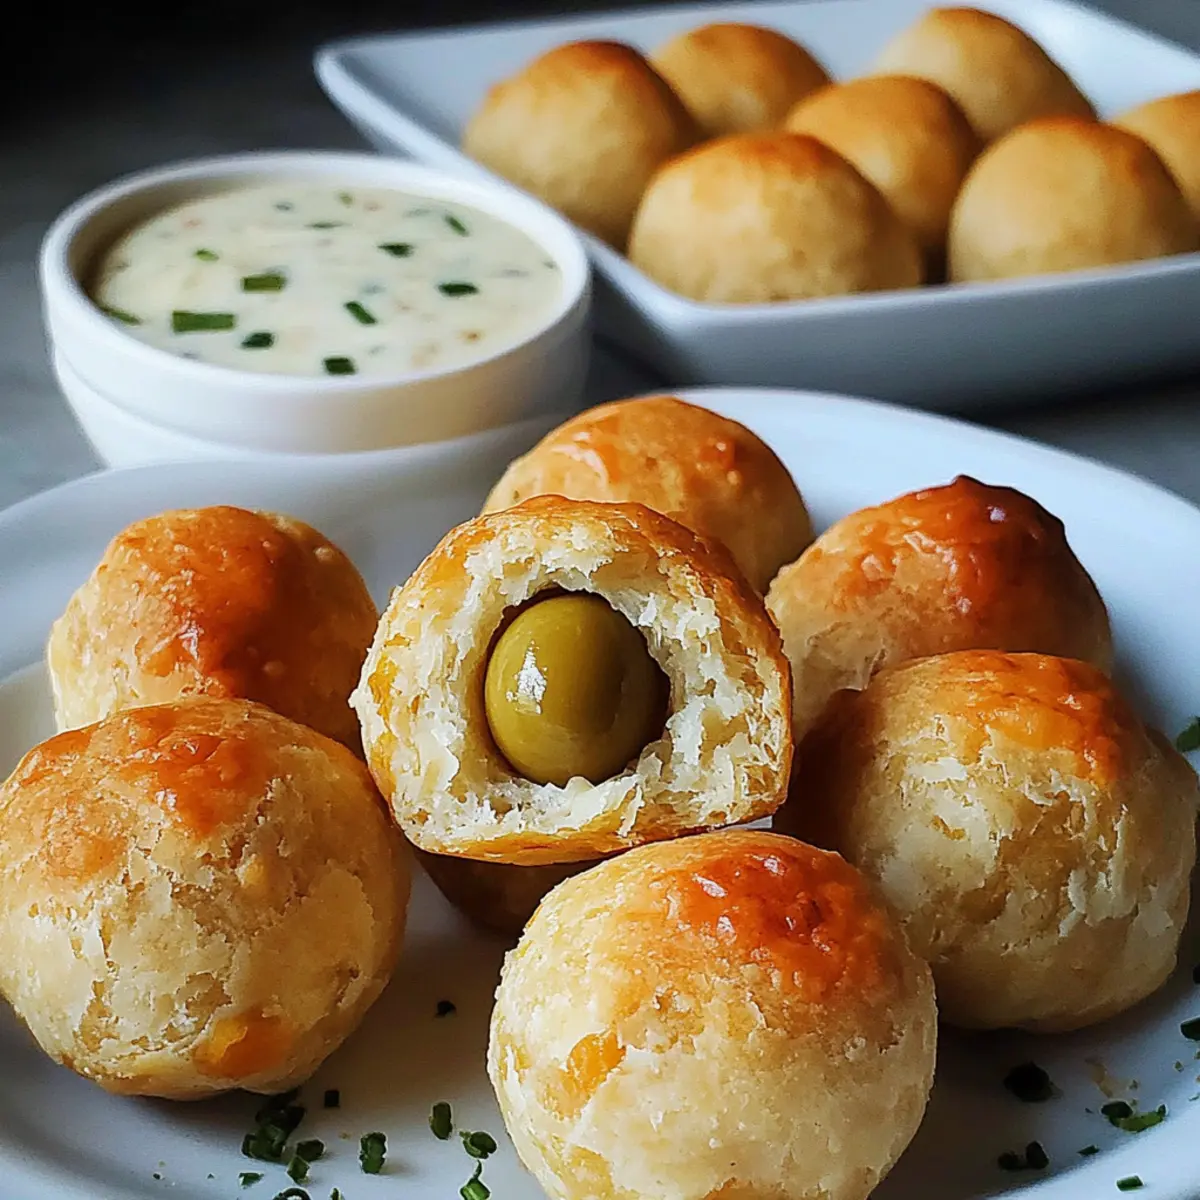
Olive Cheese Balls Recipe FAQs
How do I select the perfect olives for my Olive Cheese Balls?
Absolutely! When choosing olives, look for queen olives that are plump and free from dark spots. The briny flavor of pimento-stuffed queen olives is perfect for this recipe, but if you're looking for a different taste, black olives are a great alternative.
How should I store my Olive Cheese Balls after baking?
Very! Store any leftovers in an airtight container in the fridge for up to 3 days. Allow them to cool completely before sealing to maintain their delightful texture. For a quick and easy snack, simply reheat them in the oven to regain that crispy outside!
Can I freeze Olive Cheese Balls? If so, how?
Absolutely! To freeze, prepare the Olive Cheese Balls but leave them unbaked. Arrange them on a baking sheet until firm, then transfer to a freezer-safe bag or container. They can be frozen for up to 1 month. When you're ready to enjoy, bake straight from the freezer, adding a few extra minutes to the baking time.
What should I do if my dough is too sticky?
If you find your dough sticking to your hands or the mixing bowl, don't worry! Lightly flour your hands and the work surface, and knead in a little more flour, about a tablespoon at a time, until the dough reaches a soft and manageable consistency. Avoid adding too much at once, as this can make the dough tough.
Are Olive Cheese Balls suitable for gluten-free diets?
While the original recipe calls for all-purpose flour, you can adapt it for gluten-free diets. I recommend using a 1:1 gluten-free flour blend, but keep in mind it may alter the texture slightly. Make sure to check if your cheese and other ingredients are gluten-free to ensure safety for those with allergies.
How can I enhance the flavor of my Olive Cheese Balls?
To elevate the flavor, you can experiment with different cheeses, such as pepper jack for a kick, or add herbs like oregano or thyme to the dough. Serving them with a delightful dip like ranch or tzatziki can also enhance the overall taste experience!
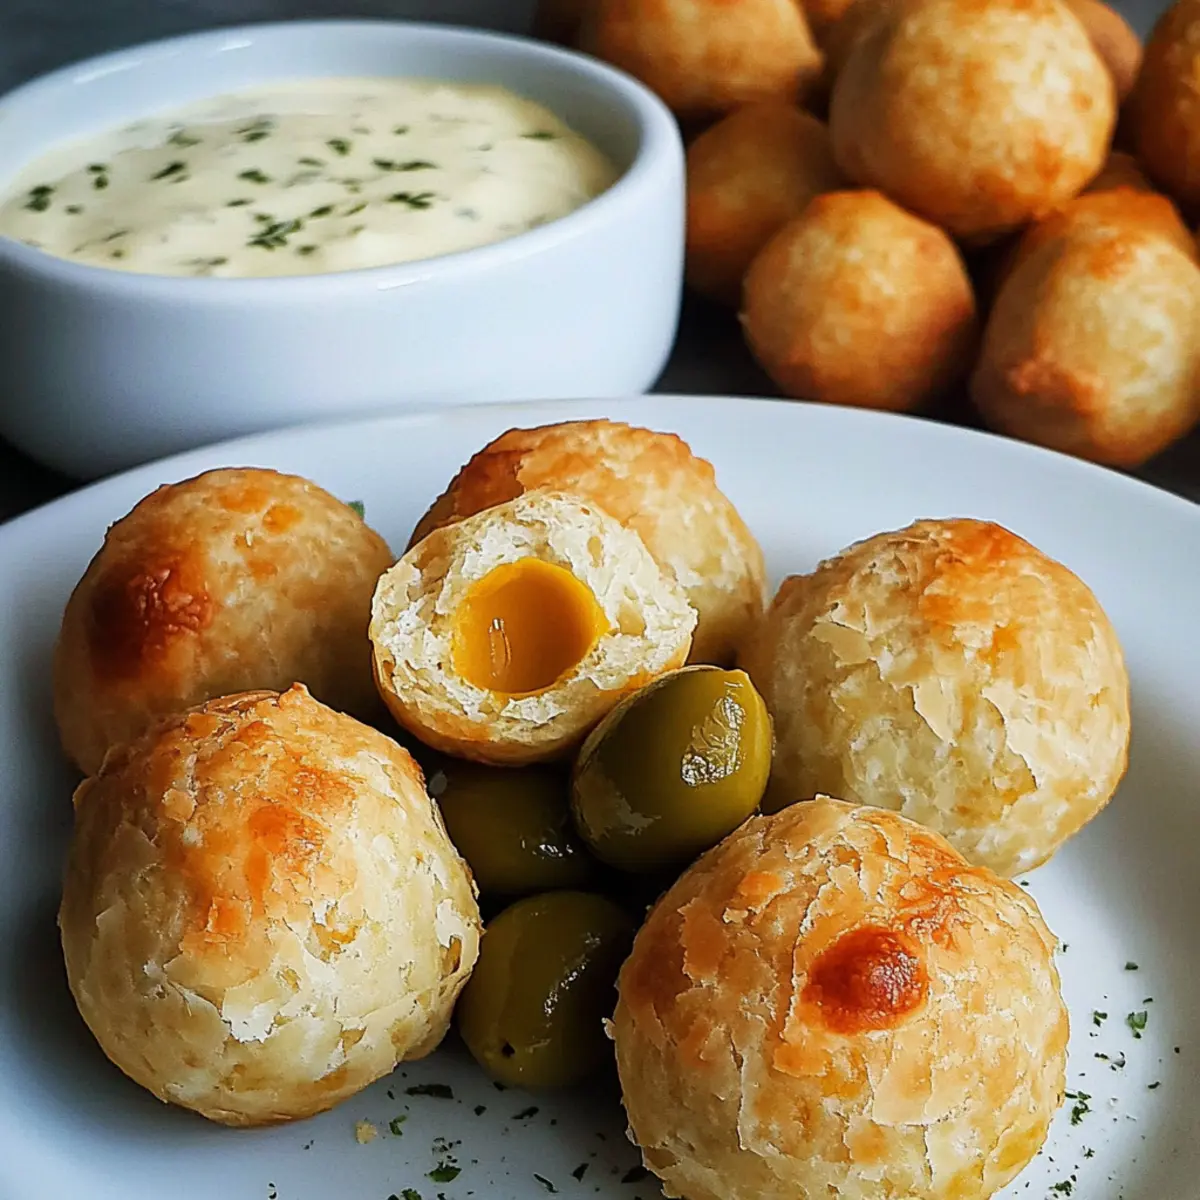
Savory Olive Cheese Balls: Easy Appetizer Everyone Loves
Ingredients
Equipment
Method
- Prepare the Olives: Drain and pat dry the olives to prevent excess moisture in the dough.
- Mix the Cheese Dough: Cream the softened butter and cheddar until smooth.
- Form the Dough: Combine flour, paprika, salt, and pepper into the cheese mixture, mixing until a dough forms.
- Portion the Dough: Divide the dough into 18 portions, rolling each into a ball and flattening slightly.
- Wrap the Olives: Place an olive in the center of each disk and mold the dough around it.
- Refrigerate the Balls: Chill for 1-2 hours on an ungreased baking sheet.
- Preheat & Bake: Preheat oven to 400°F (200°C) and bake for about 15 minutes until browned.
- Cool & Serve: Let cool for 5-10 minutes before serving warm.

Leave a Reply