
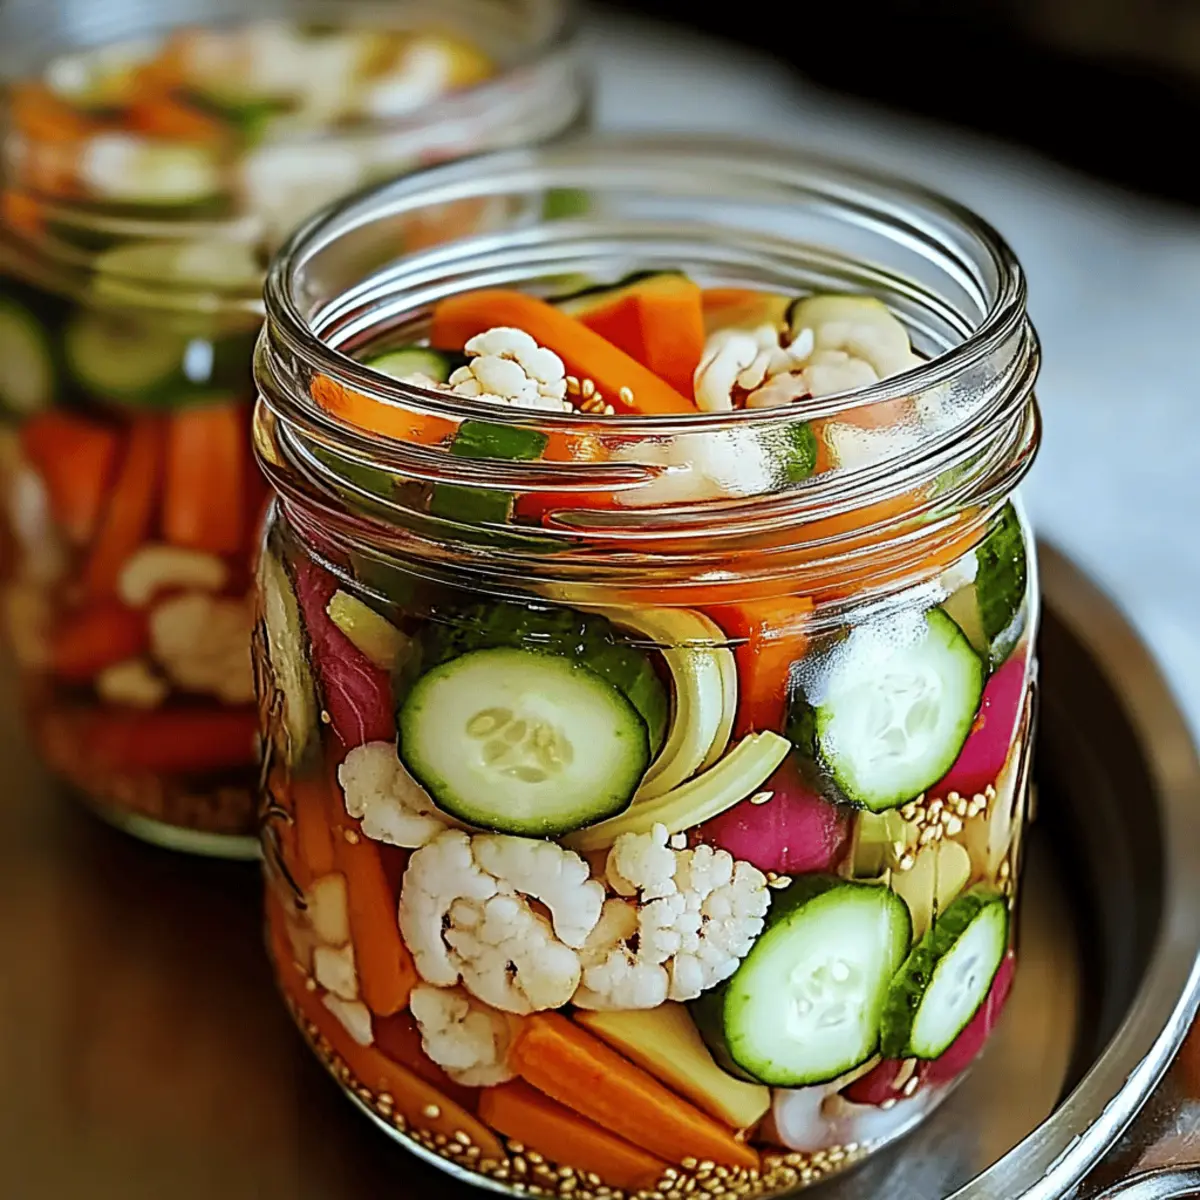
As the sun dips low and the kitchen fills with a warm, inviting aroma, I stand surrounded by crisp, colorful vegetables ready for transformation. This Easy Refrigerator Pickled Vegetables recipe is not just about preserving food; it’s an effortless way to infuse your meals with a burst of zingy flavor and satisfying crunch. With just a few simple steps, you can ditch the takeout and turn fresh produce into a wholesome snack or delightful side dish that’s ready whenever you need it. Plus, it’s customizable—feel free to play with your favorite veggies, making it a treat that your family will love. Curious how one jar can brighten up your week? Let’s dive in!
Why Should You Make Refrigerator Pickled Vegetables?
Quick and effortless, this recipe lets you whip up flavorful pickles in no time—perfect for busy weeknights. Customizable to your taste, use any vegetables you love or have on hand; the flavor possibilities are endless! Crunchy and fresh, these pickles add a delightful bite to meals or can be enjoyed straight from the jar. Healthy and versatile, they’re a great way to incorporate more veggies into your diet without the fuss. Whether as a side dish or a snack, your family will be reaching for these vibrant pickles again and again. For more easy recipes, check out my guide on homemade snacks.
Refrigerator Pickled Vegetables Ingredients
For the Vegetables
- Carrots – Adds sweetness and crunch; cut into bite-sized shapes for easy snacking.
- Cauliflower – Soaks up brine beautifully; use small florets for better flavor absorption.
- Cucumbers – Classic pickle base; can be sliced or cut into spears for freshness.
- Garlic – Whole cloves provide a mellow garlicky flavor; don’t skimp for max impact.
- Green Beans – Retain snap; trim and halve if needed for easy packing.
- Red Bell Pepper – Sweetness and color; cut into strips or chunks.
For the Brine
- Mustard Seeds – Essential for that signature pickle flavor; choose yellow or brown.
- Black Peppercorns – Adds warmth and spice to the brine.
- Red Pepper Flakes (optional) – For heat; adjust according to taste preference.
- Salt – Essential for flavor enhancement; pickling or kosher salt is preferred for dissolving.
- Sugar – Balances acidity with a touch of sweetness.
- White Vinegar – Provides tang; standard distilled vinegar with 5% acidity works best.
- Water – Dilutes the brine for perfect seasoning.
Step‑by‑Step Instructions for Easy Refrigerator Pickled Vegetables
Step 1: Prepare Vegetables
Start by thoroughly washing your fresh vegetables—carrots, cucumbers, bell peppers, cauliflower, and green beans. Slice the carrots and cucumbers into bite-sized pieces, cut the bell peppers into strips, break the cauliflower into small florets, and trim the green beans. Peel the garlic cloves, leaving them whole for maximum flavor infusion. This preparation ensures your refrigerator pickled vegetables are ready to soak up the delicious brine.
Step 2: Pack Jars
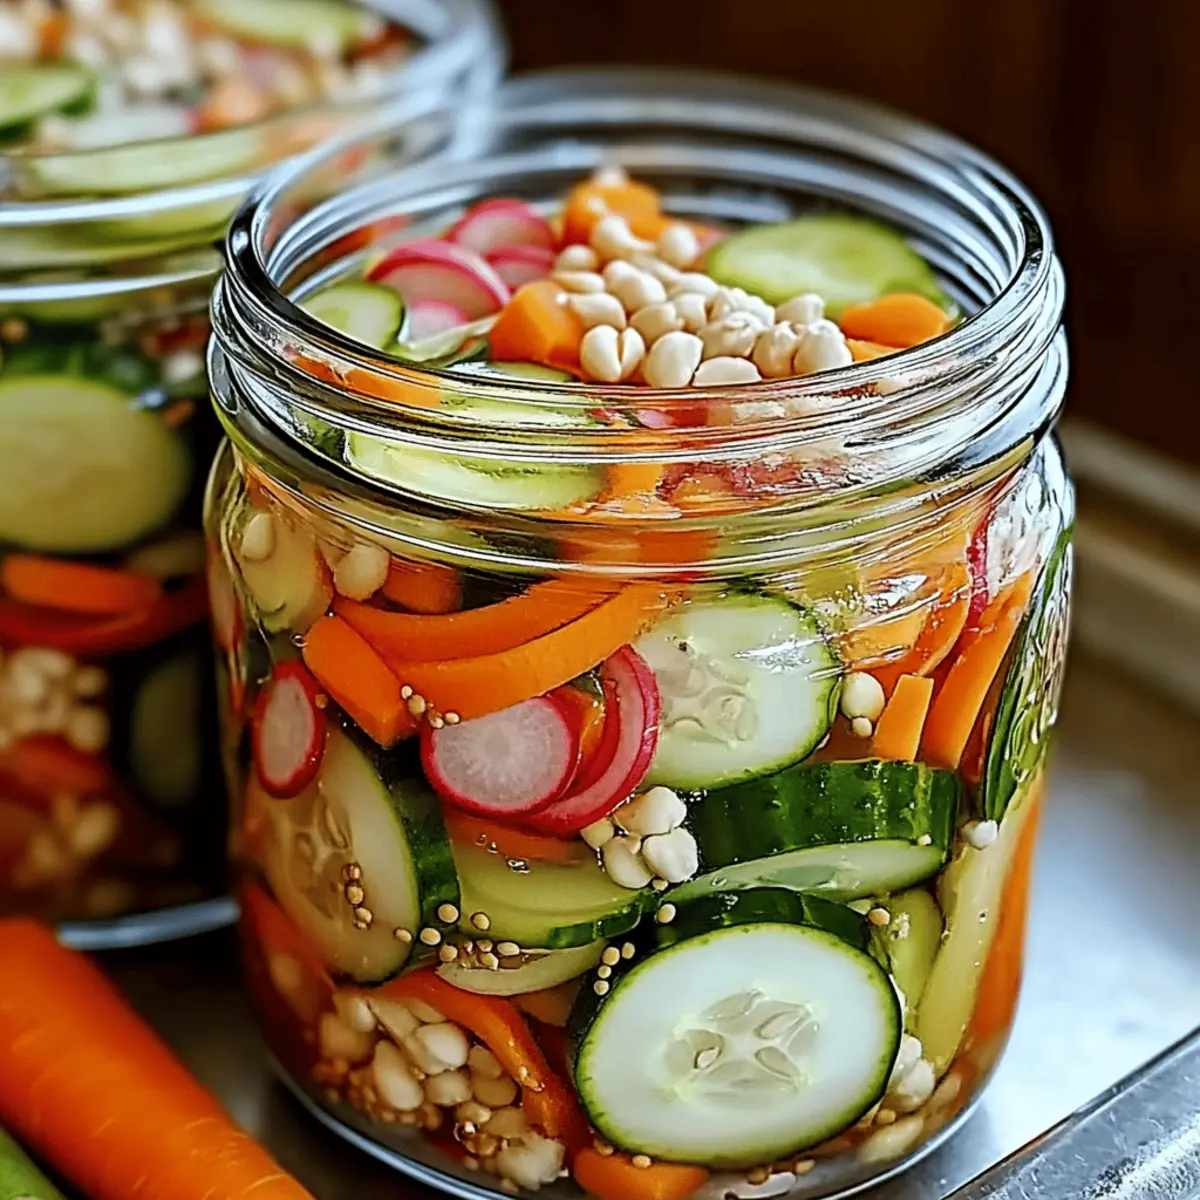
Take clean quart-sized mason jars and begin packing in your vibrant vegetables. Add garlic cloves along with mustard seeds and black peppercorns between the layers, arranging them tightly but avoiding overpacking. This distribution allows for even flavoring throughout your refrigerator pickled vegetables. Leave about an inch of space at the top of each jar.
Step 3: Make Brine
In a medium saucepan, combine one cup of water, one cup of white vinegar, and suitable amounts of salt and sugar. Heat this mixture over medium heat and stir until the salt and sugar completely dissolve—about 2-3 minutes. You want to avoid a rolling boil; a gentle simmer is ideal. The aromatic steam will fill your kitchen, hinting at the tangy goodness to come in your pickled vegetables.
Step 4: Pour Brine
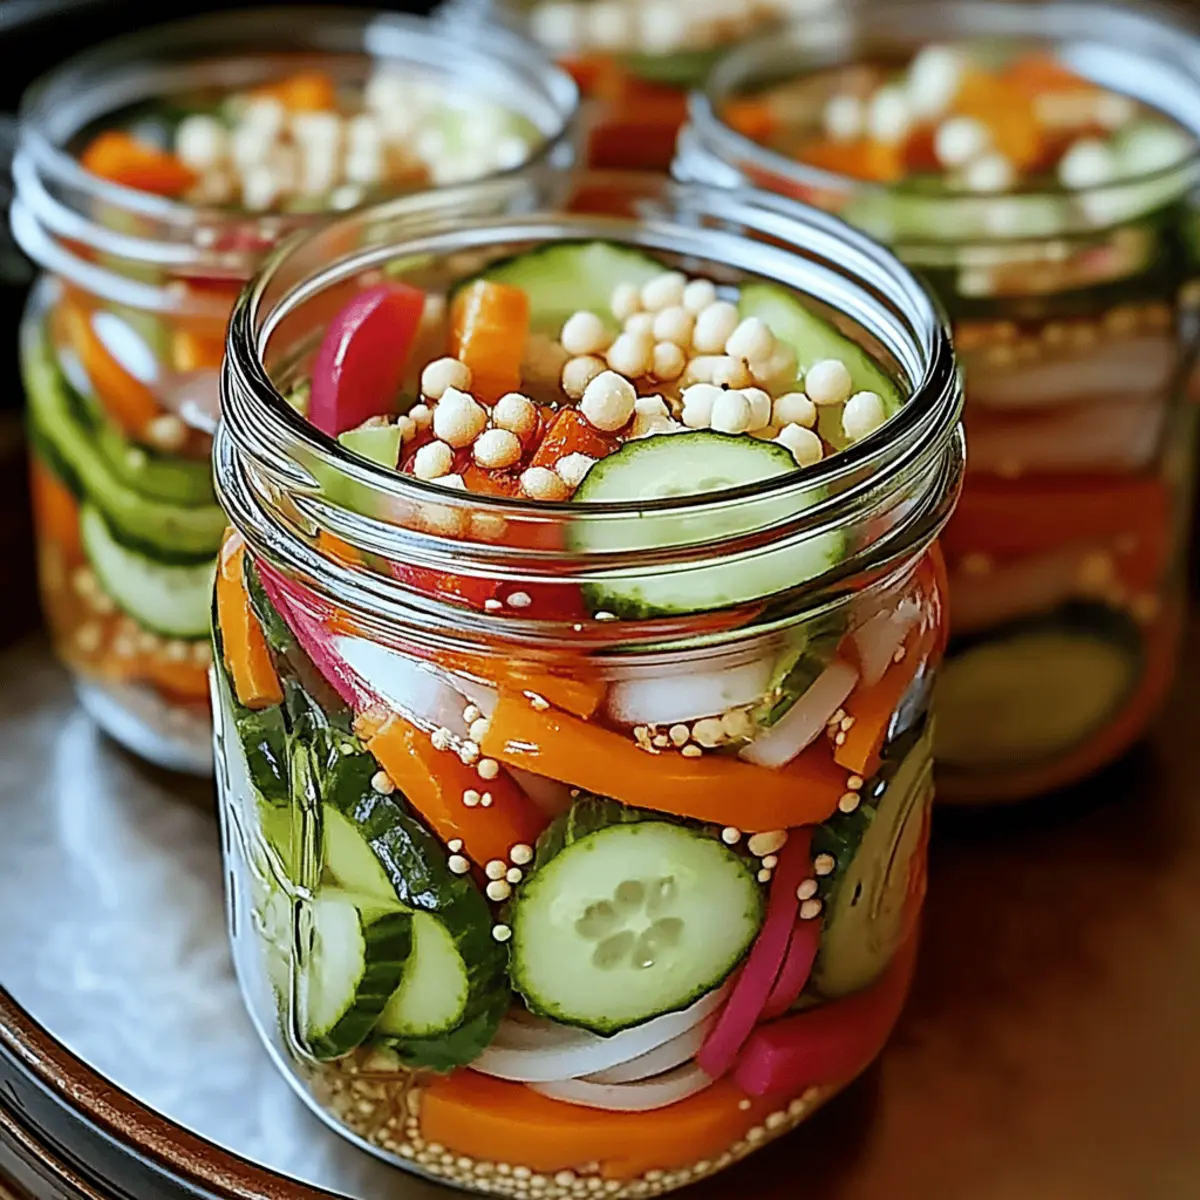
Carefully pour the hot brine over your packed vegetables in the mason jars, ensuring they are fully submerged. Leave about half an inch of headspace at the top to allow for expansion and displacement as they cool. The liquid should beautifully coat every vibrant piece, setting the stage for your refrigerator pickled vegetables to soak up all that flavor.
Step 5: Seal Jars
Wipe the tops of the jars with a clean cloth to remove any brine residue, ensuring a good seal. Secure the lids until they are fingertip-tight, which allows for any pressure to escape while still keeping the jars sealed from air. After sealing, allow the jars to cool completely at room temperature—this takes about 30-60 minutes, ensuring the vegetables aren’t cooked by the brine.
Step 6: Refrigerate and Enjoy
Once the jars are cooled, place them in the refrigerator. For the best taste experience, let your refrigerator pickled vegetables sit for at least 24 hours before diving in. This wait allows the flavors to meld and intensify, transforming fresh vegetables into a flavorful, crunchy snack or side dish that you can enjoy straight from the jar!
What to Serve with Easy Refrigerator Pickled Vegetables
As you bring the vibrant crunch of pickled veggies to your table, consider adding delightful companions to elevate the experience.
-
Creamy Avocado Toast: The buttery texture of avocado contrasts beautifully with the tangy crunch of pickles, creating a balanced bite.
-
Grilled Cheese Sandwiches: The gooeyness of melted cheese pairs wonderfully with the crisp acidity of fridge pickles, making each mouthful a flavor explosion.
-
Quinoa Salad: Tossing in pickled vegetables adds a zesty kick to this protein-packed dish, enhancing textures with each crunchy bite.
-
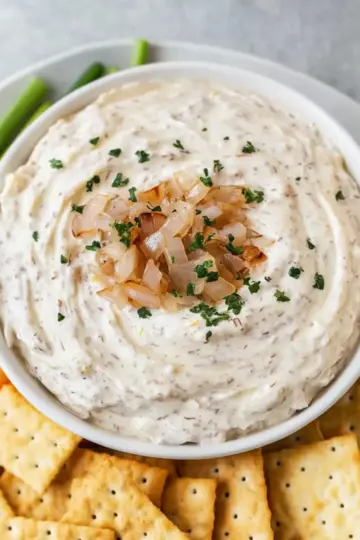
Spicy Hummus Dip: Serve your pickles alongside hummus for a tangy crunch, perfect for scooping with pita chips or crisp veggies.
-
Fish Tacos: The bright flavors of pickled veggies can brighten up a fish taco, cutting through the richness of the fish and adding a refreshing crunch.
-
Cold Cut Platter: Include pickled vegetables with assorted deli meats and cheeses to elevate your charcuterie board, adding color and a punch of flavor.
-
Chilled Gazpacho: A refreshing tomato soup topped with pickles gives an exciting texture, enhancing the soup’s chilled vibrancy.
-
Lemonade or Iced Tea: The tartness of a crisp lemonade or brewed iced tea complements the tang in refrigerator pickled vegetables beautifully.
Embrace these pairings, and watch your meals transform into delightful culinary experiences!
Expert Tips for Refrigerator Pickled Vegetables
- Choose Freshness: Ensure your vegetables are as fresh and crisp as possible. Stale or limp veggies won't provide that satisfying crunch you're after.
- Uniform Cutting: Cut all your veggies to similar sizes for even brining. Uneven pieces may lead to some being under-pickled, while others become too soft.
- Cooling Time: Allow jars to cool fully at room temperature before refrigerating. This prevents softening the vegetables in the hot brine.
- Submersion Matters: Ensure all vegetables remain fully submerged in the brine for optimal flavor preservation. If they float, use a clean weight to keep them down.
- Experiment and Customize: Don’t be afraid to try different vegetables or spices! Customizing your refrigerator pickled vegetables can lead to exciting new flavors that your family will adore.
Make Ahead Options
These Easy Refrigerator Pickled Vegetables are perfect for meal prep enthusiasts looking to save time during busy weeknights! You can wash, chop, and pack all the vegetables into jars up to 3 days in advance before adding the brine. To maintain their crispness, store them in the refrigerator until you’re ready to finish. When you’re set to enjoy, simply prepare the brine and pour it over the packed vegetables, sealing the jars once cooled. They’ll absorb all that tangy goodness, making them just as delicious even after sitting in the fridge for 24 hours. Enjoy the convenience of a vibrant, crunchy side dish waiting for you!
How to Store and Freeze Refrigerator Pickled Vegetables
Fridge: Keep your jars in the refrigerator for up to 1 month. The pickles will remain crisp and flavorful if the vegetables are fully submerged in the brine.
Airtight Sealing: Ensure jars are sealed tightly but not overly compressed; this allows for gas expansion while retaining freshness.
Serving Suggestions: Enjoy them straight from the jar or as a crunchy side. For the best taste, eat your refrigerator pickled vegetables within two weeks.
Freezer: While not ideal for freezing due to texture changes, if you must, you can freeze pickled vegetables. Just be aware they may become mushy upon thawing.
Refrigerator Pickled Vegetables: Customization Galore
Feel free to unleash your creativity and tailor this recipe to fit your taste buds or pantry with these exciting variations.
-
Dairy-Free: Substitute regular vinegar with apple cider vinegar for a slightly sweeter and fruity flavor. It pairs beautifully with the fresh crunch of the vegetables!
-
Spicy Kick: Add some sliced jalapeños or fresh ginger to your jars for an extra layer of heat and zing. This twist will make your pickles sing with an exciting flavor burst.
-
Herbes de Provence: Add a sprinkle of herbes de Provence for a fragrant, herbal twist that elevates the flavor profile. The aromatic mix will transport your taste buds to sunny fields!
-
Colorful Medley: Feel free to throw in other vegetables like radishes or bell peppers in multiple colors. The variety enhances both flavor and visual appeal, adding even more joy to your meals.
-
Sweetness Boost: For a different touch, add a bit more sugar to the brine to create a lightly sweet pickled vegetable. This is a great way to appeal to kids or those with a sweet tooth!
-
Citrus Burst: Include slices of lemon or lime in the brine for a refreshing citrus note. The bright acidity pairs perfectly with the vibrant veggies and livens up your pickles.
-
Garlic Lovers: For garlic enthusiasts, add extra cloves or even pickled garlic for a more pungent bite. Just be warned—your breath might match the strong flavors!
-
Fermentation Twist: If you’re feeling adventurous, let your jars sit at room temperature for a day before refrigerating. This fermentation will give your refrigerator pickles a probiotic boost and depth of flavor.
Remember to experiment and enjoy the delightful process of crafting your perfect batch of refrigerator pickled vegetables! For more creativity in the kitchen, check out my guide on homemade snacks, where you'll find endless inspiration!

Refrigerator Pickled Vegetables Recipe FAQs
How do I select the right vegetables for pickling?
Absolutely! Freshness matters most. Look for vegetables that are firm and without dark spots—slightly blemished ones often affect the final flavor. Carrots, cucumbers, and cauliflower are fantastic choices; their natural sweetness enhances the brine's flavor.
How should I store my pickled vegetables?
To keep your refrigerator pickled vegetables fresh, store them in the fridge, ensuring they remain fully submerged in the brine. They can last up to one month if properly sealed in clean mason jars. Remember, keeping the lid fingertip-tight will help maintain freshness.
Can I freeze refrigerator pickled vegetables?
While it’s not the best option since freezing can turn them mushy, you can certainly freeze these pickles. To do so, pack the pickled vegetables in a freezer-safe container, leaving some headspace for expansion. They’ll last around 2-3 months in the freezer, but expect a softer texture once thawed.
What if my pickled vegetables float above the brine?
Very important! If your vegetables are floating, it may affect their preservation. To solve this, use a clean weight or a small piece of parchment paper to press down the veggies below the brine. Alternatively, you can add a little more brine to ensure they are completely submerged.
Can I use different types of vinegar?
Yes, you can absolutely use different vinegar types! While the recipe calls for white vinegar, you can substitute it with apple cider vinegar for a hint of sweetness and depth. Keep in mind that using other vinegars may slightly alter the brine's appearance, but the taste will be delightful!
Are refrigerator pickled vegetables safe for pets or those with allergies?
It's wise to check with your veterinarian if you're considering sharing your refrigerator pickled vegetables with pets; the garlic and salt might not be safe for them. Additionally, ensure there are no known allergens in the vegetables or spices used when serving them to someone with dietary restrictions. Always prioritize safety first!
Refrigerator Pickled Vegetables for Crunchy, Flavorful Snacking
Ingredients
Equipment
Method
- Wash the fresh vegetables thoroughly. Slice the carrots and cucumbers, cut bell peppers into strips, break cauliflower into small florets, and trim green beans. Peel the garlic cloves.
- Pack cleaned quart-sized mason jars with the vibrant vegetables and add garlic cloves, mustard seeds, and black peppercorns in between layers.
- In a saucepan, combine water, white vinegar, salt, and sugar. Heat until the salt and sugar dissolve.
- Pour the hot brine over the packed vegetables, ensuring they are fully submerged with a little headspace.
- Wipe the tops of the jars, seal them fingertip-tight, and allow to cool at room temperature.
- Refrigerate once cooled. Let sit for at least 24 hours for best flavor.

Leave a Reply