
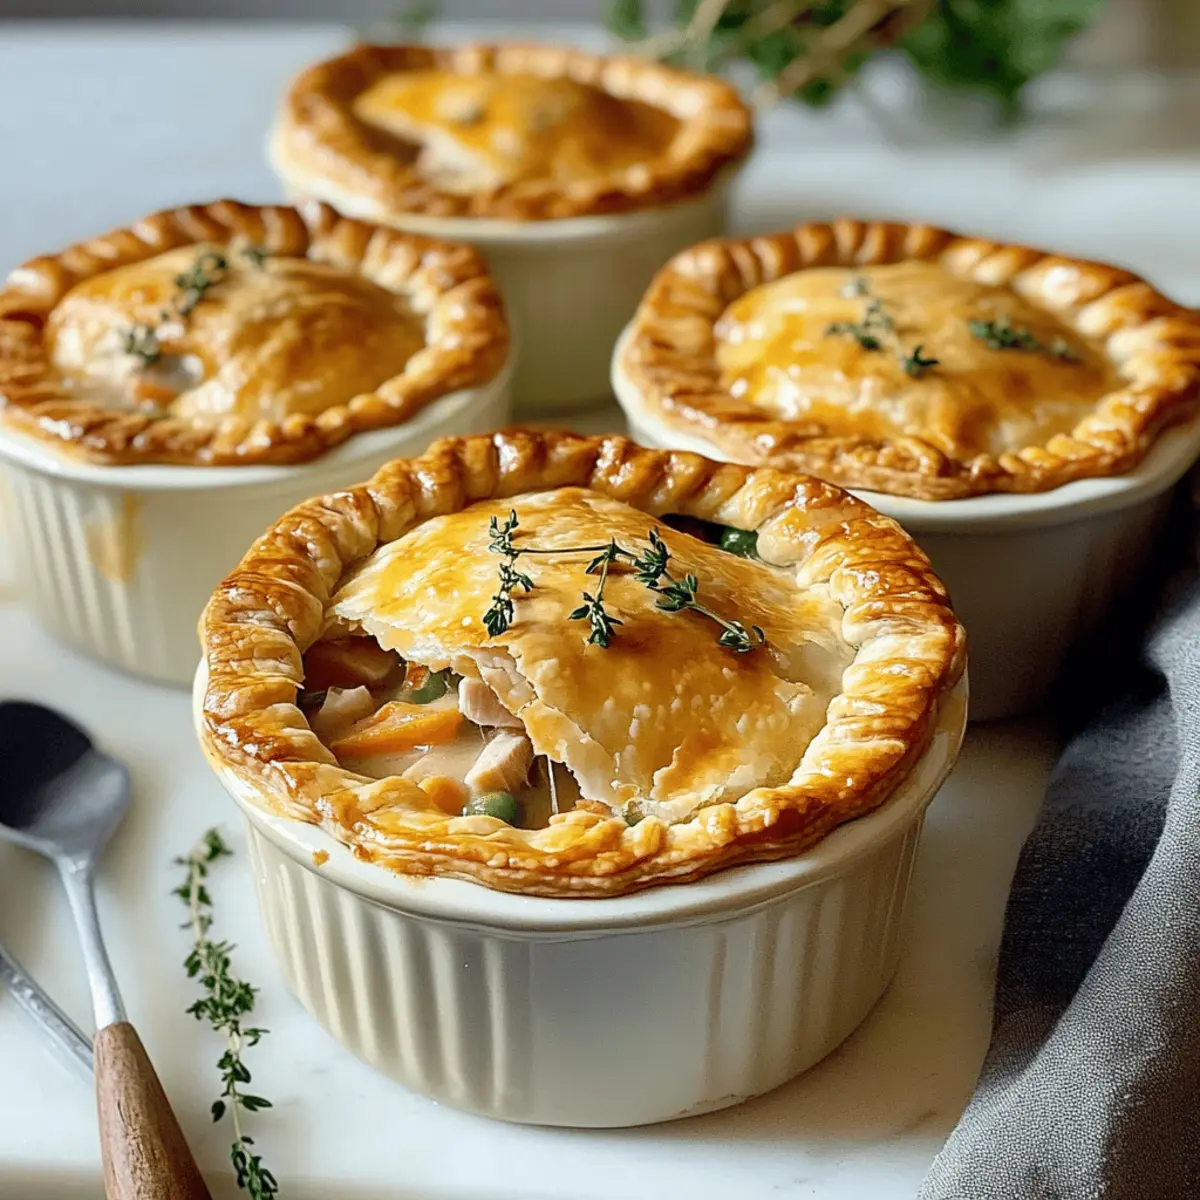
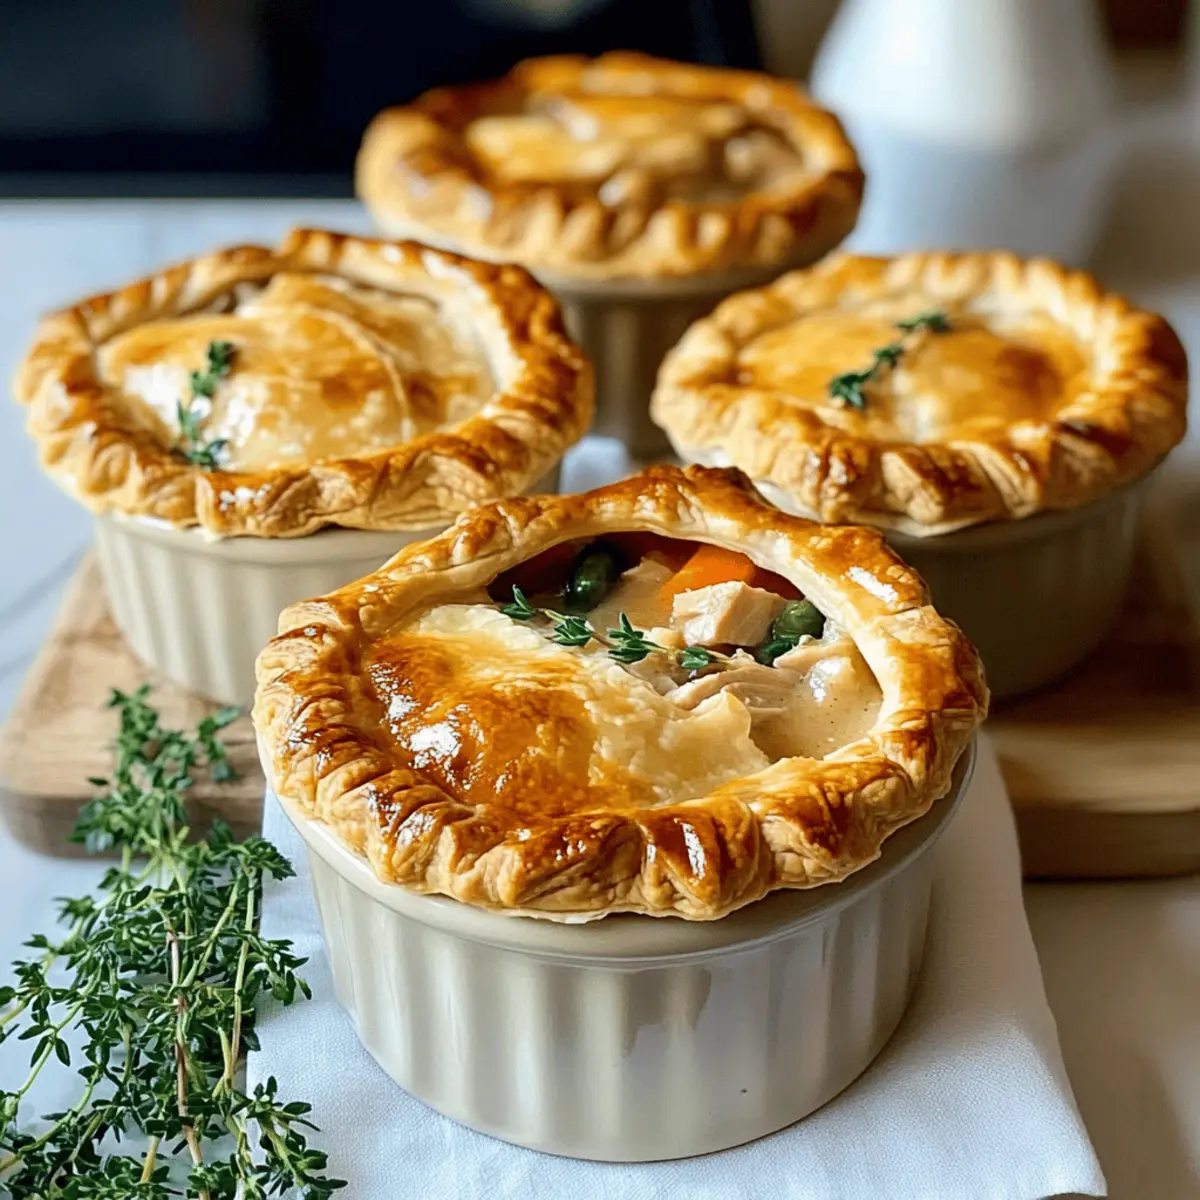
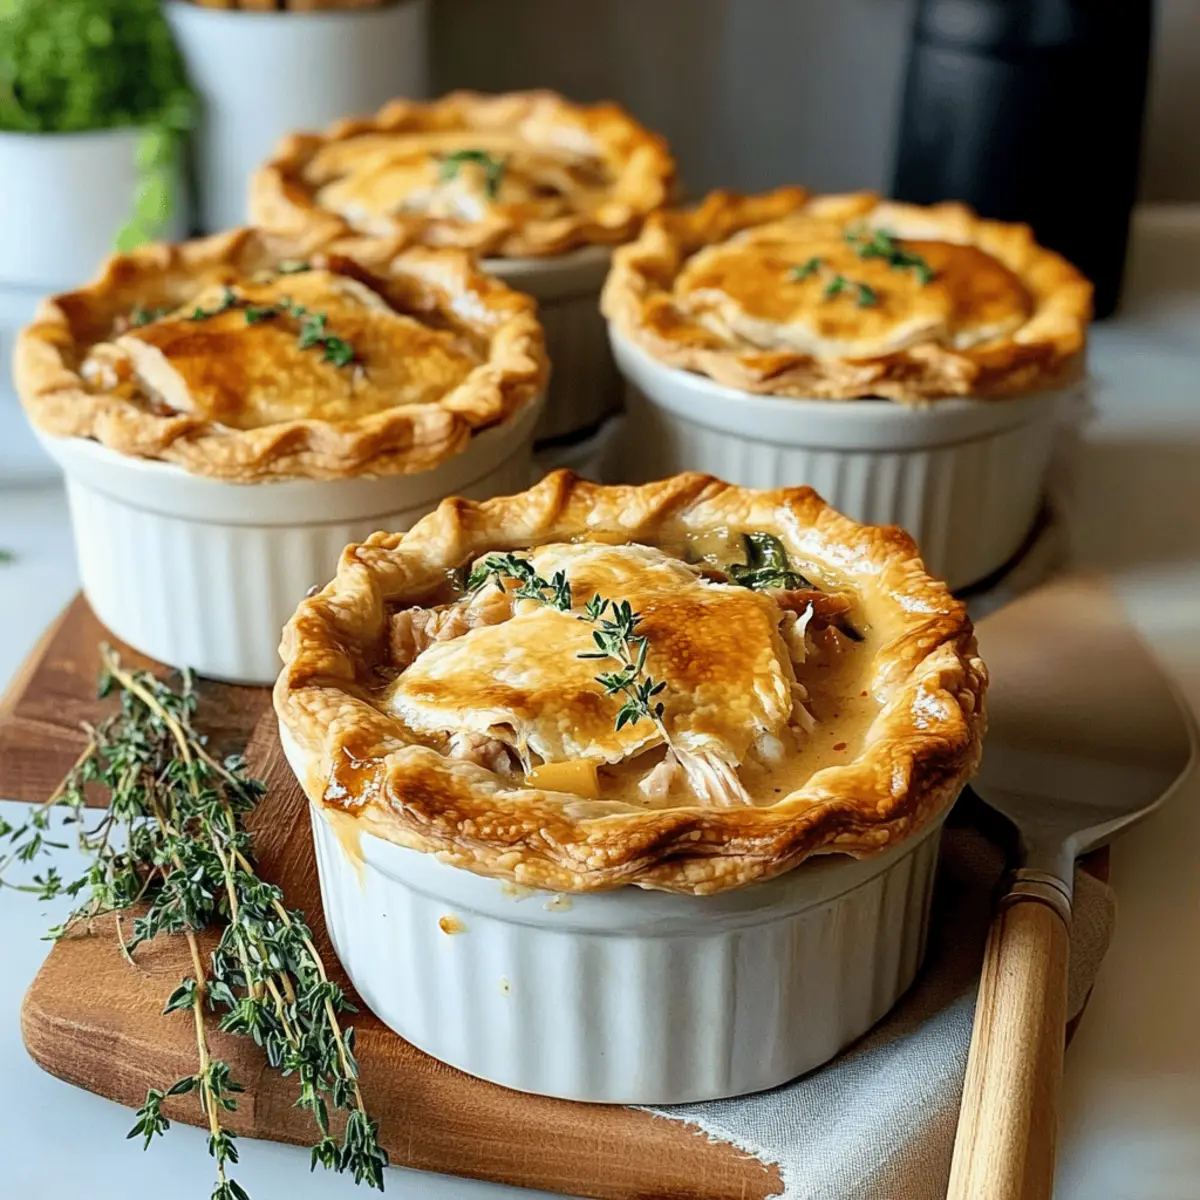
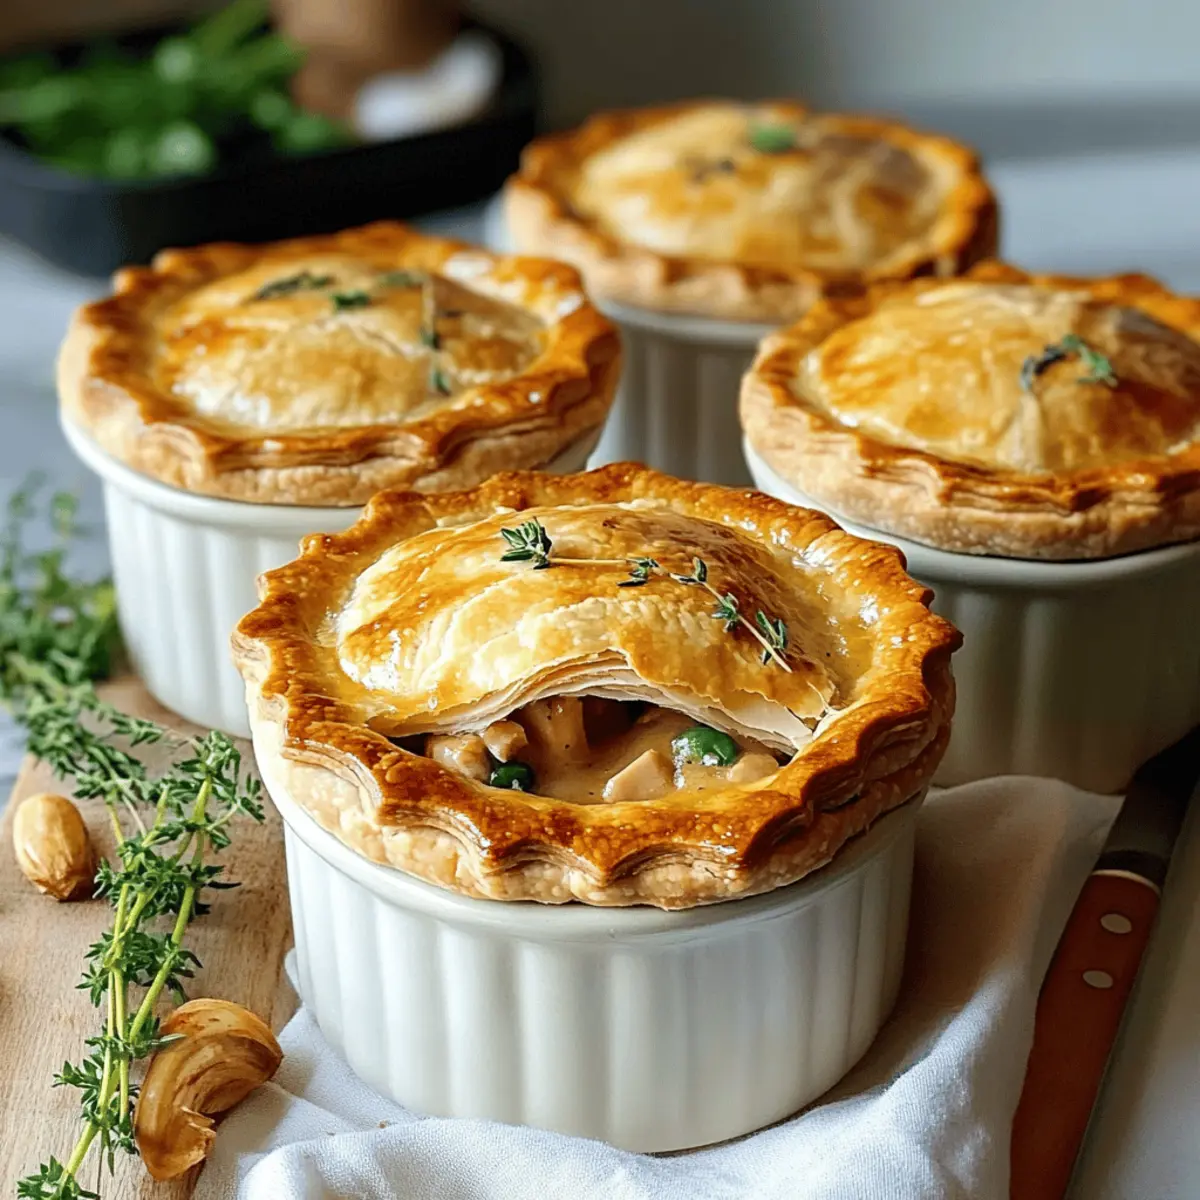
As I stood in the kitchen, the first hints of autumn danced through the air, bringing with them a craving for something warm and comforting. That’s when I decided to whip up my favorite Creamy Turkey Pot Mini Pies. These delightful little wonders are perfect for busy weeknights or cozy gatherings with friends. Not only are they incredibly versatile, allowing you to swap in whatever meats or veggies you have on hand, but they’re also delightfully easy to make. With a flaky, golden crust enveloping a rich, creamy filling, each bite is a nostalgic hug that warms the soul. Have you ever tried a mini pie so comforting that it instantly transported you back to simpler times? Let’s dive into this recipe together and explore the endless variations you can create!
Why Are Mini Pies So Irresistible?
Comforting Warmth: Every bite of these Creamy Turkey Pot Mini Pies brings back memories of home-cooked goodness, making them perfect for chilly evenings.
Versatility at Its Best: They're easily customizable! Swap turkey for shredded chicken or beef, or go vegetarian with lentils and veggies.
Effortless Preparation: Perfect for busy nights, you can whip them up quickly, especially if you prep the filling ahead of time.
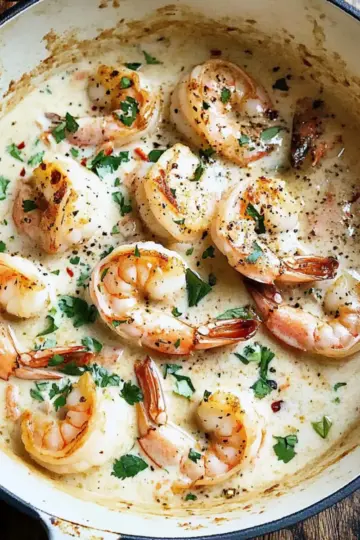
Crowd-Pleasing Delight: Serve them at gatherings, and watch everyone light up! Pair with a simple side salad for a complete meal, just like your favorite One Pot Cheeseburger or Mushroom Chicken.
Nostalgic Comfort: Enjoy the heartwarming flavors reminiscent of childhood favorites, making them a go-to for family dinners. Dive in and discover your new favorite recipe!
Creamy Turkey Pot Mini Pies Ingredients
For the Crust
• Mini Pie Crust – Use store-bought for convenience or make fresh for a homemade touch that elevates your Creamy Turkey Pot Mini Pies.
For the Filling
• Turkey – The star ingredient that provides heartiness; feel free to swap it for chicken, beef, or lentils for a vegetarian twist.
• Carrots – Adds natural sweetness and a pop of color; substitute with peas, corn, or mushrooms if desired.
• Peas – Bring a slight sweetness; other veggies can also be used based on what you have on hand.
• Cream – Offers that rich, velvety texture; use low-fat cream for a lighter option without compromising flavor.
• Herbs (e.g., thyme, parsley) – Fresh herbs boost flavor; adjust based on your pantry or personal preference.
• Cheese – A delightful optional sprinkle for added flavor and a beautifully browned crust.
For Assembly
• Egg Wash (optional) – Brush on top crust for a golden finish during baking, enhancing the visual appeal.
• Seasonings (salt and pepper) – Essential for bringing out flavors; season to your taste before baking.
Step‑by‑Step Instructions for Creamy Turkey Pot Mini Pies
Step 1: Prepare the Filling
In a large skillet, heat a drizzle of olive oil over medium heat. Add diced turkey, chopped carrots, and peas, cooking for about 5-7 minutes until the turkey is no longer pink and the veggies are tender. Stir in the cream and fresh herbs, then season with salt and pepper to taste. Allow this comforting mixture to cool slightly while you preheat your oven.
Step 2: Preheat the Oven
Preheat your oven to 400°F (200°C). As the oven warms up, prepare your mini pie dishes by lightly greasing them with butter or non-stick spray. If you’re using homemade crust, roll it out to about ¼ inch thickness on a lightly floured surface, then cut circles slightly larger than the diameter of the mini pie dishes to form the base.
Step 3: Assemble the Pies
Carefully place the rolled crust into each pie dish, pressing it gently to fit. Spoon the cooled creamy turkey filling into each crust, filling them just below the rim. Place another round of crust on top for each mini pie, pinching the edges to seal them well. Don’t forget to cut several small slits in the top crust to create steam vents—this ensures your pies bake evenly and avoids overflow!
Step 4: Bake the Mini Pies
Place the assembled Creamy Turkey Pot Mini Pies in your preheated oven and bake for 25-30 minutes. Keep an eye on them; they are ready when the tops are golden brown and the filling is bubbling slightly from the steam vents. This step fills your kitchen with comforting aromas that signal deliciousness is on the way!
Step 5: Cool & Serve
Once baked to perfection, remove the mini pies from the oven and let them cool for about 5 minutes before serving. This brief cooling period allows the filling to settle, making each pie easier to slice. Serve them warm and enjoy the delightful flavors that make these Creamy Turkey Pot Mini Pies a crowd-pleasing comfort food!
Creamy Turkey Pot Mini Pies Variations
Feel free to get creative and customize your Creamy Turkey Pot Mini Pies to suit your tastes and dietary preferences!
-
Dairy-Free: Substitute heavy cream with coconut cream, and use dairy-free butter for the crust for a creamy, non-dairy twist.
-
Vegetarian: Replace turkey with cooked lentils or chickpeas, and add extra veggies like zucchini and bell peppers for a hearty filling.
-
Spicy Kick: Stir in red or green chili flakes into the filling for a warm kick that elevates the flavors. It’s a delightful way to spice up a comforting classic!
-
Herb Twist: Experiment with different herbs like rosemary or dill for a unique flavor profile that dances on the palate. This can transform your mini pies into a gourmet experience!
-
Mexican Flair: Add taco seasoning to the filling and incorporate corn, black beans, and diced jalapeños for a south-of-the-border flavor that’s always a hit.
-
Cheesy Goodness: Mix in shredded cheese into your filling before assembling for an extra layer of creamy texture and flavor goodness in every bite.
-
Mushroom Medley: For an umami boost, sauté mushrooms with the turkey or veggies, creating a rich flavor that pairs beautifully with the creamy filling.
-
Make-Ahead Magic: Prepare your filling a day ahead and store it in the fridge. This not only saves time but allows flavors to meld together beautifully, much like in my beloved Creamy Mushroom Chicken.
With these variations, your Creamy Turkey Pot Mini Pies can be a canvas for all your culinary creativity! Enjoy tailoring them to fit your family’s favorites.
Make Ahead Options
These Creamy Turkey Pot Mini Pies are perfect for meal prep, saving you valuable time on busy weeknights! You can prepare the turkey filling up to 24 hours in advance, allowing it to chill in the refrigerator to develop flavors. Once cooled, store the filling in an airtight container to maintain its quality. If you're looking to prep even further ahead, you can assemble the pies completely and freeze them for up to 3 months. When you're ready to serve, simply bake from frozen, adding about 10-15 minutes to the baking time. This way, you can enjoy comforting, homemade pies anytime, just as delicious as when freshly made!
What to Serve With Creamy Turkey Pot Mini Pies
Warm your table with these delightful ideas that will make your meal unforgettable.
-
Simple Side Salad: A fresh, crisp salad with mixed greens and a light vinaigrette contrasts beautifully with the richness of the mini pies.
-
Steamed Broccoli: Tender, steamed broccoli provides a vibrant splash of color and a nutritious balance, elevating your cozy dinner.
-
Garlic Bread: Crunchy garlic bread on the side invites you to soak up every last creamy bite while adding a satisfying crunch.
-
Mashed Potatoes: Creamy mashed potatoes have a velvety texture that complements the crispy mini pies, creating a harmonious mouthfeel.
-
Coleslaw: The crunchy cabbage slaw offers a delightful peppery crunch that cuts through the creamy filling and adds a zing to each bite.
-
Lightly Grilled Asparagus: These bright green spears lend a touch of elegance and a slightly charred flavor that pairs most deliciously with your mini pies.
-
Warm Apple Crisp: For a sweet ending, this warm dessert’s spiced flavors resonate with the comfort of those mini pies, leaving taste buds dancing with joy.
Storage Tips for Creamy Turkey Pot Mini Pies
Fridge: Store cooked mini pies in an airtight container for up to 3 days to maintain their delicious flavors and tempting textures.
Freezer: Unbaked Creamy Turkey Pot Mini Pies can be frozen for up to a month. Wrap tightly in plastic wrap and foil before freezing for optimal freshness.
Reheating: When ready to enjoy, bake frozen pies straight from the freezer, adding an extra 10-15 minutes of baking time until golden and bubbly.
Cooling: Allow the mini pies to cool completely before storing; this helps prevent excess moisture and keeps the crust crisp.
Expert Tips for Creamy Turkey Pot Mini Pies
- Avoid Overfilling: Always fill your mini pies just below the rim to prevent spills during baking. Too much filling can lead to a messy oven!
- Cool the Filling: Make sure your creamy turkey filling has cooled slightly before assembling; this helps prevent a soggy bottom crust.
- Perfect Ventilation: Use a sharp knife to cut steam vents into the top crust. This allows steam to escape and ensures even cooking of your Creamy Turkey Pot Mini Pies.
- Golden Brown Crust: Brush the top crust with an egg wash for that beautiful golden finish. It elevates not just the look, but the taste too!
- Prep Ahead: Consider making the filling a day in advance. Store it in the fridge, and assembly will be a breeze on a busy day!
Creamy Turkey Pot Mini Pies Recipe FAQs
What type of turkey should I use for the filling?
Absolutely! Use cooked, shredded turkey for the best flavor and texture. You can also utilize leftover turkey from a holiday meal or rotisserie chicken. If you prefer beef or a vegetarian option, shredded beef or lentils work beautifully, giving you the versatility to cater to any dietary preference.
How should I store leftover mini pies?
Very important! Store cooked Creamy Turkey Pot Mini Pies in an airtight container in the fridge for up to 3 days. Make sure that they cool completely before sealing to keep that flaky crust extra tasty. For longer storage, they can be frozen—see the next question for detailed instructions.
Can I freeze the mini pies? How do I do it?
Yes, indeed! To freeze unbaked mini pies, wrap them tightly in plastic wrap, followed by aluminum foil, to prevent freezer burn. They can be stored for up to a month. When you're ready to bake them, remove them from the freezer and place them directly in the preheated oven—just add an extra 10-15 minutes to the baking time. This way, you’ll have a comforting meal available at a moment’s notice!
What should I do if the filling is too runny?
No worries, this happens to the best of us! If your filling turns out runny, simply return it to the stove and simmer on low heat for a few more minutes until it thickens up. Stir frequently to avoid sticking. Adding a bit of cornstarch diluted in cold water can also help bind the mixture if it’s particularly watery. Make sure to cool it before filling the pies to maintain that perfect crust!
Can I make these mini pies gluten-free?
Absolutely! If you want to cater to gluten sensitivities, you can substitute regular pie crust with gluten-free pie crust available at most grocery stores. Additionally, ensure your filling ingredients, such as cream and seasonings, are also gluten-free to make delicious Creamy Turkey Pot Mini Pies without gluten.
Are there any dairy-free alternatives for the filling?
Yes, for a dairy-free version, you can replace the cream with coconut milk, almond milk, or cashew cream. These alternatives provide a rich flavor while keeping your dish creamy. Always make sure to check labels for any hidden dairy ingredients when selecting your substitutes!
Creamy Turkey Pot Mini Pies for Cozy Comfort Food Nights
Ingredients
Equipment
Method
- In a large skillet, heat olive oil over medium heat. Add diced turkey, chopped carrots, and peas, cooking for about 5-7 minutes until turkey is no longer pink.
- Stir in the cream and fresh herbs. Season with salt and pepper to taste. Allow to cool slightly while preheating your oven to 400°F (200°C).
- Prepare mini pie dishes by greasing them with butter or non-stick spray. Roll out the crust to about ¼ inch thickness and cut circles slightly larger than the pies.
- Carefully place the rolled crust into each pie dish, fill with the creamy turkey mixture, and place another round of crust on top, sealing edges well. Cut small slits in the top crust for steam.
- Bake for 25-30 minutes until the tops are golden brown and filling is bubbling. Let cool for 5 minutes before serving.

Leave a Reply