
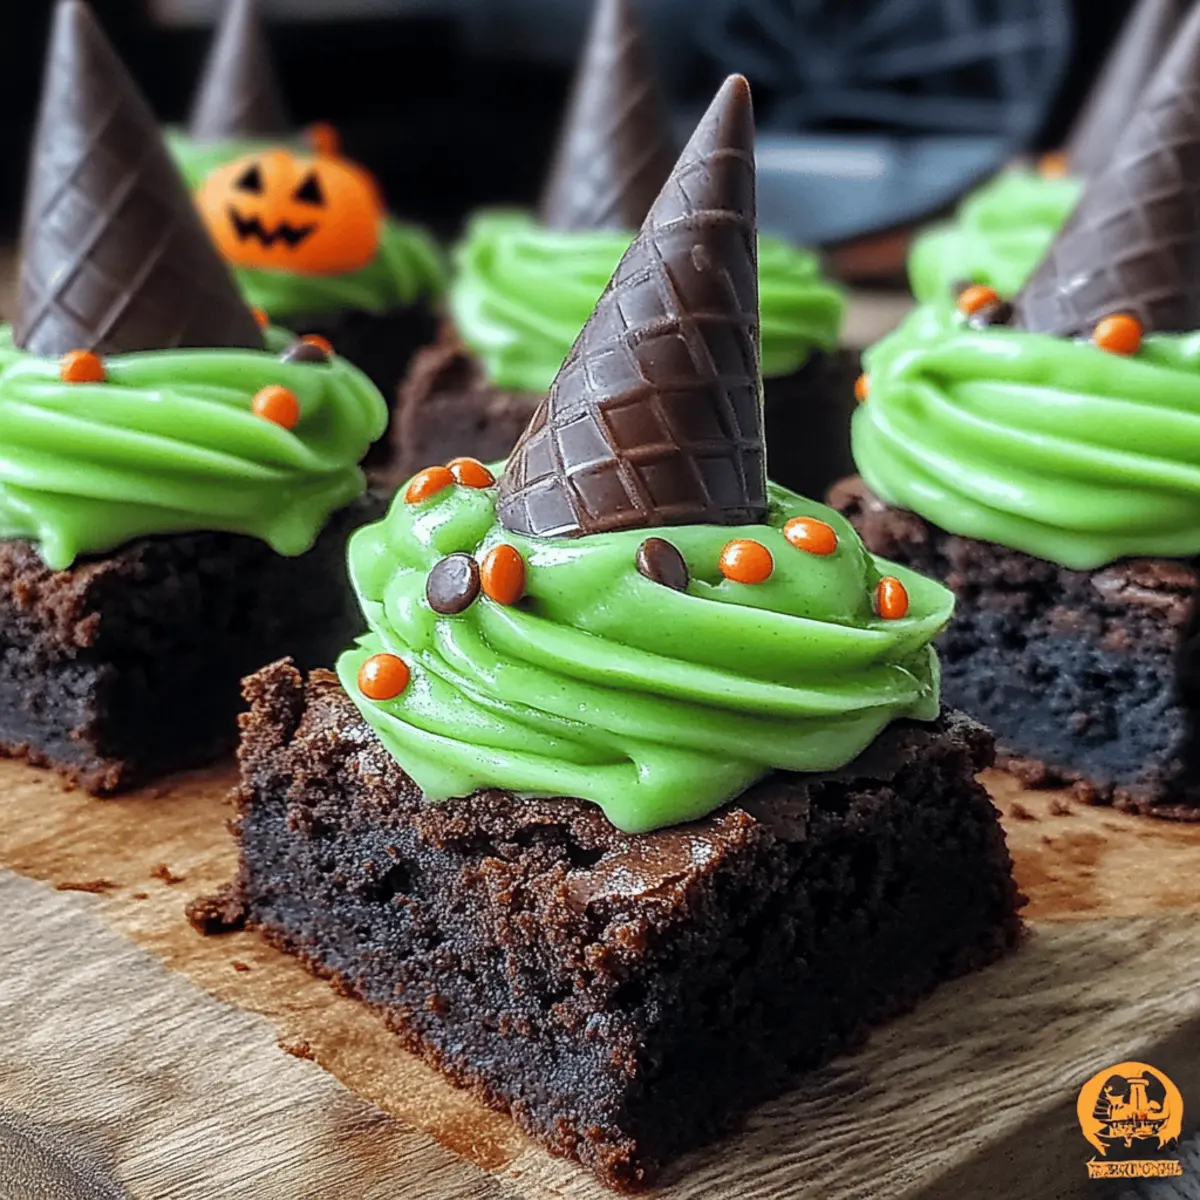
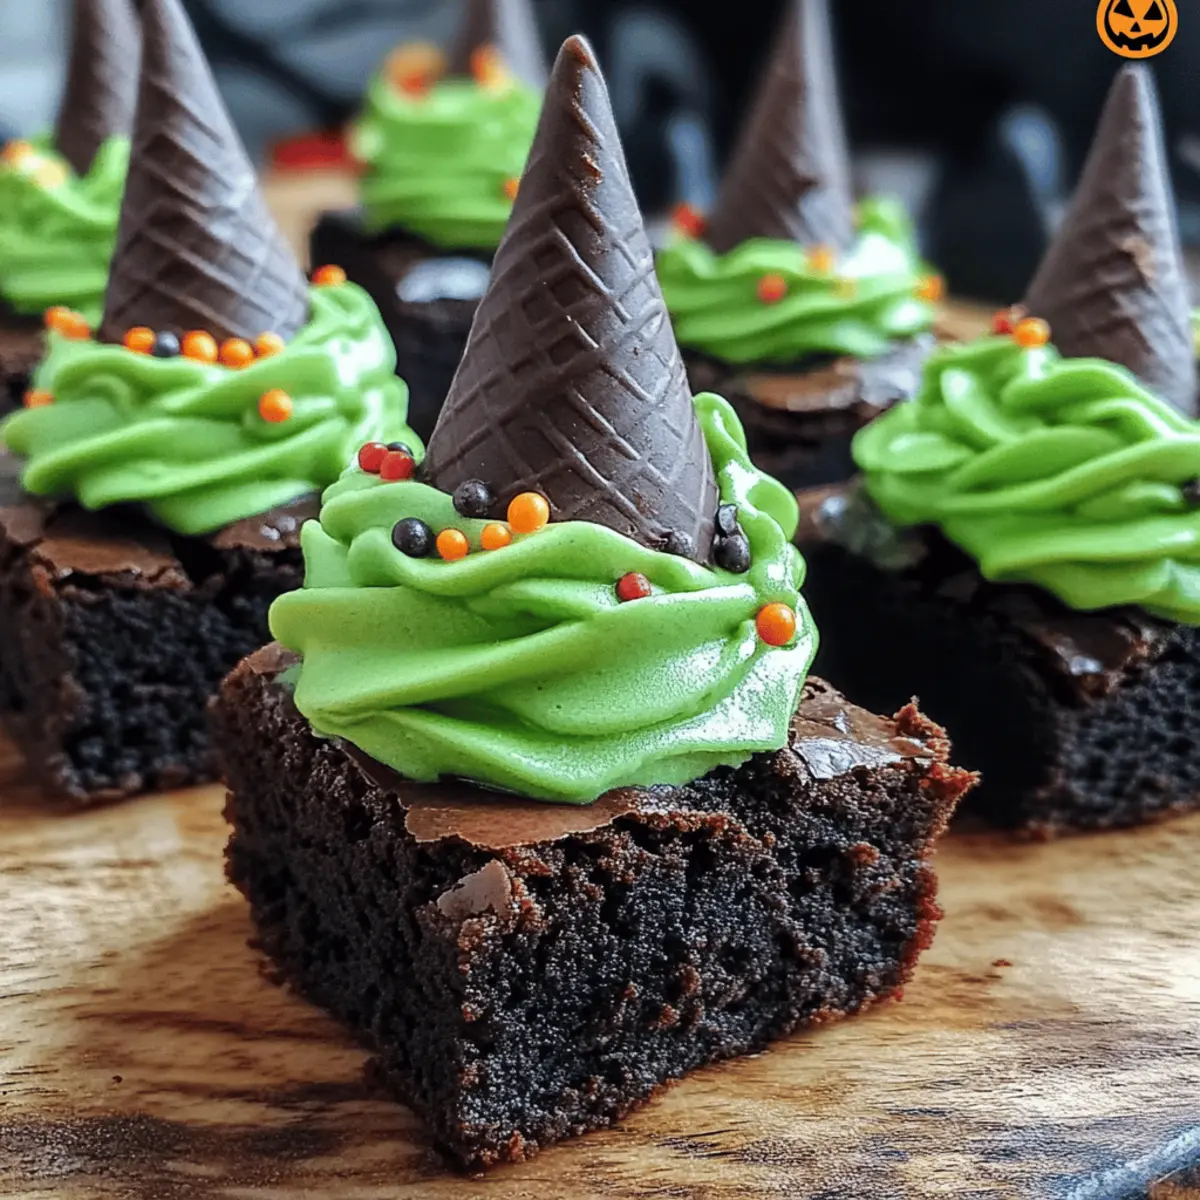
As the spooky season approaches, my kitchen transforms into a cauldron of creativity, bubbling with ideas. There’s something deeply satisfying about crafting festive treats that make Halloween celebrations memorable. Enter the Wicked Witch Hat Brownies! These delightful desserts are not just a feast for your taste buds; they bring a playful flair to any gathering with their chocolate ice cream cone hats adorned in bright green frosting. With a recipe that’s as simple as it is fun, you'll spend less time fussing and more time indulging in rich, fudgy brownies that everyone will adore. Plus, they can easily be tailored to fit gluten-free or vegan diets, ensuring all your guests are included in the spooktacular fun. So, are you ready to whip up some wickedly delightful treats that will enchant both kids and adults alike?
Why are these brownies a Halloween hit?
Delightful, these Wicked Witch Hat Brownies offer a whimsical twist on traditional Halloween treats, making them the perfect conversation starters at any party. Easy to customize, the recipe allows for gluten-free and vegan options, ensuring everyone can enjoy the fun. Visually stunning, the combination of chocolate cones and vibrant frosting adds a festive flair, while their rich, fudgy texture keeps your guests coming back for more. Whether served at school events or cozy family gatherings, they’re bound to steal the show! For more festive ideas, check out my Oatmeal Cookies Chewy and Chocolate Zucchini Cake.
Wicked Witch Hat Brownies Ingredients
• Get ready to create spooky magic in your kitchen with these delightful brownies!
For the Brownies
- Unsalted Butter (1 cup / 225g) – Adds moisture and richness; margarine works well for dairy-free options.
- Granulated Sugar (2 cups / 400g) – Sweetens the brownies; brown sugar can be substituted for a deeper flavor.
- Eggs (4 large) – Provides structure and moisture; for vegan versions, replace with flax eggs.
- Vanilla Extract (1 teaspoon) – Enhances flavor; pure vanilla is preferred for the best taste.
- All-Purpose Flour (1 cup / 125g) – Provides structure; gluten-free flour blend can be a good substitute.
- Unsweetened Cocoa Powder (1 cup / 90g) – Gives a rich chocolate flavor; Dutch-processed cocoa can also work here.
- Salt (½ teaspoon) – Balances sweetness; can be omitted for low-sodium diets.
- Baking Powder (½ teaspoon) – Helps the brownies rise; none needed for denser brownies.
For the Witch Hats
- Chocolate Ice Cream Cones (12) – Represents the whimsical witch hats; waffle cones can be an alternative.
For the Frosting
- Powdered Sugar (2 cups / 300g) – Provides sweetness to the frosting; can substitute with a sugar alternative.
- Milk (¼ cup / 60ml) – Adds creaminess to the frosting; almond milk works for a dairy-free version.
- Green Food Coloring – For that vibrant frosting color; natural plant-based colorants can be used as a substitute.
- Halloween-themed Sprinkles – To add festive decoration; use any sprinkles of choice for a spooky finish.
These Wicked Witch Hat Brownies are sure to be a hit at any Halloween celebration!
Step‑by‑Step Instructions for Wicked Witch Hat Brownies
Step 1: Prepare Brownie Batter
Begin by melting 1 cup of unsalted butter in a medium saucepan over low heat, stirring until smooth. Once melted, remove from heat and mix in 2 cups of granulated sugar until well combined. Let the mixture cool for about 10 minutes, then add 4 large eggs one at a time, stirring vigorously after each addition. Finish by stirring in 1 teaspoon of vanilla extract.
Step 2: Combine Dry Ingredients
In a separate bowl, whisk together 1 cup of all-purpose flour, 1 cup of unsweetened cocoa powder, ½ teaspoon of baking powder, and ½ teaspoon of salt. Ensure that the dry ingredients are fully blended, which helps distribute the leavening agent evenly. This step is crucial for achieving the perfect brownie texture in your Wicked Witch Hat Brownies.
Step 3: Mix Batter
Gradually add the dry ingredient mixture to the wet ingredients, gently folding with a spatula until just combined. Be careful not to overmix, as this can make the brownies dense. The batter should appear rich, thick, and glossy, with no visible dry flour remaining.
Step 4: Bake
Preheat your oven to 350°F (175°C) and grease a 9x13 inch baking pan or line it with parchment paper. Pour the brownie batter into the prepared pan, spreading it evenly. Bake in the preheated oven for 25-30 minutes, or until a toothpick inserted in the center comes out with moist crumbs. This indicates that they’re perfectly fudgy.
Step 5: Cool Brownies
Once baked, remove the pan from the oven and let the brownies cool in the pan on a wire rack for at least 30 minutes. This step is vital to ensure that they hold together when cut into squares. Allow them to cool completely before proceeding with the frosting and hat assembly.
Step 6: Prepare Hats
While the brownies cool, prepare your witch hats by dipping the tops of 12 chocolate ice cream cones in melted chocolate. Roll the dipped edges in colorful Halloween-themed sprinkles for an extra festive touch. Allow the cones to set for a few minutes on parchment paper while you make the frosting.
Step 7: Frost Brownies
In a mixing bowl, combine 2 cups of powdered sugar, ¼ cup of milk, and a few drops of green food coloring. Mix until smooth and fluffy, achieving a bright green hue. Spread this delightful green frosting generously over the cooled brownies, creating a fun and vibrant base for your witch hats.
Step 8: Decorate
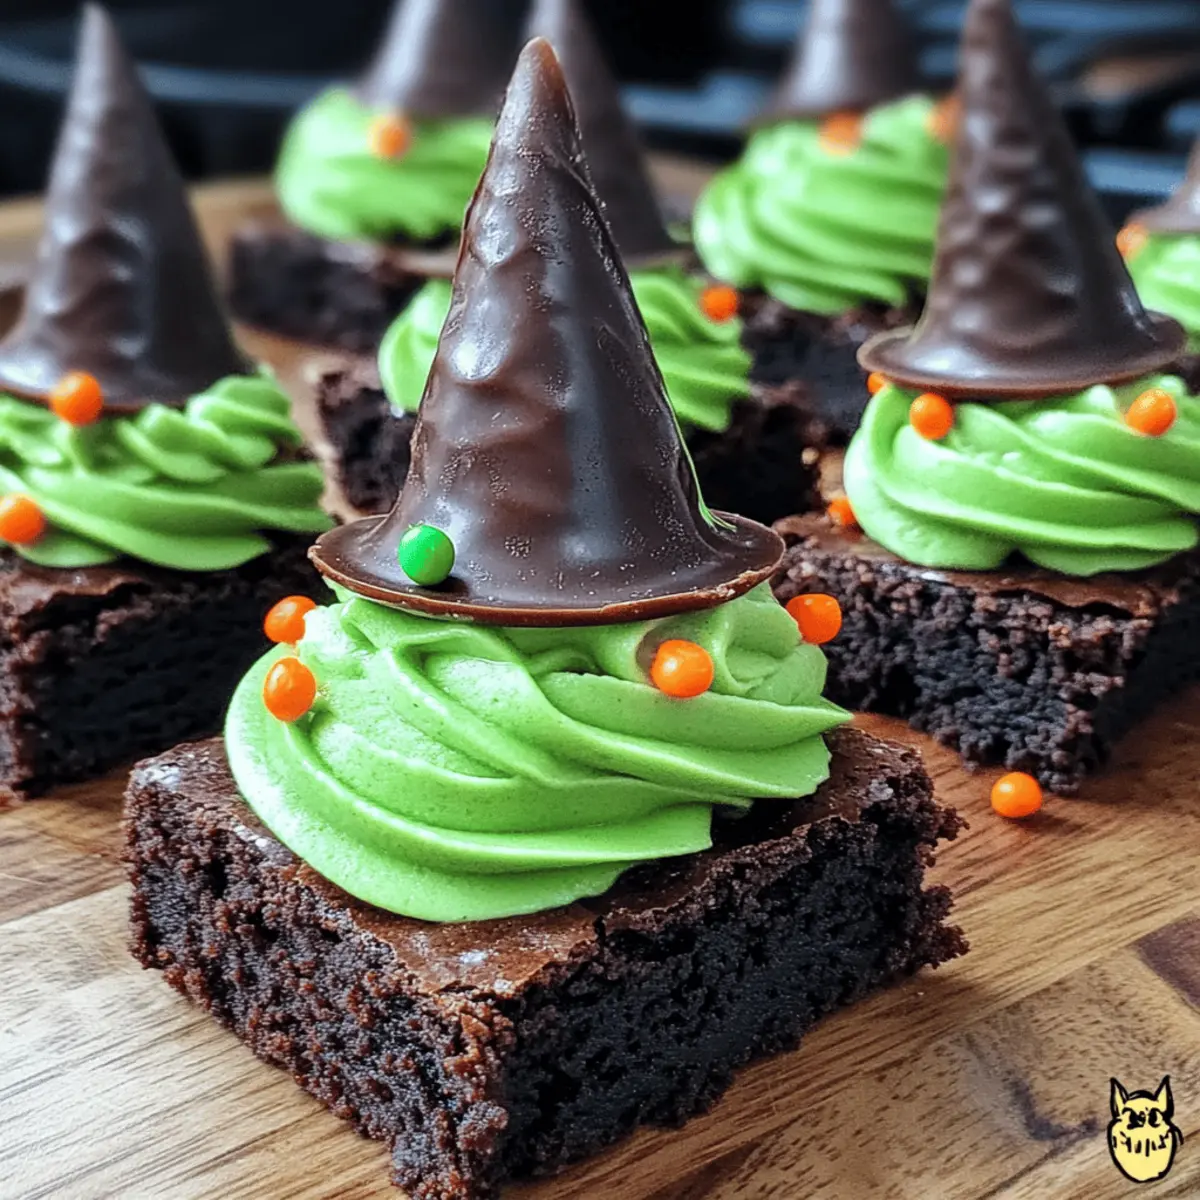
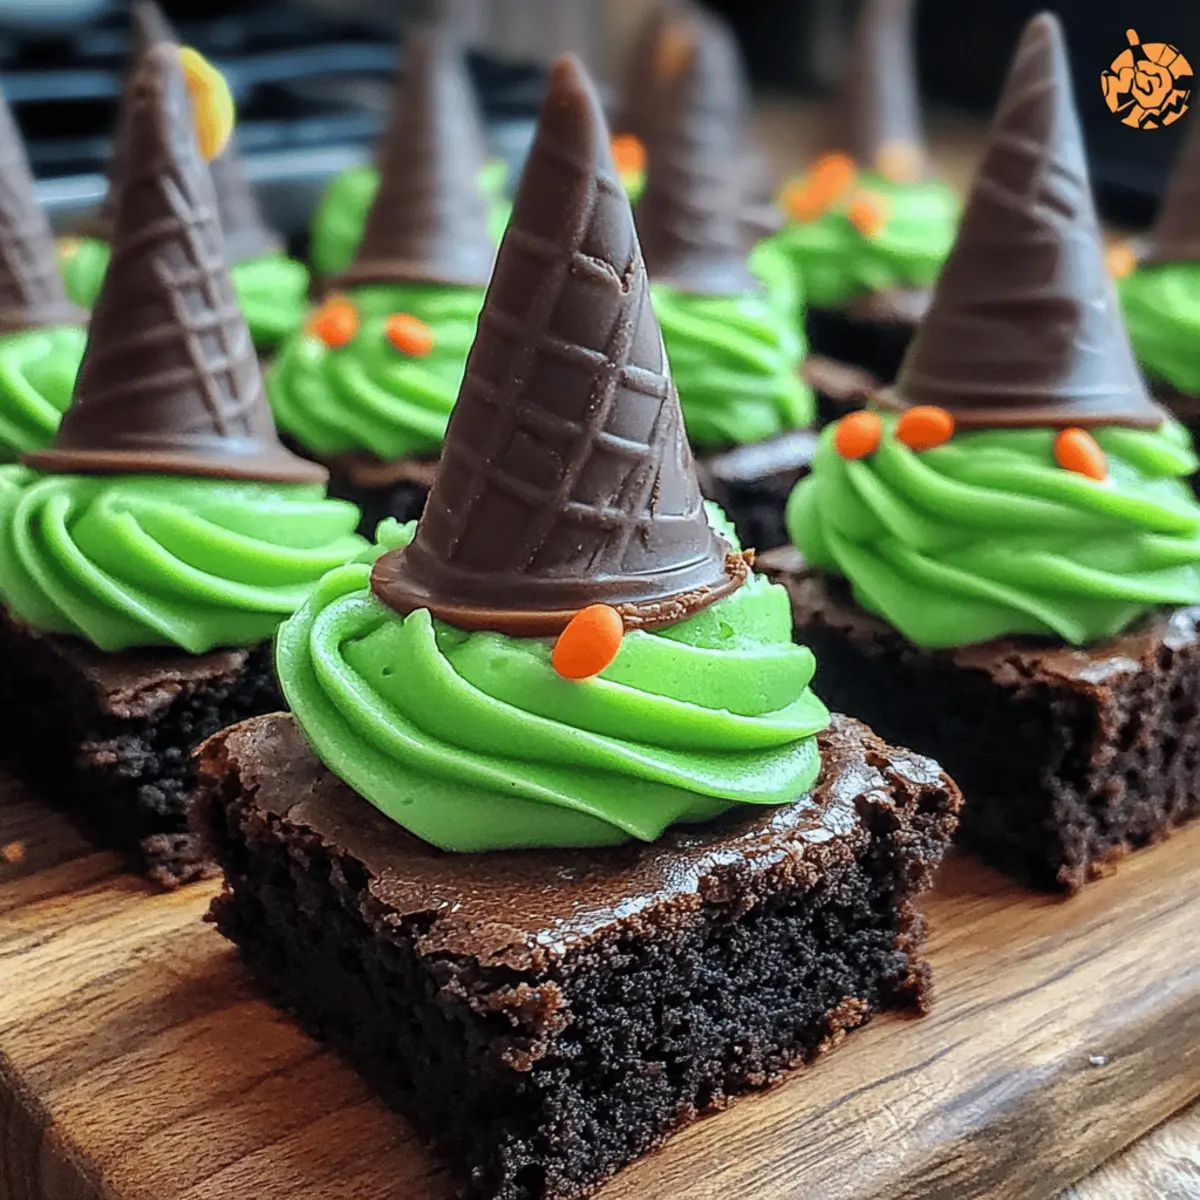
Finally, take your decorated ice cream cones and place one upside-down on top of each frosted brownie. Press them gently into the frosting to secure. To finish, sprinkle additional Halloween-themed sprinkles around the cones and on the frosting for an extra spooky effect. Enjoy your Wicked Witch Hat Brownies at your Halloween celebrations!
Wicked Witch Hat Brownies Variations
Feel free to unleash your creativity and customize these Wicked Witch Hat Brownies to suit your taste and dietary needs!
-
Gluten-Free: Swap all-purpose flour with a gluten-free flour blend for delicious, chewy brownies that everyone can enjoy.
-
Vegan: Replace eggs with flax eggs (1 tablespoon ground flaxseed + 3 tablespoons water per egg) and use dairy-free butter to make these brownies plant-based friendly. Don’t miss out on the fun!
-
Brown Sugar Twist: For a deeper caramel flavor, substitute granulated sugar with brown sugar. This gives the brownies a richer taste and a slight chewiness, making them even more irresistible.
-
Chocolate Delights: Add chocolate chips (dark or milk) to the brownie batter for extra chocolaty goodness. They’ll melt beautifully as the brownies bake, creating delightful pockets of melted chocolate.
-
Spicy Kick: If you enjoy a little heat, mix in a dash of cayenne pepper or chili powder to the batter. This unexpected twist elevates the rich chocolate flavor and adds an exciting surprise.
-
Nutty Texture: Fold in crushed nuts like walnuts or pecans for a crunchy texture in your brownies. The combination of soft brownies and crunchy nuts creates a delightful bite.
-
Fruity Flavor: Toss in some chopped cherries or raspberries for a burst of fruity flavor. Their tartness pairs beautifully with rich chocolate, creating a balanced dessert that’s a lovely surprise.
-
Aromatic Touch: Experiment with flavors by adding a teaspoon of peppermint or almond extract to your brownie batter. These subtle hints will make your brownies stand out, leaving guests enchanted.
For more festive inspirations, check out my Garlic Parmesan Roasted Zucchini which you can serve alongside these treats for a delicious savory contrast, or indulge in an easy Oatmeal Cookies Chewy for a different kind of sweet treat. Enjoy your spooky celebrations!
Make Ahead Options
These Wicked Witch Hat Brownies are perfect for meal prep enthusiasts looking to save time during the busy Halloween season! You can prepare the brownie batter and bake it up to 24 hours ahead. Simply let the brownies cool completely, then store them in an airtight container at room temperature to maintain their fudgy texture. The chocolate ice cream cones can also be dipped in chocolate and sprinkles ahead of time—store them in a cool, dry place to keep them crisp. When ready to serve, just frost the brownies and place the ready-made cones on top for that show-stopping finish. Your guests will love these treats, and you'll love the time saved!
How to Store and Freeze Wicked Witch Hat Brownies
Room Temperature: Store your brownies in an airtight container at room temperature for up to 5 days to maintain their fudgy texture and flavor.
Fridge: If you prefer a firmer texture, refrigerate the brownies in an airtight container for up to 7 days. Allow them to come to room temperature before serving.
Freezer: For longer storage, freeze brownies for up to 3 months. Wrap them tightly in plastic wrap, then in aluminum foil to prevent freezer burn.
Reheating: To enjoy a warm treat, microwave individual brownies for about 10-15 seconds. Add a scoop of ice cream for an extra indulgent touch!
What to Serve with Wicked Witch Hat Brownies?
Indulging in these whimsical treats is just the beginning of your Halloween celebration.
-
Spooky Milkshakes: Pair these brownies with a rich, chocolate milkshake, blending flavors that will enchant both kids and adults alike. A hint of mint or peppermint can also add a festive twist to your drink!
-
Pumpkin Spice Cookies: Complement the chocolatey delight of your brownies with warm pumpkin spice cookies that bring seasonal flavors to your spread. Their soft, chewy texture contrasts beautifully with the fudginess of the brownies.
-
Ghostly Fruit Salad: A refreshing mix of seasonal fruits, like oranges, apples, and grapes, adds a burst of color and nutrition. Consider using ghost-shaped cookie cutters for apples to enhance the Halloween theme!
-
Creepy Cupcakes: These toppings can be as spooky as your imagination allows—think ghostly meringue or spiderweb icing. They create a fun dessert table along with the Wicked Witch Hat Brownies.
-
Hot Apple Cider: Serve a warm cup of spiced apple cider to balance out the sweetness of the brownies. The aromatic spices will envelop your guests in seasonal warmth.
-
Hocus Pocus Cake Pops: Swirled in chocolate and dressed with Halloween sprinkles, these cake pops are easy to eat and add variety to your dessert presentation.
-
Halloween-themed Charcuterie Board: Choose a variety of sweets and snacks featuring seasonal fruits, cheeses, and nuts for a delightful mix of flavors. This allows guests to nibble at their own leisure alongside the brownies!
-
Ghoulish Gelato: Pair a scoop of dark chocolate or mint gelato with your brownies for an indulgent dessert combination that melts in the mouth and feels delightfully festive.
With these enchanting pairings, your treat table is set to impress this Halloween!
Expert Tips for Wicked Witch Hat Brownies
-
Butter Temperature: Ensure your butter is melted but not hot when adding eggs to prevent scrambling, which can ruin the texture.
-
Check for Fudginess: For that rich, fudgy brownie texture in your Wicked Witch Hat Brownies, check for doneness a few minutes early. A toothpick should come out with moist crumbs, not batter.
-
Mixing Technique: Mix your dry ingredients gently with the wet ingredients until just combined. Overmixing can lead to tough brownies—nobody wants that!
-
Cooling Time: Allow the brownies to cool completely before frosting and decorating to ensure they hold their shape and the frosting doesn’t melt into a gooey mess.
-
Cone Preparation: For added flavor and festivity, consider dipping your chocolate cones in melted chocolate before rolling them in sprinkles. It adds a delicious crunch and visual appeal!
Wicked Witch Hat Brownies Recipe FAQs
How can I tell if my brownies are done baking?
A toothpick inserted in the center should come out with moist crumbs, indicating that they are perfectly fudgy. Be wary of overbaking; if you're unsure, start checking at 25 minutes.
What if I don't have all-purpose flour?
Not to worry! You can use a gluten-free flour blend instead, or for a richer flavor, try almond flour. Just remember that gluten-free blends often need a binding agent like xanthan gum.
Can I make these brownies vegan?
Absolutely! To achieve a vegan version, replace the 4 large eggs with flax eggs made by mixing 1 tablespoon of ground flaxseed with 3 tablespoons of water for each egg. You can also swap in dairy-free butter and milk.
How should I store leftover brownies?
Store your Wicked Witch Hat Brownies in an airtight container at room temperature for up to 5 days. If you want them to last a bit longer, you can refrigerate them for up to 7 days but allow them to reach room temperature before serving for the best texture.
Can I freeze these brownies for later?
Yes! Wrap them tightly in plastic wrap and then in aluminum foil. They’ll keep well in the freezer for up to 3 months. When you're ready to enjoy, simply thaw them in the fridge overnight or at room temperature for a few hours.
Are there any ingredient substitutes for allergies?
If you're dealing with allergies, be sure to use substitutes that fit your needs. For nut allergies, ensure your flour products are nut-free, and always check labels for those pesky cross-contaminations. You can substitute milk with a variety of alternatives like almond or oat milk for lactose intolerance.
These Wicked Witch Hat Brownies are not only festive but also adaptable for various dietary needs, making them a perfect spooky treat for everyone!
Wicked Witch Hat Brownies: Spooky Delicious Halloween Treats
Ingredients
Equipment
Method
- Begin by melting 1 cup of unsalted butter in a medium saucepan over low heat, stirring until smooth. Once melted, remove from heat and mix in 2 cups of granulated sugar until well combined. Let the mixture cool for about 10 minutes, then add 4 large eggs one at a time, stirring vigorously after each addition. Finish by stirring in 1 teaspoon of vanilla extract.
- In a separate bowl, whisk together 1 cup of all-purpose flour, 1 cup of unsweetened cocoa powder, ½ teaspoon of baking powder, and ½ teaspoon of salt.
- Gradually add the dry ingredient mixture to the wet ingredients, gently folding with a spatula until just combined.
- Preheat your oven to 350°F (175°C) and grease a 9x13 inch baking pan or line it with parchment paper. Pour the brownie batter into the prepared pan, spreading it evenly. Bake for 25-30 minutes, or until a toothpick inserted in the center comes out with moist crumbs.
- Once baked, remove the pan from the oven and let the brownies cool in the pan on a wire rack for at least 30 minutes.
- While the brownies cool, prepare your witch hats by dipping the tops of 12 chocolate ice cream cones in melted chocolate. Roll the dipped edges in colorful Halloween-themed sprinkles.
- In a mixing bowl, combine 2 cups of powdered sugar, ¼ cup of milk, and a few drops of green food coloring. Mix until smooth and fluffy.
- Spread the green frosting generously over the cooled brownies, creating a fun base for your witch hats.
- Finally, take your decorated ice cream cones and place one upside-down on top of each frosted brownie. Press them gently into the frosting to secure.


Leave a Reply