
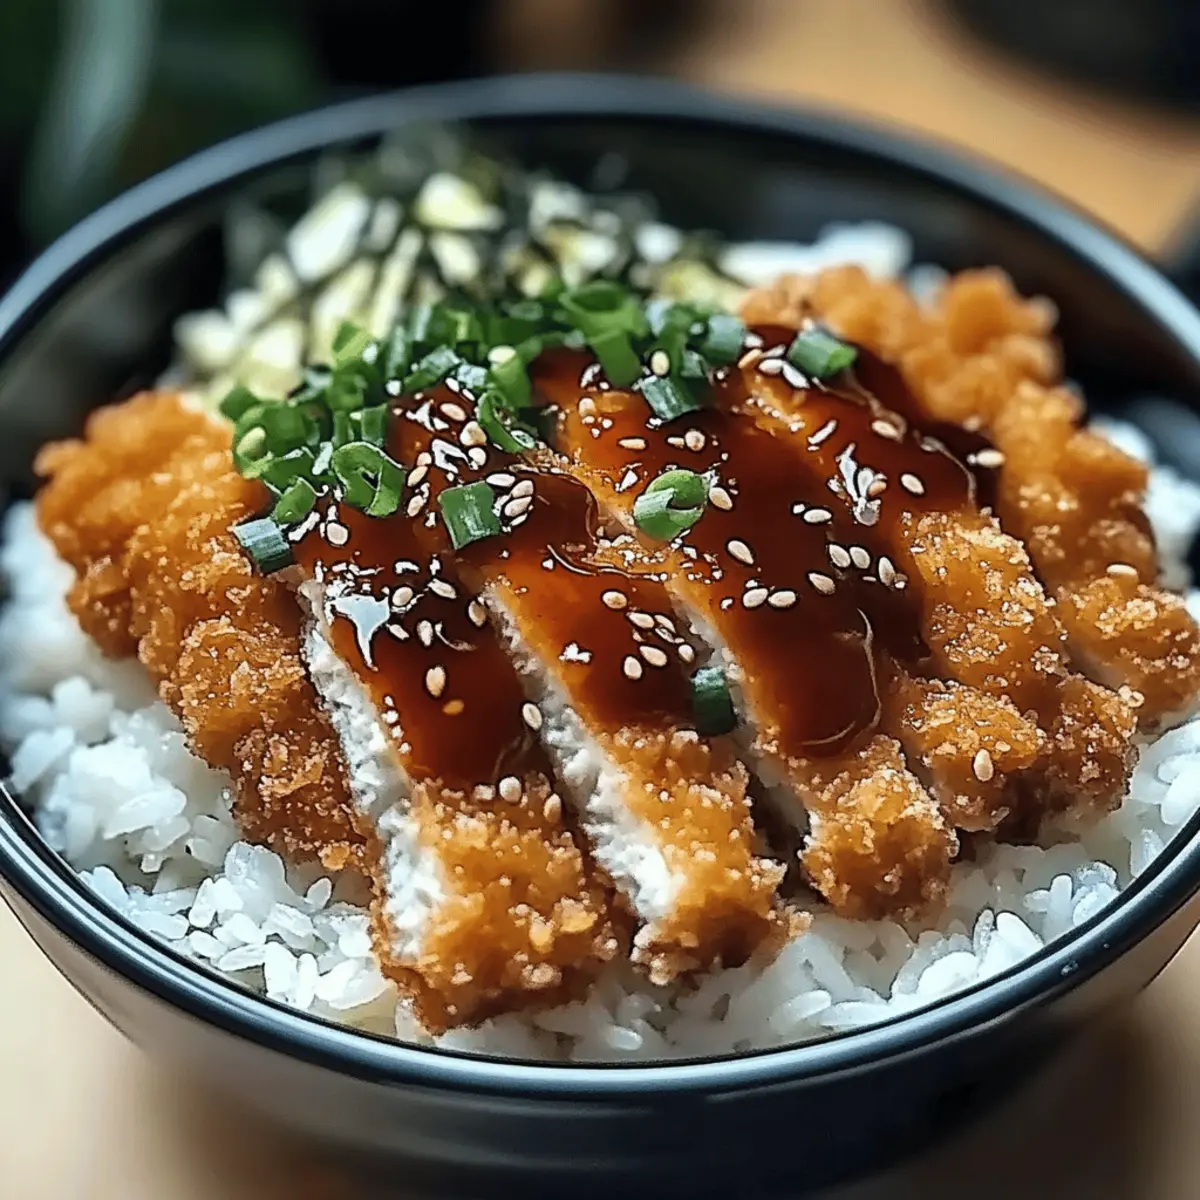
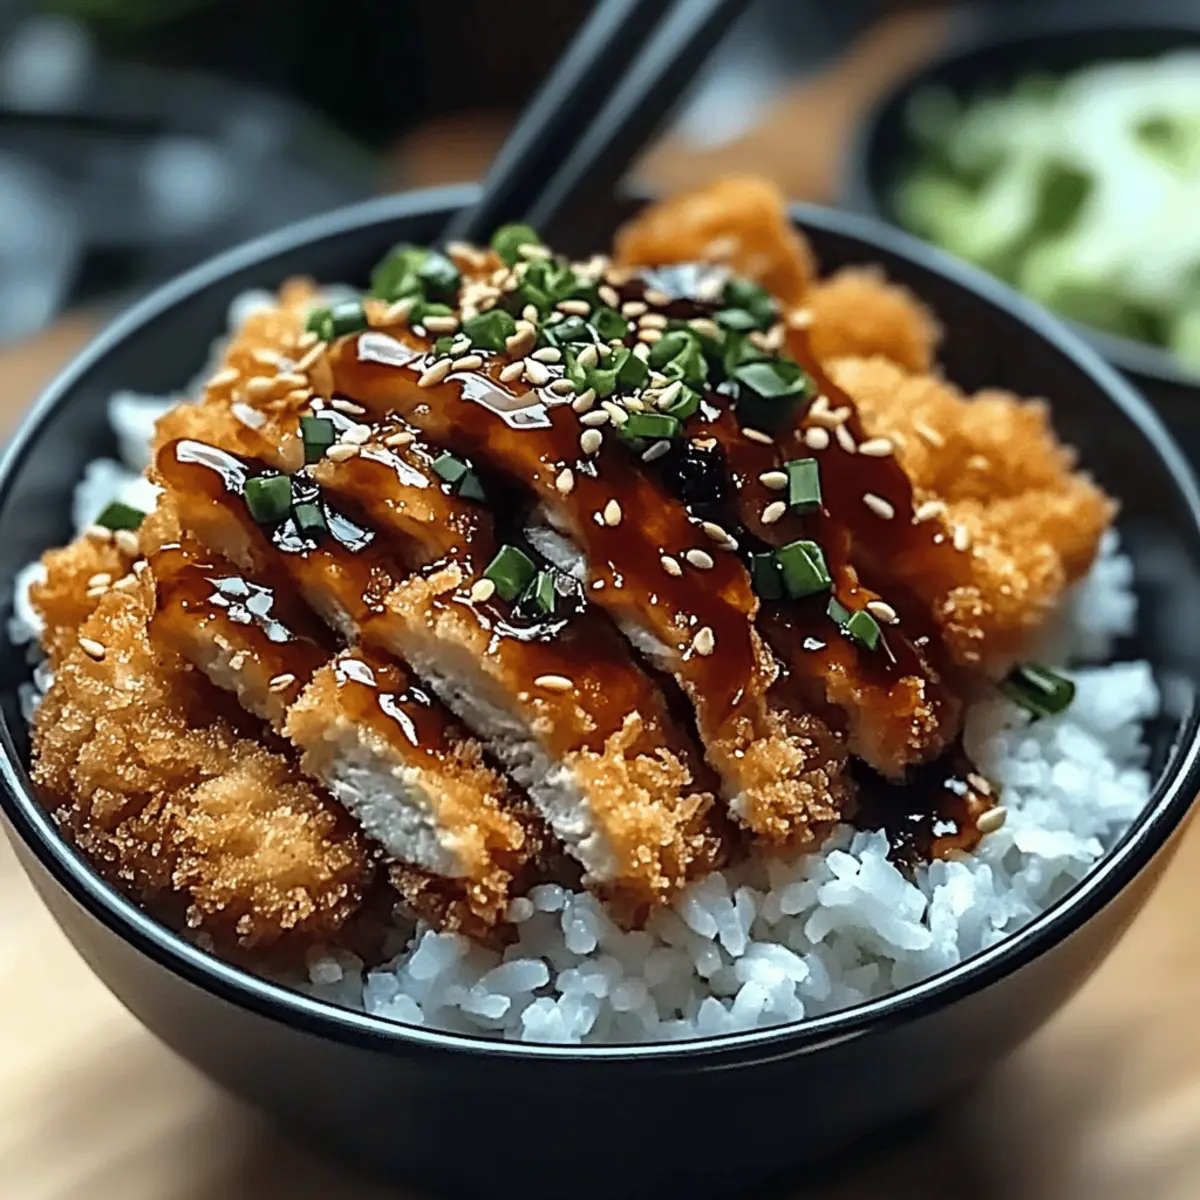
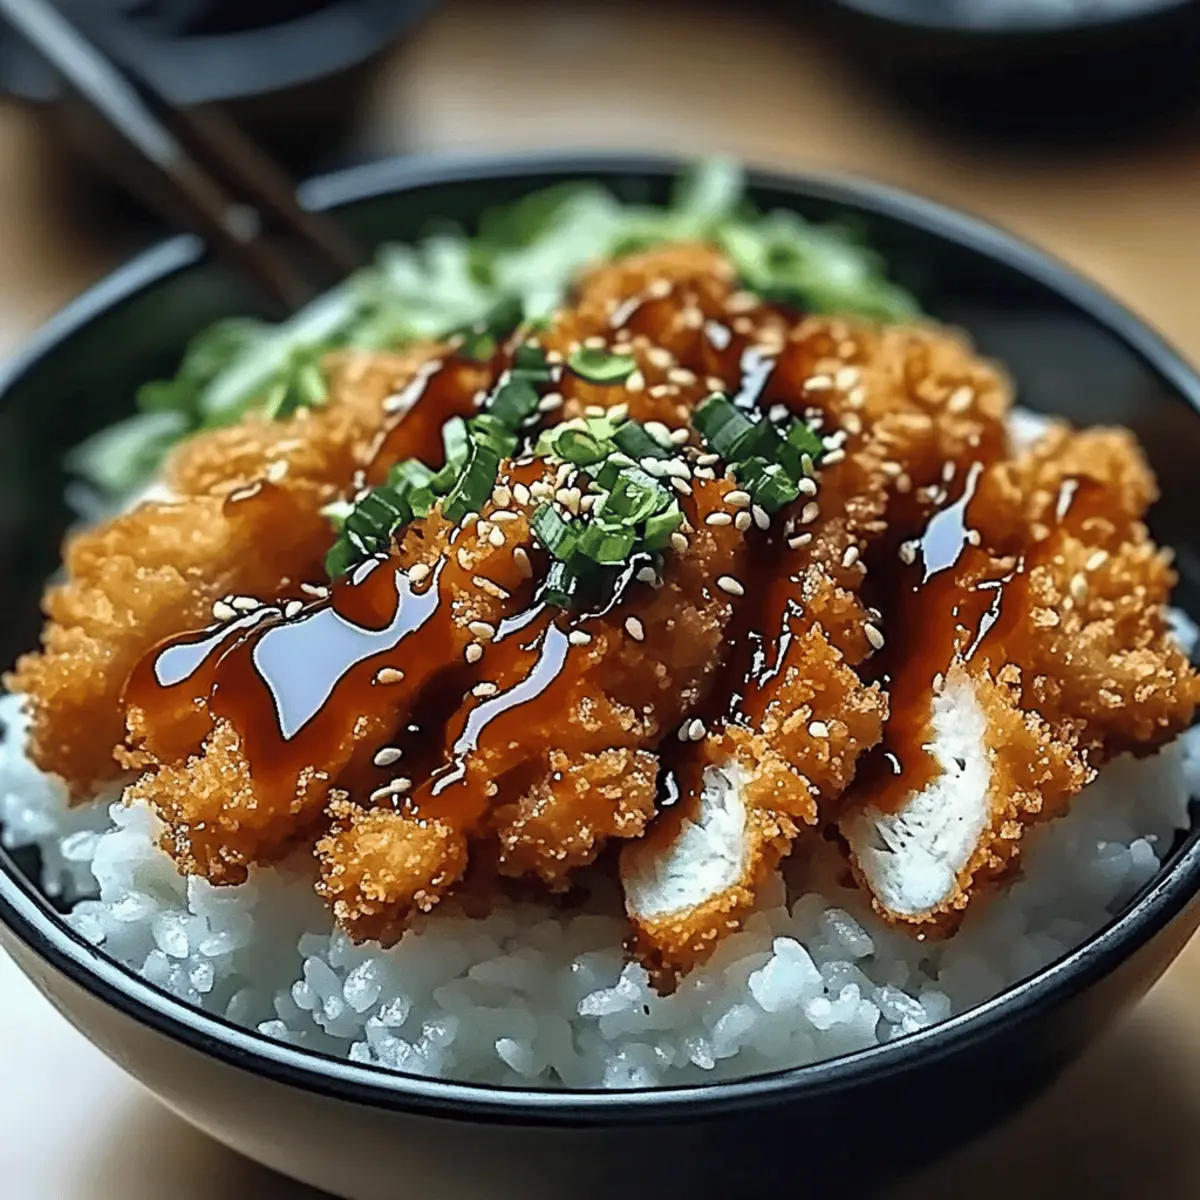
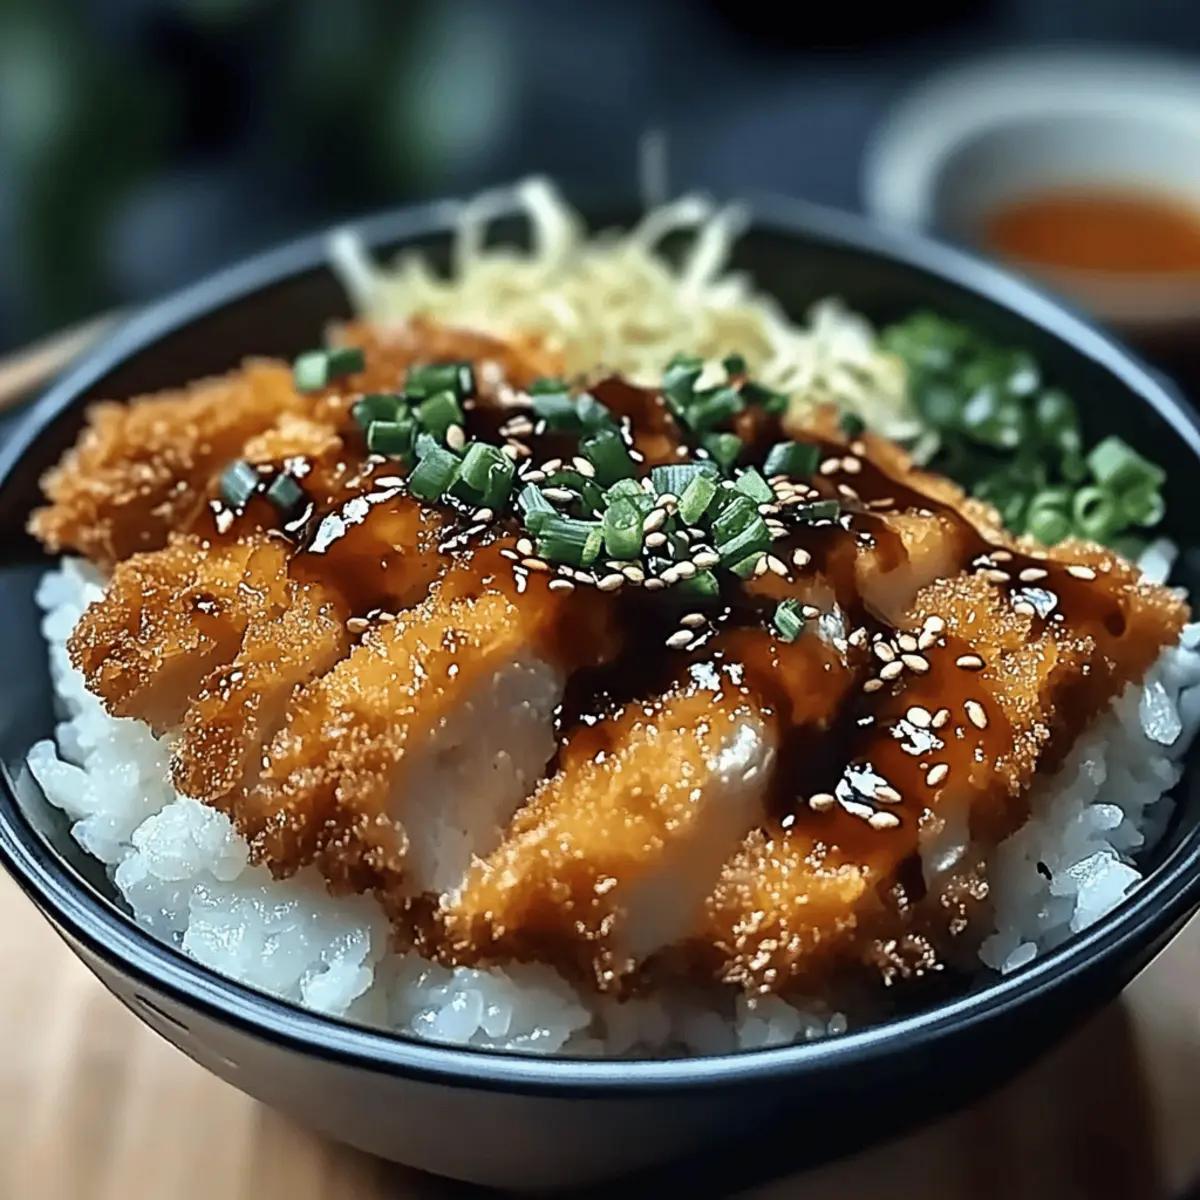
As I took my first bite of a crispy Japanese Katsu Bowl, a wave of comfort washed over me. This dish, with its golden-brown breaded cutlet nestled atop fluffy rice, quickly became a favorite comfort food that’s easy to whip up at home. Whether you opt for tender chicken, succulent pork, or even a delightful eggplant or tofu twist, Japanese Katsu Bowls are not just about taste—they're a wonderful canvas for culinary creativity. Not only is this recipe custom-made to please any palate, but it also brings the satisfaction of homemade cooking to your kitchen without hours of fuss. Ready to explore how to create this savory sensation that will tantalize your taste buds? Let's dive into the process!
Why is Katsu Bowls a Must-Try?
Comforting, Home-Cooked Goodness: This Japanese Katsu Bowl is a perfect representation of comfort food that you can create right in your kitchen. Versatile for Everyone: Whether you prefer crispy chicken, juicy pork, or a vegetarian option like tofu, there’s a delicious choice for every palate. Time-Friendly Preparation: You don't need to spend hours in the kitchen; this dish is quick and straightforward! Crispy Yet Tender: Experience a delightful contrast between the crunchy cutlet and the fluffy rice in every bite. With endless variations and toppings, like a soft-boiled egg or spicy mayo, the flavors can elevate this meal to new heights!
Japanese Katsu Bowls Ingredients
• Get ready to create a mouthwatering meal!
For the Katsu
- Chicken Breasts or Pork Loin – Your choice of protein for a classic katsu experience.
- Salt and Pepper – Essential for seasoning your cutlet to perfection.
- All-Purpose Flour – Creates a crispy exterior; substitute with gluten-free flour if needed.
- Large Eggs – Binds the breadcrumbs; crucial for that crunchy coating.
- Panko Breadcrumbs – Contributes to the unmistakable crispiness; opt for gluten-free panko for a lighter option.
- Vegetable Oil – Ideal for frying; ensure it’s deep enough for even cooking.
For the Rice
- Japanese Short-Grain Rice – Provides the perfect base; substitutes can change texture and authenticity.
- Water – Essential for cooking the rice to fluffy perfection.
- Rice Vinegar, Sugar, Salt – These seasonings bring balance to the rice’s flavor.
For the Sauce
- Tonkatsu Sauce – The star of the dish; store-bought or homemade for deeper flavor.
- Soy Sauce, Worcestershire Sauce, Ketchup – These condiments enhance the umami and sweetness for your sauce.
For the Toppings
- Shredded Cabbage – Adds a fresh, crunchy contrast at the top.
- Green Onions, Sesame Seeds, Pickled Ginger (optional) – Garnishes that bring brightness and flair to your bowl.
Now that you have all your ingredients lined up, you’re one step closer to indulging in delicious Japanese Katsu Bowls!
Step‑by‑Step Instructions for Japanese Katsu Bowls
Step 1: Rinse the Rice
Start by rinsing 1 cup of Japanese short-grain rice under cold water until the water runs clear, which removes excess starch. After rinsing, soak the rice in fresh water for 30 minutes to enhance its texture. This soaking will ensure that the rice cooks evenly and becomes fluffy—a perfect base for your Japanese Katsu Bowls.
Step 2: Cook the Rice
In a medium saucepan, combine the soaked rice with 1 ¼ cups of water. Bring it to a boil over medium-high heat, then reduce the temperature to low, cover with a tight-fitting lid, and let it simmer for 15 minutes. Once the time is up, turn off the heat and let it sit—still covered—for an additional 10 minutes. This resting period allows the rice to absorb any remaining moisture and become tender.
Step 3: Season the Rice
While the rice is resting, whisk together 2 tablespoons of rice vinegar, 1 tablespoon of sugar, and a pinch of salt until dissolved. Once the rice has completed its rest, transfer it to a large bowl and gently fold in the vinegar mixture. This seasoning balances the flavors, making your rice a delicious complement to the crispy elements of the Japanese Katsu Bowls.
Step 4: Prepare the Katsu
Take 2 chicken breasts or pork loin and place them between plastic wrap. Use a meat mallet to pound them to an even thickness of about ½ inch—this step helps ensure uniform cooking. Season both sides of the meat generously with salt and pepper. Set up your breading station by placing all-purpose flour, beaten eggs, and panko breadcrumbs in separate shallow dishes.
Step 5: Bread the Chicken
Begin breading your katsu by dredging each cutlet lightly in flour, ensuring it's evenly coated. Next, dip it into the beaten eggs, letting the excess drip off, and finally coat it in panko, pressing firmly to adhere crumbs to the surface. The panko will give your katsu that signature crispy texture, making it a showstopper in your Japanese Katsu Bowls.
Step 6: Fry the Katsu
In a large skillet, heat about ½ inch of vegetable oil over medium heat until it shimmers—approximately 350°F (175°C). Carefully place the breaded cutlets into the hot oil, frying them for 4-5 minutes per side or until they are golden brown and cooked through, reaching an internal temperature of 165°F (75°C). Ensure not to overcrowd the pan to maintain even frying.
Step 7: Make the Sauce
In a small bowl, combine ¼ cup of tonkatsu sauce, 1 tablespoon each of soy sauce, Worcestershire sauce, and ketchup. Stir until well mixed. This savory sauce adds depth and richness to your Japanese Katsu Bowls, making each bite flavorful and satisfying. Adjust the ingredients to taste if you prefer a sweeter or spicier kick.
Step 8: Assemble Bowls
To serve, place a generous scoop of seasoned rice in each bowl. Slice the fried katsu into strips and lay it on top of the rice, then drizzle the savory sauce over everything. Finish with a heap of shredded cabbage for crunch, a sprinkle of green onions and sesame seeds, and pickled ginger, if desired, for an added burst of flavor and color to complete your delightful Japanese Katsu Bowls.
Variations & Substitutions for Japanese Katsu Bowls
Feel free to take your Japanese Katsu Bowls on a deliciously unique adventure with these fun variations!
- Pork Option: Swap chicken for pork loin to experience a slightly richer flavor that pairs beautifully with the sauce.
- Vegetarian Delight: Use eggplant or tofu instead of meat for a satisfying vegetarian twist that still delivers that crispy crunch.
- Flavor Boost: Experiment with spicy mayo or a drizzle of ponzu sauce for a zesty flavor contrast that will excite your taste buds.
- Gluten-Free: Substitute all-purpose flour and panko with gluten-free flour and crumbs to enjoy all the deliciousness without gluten.
- Add Creaminess: Top your katsu bowl with a soft-boiled egg or even sliced avocado for an extra layer of richness and texture.
- Crunchy Extras: Sprinkle with crushed nori or add a handful of roasted peanuts for a crunchy contrast that enhances every bite.
- Heat Lovers: Introduce some heat by incorporating a splash of sriracha or red pepper flakes into your sauce for a spicy kick.
- Herb Infusion: Mix in fresh herbs like cilantro or basil for a fragrant twist that adds freshness to your savory dish.
With these ideas, your Japanese Katsu Bowls can easily become new culinary creations every time! Consider pairing them with delightful sides like pickled vegetables—perfect for balancing the rich flavors. For a hearty meal, a fresh salad can also complement the dishes beautifully!
What to Serve With Japanese Katsu Bowls
There’s something magical about complementing this crispy delight with the right sides and sauces that elevate the entire meal experience.
-
Crispy Tempura Vegetables: Lightly battered and fried veggies provide a delightful crunch, enhancing the overall texture contrast.
-
Miso Soup: This warm, savory broth adds depth with umami flavors, making it the perfect calming counterpart to your Katsu Bowl.
-
Japanese Pickles (Tsukemono): The tangy, crunchy pickles cut through the richness, bringing balance and brightness to every mouthful.
-
Steamed Edamame: Nutty and tender, these young soybeans offer a fresh, protein-rich side that harmonizes beautifully with the Katsu.
-
Cucumber Salad: A refreshing dish with a light vinaigrette, this adds a crisp, cool element to your plate, rounding out those comforting flavors.
-
Soft-Boiled Eggs: Add a velvety richness by topping your Katsu Bowl with a perfectly cooked soft-boiled egg; the yolk adds depth and creaminess.
-
Rice Vinegar Salad: Featuring mixed greens with a tangy dressing, this salad enhances your meal with fresh notes and bright acidity.
-
Cold Sake: Pair your Katsu with a glass of chilled sake; its smoothness complements the crunchy cutlet and savory sauce perfectly.
Grab your chopsticks and prepare to dive into a world of flavor and comfort!
How to Store and Freeze Japanese Katsu Bowls
Fridge: Store any leftovers in an airtight container in the fridge for up to 3 days. Keeping the katsu separate from the rice helps maintain texture and flavor.
Freezer: For longer storage, freeze the breaded, uncooked katsu in a single layer on a baking sheet, then transfer to an airtight container for up to 3 months.
Reheating: To reheat, place the katsu in the oven at 350°F (175°C) for about 10-15 minutes until crispy again, and reheat the rice in the microwave or stovetop, adding a splash of water to moisten if needed.
Prep Ahead: You can prepare the katsu ahead of time and store it uncooked in the freezer. When you're ready to enjoy your Japanese Katsu Bowls, simply fry from frozen!
Make Ahead Options
These Japanese Katsu Bowls are perfect for busy weeknights and meal prep enthusiasts! You can prepare the rice and katsu up to 24 hours in advance for easy assembly later. Cook the rice as instructed, then allow it to cool completely before refrigerating it in an airtight container. For the katsu, bread the cutlets and refrigerate (do not fry) for up to 3 days; this helps maintain the coating's crispness. When you’re ready to serve, simply fry the katsu and reheat the rice in the microwave or stovetop, ensuring it remains fluffy. With these make-ahead tips, you'll enjoy restaurant-quality Japanese Katsu Bowls with minimal effort!
Expert Tips for Japanese Katsu Bowls
-
Oil Temperature: Ensure your oil is hot enough before frying; a small piece of bread should sizzle when added. This helps achieve a crispy exterior without excessive oil absorption.
-
Breading Technique: Coat the cutlets evenly and press the panko firmly onto the meat. This ensures the breadcrumb coating adheres well, providing that satisfying crunch in your Japanese Katsu Bowls.
-
Don’t Overcrowd the Pan: Fry one or two cutlets at a time to maintain oil temperature. Overcrowding leads to steaming rather than frying, affecting the crispiness.
-
Rest After Cooking: Allow the fried katsu to rest on a wire rack rather than paper towels. This prevents steaming and keeps the crust crispy, offering a delightful bite.
-
Customize Your Sauce: Feel free to tweak the sauce ingredients! Adding a splash of hot sauce or a bit of honey can elevate the flavor profile of your Japanese Katsu Bowls to match your taste preferences.
Japanese Katsu Bowls Recipe FAQs
What type of meat is best for Katsu Bowls?
Absolutely, you can use either chicken breasts or pork loin for your Katsu Bowls. Both offer delicious results, but chicken tends to be leaner, while pork provides a juicy richness. Choose whichever suits your taste preferences for that lovely crispy cutlet experience!
How should I store leftover Katsu Bowls?
To keep your Japanese Katsu Bowls fresh, store leftovers in an airtight container in the fridge for up to 3 days. It's best to keep the katsu separate from the rice to maintain the perfect crispy texture!
Can I freeze the Katsu? How?
Yes! For freezing, bread the katsu but do not cook it first. Lay the uncooked, breaded cutlets in a single layer on a baking sheet and freeze for 1-2 hours. Once solid, transfer them to an airtight container or freezer bag and store for up to 3 months. When ready to cook, fry them directly from frozen; just add extra cooking time!
How can I prevent the coating from falling off while frying?
Very important! To ensure the coating stays on during frying, make sure to press the panko firmly onto the cutlet while breading. Also, don’t overcrowd the pan—this keeps the oil hot and prevents steaming, giving you that enticing crunch.
Are there gluten-free options for Katsu Bowls?
Absolutely! You can substitute the all-purpose flour with gluten-free flour and use gluten-free panko breadcrumbs. This way, you can enjoy the delightful crunch of Japanese Katsu Bowls without gluten concerns!
Can I prepare Katsu Bowls in advance?
Definitely! You can prepare the breaded, uncooked katsu ahead of time and store them in the freezer. This is a perfect meal prep option! When you're ready to enjoy, simply fry them from frozen, and you're just minutes away from delicious Japanese Katsu Bowls.
Crispy Japanese Katsu Bowls That Bring Comfort Home
Ingredients
Equipment
Method
- Rinse the rice under cold water until the water runs clear and soak for 30 minutes.
- In a medium saucepan, combine soaked rice with water, bring to a boil, reduce heat, cover, and simmer for 15 minutes. Let sit for 10 minutes.
- Whisk together rice vinegar, sugar, and salt until dissolved, then fold into the cooked rice.
- Pound chicken or pork to an even thickness, season with salt and pepper, and set up a breading station.
- Dredge cutlets in flour, dip in beaten eggs, and coat in panko breadcrumbs.
- Heat vegetable oil in a skillet and fry cutlets for 4-5 minutes per side until golden brown.
- Mix tonkatsu sauce, soy sauce, Worcestershire sauce, and ketchup in a small bowl.
- Serve by placing rice in bowls, topping with katsu, drizzling sauce, and garnishing with cabbage and green onions.
Leave a Reply