
In the heart of winter, just as the snow begins to blanket the ground, I find myself transported back to my childhood, captivated by the magic of holiday baking. Nothing quite compares to the aroma of freshly baked Candy Cane Cookies filling the kitchen, enticing everyone to gather around. These festive cookies, with their buttery vanilla dough and inviting peppermint flavor, are the epitome of holiday cheer—perfect for gifting or enjoying with loved ones on chilly nights. Plus, they’re easy to whip up, making them a wonderful addition to any holiday spread. How about turning your kitchen into a winter wonderland with these charming treats? Let’s get started!

Why Are Candy Cane Cookies So Special?
Nostalgic Flavors: These delicious cookies evoke cherished memories of holiday seasons past, filling your home with the warm aroma of festive baking.
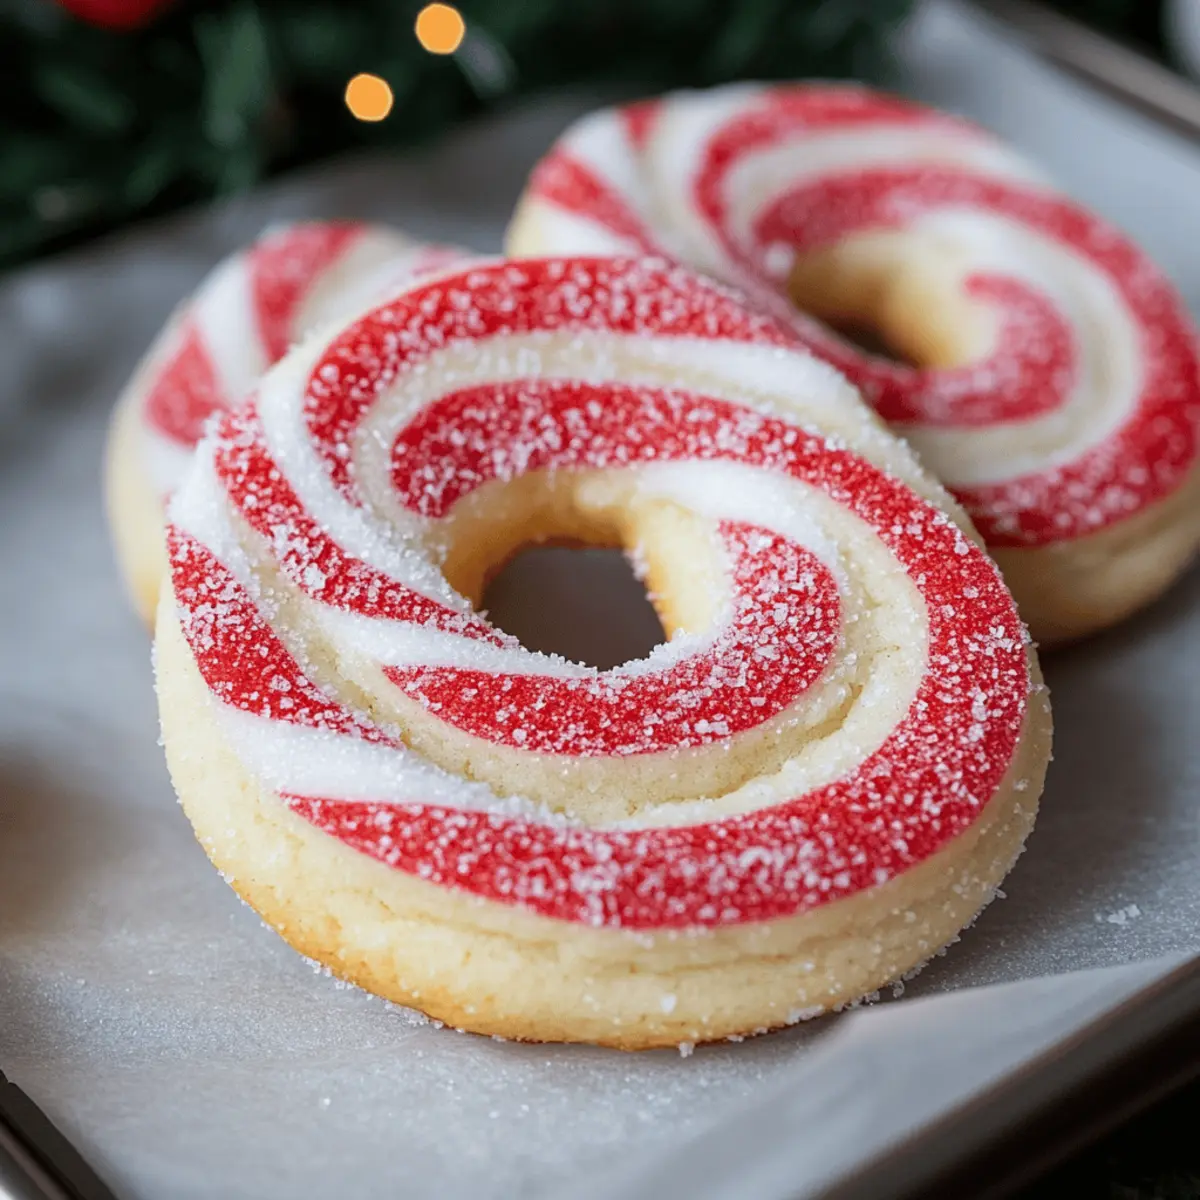
Colorful Presentation: The vibrant red and white candy cane shapes bring a joyful pop to your cookie platter, making them irresistibly fun for family gatherings.
Easy to Make: With simple ingredients and steps, you can quickly bake these delightful treats, perfect for those new to holiday baking.
Versatile Options: Get creative! Try adding crushed candy canes on top or swapping peppermint extract for almond for a unique twist that even the most discerning cookie lovers will enjoy.
Perfect for Gifting: These Candy Cane Cookies are excellent for holiday gift boxes, sharing your baking love with friends and family. They pair beautifully with a warm cup of coffee or hot cocoa, making them an ideal treat for cozy gatherings. For a change in the cookie lineup, consider trying Pineapple Cookies Tropical or White Chocolate Cookies as well!
Candy Cane Cookies Ingredients
For the Dough
• Unsalted Butter (1 cup) – Adds richness and moisture to the dough; substitute with margarine if dairy-free.
• Powdered Sugar (1 cup) – Sweetens the cookies and contributes to a soft texture; granulated sugar can be used but will alter texture.
• Large Egg (1, room temp) – Binds ingredients and aids in achieving a chewy texture; use a flax egg for a vegan adaptation.
• Vanilla Extract (1 tsp) – Enhances the overall flavor; adjust by using other extracts for different flavor profiles.
• Peppermint Extract (½ tsp) – Imparts the signature mint flavor that makes these Candy Cane Cookies special; replace with more vanilla for a non-minty version.
• All-Purpose Flour (2½ cups) – Provides structure; substitute with a gluten-free flour blend as needed.
• Salt (½ tsp) – Balances sweetness and enhances flavor; do not omit.
For Coloring
• Red Food Coloring (gel preferred) – Used to color half of the dough; liquid coloring can be used, but gel is more concentrated and prevents bleeding.
Enjoy creating these delightful Candy Cane Cookies that will surely bring holiday cheer to your gatherings!
Step‑by‑Step Instructions for Candy Cane Cookies
Step 1: Prep Your Oven
Begin by preheating your oven to 375°F (190°C). While the oven warms up, line your baking sheets with parchment paper to prevent the cookies from sticking. This step ensures an even bake and easy removal, setting the stage for your delightful Candy Cane Cookies.
Step 2: Cream Butter and Sugar
In a large mixing bowl, beat 1 cup of unsalted butter with 1 cup of powdered sugar using an electric mixer on medium speed. Continue mixing for about 3-4 minutes until the mixture is light and fluffy—this process incorporates air for soft, tender cookies.
Step 3: Incorporate Egg and Extracts
Add 1 large room-temperature egg, 1 teaspoon of vanilla extract, and ½ teaspoon of peppermint extract to your butter-sugar mixture. Mix on low speed until all ingredients are fully combined, creating a smooth, creamy mixture that embodies the classic flavors of Candy Cane Cookies.
Step 4: Mix in Dry Ingredients
Gradually add 2½ cups of all-purpose flour and ½ teaspoon of salt to the wet mixture. Use a wooden spoon or spatula to gently combine the ingredients until a soft, non-sticky dough forms. Be cautious not to overmix, as this could lead to tougher cookies.
Step 5: Divide and Dye Dough
Once your dough is ready, divide it in half. Take one half and add gel food coloring to achieve a vibrant red hue—start with a few drops and mix until you reach your desired color. This will give your Candy Cane Cookies that festive appearance, perfect for holiday gatherings.
Step 6: Shape Cookies
Roll 1 teaspoon of each color of dough into 4-inch ropes. Twist the red and white ropes together gently, then bend them into the iconic candy cane shape. Place them on your lined baking sheets, spaced about 2 inches apart to allow for spreading during baking.
Step 7: Bake the Cookies
Slide your baking sheets into the preheated oven and bake the Candy Cane Cookies for 8-10 minutes. Keep an eye on them; they’re done when the bottoms are lightly golden but the tops remain pale. Once baked, remove the sheets from the oven and let the cookies cool for 5 minutes on the pan.

Make Ahead Options
These delightful Candy Cane Cookies are perfect for busy home cooks looking to save time during the holiday rush! You can prepare the cookie dough up to 3 days in advance by wrapping it tightly in plastic wrap and refrigerating it. Alternatively, after shaping the cookies, you can freeze them for up to 2 months—just ensure they're laid flat on a baking sheet before transferring to an airtight container to prevent sticking. When you're ready to bake, simply take the dough or shaped cookies out of the fridge or freezer, let them thaw for about 30 minutes, and then bake as directed. This way, you’ll enjoy fresh, homemade Candy Cane Cookies without the stress of last-minute baking!
What to Serve with Festive Candy Cane Cookies
Whether for a holiday gathering or a cozy night in, pairing these delightful treats will elevate your festive experience.
-
Creamy Hot Cocoa: A beautifully rich and chocolatey drink that complements the peppermint notes, making each sip feel like a warm hug on a chilly evening.
-
Peppermint Bark: Enhance the minty flavor with this sweet and chocolatey treat, offering a satisfying crunch that pairs perfectly with the cookies' softness.
-
Sweet Whipped Cream: Light and airy, whipped cream adds a touch of sweetness and a velvety texture that balances the peppermint flavor in each bite.
-
Spiced Apple Cider: The warming spices in this cozy drink harmonize with the candy cane's sweetness, creating a nostalgic pairing during the holiday season.
-
Chewy Gingerbread Men: These festive cookies bring a contrasting spice and texture that complements the bright, minty flavors of Candy Cane Cookies beautifully.
-
Vanilla Ice Cream: A scoop of creamy vanilla ice cream offers a delightful contrast to the holiday cookies; the cold creaminess is simply irresistible against the soft, buttery cookie texture.
-
Holiday Fruit Salad: Fresh fruits like pomegranates, apples, and oranges lighten the festivities and provide a refreshing contrast to the indulgent cookies.
-
Mulled Wine: The aromatic spices and warmth from this beverage elevate the festive spirit, making it a lovely pairing with the sweet, minty treats.
Dive into the festive spirit with these delightful pairings that will make your Candy Cane Cookies even more enjoyable!
Candy Cane Cookies Variations You’ll Love
Feel free to get creative with these delightful Candy Cane Cookies, enhancing their festive charm with each tasty twist.
-
Crushed Candy Canes: Top your cookies with crushed candy canes for added crunch and shimmering holiday appeal. They provide a delightful contrast to the soft cookie texture, making each bite more exciting.
-
Almond Extract: Swap out the peppermint extract for almond extract for a warm, nutty flavor that brings a unique spin to these classic cookies. Your family will love this unexpected twist during holiday gatherings!
-
Decorative Icing: Drizzle a simple icing glaze over the cooled cookies for a sweet touch. Mix powdered sugar with a bit of milk, and enjoy the sweet, creamy texture it adds, elevating your Candy Cane Cookies to festive delights.
-
Chocolate Drizzle: Melt some dark or white chocolate and drizzle it over the cookies for a decadent finish. The rich chocolate pairs beautifully with peppermint, creating an irresistible combination that's sure to impress.
-
Gluten-Free Option: Substitute all-purpose flour with a gluten-free flour blend to keep these cookies accessible for everyone. They’ll be just as soft and delicious without missing out on the holiday cheer!
-
Mini Candy Canes: Press mini candy cane pieces into the cookies before baking, adding a decorative touch that also gives a hint of minty richness in every bite. It’s a mini surprise that makes your cookies stand out!
-
Powdered Sugar Dusting: For a "snowy" effect, simply dust finished cookies with powdered sugar. It enhances their festive look while giving a hint of sweetness. This makes them feel extra special for holiday parties or cookie swaps!
-
Thinner Cookies: For a crispier texture, flatten the dough slightly before baking. This change gives your cookies a delightful crunch while still maintaining that beloved peppermint flavor. Enjoy this variation with your favorite mug of hot cocoa!
With these ideas in mind, your Candy Cane Cookies could take on a delightful new life with each baking session. Happy baking!
How to Store and Freeze Candy Cane Cookies
Room Temperature: Store baked cookies in an airtight container at room temperature for up to 1 week, allowing them to maintain their soft and chewy texture.
Freezer: For longer storage, freeze the baked Candy Cane Cookies in a single layer on a baking sheet, then transfer to an airtight container or freezer bag for up to 2 months.
Thawing: When ready to enjoy, simply thaw the cookies at room temperature for about 30 minutes, or warm them in the microwave for 10-15 seconds for an extra cozy treat.
Reheating: If you prefer warm cookies, reheat in the oven at 350°F (175°C) for a few minutes, keeping the cookies soft and delicious.
Expert Tips for Perfect Candy Cane Cookies
-
Dough Consistency: If your dough feels too crumbly, add a teaspoon of milk or a splash of egg yolk to bring it together.
-
Coloring Tips: Use gel food coloring to avoid bleeding; this helps maintain vibrant colors in your Candy Cane Cookies.
-
Minty Flavor Enhancement: For a stronger peppermint flavor, don’t hesitate to add an extra ¼ teaspoon of peppermint extract.
-
Resting Dough: If the dough is too soft, allow it to rest in the fridge for 15-30 minutes for easier shaping.
-
Baking Watch: Keep an eye on your cookies as they bake; they should be lightly golden on the bottoms but pale on the tops for the best texture.
Candy Cane Cookies Recipe FAQs
What is the best way to select ripe ingredients for Candy Cane Cookies?
Absolutely! When choosing your ingredients, ensure your butter is at room temperature for easy creaming. Look for unsalted butter that’s soft but not melted, giving your cookies that rich, creamy texture. Always opt for fresh egg—check the expiration date on the carton. If you're using peppermint extract, choose a pure extract for the best flavor, and avoid imitation extracts.
How should I store my Candy Cane Cookies after baking?
Very! After baking, allow your Candy Cane Cookies to cool completely before storing. Place them in an airtight container lined with parchment paper to absorb excess moisture and keep their texture. They can stay fresh at room temperature for up to 1 week. If you live in a humid environment, consider storing them in the fridge for added freshness.
Can I freeze Candy Cane Cookies, and if so, how?
You bet! To freeze your Candy Cane Cookies, first place them in a single layer on a baking sheet and freeze until solid (about 1-2 hours). Once frozen, transfer them to an airtight container or a zipper-lock freezer bag. They can be frozen for up to 2 months. When you're ready to enjoy them, simply thaw at room temperature or pop them in the microwave for 10-15 seconds for that fresh-baked taste!
What should I do if my cookie dough is too crumbly?
If your dough feels crumbly, don’t worry—this happens sometimes! Start by adding 1-2 teaspoons of milk or a splash of egg yolk to your mixture, then mix gently until the dough comes together. If it still seems dry, let it rest in the refrigerator for 15-30 minutes. This will help relax the gluten and make the dough easier to handle. Remember, a little patience goes a long way in baking!
Can pets safely consume Candy Cane Cookies?
No, be cautious! While your Candy Cane Cookies are a delicious treat for humans, they contain ingredients like sugar and butter that are not suitable for pets. Chocolate and artificial sweeteners (like xylitol) can also be toxic to dogs and cats. If you want to share holiday cheer with your furry friends, consider making a special pet-friendly treat just for them!
How can I customize the flavor of my Candy Cane Cookies?
So many options! To customize, you can mix in crushed candy canes for added crunch and flavor. If peppermint isn't your thing, swap the peppermint extract for almond or vanilla extract for a delightful twist. You can even incorporate cocoa powder into half of the dough for a chocolatey variation, or dip cooled cookies in melted chocolate. The more the merrier in your flavor experimentation!

Delightful Candy Cane Cookies for Festive Celebrations
Ingredients
Equipment
Method
- Preheat your oven to 375°F (190°C). While the oven warms up, line your baking sheets with parchment paper.
- In a large mixing bowl, beat 1 cup of unsalted butter with 1 cup of powdered sugar using an electric mixer on medium speed for about 3-4 minutes.
- Add 1 large room-temperature egg, 1 teaspoon of vanilla extract, and ½ teaspoon of peppermint extract to your butter-sugar mixture. Mix on low speed until fully combined.
- Gradually add 2½ cups of all-purpose flour and ½ teaspoon of salt, mixing gently until a soft dough forms.
- Divide the dough in half; add gel food coloring to one half to achieve a vibrant red hue.
- Roll 1 teaspoon of each color of dough into 4-inch ropes. Twist the red and white ropes together and shape them into candy canes.
- Bake the cookies for 8-10 minutes until the bottoms are lightly golden but the tops remain pale. Let them cool for 5 minutes on the pan.


Leave a Reply