
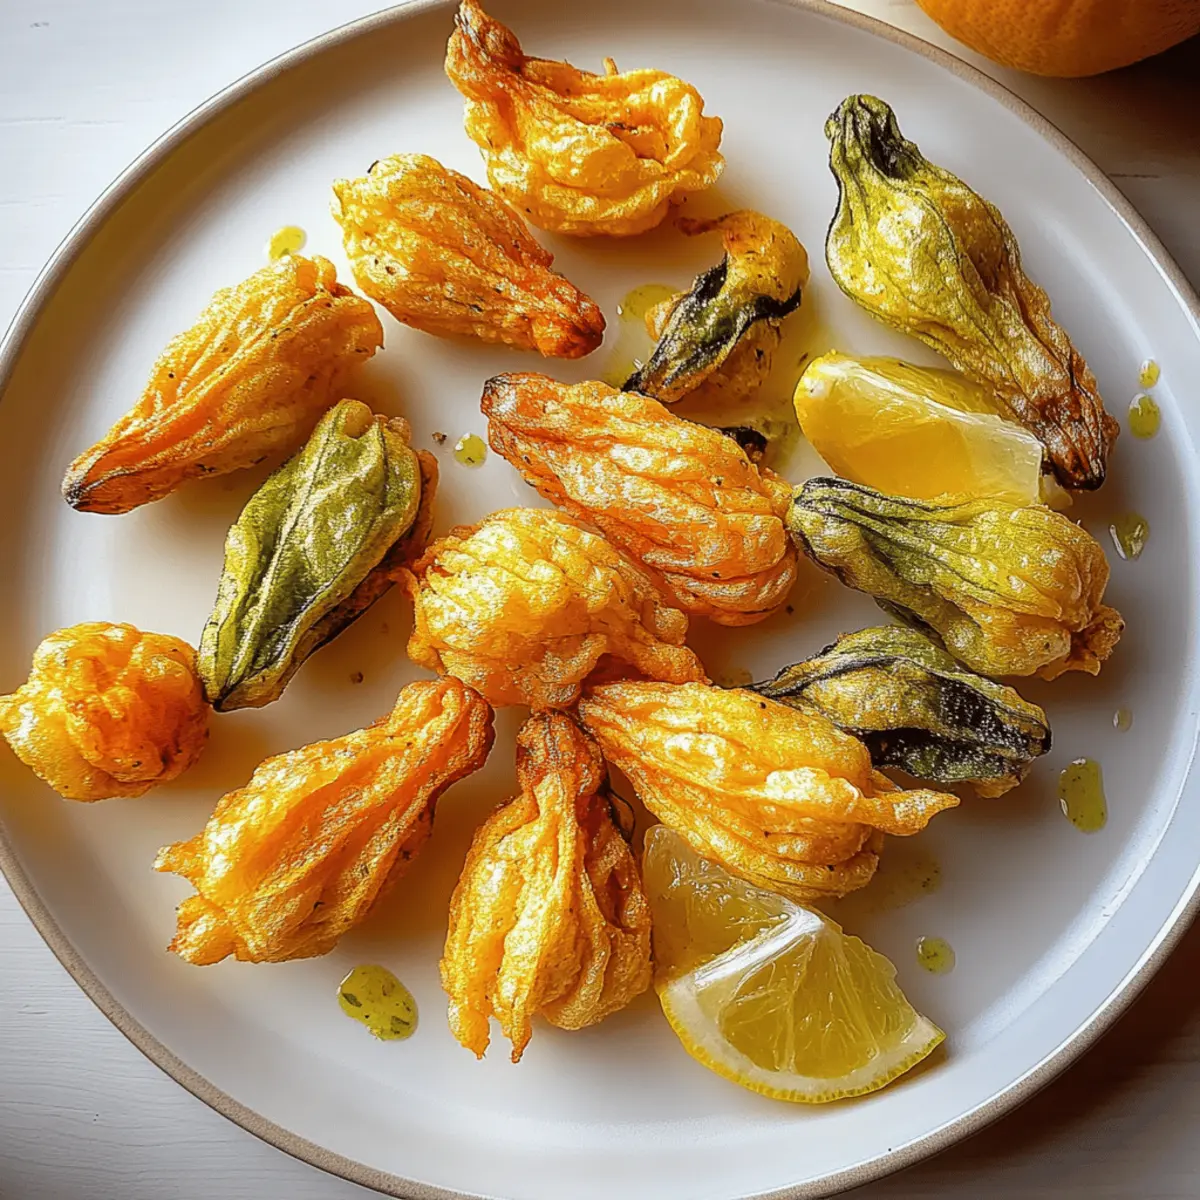
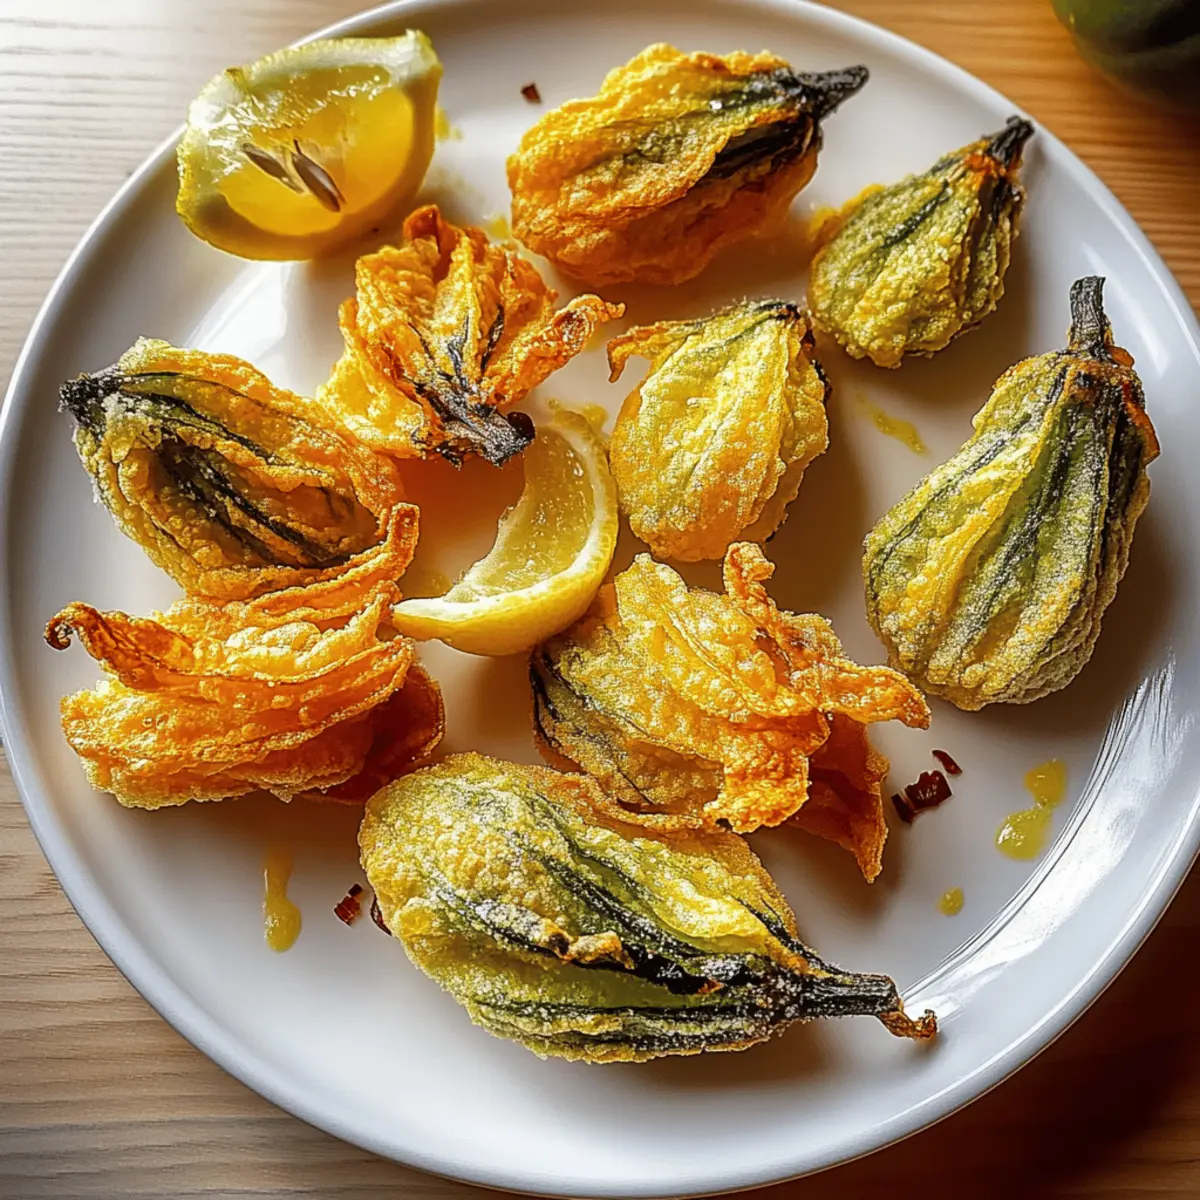
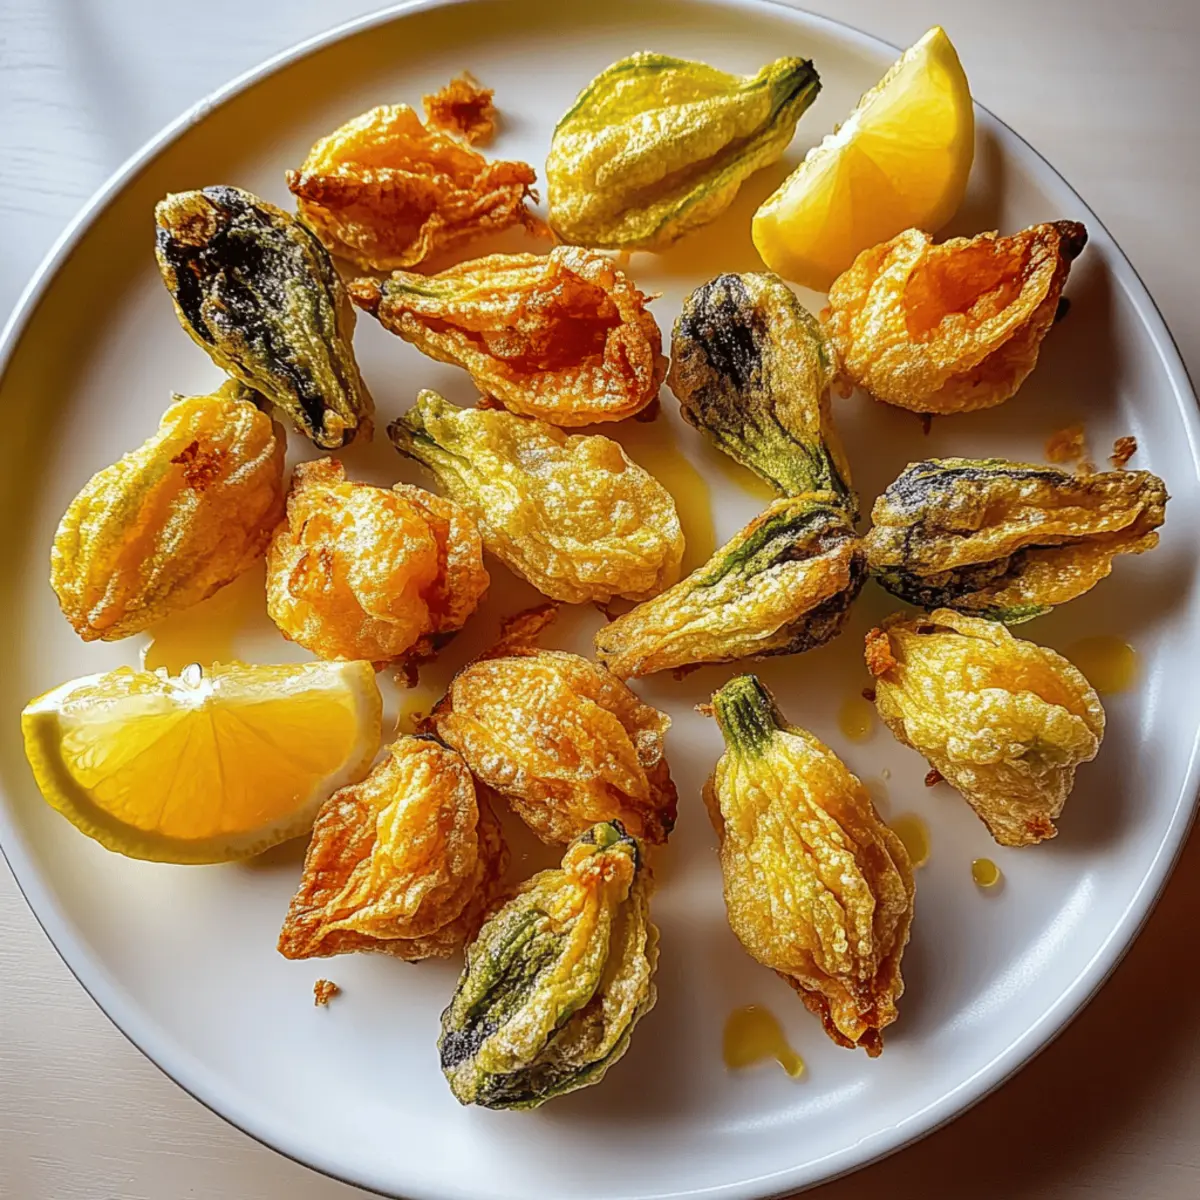
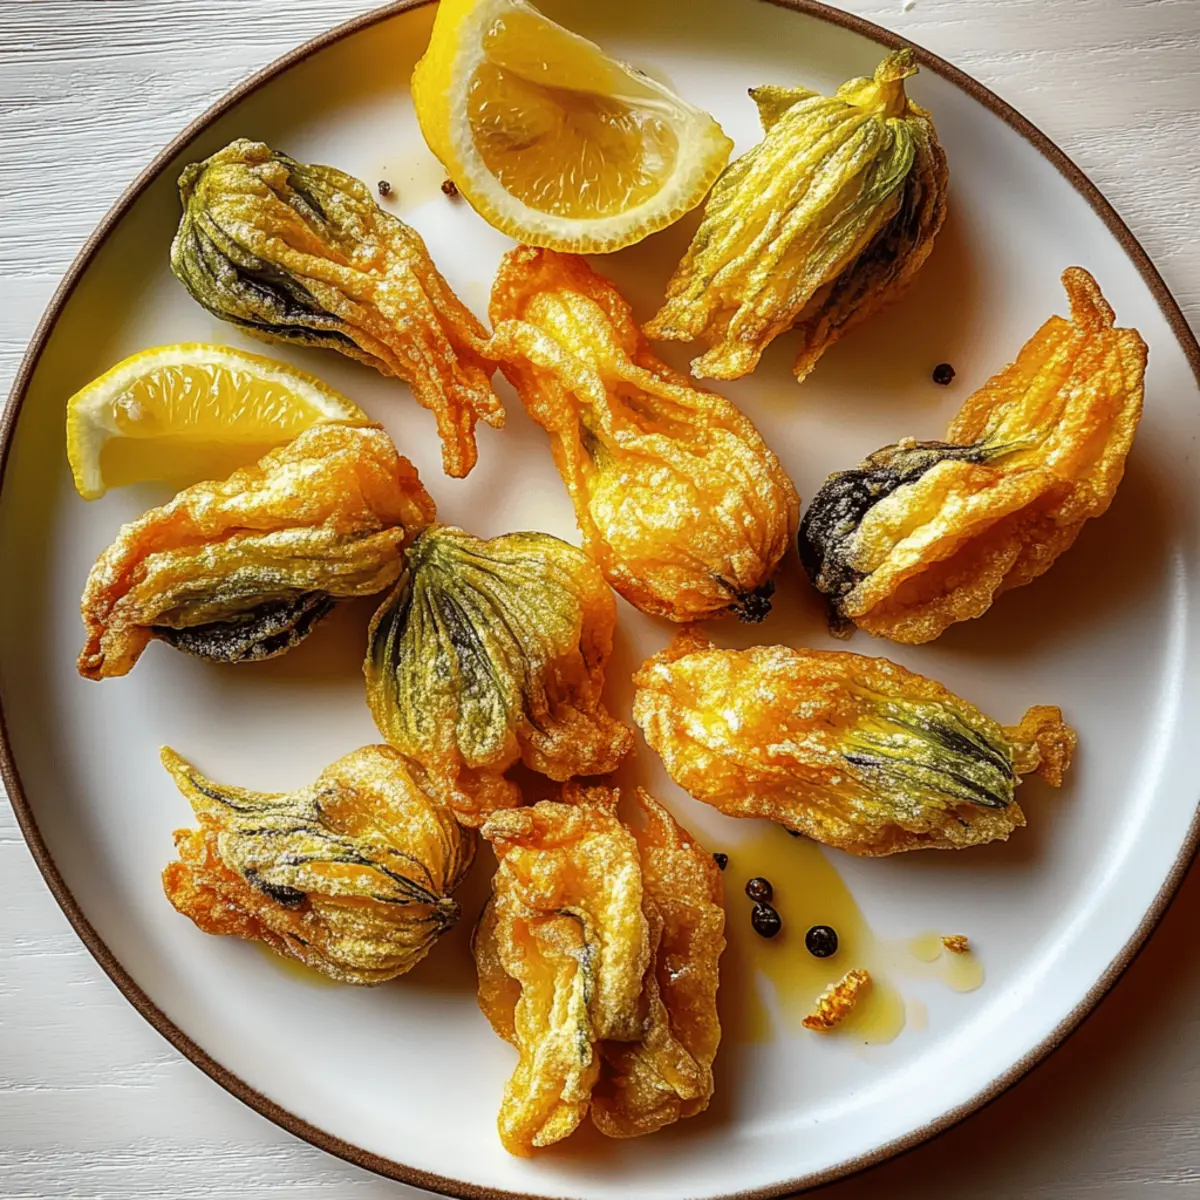
One summer afternoon, a vibrant stand at the farmers' market caught my eye, overflowing with delicate pumpkin blossoms. These curious blooms beckoned with whispers of culinary potential, igniting my imagination. I knew right then—I had to transform these beauties into a dish that dazzles. Enter my recipe for crispy vegan pumpkin blossoms with zesty lemon, a delightful way to embrace the season's finest. Not only are these healthy pumpkin blossoms perfect for gathering around the table, but they also offer a guilt-free way to indulge in a crispy snack. With just a handful of ingredients, including chickpea flour and garlic powder, this vegan and gluten-free appetizer is both simple to prepare and a true crowd-pleaser. Are you ready to elevate your cooking game and impress your friends? Let's dive in!
Why Are These Pumpkin Blossoms Special?
Crispy texture: These healthy pumpkin blossoms boast a light, golden crunch on the outside while keeping a tender interior—just irresistible!
Quick & easy: In just 20 minutes, you can whip up this scrumptious vegan treat, making it a go-to option for busy days.
Flavor explosion: The blend of spices and zesty lemon elevates each bite, promising a taste adventure that's sure to excite your palate.
Versatile serving options: Serve them as a fancy appetizer or a delightful side dish alongside any meal; they adapt beautifully to any gathering.
Nutrient-rich: Packed with vitamins A and C, these blossoms are a guilt-free way to enjoy a delightful snack without sacrificing health.
For a well-rounded meal, consider pairing these with a refreshing salad or alongside a hearty dish like Pasta Bake Pumpkin to keep your guests happy and satisfied!
Healthy Pumpkin Blossoms Ingredients
• Get ready to create a delightful dish!
For the Batter
- Pumpkin Blossoms – Fresh, unwilted blooms add a delicate sweetness.
- Chickpea Flour – This gluten-free option creates a nutty batter; substitute with all-purpose gluten-free flour if needed.
- Water – Helps you adjust the batter thickness; add gradually for the perfect consistency.
- Olive Oil – Moistens the batter for richness; feel free to swap with any neutral oil.
For the Flavor
- Garlic Powder – Infuses the batter with subtle garlic goodness, making it irresistible.
- Onion Powder – Adds a mellow sweetness; omit for a more straightforward flavor.
- Salt – Essential for enhancing all flavors; opt for sea salt or kosher salt based on preference.
- Black Pepper – Offers a touch of heat; adjust according to your taste.
- Chili Flakes (optional) – Bring in spice for an elevated flavor profile; leave out for a milder taste.
For Cooking
- Olive Oil for Cooking – Ensures a golden-brown crust, preventing sticking in the skillet.
- Lemon Wedges for Serving – Brightens the dish with refreshing citrus notes, complementing your healthy pumpkin blossoms beautifully.
Step‑by‑Step Instructions for Healthy Pumpkin Blossoms
Step 1: Clean the Blossoms
Start by rinsing the fresh pumpkin blossoms under cold water to remove any dirt or impurities. Gently pat them dry with a clean kitchen towel, being careful not to bruise the delicate petals. Next, carefully remove any stamens or pistils from inside the blossoms to ensure a clean bite when preparing your healthy pumpkin blossoms.
Step 2: Prepare the Batter
In a mixing bowl, combine chickpea flour, water, olive oil, garlic powder, onion powder, salt, black pepper, and optional chili flakes. Use a whisk to mix the ingredients until you achieve a smooth and creamy batter, adding water gradually as needed for the ideal thickness. This batter will coat your pumpkin blossoms beautifully, providing that crispy texture we all love.
Step 3: Heat the Skillet
Preheat a non-stick skillet over medium heat, letting it warm for about 2–3 minutes. Once hot, add a drizzle of olive oil to the skillet, enough to coat the bottom for frying. The oil should shimmer but not smoke; this is key to achieving that golden-brown color on your healthy pumpkin blossoms while preventing them from sticking.
Step 4: Coat the Blossoms
One by one, carefully dip each pumpkin blossom into the batter, ensuring it gets fully coated. Allow any excess batter to drip off back into the bowl before placing them gently into the skillet. This will help create an even, crunchy layer as they cook, enhancing the overall flavor and presentation of your crispy vegan pumpkin blossoms.
Step 5: Cook
Place the batter-coated blossoms in the hot skillet, making sure not to overcrowd the pan for even cooking. Fry them for approximately 3–4 minutes on one side until they turn a lovely golden-brown color. Use a spatula to gently flip each blossom and let them cook for another 3–4 minutes until both sides are crispy and deliciously appealing.
Step 6: Drain Excess Oil
Once cooked, transfer the golden, crispy pumpkin blossoms to a plate lined with paper towels. This will absorb any excess oil and maintain the delightful crunch of your healthy pumpkin blossoms. Let them sit for a couple of minutes to cool slightly while you finish frying the remaining blossoms.
Step 7: Serve and Enjoy
Arrange the crispy vegan pumpkin blossoms on a serving platter and garnish with fresh lemon wedges for an extra zing. The bright citrus will complement the rich flavors and enhance your dish beautifully. These healthy pumpkin blossoms are best enjoyed warm and fresh, making an irresistible snack or appetizer at your next gathering!
What to Serve with Crispy Vegan Pumpkin Blossoms?
Delight in a spread that beautifully complements the crisp, golden flavors of your pumpkin blossoms, creating a harmonious dining experience.
- Fresh Garden Salad: A vibrant salad with mixed greens and a zesty vinaigrette brightens each bite, cleansing the palate with every crunch.
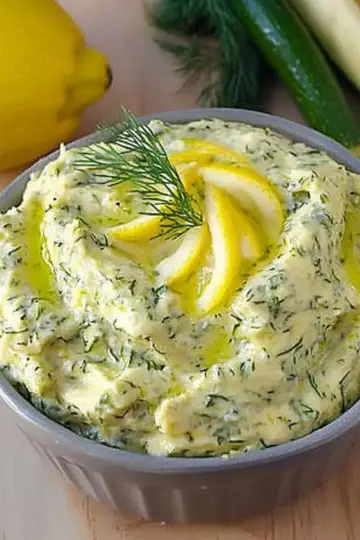
- Creamy Avocado Dip: The smooth texture of avocado dip pairs splendidly, adding richness to the crispness of the blossoms, enhancing your taste adventure.
- Herbed Quinoa: Fluffy quinoa tossed with fresh herbs and lemon is a light accompaniment, offering a nutty flavor that balances the blossoms' delicate sweetness.
- Chickpea Salad: A protein-packed salad with chickpeas, cherry tomatoes, and cucumbers brings a refreshing crunch, perfectly echoing the crispy pumpkin blossoms' texture.
- Roasted Veggies: Warm roasted seasonal vegetables add an earthy flavor that complements the spices in your blossoms, enriching your meal with depth.
- Smoky Hummus: Its smooth richness creates a lovely contrast, inviting everyone to dip and enjoy the crispy bites of your healthy pumpkin blossoms in style!
- Sparkling Lemonade: A glass of bubbly lemonade refreshes and complements the flavor profile, enhancing the zesty lemon served alongside your dish.
- Coconut Rice Pudding: For dessert, serve up a creamy coconut rice pudding; its subtle sweetness and tropical vibe are the perfect finale to your dish.
Embrace this delightful medley of pairings, transforming your meal into a memorable feast!
Storage Tips for Healthy Pumpkin Blossoms
-
Room Temperature: Enjoy your crispy healthy pumpkin blossoms immediately after frying for the best texture. They are best served fresh!
-
Fridge: Store any leftovers in an airtight container for up to 2 days. Line the container with paper towels to absorb excess moisture, helping to keep them crispier.
-
Freezer: For longer storage, freeze the blossoms before frying. Arrange them in a single layer on a baking sheet, freeze until solid, then transfer to a freezer bag, keeping them for up to 3 months.
-
Reheating: To reclaim the perfect crunch, reheat gently in an oven at 350°F (175°C) for about 5-7 minutes. Avoid using a microwave as it can make the blossoms soggy.
Expert Tips for Healthy Pumpkin Blossoms
-
Choose Fresh Blooms: Select unwilted, vibrant pumpkin blossoms that look fresh. Old or damaged flowers won't provide the same delicate flavor or texture in your healthy pumpkin blossoms.
-
Adjust Batter Consistency: Pay attention to your batter thickness; it should coat the blooms without being too drippy. Make gradual adjustments with water or chickpea flour for the perfect coating.
-
Don’t Overcrowd the Skillet: Allow enough space between blossoms while frying to ensure even cooking and that delicious golden-brown crispiness. Overcrowding can lead to steaming instead of frying!
-
Serve Immediately: To maintain that essential crunch, serve your healthy pumpkin blossoms right after frying. If you have leftovers, place them in an airtight container with paper towels to absorb moisture.
-
Experiment with Seasoning: Feel free to customize your spices! Adding smoked paprika or cumin can elevate the flavor profile of your healthy pumpkin blossoms to cater to different palettes.
Make Ahead Options
These healthy pumpkin blossoms are perfect for busy cooks who love meal prep! You can prep the batter up to 24 hours in advance by mixing the chickpea flour, water, olive oil, garlic powder, onion powder, salt, black pepper, and optional chili flakes in a bowl. Store it in an airtight container in the refrigerator to keep it fresh. Additionally, you can clean the pumpkin blossoms and keep them wrapped in a damp paper towel in the fridge for up to 3 days. When you're ready to cook, simply dip the blossoms in the prepared batter and fry them as directed—this way, you'll enjoy a crispy, delicious appetizer with minimal effort at mealtime!
Healthy Pumpkin Blossoms Variations
Feel free to play around with these ideas to make the recipe truly your own!
-
Spice It Up: Add cumin or smoked paprika to the batter for a smoky depth that enhances the overall flavor profile. The additional spices can transport your taste buds on an exciting journey!
-
Herb Infusion: Incorporate fresh herbs like basil or cilantro into your batter. This twist not only boosts flavor but also adds a vibrant pop of color to your dish.
-
Cheesy Alternative: For a dairy twist, try adding nutritional yeast to the batter. This adds a cheesy flavor without compromising the vegan aspect and makes for a delightful, umami-rich experience.
-
Crunchy Coating: Substitute some of the chickpea flour with panko breadcrumbs for an extra crunchy exterior. This variation turns your healthy pumpkin blossoms into an even more addictive snack!
-
Heat Lovers: For more spice, mix in cayenne pepper or crushed red pepper flakes. Adjust the amount to satisfy your heat tolerance and please those who crave a bold flavor punch!
-
Fruit Twist: Serve your blossoms with a zesty mango salsa or a peach chutney. The sweetness from the fruit complements the savory flavors beautifully, creating an exciting culinary contrast.
-
Veggie Boost: Add finely chopped spinach or kale to the batter. This not only ramps up the nutrients but also introduces a lovely green color and texture into your healthy pumpkin blossoms.
-
Dipping Sauce: Pair your blossoms with a homemade spicy aioli or a creamy balsamic dressing for added flavor layers. Try experimenting with the dips for endless combinations, making each bite a new experience. For an inspired pairing, serve alongside a Healthy Breakfast Sandwich for a satisfying meal that will impress your guests.
Healthy Pumpkin Blossoms Recipe FAQs
How do I select ripe pumpkin blossoms?
Absolutely! When choosing pumpkin blossoms, look for fresh, unwilted blooms with vibrant colors. Avoid any that appear wilted or have dark spots, as those may not have the best flavor or texture.
How should I store leftover pumpkin blossoms?
Very good question! Place any leftovers in an airtight container lined with paper towels to absorb moisture. They can be stored in the fridge for up to 2 days. To maintain crispness, heat them in the oven at 350°F (175°C) for about 5-7 minutes before serving.
Can I freeze pumpkin blossoms?
You can absolutely freeze your pumpkin blossoms before frying them! Arrange the cleaned blooms in a single layer on a baking sheet and freeze until solid. Then, transfer them to a freezer bag and store for up to 3 months. When ready to enjoy, fry them straight from the freezer—just add a minute or two to the cooking time.
What if my batter is too thick or too thin?
No worries! If your batter is too thick, simply add a small amount of water, one tablespoon at a time, until you achieve the desired consistency. Conversely, if it's too thin, add a bit more chickpea flour until it reaches the right thickness for coating the blossoms without dripping excessively.
Are these pumpkin blossoms safe for pets?
It's important to note that while pumpkin blossoms are safe for most humans, they can cause mild stomach upset in pets if ingested. Always keep any food outside of their reach, and if you're unsure about any specific ingredient, consult your veterinarian.
Can I make the batter ahead of time?
Absolutely! You can prepare the batter in advance—just store it in the fridge in an airtight container. I recommend using it within 24 hours for the best results, as the batter might thicken as it sits. Simply add a splash of water to thin it out before coating your pumpkin blossoms!
Crispy Healthy Pumpkin Blossoms Ready in Just 20 Minutes
Ingredients
Equipment
Method
- Clean the blossoms under cold water and pat dry. Remove stamens or pistils.
- In a mixing bowl, combine chickpea flour, water, olive oil, garlic powder, onion powder, salt, black pepper, and chili flakes. Mix until smooth.
- Preheat a non-stick skillet over medium heat, adding a drizzle of olive oil.
- Dip each pumpkin blossom in the batter, allowing excess to drip off.
- Fry the blossoms for 3-4 minutes per side until golden-brown.
- Transfer to a plate lined with paper towels to drain excess oil.
- Serve warm, garnished with lemon wedges.

Leave a Reply