
I still get goosebumps when I think about that first bite of Blue Cheese Stuffed Pears at a friend’s dinner party. The tender, juicy pears paired with the creamy blue cheese and the crunch of walnuts felt like an elegant dance of flavors on my palate. This appetizer not only reflects sophistication but also embodies the perfect balance of sweet and savory. Best of all, you can prepare these delightful treats in just 30 minutes, making them an ideal option for both casual get-togethers and festive gatherings. Why settle for store-bought when you can impress your friends with this easy, yet elegant dish? Are you ready to elevate your next gathering with these heavenly bites?
Why Are Blue Cheese Stuffed Pears a Must-Try?
Simplicity at Its Best: You only need a handful of ingredients to create this stunning appetizer.
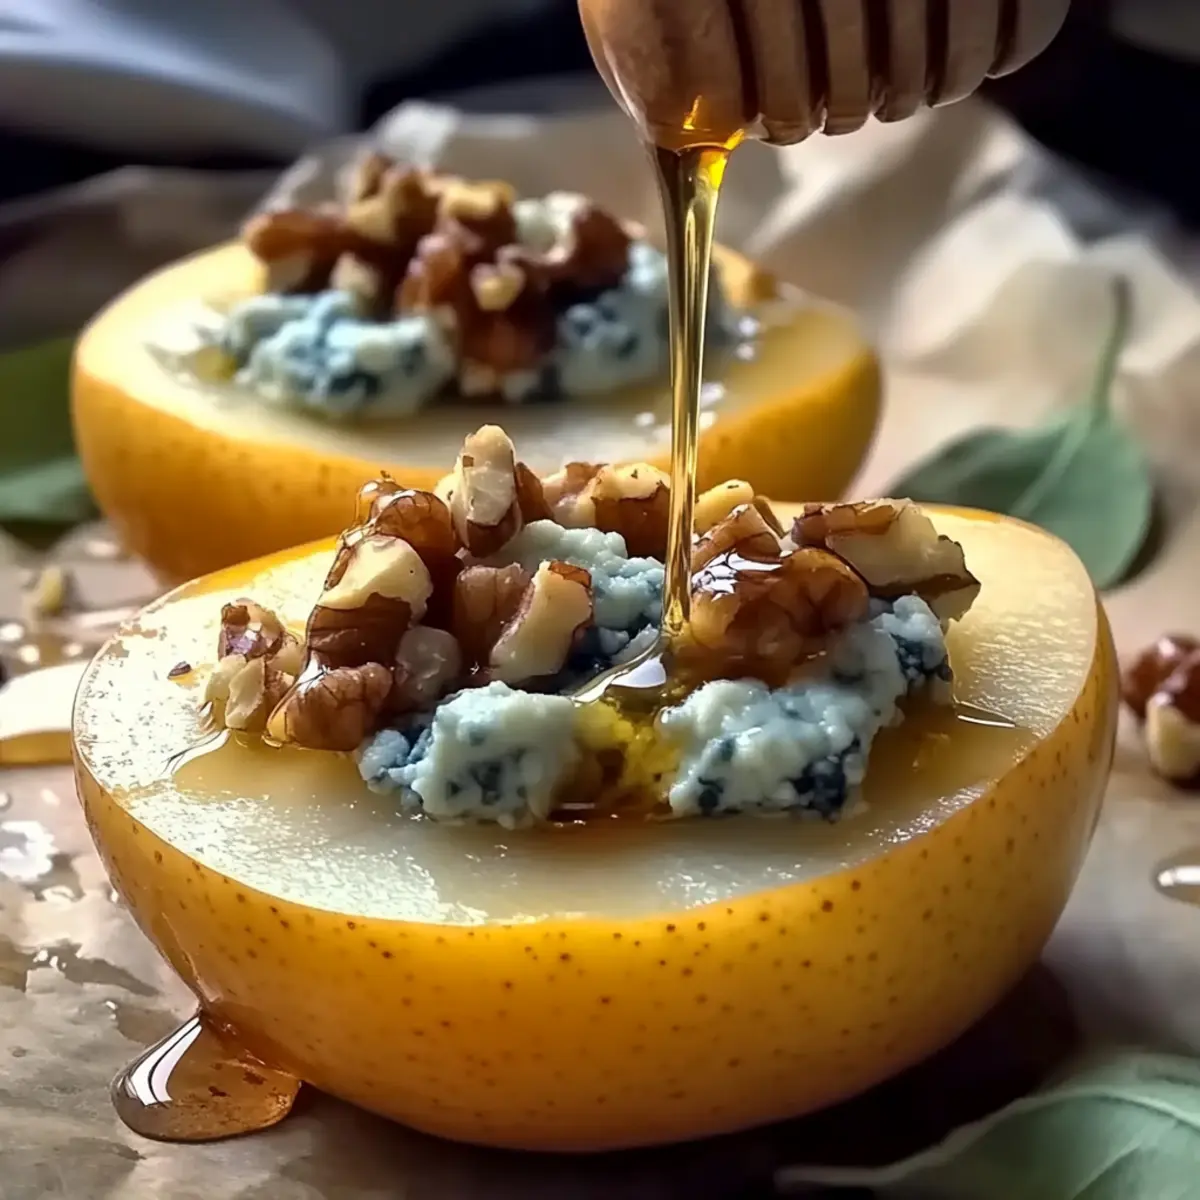
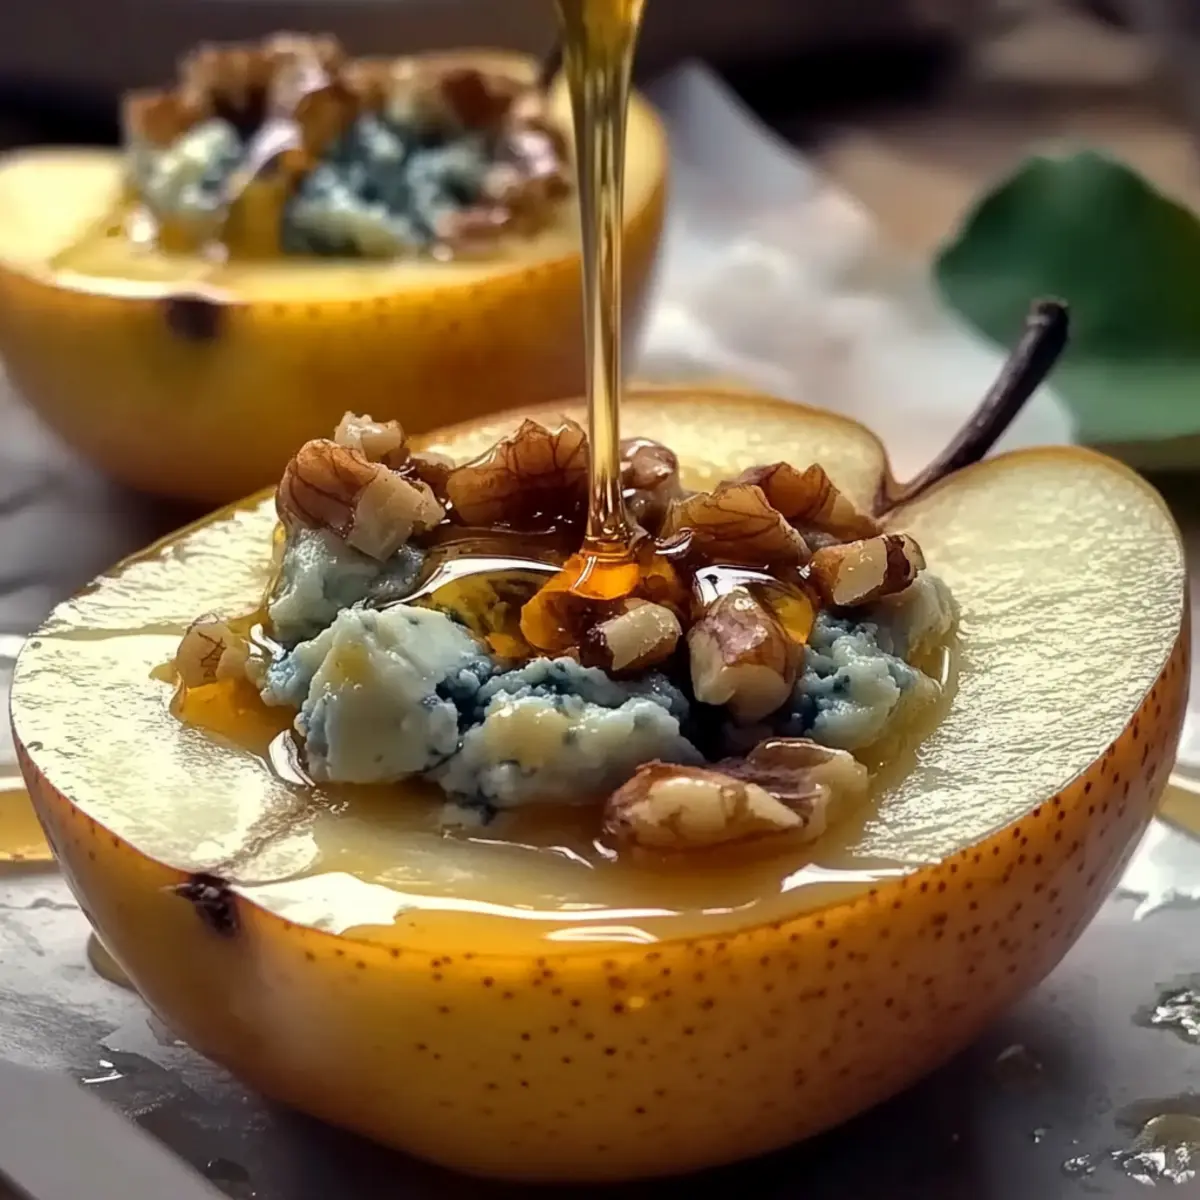
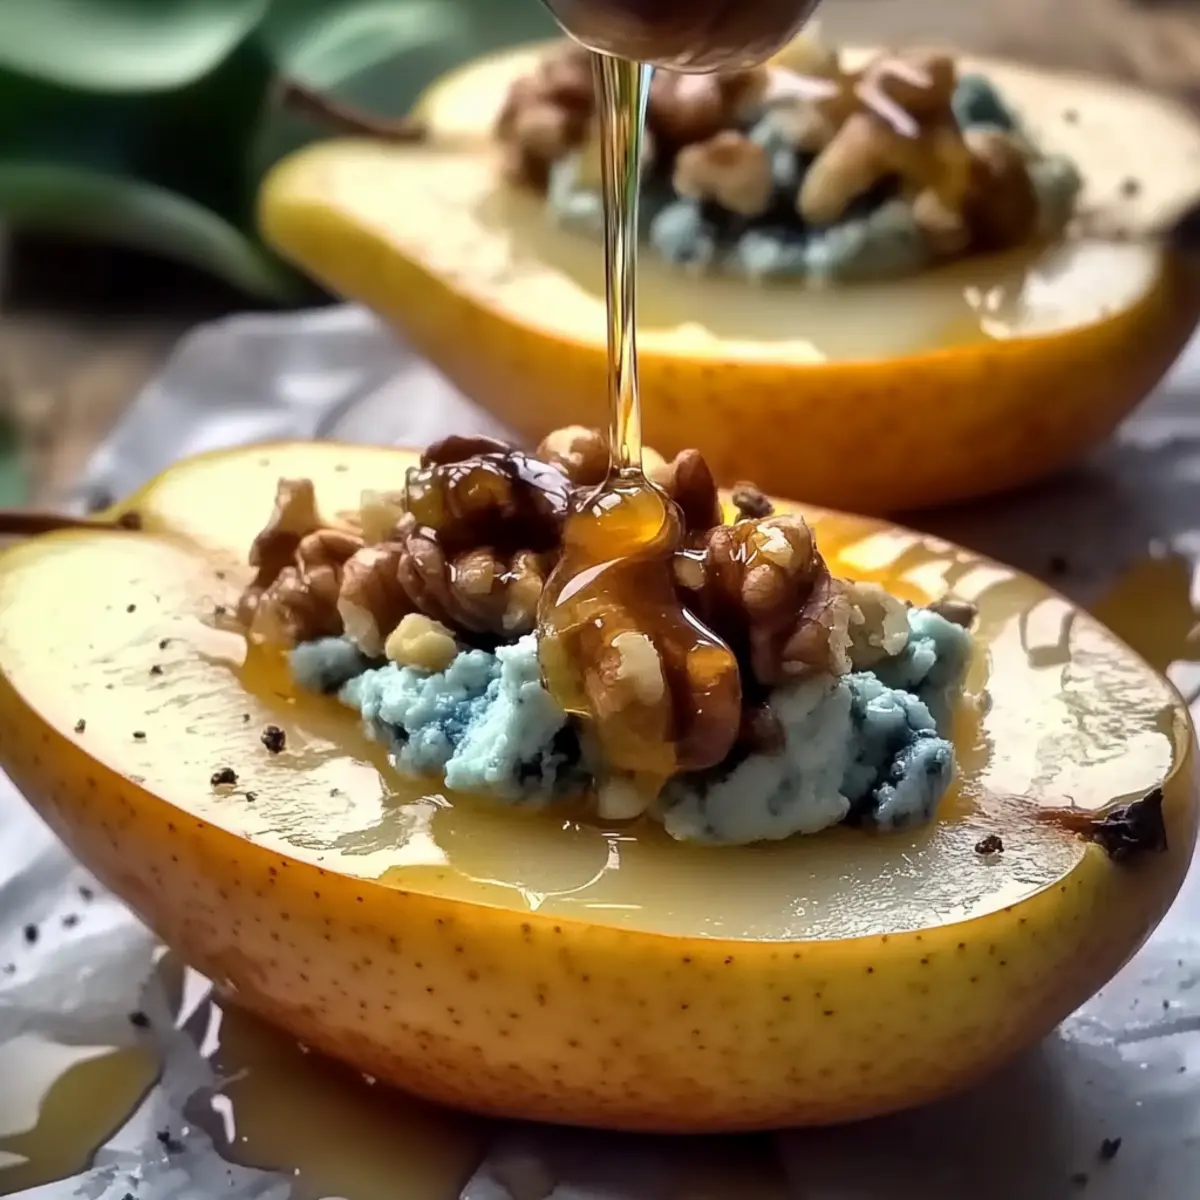
Elegant Presentation: The sight of these beautifully baked pear halves drizzled with honey is sure to wow your guests.
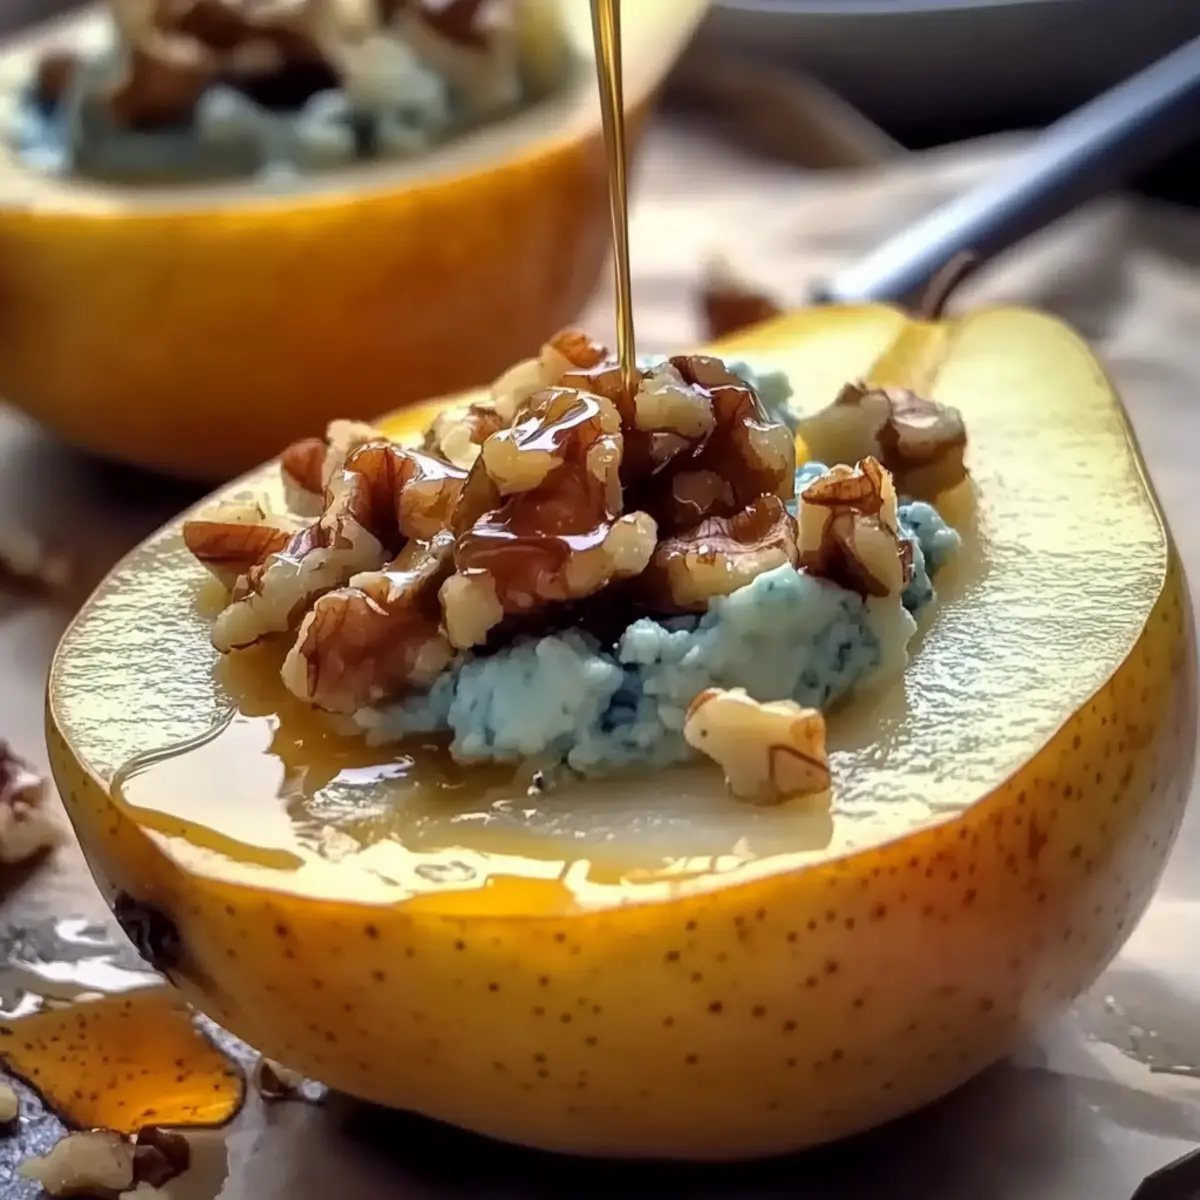
Unique Flavor Fusion: The combination of sweet pears, tangy blue cheese, and earthy walnuts offers an unforgettable taste experience.
Perfect for Any Occasion: Whether it’s a festive celebration or a cozy gathering, these stuffed pears cater to every event, making them a crowd favorite.
Quick Prep Time: With just 30 minutes from start to finish, you’ll have an impressive dish ready without the fuss.
If you're looking for more ways to impress, check out our Quiche Stuffed Bagels or the mouthwatering Grilled Cheese Burrito.
Blue Cheese Stuffed Pears Ingredients
For the Pears
- Pears – Choose ripe but firm varieties like Bartlett or Anjou for sweetness and tenderness.
For the Filling
- Blue Cheese – This brings a creamy, sharp flavor; you can also use goat cheese or feta for a milder twist.
- Walnuts – Adds crunch and texture to the filling; feel free to substitute with pecans or almonds if desired.
- Lemon Juice – Provides brightness to balance out the flavors; always go for freshly squeezed for the best taste.
For Drizzling
- Honey – The natural sweetness enhances the dish beautifully; maple syrup can be swapped in for a different touch.
Seasonings
- Salt and Pepper – Essential for elevating the flavor; sprinkle according to your taste preferences.
Step‑by‑Step Instructions for Blue Cheese Stuffed Pears
Step 1: Preheat the Oven
Begin by preheating your oven to 375°F (190°C). This ensures that your Blue Cheese Stuffed Pears bake evenly and reach that perfect tender texture. Preheating is crucial, so take this time to prepare your baking sheet by lining it with parchment paper, which will prevent sticking and make cleanup easier.
Step 2: Prepare the Pears
While the oven heats up, grab two ripe but firm pears, such as Bartlett or Anjou. Slice each pear in half lengthwise and scoop out a small portion of the core to create a hollow space for the filling. Place the pear halves cut side up on the lined baking sheet, showcasing their beautiful shape and ready for stuffing.
Step 3: Make the Filling
In a mixing bowl, combine crumbled blue cheese, chopped walnuts, freshly squeezed lemon juice, and a pinch of salt and pepper. Use a fork to blend the ingredients until well mixed; the texture should be somewhat creamy with a few chunks for added crunch. This savory mixture will be the highlight of your Blue Cheese Stuffed Pears.
Step 4: Stuff the Pears
Carefully fill each pear half with the cheese and walnut mixture. Take care not to overstuff, as this could lead to spillage during baking. The filling should be generous but contained within the pear, allowing them to roast beautifully and maintain their shape as they bake.
Step 5: Drizzle with Honey
Now that your pears are stuffed, take a moment to drizzle honey generously over the top of each. This sweet touch will melt into the cheese filling as it bakes, enhancing the overall flavor and creating a delightful glaze. The contrast of flavors between the savory filling and sweet honey will elevate your Blue Cheese Stuffed Pears.
Step 6: Bake the Stuffed Pears
Place your prepared baking sheet in the preheated oven and bake for 15-20 minutes. Keep an eye on them; the pears should become tender but not mushy, while the filling turns golden brown. You'll know they're ready when the edges of the pears start to caramelize, and your kitchen fills with a wonderful aroma.
Step 7: Serve and Enjoy
Once baked, remove the Blue Cheese Stuffed Pears from the oven and allow them to cool slightly. For an elegant presentation, serve them warm on a bed of fresh arugula or mixed greens, perhaps drizzling a little more honey on top. Your delightful creation is now ready to impress guests at any gathering!
Blue Cheese Stuffed Pears Variations & Substitutions
Feel free to get creative and make these elegant Blue Cheese Stuffed Pears your own with these delightful variations!
-
Goat Cheese: Replace blue cheese with creamy goat cheese for a milder flavor. It pairs beautifully with the sweetness of the pears.
-
Nutty Crunch: Substitute walnuts with pecans or almonds for a different crunch that still complements the soft pears.
-
Dried Fruits: Add chopped dried cranberries or figs to the filling for an extra pop of sweetness. The burst of flavor from the fruits will surprise your guests!
-
Herb Infusion: Mix fresh herbs like thyme or rosemary into the filling for an aromatic twist. This will elevate the savory aspect of your stuffed pears.
-
Spicy Kick: For those who love a little heat, sprinkle crushed red pepper flakes into the filling. It adds a lovely contrast to the sweet and savory elements.
-
Maple Drizzle: Swap honey for maple syrup for a unique sweetness that brings a rustic charm to the dish. It pairs wonderfully with the earthy flavors of the cheese and nuts.
-
Mini Pear Bites: Use smaller varieties of pears to create bite-sized appetizers. The small servings are perfect for parties and gatherings!
-
Stuffed with Cheese: Try mixing in a layer of cream cheese for added creaminess. It balances well with the tanginess of the blue cheese and enhances the buttery texture.
These variations ensure your Blue Cheese Stuffed Pears stay exciting every time you serve them! Don’t forget to explore pairing dishes like One Pot Cheeseburger for a full meal experience or indulge in a sweet treat like Red Velvet Strawberry Cheesecake!
Expert Tips for Blue Cheese Stuffed Pears
• Choose Ripe Pears: Ensure pears are ripe but firm to maintain texture after baking—overripe pears can become mushy.
• Mix It Up: For added flavor and texture, consider tossing in some dried cranberries or figs with the cheese mixture.
• Don’t Overstuff: Avoid overflowing the pears when filling; a heaping mixture can spill over and make a mess while baking.
• Watch the Bake Time: Keep an eye on your Blue Cheese Stuffed Pears as they bake; you’re aiming for tender pears with a golden, lightly caramelized filling.
• Garnish Wisely: Serve on a bed of fresh greens and drizzle with honey for a stunning presentation that enhances the dish's elegance.
Make Ahead Options
These Blue Cheese Stuffed Pears are perfect for meal prep, allowing you to savor their delicious flavors with minimal last-minute effort! You can prepare the filling (blue cheese, walnuts, lemon juice, salt, and pepper) up to 24 hours in advance. Simply store it in an airtight container in the refrigerator to keep it fresh. The pears can also be halved and cored a few hours ahead; just drizzle with lemon juice to prevent browning. When you're ready to serve, stuff the prepared pears with the filling, drizzle honey over the top, and bake for 15-20 minutes until tender and golden. Enjoy these elegant treats with ease at your next gathering!
What to Serve with Elegant Blue Cheese Stuffed Pears
Elevate your dining experience by pairing these irresistible bites with thoughtfully chosen accompaniments that enhance every savory and sweet note.
- Arugula Salad: The peppery freshness of arugula brightens the rich flavors of blue cheese, creating a lush balance on the plate.
- Honey-Glazed Carrots: Sweet, tender carrots glazed with honey mirror the sweet notes of the pears, adding warmth and color to your spread.
- Crackers or Crostini: Crispy, crunchy bites provide a perfect vessel for the creamy filling and offer a delightful textural contrast.
- Toasted Sourdough Bread: Serve with thin slices of toasted sourdough to complement the pears, adding a chewy element and robust flavor.
For a more refined experience, consider creating a cheese board with assorted cheeses and fresh fruits alongside our featured dish.
- Sparkling White Wine: A glass of crisp sparkling wine enhances the flavors while providing a celebratory touch to any gathering.
- Chardonnay: Enjoy a chilled glass of buttery Chardonnay that pairs beautifully with the creaminess of blue cheese, making every course sing.
- Dark Chocolate Truffles: Cleanse the palate and provide a sweet finish with rich dark chocolate truffles, balancing savory bites with a touch of indulgence.
How to Store and Freeze Blue Cheese Stuffed Pears
Fridge: Store leftovers in an airtight container for up to 2 days. This will keep your Blue Cheese Stuffed Pears fresh while maintaining their delicious flavor.
Freezer: If you want to freeze the unbaked stuffed pears, place them in a single layer on a baking sheet, freeze until solid, then transfer to a freezer-safe bag for up to 2 months.
Reheating: To reheat baked leftovers, pop them in a preheated oven at 350°F (175°C) for about 10-15 minutes until warmed through and the filling is melty once again.
Avoid Mushiness: For the best results, freeze before baking. If you freeze baked pears, be sure to consume them within a month for optimal taste and texture.
Blue Cheese Stuffed Pears Recipe FAQs
How do I select the best pears for my Blue Cheese Stuffed Pears?
Absolutely! Look for ripe but firm pears, such as Bartlett or Anjou. They should feel slightly soft at the neck when gently pressed, yet not too mushy. Avoid pears with dark spots all over, as this indicates overripeness. The firmness will help them hold their shape while baking!
What is the best way to store leftover Blue Cheese Stuffed Pears?
Very! Store any leftover pears in an airtight container in the refrigerator for up to 2 days. This will keep them fresh and delicious without losing that lovely flavor. Just remember, reheating them in the oven at 350°F (175°C) for about 10-15 minutes will bring back that delightful melty filling.
Can I freeze Blue Cheese Stuffed Pears?
Yes, you can freeze them! If you want to prepare them in advance, I recommend freezing the unbaked stuffed pears. Simply place them in a single layer on a baking sheet, freeze until solid, and then transfer to a freezer-safe bag for up to 2 months. When you're ready to enjoy, bake them straight from the freezer, just add a few extra minutes to the baking time!
What should I do if my pears are mushy after baking?
Oh dear! To prevent mushy pears, make sure to choose fruit that’s ripe yet firm. If you've already baked them and they turned out soft, try serving them on a bed of arugula as a salad. The brightness of the greens can help balance the texture. Moving forward, you can reduce the baking time slightly or check them at the 12-minute mark to ensure they stay just tender.
Are there any dietary considerations for Blue Cheese Stuffed Pears?
Absolutely! If you're serving guests with dietary restrictions, blue cheese may not be suitable for those with lactose intolerance or certain allergies. You can easily substitute it with goat cheese or feta, which can also create a unique flavor profile. Just be sure to inform your guests about the ingredients used in this delightful dish.
Blue Cheese Stuffed Pears: An Elegant Appetizer to Impress
Ingredients
Equipment
Method
- Preheat your oven to 375°F (190°C) and line a baking sheet with parchment paper.
- Slice each pear in half lengthwise and scoop out a small portion of the core.
- In a mixing bowl, combine crumbled blue cheese, chopped walnuts, lemon juice, salt, and pepper.
- Fill each pear half with the cheese and walnut mixture.
- Drizzle honey generously over the top of each stuffed pear.
- Bake for 15-20 minutes until the pears are tender and the filling turns golden brown.
- Serve warm on a bed of fresh arugula or mixed greens, drizzling with more honey if desired.


Leave a Reply