
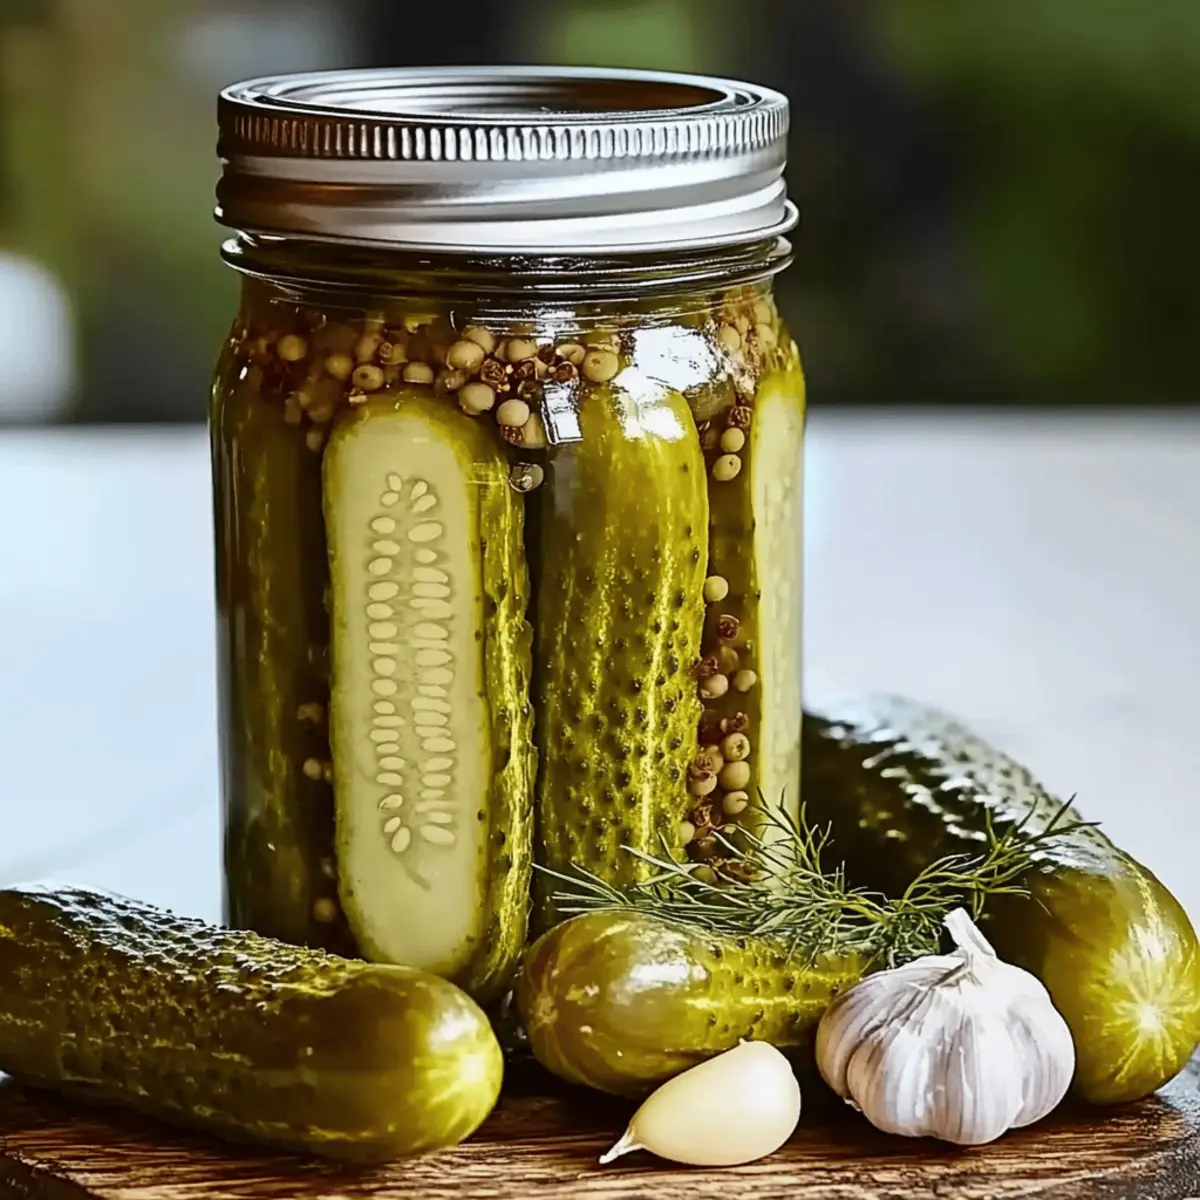
The first crunch of a crisp cucumber can transport me back to summer days spent in my grandmother's kitchen. Tucked away in her pantry, jars of homemade canned dill pickles gleamed with their vibrant green color, and each bite was a zesty celebration of flavor. In this post, I'll share my recipe for Easy Homemade Canned Dill Pickles—the perfect way to preserve those fresh farmers market cucumbers while adding a delightful zing to your meals. Not only are they incredibly satisfying to make, but they offer a customizable twist—think extra garlic, spicy red pepper flakes, or even a dash of mustard seeds. Whether as a refreshing snack or a zesty sidekick to your favorite sandwiches, these pickles are the perfect way to elevate your culinary adventures. Curious about the best tips for achieving the perfect crunch? Let’s dive in!
What makes canned dill pickles special?
Homemade goodness: There's nothing quite like the taste of homemade canned dill pickles, bursting with fresh ingredients and vibrant flavors.
Customizable flavors: Whether you love a garlicky punch or a spicy kick, you can tailor the spice levels to match your personal taste preferences.
Crowd-pleasing: Serve these crunchy delights at gatherings—everyone will love them alongside burgers or as part of a cheese board!
Simple process: With easy-to-follow steps, you’ll be preserving cucumbers like a pro in no time. Need more preservation tips? Check out our guide on Spicy Pickle Brine Essentials!
Long-lasting: Once sealed, these pickles can be stored for up to a year, making them a fantastic way to enjoy summer’s bounty all year long.
With all these perks, your homemade canned dill pickles will be the star of every meal!
Canned Dill Pickle Ingredients
For the Pickles
• Fresh Pickling Cucumbers – These are the backbone of your pickles; opt for firm varieties for that perfect crunch.
• Garlic Cloves – Adds aromatic depth; use whole for a milder taste or crushed for a stronger flavor.
• Fresh Dill Sprigs – Essential for that classic dill pickles flavor; fresh is preferred, but dried can work in a pinch.
For the Brine
• White Vinegar – Provides the tangy base for your brine; substitute with apple cider vinegar for a twist on the classic.
• Water – Balances the acidity of the vinegar; use filtered water for the best results.
• Salt – Critical for preserving your pickles; use kosher or canning salt for optimal texture.
• Sugar – Just a touch to balance the tartness of the brine; adjust to your taste, especially if you prefer a sweeter pickle.
This unique blend of ingredients helps create delightful, crunchy canned dill pickles that are bursting with flavor, adding a delightful note to any meal!
Step‑by‑Step Instructions for Canned Dill Pickle
Step 1: Sterilize Jars
Begin by sterilizing your jars and lids to ensure safety and freshness for your homemade canned dill pickles. Place them in a large pot of boiling water for 10 minutes; you'll know they're ready when they gleam in the light. This step is essential for preventing contamination and ensuring a great seal when you're done.
Step 2: Prepare Cucumbers
While the jars are sterilizing, wash the fresh pickling cucumbers thoroughly under cold water. Trim the ends, then slice them into spears or rounds based on your preference. Aim for uniform thickness to ensure even pickling. Set your sliced cucumbers aside on a clean towel to dry a bit, allowing them to stay crisp in the brine.
Step 3: Make the Brine
In a medium-sized pot, combine water, white vinegar, salt, and sugar to create the brine for your pickles. Heat it over medium-high heat until it reaches a rolling boil, stirring occasionally until both the salt and sugar fully dissolve. This step should take about 5 minutes; look for a clear liquid with all solids gone for the best brine.
Step 4: Pack Jars
Once your jars are sterilized and brine is prepared, carefully remove the jars from the boiling water using tongs. Layer your cucumber slices or spears tightly into each jar, adding a couple of garlic cloves and fresh dill sprigs as you go. Leave about half an inch of space at the top to allow for brine and expansion during processing.
Step 5: Add Brine
Pour the hot brine over the packed cucumbers in each jar, making sure they are completely submerged. Use a clean utensil to gently poke at the cucumbers to eliminate any air bubbles. Seal the jars tightly with the sterilized lids; they should feel firm and secure to protect your delicious canned dill pickles.
Step 6: Process Jars
To ensure a tight seal, process the jars in a boiling water bath. Place them gently into the pot, ensuring water covers the jars by at least an inch. Boil for 10 minutes, and you'll know they're properly sealed when the lids pop and are firm to the touch afterward; this helps preserve your pickles for months.
Step 7: Cure
After processing, carefully remove the jars from the water bath using tongs and allow them to cool upside down on a clean towel for 12 hours. Once cooled, store your homemade canned dill pickles in a cool, dark place to cure for at least two weeks. This resting period helps deepen the flavors, making every bite a delightful zesty experience.
How to Store and Freeze Canned Dill Pickles
Cool, Dark Place: Keep your sealed jars of canned dill pickles in a cool, dark area like a pantry or cellar; they can last up to a year when stored properly.
Refrigerate After Opening: Once opened, refrigerate your pickles and consume them within two months for the best taste and texture.
Glass Containers: Store any leftover pickles in airtight glass containers to maintain their crunchiness and prevent flavors from mingling.
Freezing Not Recommended: Freezing is not advisable for canned dill pickles as it can compromise their texture and flavor; enjoy them fresh from the jar instead!
Expert Tips for Canned Dill Pickles
- Perfectly Crisp Cucumbers: Use fresh pickling cucumbers that are firm and unblemished; overripe cucumbers can lead to soggy pickles.
- Tweak the Brine: Don't be afraid to adjust salt and sugar levels to your taste; however, maintain a good balance for flavorful canned dill pickles.
- Sanitize Jars: Ensure all jars are thoroughly sterilized without cracks or chips, as any imperfections can compromise the seal and preserve quality.
- Curing Time: Allow your pickles to cure for at least two weeks; this resting period is crucial for developing that zesty flavor you crave.
- Flavor Experiments: Consider adding spices like mustard seeds or fresh herbs such as tarragon to customize the taste of your pickles, enhancing the classic flavor profile.
Canned Dill Pickle Variations
Feel free to let your culinary creativity shine with these delicious twists and substitutions for your canned dill pickles.
- Spicy Kick: Add crushed red pepper flakes to the brine for a delightful heat. Start with half a teaspoon and adjust based on your spice tolerance.
- Herb Swap: Experiment by replacing fresh dill with tarragon or basil for a unique flavor profile. Both herbs lend an aromatic twist that’s delightful in each bite.
- Garlic Lovers: Increase the number of garlic cloves or opt for roasted garlic for a sweeter, creamier flavor. You’ll enjoy an irresistible fragrance that signals your pickles are almost ready!
- Sweet & Sour: For a sweeter taste, add more sugar to the brine or include sliced onions to enhance sweetness and texture. Trust me; the combination is heavenly!
- Cucumber Crunch: Try using small, crunchy snack cucumbers for a different texture. Their extra crispness is perfect for those who enjoy a serious crunch in every bite.
- Mustard Seed Magic: Incorporate mustard seeds into your brine for a subtle pungent kick. They add an extra layer of flavor that complements the dill beautifully.
- Flavor Boost: Infuse your brine with ingredients like bay leaves or coriander seeds for extra depth and complexity. Just a few will transform your pickles into something extraordinary.
- Tart Twist: Use apple cider vinegar instead of white vinegar for a less acidic yet flavorful brine. It adds a pleasing richness that makes every bite memorable.
You can even take it one step further with a zesty blend! Consider adding a splash of homemade Spicy Pickle Brine to enhance the flavors of your pickles, or explore other creative recipes that elevate your canning game.
What to Serve with Canned Dill Pickles
Amp up your meals with refreshing accompaniments that bring out the delightful crunch and tang of your homemade pickles.
-
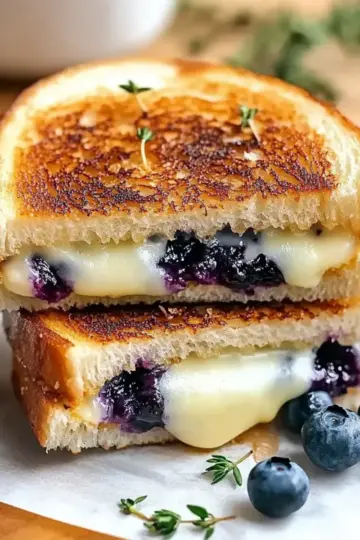
Grilled Cheese Sandwiches: The sharpness of melted cheese paired with the tartness of pickles creates a classic comfort food experience. A perfect combo that will leave you craving more!
-
Pulled Pork: The sweet and smoky flavors of pulled pork are balanced beautifully by the bite of your pickled cucumbers. Enjoy them as a side or atop your sandwich for extra zest.
-
Potato Salad: Creamy potato salad enhances the brightness of dill pickles, creating a delightful contrast of textures and flavors. This duo is a must at summer barbecues!
-
Tuna Salad: Adding chopped pickles to tuna salad provides a satisfying crunch and tang that elevates the entire dish. Try it on toasted bread for an extra special kick.
-
Hot Dogs: For a classic summer treat, pile your pickled cucumbers on top of a hot dog. The vibrant tang cuts through the richness, making each bite exceptionally gratifying.
-
Chickpea Salad: Pairing your pickles with a fresh chickpea salad made with diced tomatoes, cucumber, and herbs is a healthy choice that complements their crunch.
-
Beverages: Serve your pickles alongside a refreshing homemade lemonade or iced tea to balance their tangy flavor with a sweet sip, perfect for summertime!
-
Dessert: To finish, consider enjoying your pickles with a slice of lemon tart or vanilla ice cream—surprising yet delightful combinations that highlight your pickles' versatility.
Make Ahead Options
These Homemade Canned Dill Pickles are perfect for busy home cooks wanting to simplify meal planning! You can prepare your jars and brine up to 24 hours in advance, sealing everything tightly to maintain freshness. Simply wash and cut your cucumbers into spears or slices the day before, and store them in an airtight container in the refrigerator to keep them crisp. When you're ready to finish the canned dill pickles, just heat your brine, pack the jars with cucumbers, garlic, and dill, pour the hot brine over, and process. This way, you’ll enjoy delicious homemade pickles with minimal effort, ready to elevate your meals any night of the week!
Canned Dill Pickles Recipe FAQs
What type of cucumbers should I use for canned dill pickles?
For the crunchiest pickles, I recommend using fresh pickling cucumbers, as they are specifically suited for canning. Look for firm varieties without any dark spots or blemishes, as overripe cucumbers can lead to mushy pickles. The ideal ones will feel smooth to the touch and snap when you bend them slightly.
How do I store homemade canned dill pickles?
Store your sealed jars in a cool, dark place, such as a pantry or cellar, where they can last for up to a year if stored properly. After opening a jar, be sure to refrigerate it and consume the contents within two months for the best flavor and crunch. Always keep pickles in airtight glass containers to preserve their delightful freshness even longer!
Can I freeze canned dill pickles?
Freezing is not recommended for canned dill pickles, as the freezing process can significantly alter their texture and flavor—leading them to become soggy once thawed. Instead, enjoy your pickles fresh from the jar! They’re made to be crisp and zesty, just as they should be.
What should I do if my pickling jars don't seal properly?
If your jars don't seal correctly, don’t worry! Simply refrigerate them and consume the pickles within two weeks. Alternatively, you can try reprocessing the jars by boiling them in a water bath for another 10 minutes, allowing you to salvage your delightful creation and enjoy homemade canned dill pickles.
Are there any dietary considerations for canned dill pickles?
Absolutely! Canned dill pickles are vegetarian and low in calories, making them a delightful addition to a variety of diets. However, be mindful of salt levels for individuals with sodium sensitivities and consider omitting added sugar for a healthier, tangy option. Always check ingredient labels for potential allergens, especially if you venture into spice variations!
Canned Dill Pickles: Easy, Crunchy Perfection at Home
Ingredients
Equipment
Method
- Sterilize your jars and lids in boiling water for 10 minutes to ensure safety and freshness.
- Wash the fresh pickling cucumbers, trim the ends, and slice them into spears or rounds.
- In a medium-sized pot, combine water, white vinegar, salt, and sugar, and bring to a rolling boil.
- Layer cucumber slices tightly in sterilized jars, adding garlic cloves and fresh dill, leaving half an inch at the top.
- Pour the hot brine over the cucumbers, ensuring they're completely submerged, then seal the jars tightly.
- Process the jars in a boiling water bath for 10 minutes to ensure a tight seal.
- Allow the jars to cool upside down on a clean towel for 12 hours and store in a cool, dark place to cure for at least two weeks.

Leave a Reply