
As I sifted through my grandmother's treasured recipe box, a wave of nostalgia hit me. Among the classic cards, one stood out: Cannoli Cookies—a delightful twist on the beloved Italian dessert. With the irresistible combination of a crisp exterior and a creamy ricotta filling, these cookies are perfect for anyone tired of fast food. They’re quick to whip up, making them an ideal treat for unexpected guests or a cozy family gathering. Plus, with simple modifications for gluten-free options, everyone can enjoy a taste of Italy at home. So, are you ready to embark on a sweet baking adventure that’s sure to create new family memories? Let’s dive in!
Why are Cannoli Cookies so special?
Nostalgic Flavors: These Cannoli Cookies bring the comforting essence of a classic Italian dessert right to your home.
Customization Options: Easily swap ricotta for mascarpone or use almond flour for those needing gluten-free treats.
Quick Preparation: Simple to make, these cookies are ready to impress guests or family in no time!
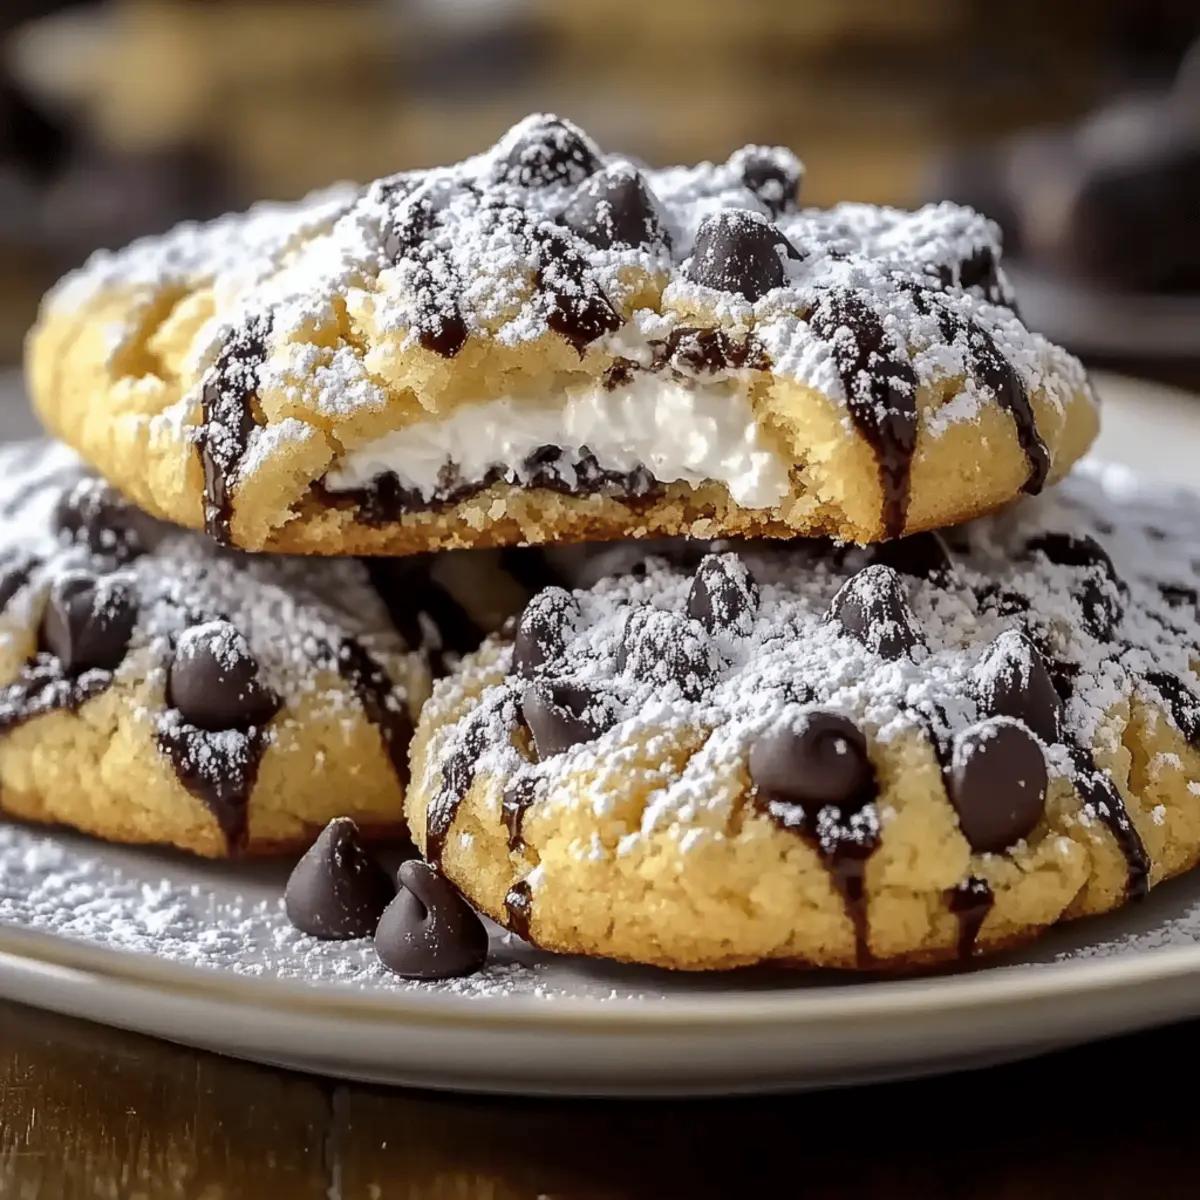
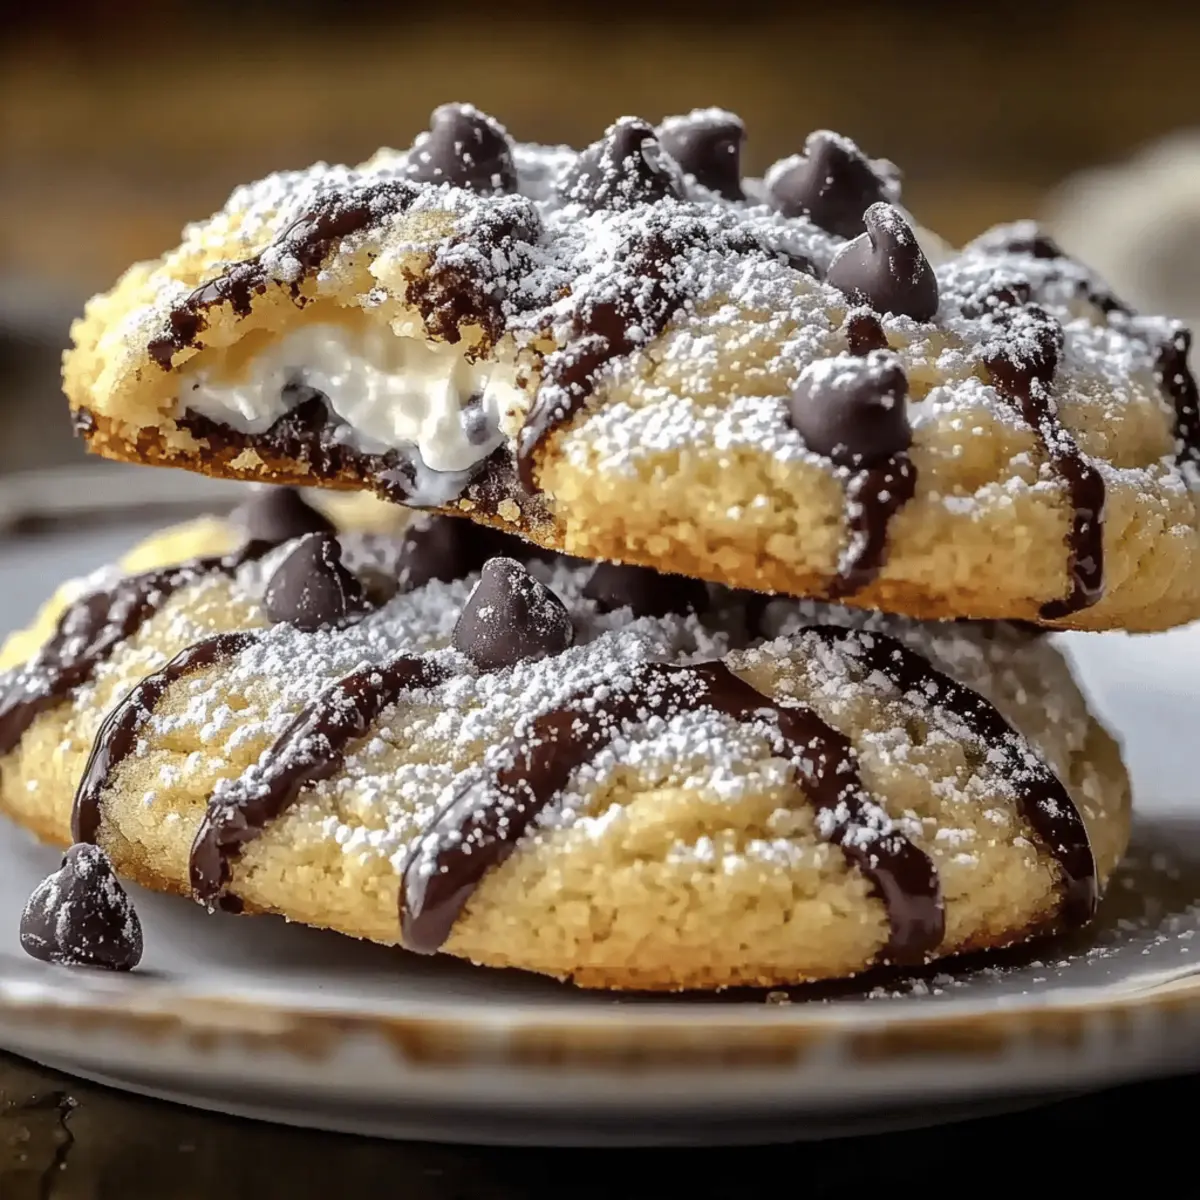
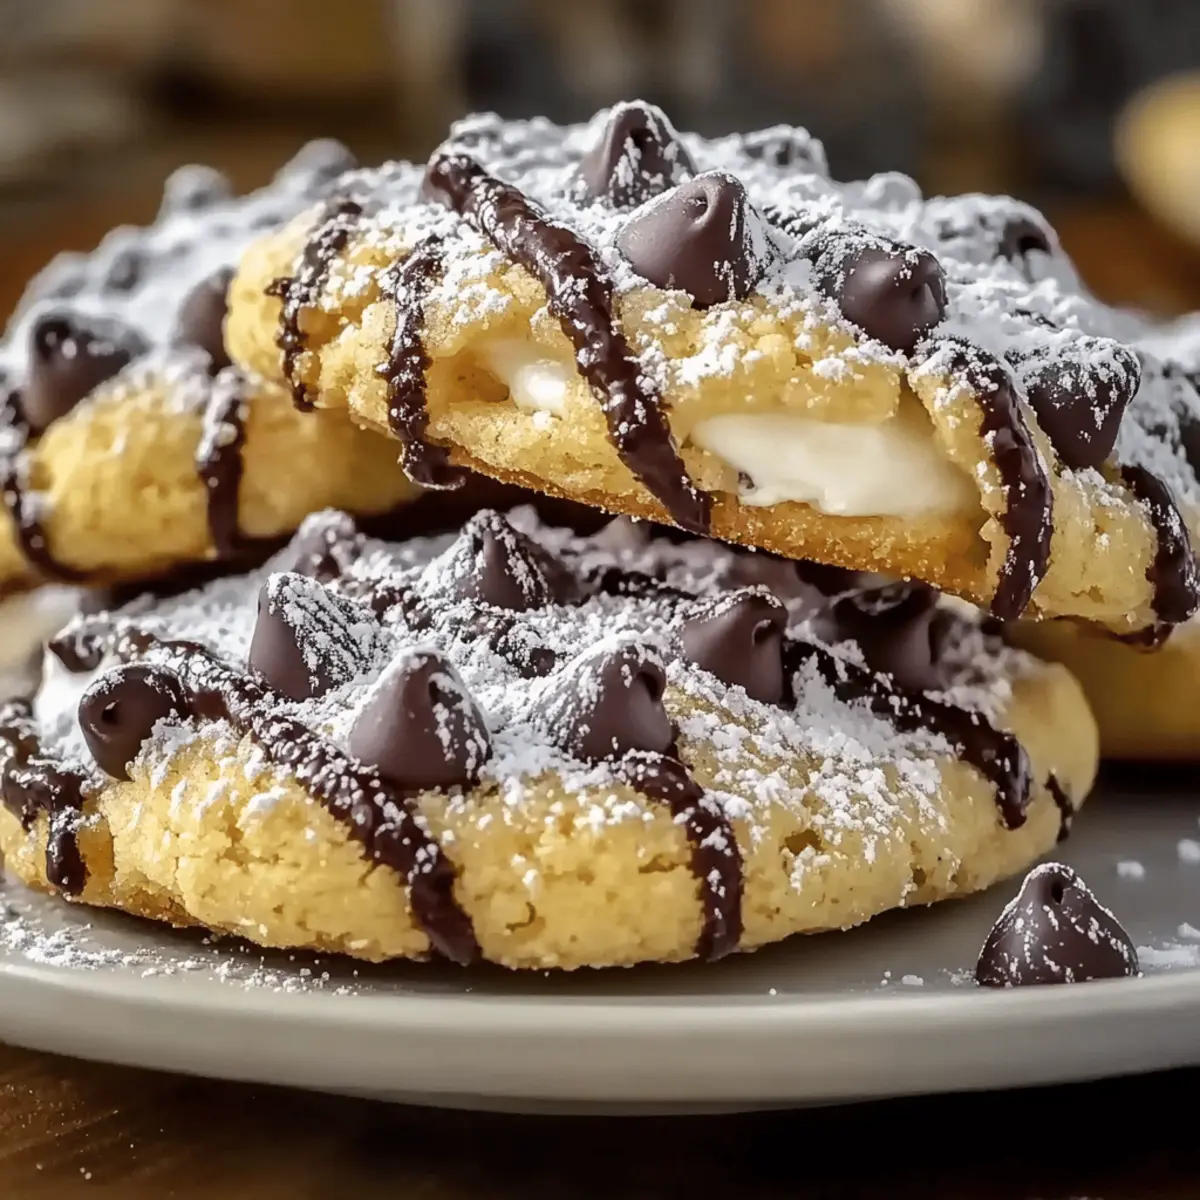
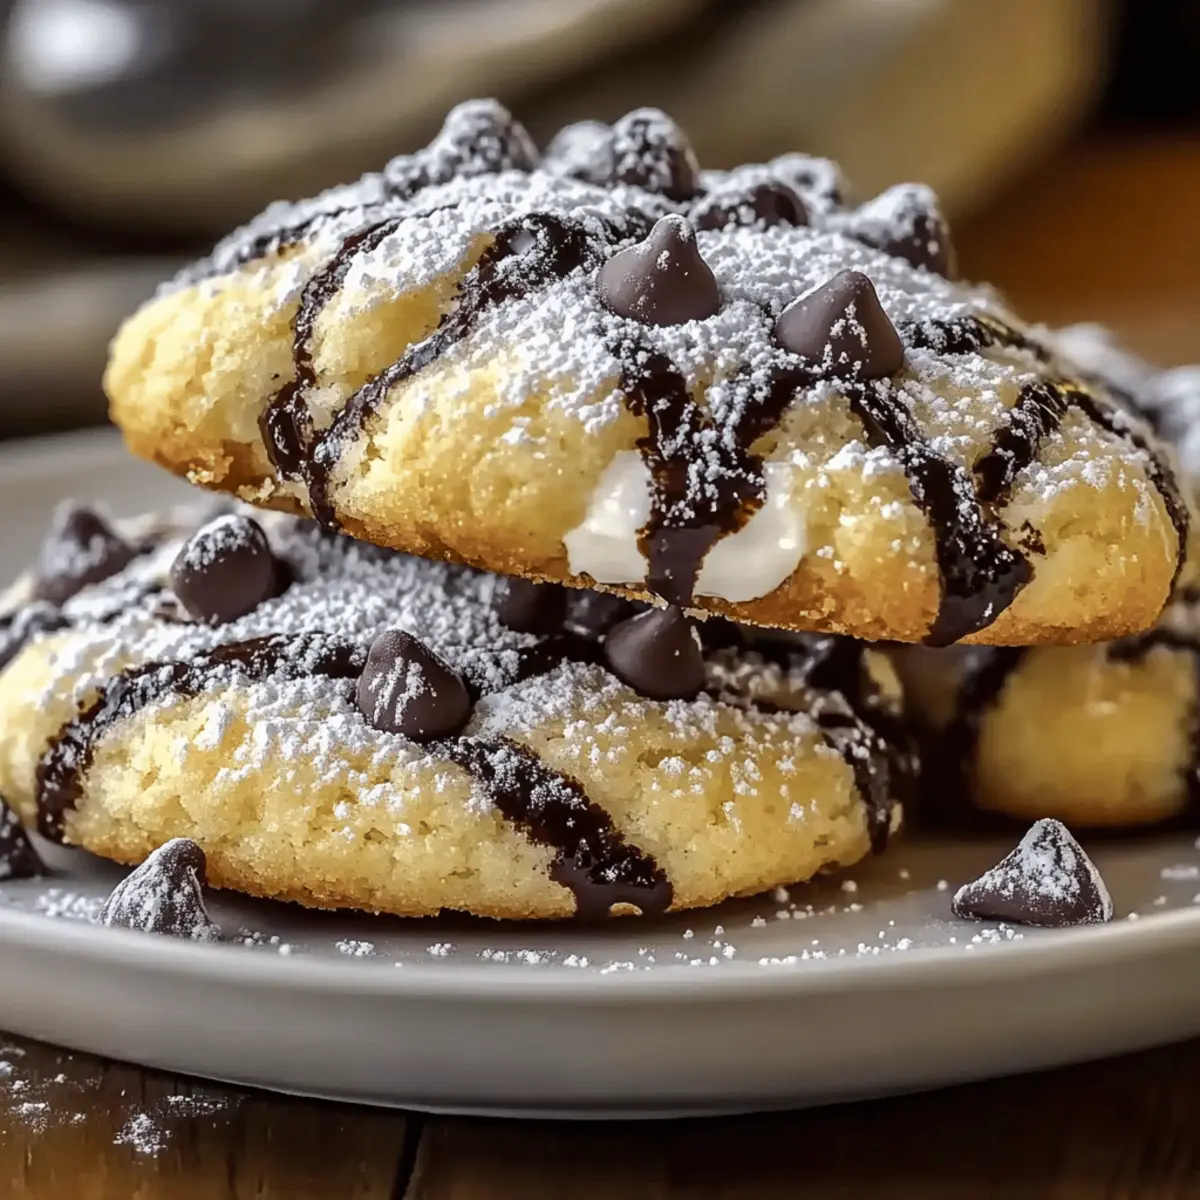
Irresistible Filling: The luscious ricotta filling, studded with mini chocolate chips and a hint of cinnamon, promises a delightful bite every time. For more sweet ideas, check out my delicious Pineapple Cookies Tropical for a fruity touch!
Crowd-Pleaser: Perfect for gatherings, parties, or simply satisfying those sweet cravings without the fast-food woes.
Cannoli Cookies Ingredients
For the Cookie Base
- All-purpose flour – Structure and stability; consider using gluten-free flour for a dessert everyone can enjoy.
- Baking powder – Essential for the cookie’s rise, ensuring a fluffy texture.
- Salt – Enhances flavor; do not skip this key ingredient as it balances the sweetness perfectly.
- Unsalted butter (softened) – Adds richness and moisture; make sure it's at room temperature for easy creaming.
- Granulated sugar – Sweetness; feel free to reduce the amount or substitute with coconut sugar for a lower glycemic option.
- Large egg – Binds ingredients and adds moisture; be sure it's at room temperature for better mixing.
- Vanilla extract – A flavor enhancer; for a unique twist, try using almond extract instead.
For the Creamy Filling
- Ricotta cheese – The creamy filling base; ensure it’s well-drained for the right consistency; mascarpone can also be used for a richer filling.
- Powdered sugar – Adds sweetness; adjust to taste for a perfectly balanced filling.
- Cinnamon – Brings warmth and depth to the flavors; consider a pinch of nutmeg for an extra aromatic note.
- Mini chocolate chips – Provide sweet contrast in the filling; feel free to use dark chocolate chips for a richer flavor.
For Rolling Cookies
- Granulated sugar (for rolling) – Coats cookies for an added sweetness and slight crunch; raw sugar can lend a nice texture as well.
- Cinnamon (for rolling) – Enhances the rolled cookie balls' flavor; optionally, personalize with other spices like cardamom.
Step‑by‑Step Instructions for Cannoli Cookies
Step 1: Preheat the Oven
Begin by preheating your oven to 350°F (175°C). While the oven warms up, line a baking sheet with parchment paper to prevent sticking, ensuring a perfect base for your Cannoli Cookies. This step sets the stage for baking evenly and achieving a lovely golden hue.
Step 2: Mix the Dry Ingredients
In a medium bowl, whisk together the all-purpose flour, baking powder, and salt until well-blended. This mixture is essential for the structure and rise of your Cannoli Cookies, helping them achieve that light and fluffy texture. Set aside while you prepare the wet ingredients.
Step 3: Cream the Wet Ingredients
In a large mixing bowl, cream the softened unsalted butter and granulated sugar together with a hand mixer on medium speed until the mixture is light and fluffy, about 2-3 minutes. Then, beat in the large egg and vanilla extract until fully combined and smooth. This creates the rich base for your cookies.
Step 4: Combine the Mixtures
Gradually add the dry ingredients to the creamed mixture, stirring gently with a spatula until just combined. Be careful not to overmix, as this can make your Cannoli Cookies tough. The dough should be slightly sticky but hold together nicely, providing the perfect consistency for shaping.
Step 5: Prepare the Filling
In a separate bowl, combine the well-drained ricotta cheese, powdered sugar, cinnamon, and mini chocolate chips. Mix gently until all the ingredients are evenly distributed, creating a luscious and creamy filling. This rich filling will bring your Cannoli Cookies to life, blending harmony with each bite.
Step 6: Form the Cookies
Scoop out about a tablespoon of dough and roll it into a ball, then coat it in a mixture of granulated sugar and cinnamon. Place the cookie balls on the prepared baking sheet, flattening them slightly with your palm. The cinnamon-sugar coating adds an inviting sweetness and a delightful crunch.
Step 7: Bake the Cookies
Bake the Cannoli Cookies in the preheated oven for 10-12 minutes or until the edges turn golden brown, watching closely for that visual cue. Once baked, remove them from the oven and allow the cookies to cool on the baking sheet for 5 minutes before transferring them to a wire rack. This cooling time helps them set perfectly without breaking.
Step 8: Assemble the Cookies
Once the cookies have cooled completely, spread a generous layer of the ricotta filling on the flat side of one cookie, and sandwich it with another cookie. This step brings together the crispy exterior and creamy interior that defines these delightful Cannoli Cookies.
Step 9: Finish with a Dusting
To elevate your Cannoli Cookies, dust them lightly with powdered sugar just before serving. This final touch not only enhances the aesthetic but adds a sweet finish that complements the flavors beautifully. Enjoy your homemade treat with family and friends!
Storage Tips for Cannoli Cookies
Room Temperature: Store your Cannoli Cookies in an airtight container at room temperature for up to 3 days. Placing parchment paper between layers will help prevent sticking.
Fridge: If you prefer, you can refrigerate the cookies to keep them fresh, but they may lose some crispiness. Consume within 5 days for the best texture.
Freezer: For longer storage, freeze the cookies for up to a month. Wrap each cookie securely in plastic wrap and place them in a freezer bag to prevent freezer burn.
Reheating: To enjoy the cookies warm, briefly microwave them for about 10-15 seconds, or place in a preheated oven at 350°F (175°C) for a few minutes.
What to Serve with Cannoli Cookies
Indulging in Cannoli Cookies is a delight, but pairing them with the perfect accompaniments takes your experience to the next level.
- Rich Espresso: The bold flavors of a rich brew balance the sweetness of the cookies, making it the perfect afternoon treat.
- Fresh Fruit Salad: A light, vibrant mix of seasonal fruits adds a refreshing contrast that brightens up each bite. Enjoy the burst of flavor!
- Creamy Gelato: A scoop of creamy vanilla or chocolate gelato pairs beautifully with the cookies, enhancing the Italian essence of this dessert.
- Chocolate Dipping Sauce: For the chocolate lovers, a warm chocolate sauce adds another layer of dessert delight—dip and savor!
- Whipped Cream: A dollop of lightly sweetened whipped cream offers a luscious element and complements the buttery texture of the cookies. Creamy and dreamy!
- Sparkling Wine: Elevate the occasion with a glass of bubbly to celebrate sweet moments, as the fizz adds a festive allure.
- Chocolate-Covered Strawberries: These decadent treats are a beautiful addition, allowing for a delightful mix of textures and flavors with the cookies.
- Pistachio Gelato: The nuttiness of pistachio gelato pairs wonderfully with Cannoli Cookies, echoing flavors often found in Italian cuisine.
- Cinnamon Hot Chocolate: Try a cup of rich hot chocolate dusted with cinnamon to embrace the warm, comforting flavors of your cookies.
Each pairing enhances the experience of savoring Cannoli Cookies, creating a cozy atmosphere that will keep your loved ones coming back for more!
Cannoli Cookies: Delicious Variations Await
Feel free to get creative with these Cannoli Cookies and make them your own with these delicious ideas!
- Mascarpone Swap: Use mascarpone instead of ricotta for an ultra-creamy filling that elevates every bite.
- Gluten-Free Delight: Substitute all-purpose flour with almond flour for a gluten-free version; the nutty flavor adds a new dimension.
- Zesty Brightness: Add a splash of orange or lemon zest to the filling for a refreshing citrus twist that awakens the taste buds.
- Nutty Crunch: Incorporate chopped pistachios into the dough or filling for a delightful crunch; they not only enhance flavor but also offer a beautiful presentation.
- Chocolate Lovers' Dream: Use dark chocolate chips instead of mini chips for a richer chocolate experience; perfect for those who adore bold flavors.
- Spice it Up: Experiment by including a pinch of nutmeg or cardamom along with the cinnamon for an extra layer of warmth and intrigue.
- Coconut Sugar Sweetness: Swap granulated sugar for coconut sugar to give your cookies a caramel-like sweetness and lower glycemic impact, ideal for a healthier treat!
- Chilled Pleasure: Try chilling the cookie dough before baking for a firmer texture that holds its shape beautifully during baking.
These variations make it easy to share a unique twist on a beloved recipe with your loved ones. And if you're looking for more creative ideas, don't miss my delightful Pineapple Cookies New for a fresh change of pace!
Expert Tips for Cannoli Cookies
- Well-Drained Ricotta: Ensure your ricotta is properly drained to avoid a runny filling; leave it to sit in a cheesecloth overnight for best results.
- Watch Your Bake Time: Keep an eye on the cookies while baking; the perfect Cannoli Cookies should be golden on the edges and firm, not dark brown.
- Mix Wisely: Use an electric mixer for creaming butter and sugar to achieve that light, fluffy texture; overmixing the dough can lead to tough cookies.
- Homemade Dough is Best: If you opt for store-bought dough, be aware the texture may differ significantly; homemade dough yields the best Cannoli Cookies experience.
- Custom Spice Blends: Consider adding a pinch of nutmeg or cardamom along with the cinnamon for a unique twist on flavors in your cookies.
Make Ahead Options
These Cannoli Cookies are perfect for busy home cooks who want to save time while still enjoying a delightful treat! You can prepare the cookie dough up to 24 hours in advance by mixing all the ingredients and storing the dough in an airtight container in the refrigerator. For the filling, combine the ricotta, powdered sugar, cinnamon, and chocolate chips, and this can be made up to 3 days ahead and kept in the fridge as well—just be sure it’s tightly covered to maintain its creamy texture. When you’re ready to bake, simply scoop and roll the dough, bake the cookies, and then assemble with the chilled filling for a fresh and delicious dessert the whole family will love!
Cannoli Cookies Recipe FAQs
What type of ricotta should I use for the filling?
Absolutely, for the creamiest filling, I recommend using whole milk ricotta that’s well-drained to ensure the right texture. If you find your ricotta too watery, let it sit in a cheesecloth overnight to eliminate excess moisture, resulting in a thicker and more luscious filling. Alternatively, mascarpone cheese can be used for an even richer flavor!
How should I store Cannoli Cookies?
Store your Cannoli Cookies in an airtight container at room temperature for up to 3 days. To prevent them from sticking together, place parchment paper between layers of cookies. If you want them to last longer, refrigerate them for up to 5 days, although they may lose some crispiness.
Can I freeze Cannoli Cookies?
Yes! To freeze your Cannoli Cookies, wrap each cookie tightly in plastic wrap and place them in a freezer-safe bag. They can be stored in the freezer for up to 1 month. When you’re ready to enjoy them, just defrost at room temperature or warm them in a preheated oven for a few minutes to revive their deliciousness!
What if my cookies spread too much while baking?
If your Cannoli Cookies are spreading excessively, it could be due to softened butter being too warm. Ensure the butter is at room temperature, not melted, before mixing. Also, chilling the dough for about 30 minutes before baking can help maintain their shape, resulting in perfectly-sized cookies every time.
Are there gluten-free options for Cannoli Cookies?
Very much so! To make your Cannoli Cookies gluten-free, simply substitute all-purpose flour with almond flour or a gluten-free baking blend. Just keep in mind that the texture may differ slightly, but they will still be delicious!
Can pets eat Cannoli Cookies?
It’s best to avoid sharing Cannoli Cookies with your pets. The sugar and chocolate used are not suitable for them and can lead to health issues. Always stick to treats specifically designed for our furry friends!
Delicious Cannoli Cookies with a Creamy Ricotta Filling
Ingredients
Equipment
Method
- Preheat your oven to 350°F (175°C) and line a baking sheet with parchment paper.
- In a medium bowl, whisk together all-purpose flour, baking powder, and salt.
- In a large bowl, cream softened butter and sugar until light and fluffy. Beat in egg and vanilla extract.
- Gradually add dry ingredients to the creamed mixture, mixing gently until just combined.
- In a separate bowl, mix ricotta, powdered sugar, cinnamon, and mini chocolate chips for the filling.
- Roll dough into tablespoon-sized balls, coat in granulated sugar and cinnamon, then flatten slightly on the baking sheet.
- Bake for 10-12 minutes or until edges are golden brown, then cool on the sheet for 5 minutes.
- Spread ricotta filling on one cookie and sandwich it with another.
- Dust with powdered sugar before serving.


Leave a Reply