
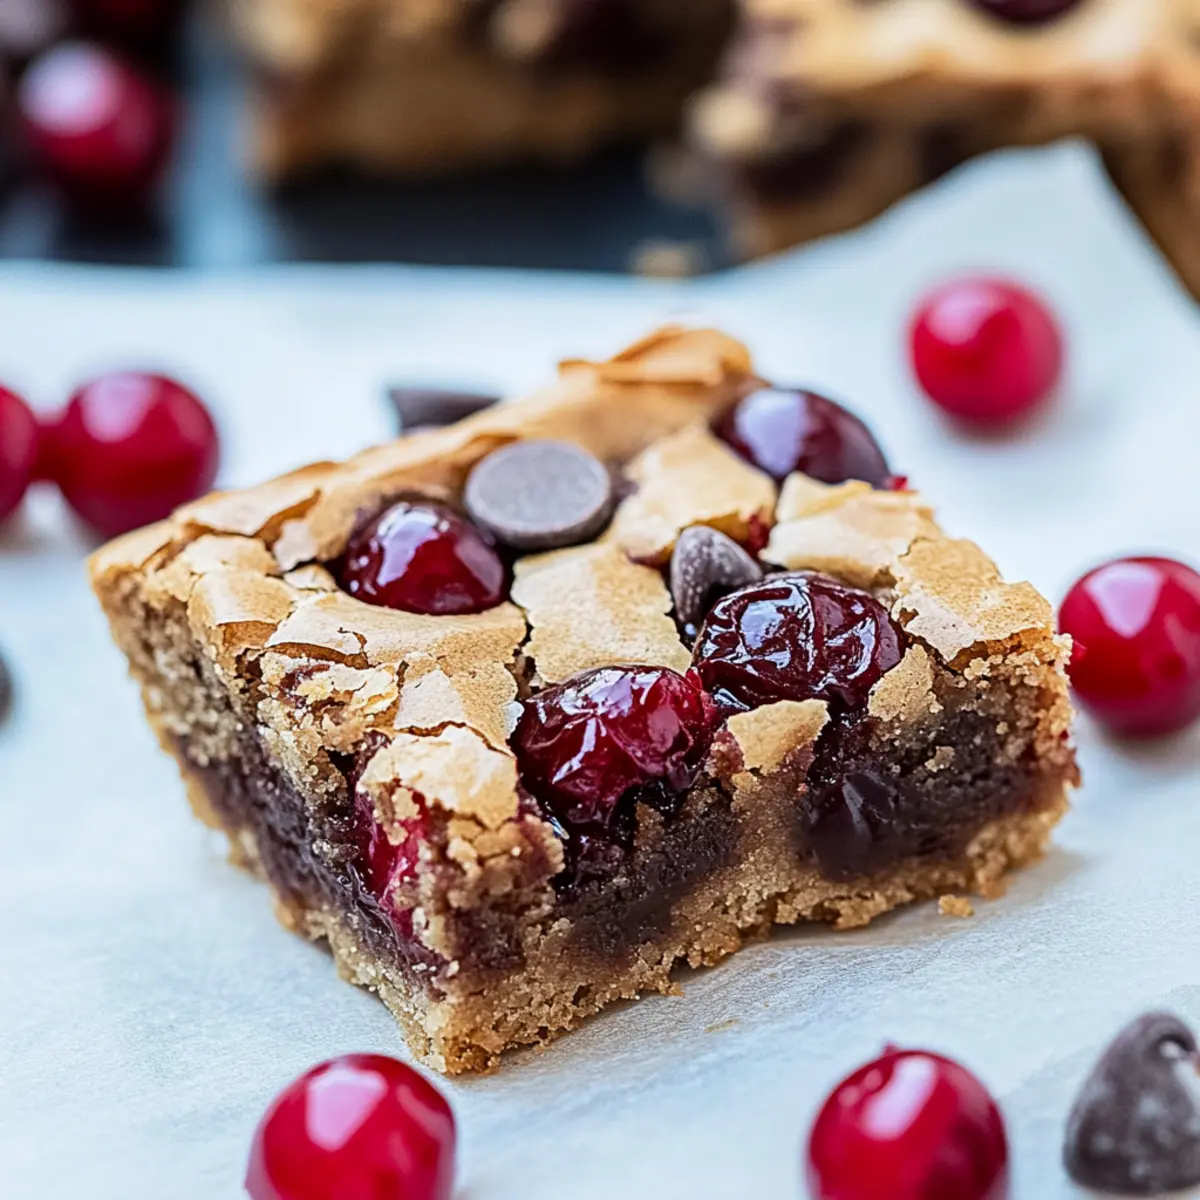
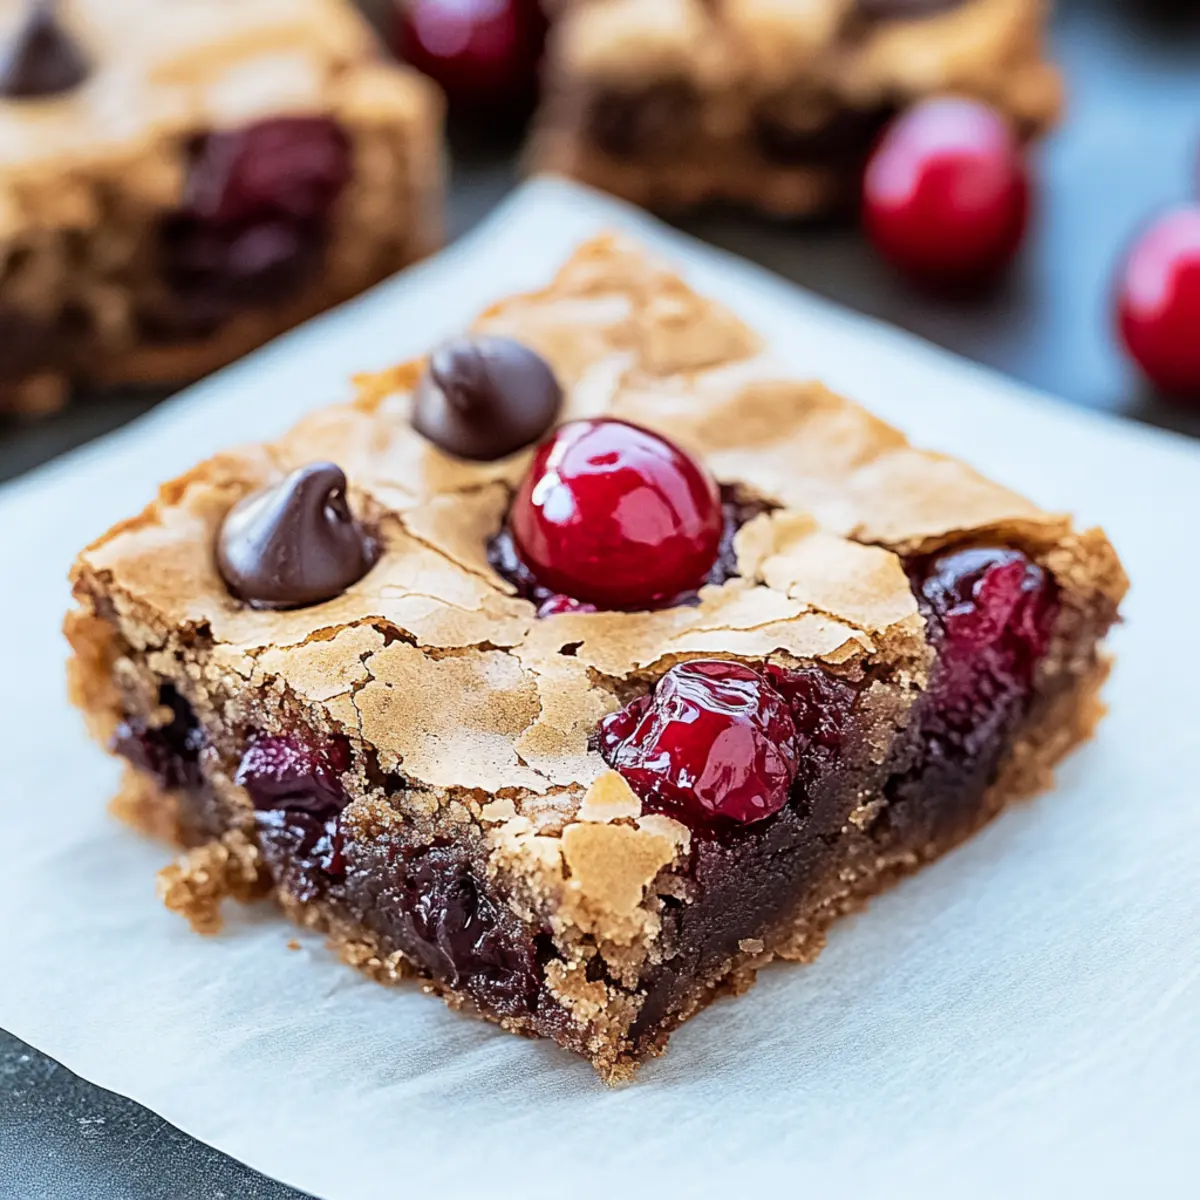
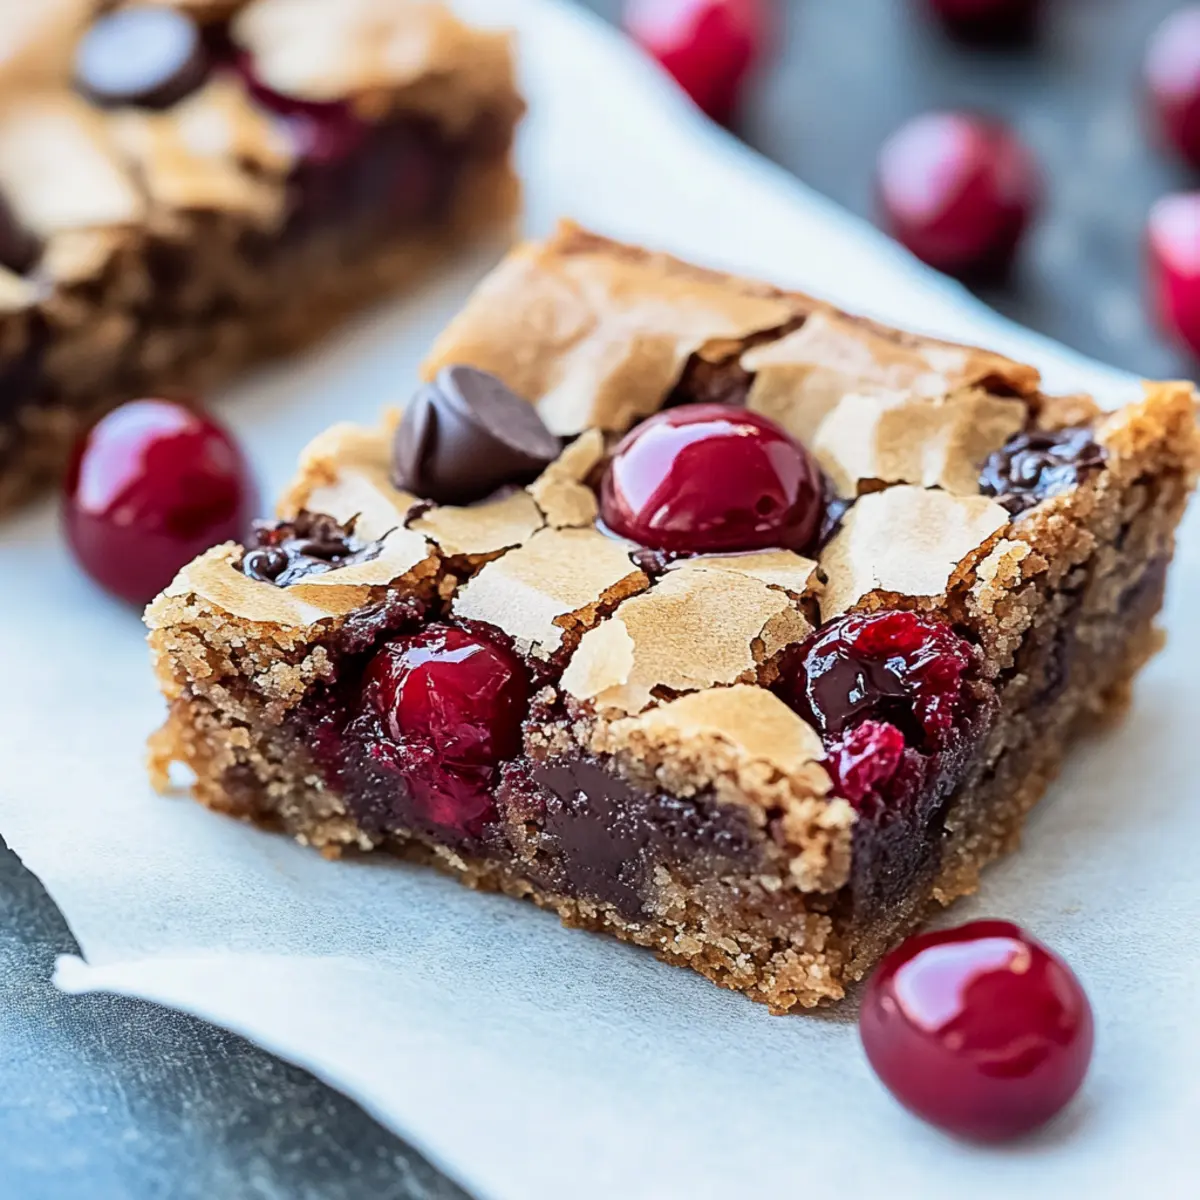
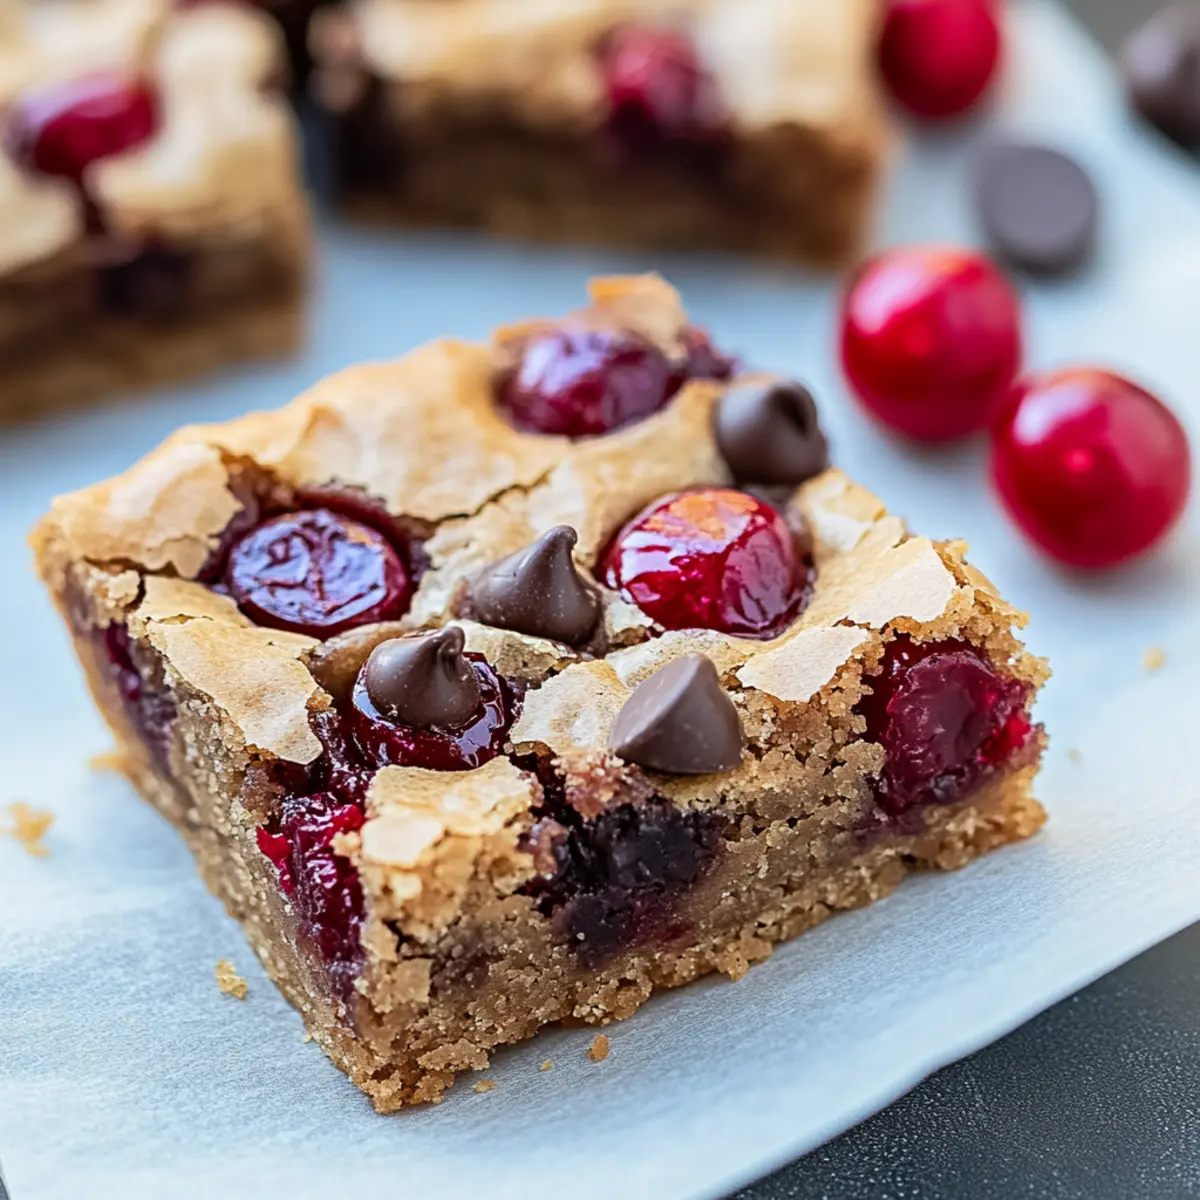
As I pulled these delightful Chocolate Chip and Cherry Blondies from the oven, the sweet aroma wafted through my kitchen, wrapping me in a warm embrace of nostalgia. Combining the lusciousness of semi-sweet chocolate with the juicy pop of cherries, this recipe merges all my favorite dessert elements into one heavenly bite. Not only are these blondies incredibly quick to whip up in under 40 minutes, but they also allow for a fun twist; they can be easily adapted to fit gluten-free and vegan diets without sacrificing taste. Whether you're hosting a gathering or simply indulging in a late-night treat, these blondies promise to satisfy your sweet tooth while bringing laughter and warmth to your table. Curious about how this simple yet scrumptious dessert can elevate your dessert game? Let's dive in!
Why Choose Chocolate Chip and Cherry Blondies?
Irresistible combination: These blondies uniquely blend the sweetness of cherries with rich chocolate, creating a flavor explosion you won't forget.
Easy to make: With a straightforward recipe, you'll find these delightful treats come together in under 40 minutes, perfect for beginner bakers or busy cooks.
Diet-friendly: The adaptable nature allows for gluten-free and vegan variations, ensuring everyone can enjoy this dessert, regardless of dietary preferences.
Crowd-pleaser: Ideal for potlucks or gatherings, these Chocolate Chip and Cherry Blondies are sure to impress your guests and leave them wanting more!
Perfect texture: Expect a delightful balance of chewy and gooey, making each bite a heavenly experience. Don't forget to try serving them warm, alongside vanilla ice cream for an extra treat!
Chocolate Chip and Cherry Blondies Ingredients
For the Blondie Base
• Unsalted Butter – Creates a dense, fudgy texture; substitute with plant-based butter for a vegan option.
• Light Brown Sugar – Adds moisture and a caramel-like flavor essential for blondies; granulated sugar can work if needed.
• Large Egg – Binds the ingredients together; can be replaced with a flax egg for a vegan version.
• Vanilla Extract – Enhances flavor; consider using pure extract for a richer taste.
• All-Purpose Flour – Provides structure; for gluten-free, substitute with a 1:1 gluten-free flour blend.
• Salt – Balances sweetness and enhances flavor; an essential ingredient.
For the Chocolate and Cherries
• Semi-Sweet Chocolate Chips – Delivers a rich chocolate flavor; feel free to swap with dark chocolate chunks or white chocolate chips.
• Cherries (Fresh or Frozen) – Offers vibrant flavor and visual appeal; fresh cherries are ideal, but thaw and drain frozen ones properly to avoid added moisture.
Optional Add-ins
• Chopped Nuts (Walnuts or Pecans) – Add for extra crunch and flavor if you're a nut lover!
• White Chocolate Chips – Replace semi-sweet chips for a sweeter blend, highlighting the cherry flavor.
These Chocolate Chip and Cherry Blondies ingredients promise a delightful treat that brings together the best of sweet flavors and delectable textures! Enjoy your baking adventure!
Step‑by‑Step Instructions for Chocolate Chip and Cherry Blondies
Step 1: Preheat Your Oven
Begin by preheating your oven to 350°F (175°C). While the oven warms up, line or grease an 8×8-inch baking pan to ensure your Chocolate Chip and Cherry Blondies don’t stick. This simple preparation sets the stage for perfectly baked blondies that achieve a golden, crisp top with a chewy texture inside.
Step 2: Mix the Butter and Sugar
In a large mixing bowl, whisk together the melted unsalted butter and light brown sugar until the mixture is smooth and creamy. This should take about 2 minutes. The combination of these ingredients creates a luscious base, which is essential for the rich flavor of your blondies.
Step 3: Incorporate Wet Ingredients
Add in the large egg and vanilla extract, mixing until fully integrated. This step should take around another minute of whisking to ensure everything is evenly combined. The wet ingredients will create a moist and flavorful foundation for the Chocolate Chip and Cherry Blondies, enhancing their irresistible taste.
Step 4: Add the Dry Ingredients
Next, sprinkle in the all-purpose flour and a pinch of salt. Gently fold these dry ingredients into the wet mixture using a spatula, being careful not to overmix. You want the batter to just come together, retaining a soft and slightly thick consistency that's key to achieving a perfect chewy texture.
Step 5: Mix in Chocolate and Cherries
Now, it’s time to fold in the semi-sweet chocolate chips and the halved cherries. Use a gentle hand to mix until they are evenly distributed throughout the batter. This step adds delightful rich chocolate pockets and bursts of cherry sweetness, ensuring every bite of your Blondies is a flavor-packed experience.
Step 6: Transfer to Baking Pan
Pour the batter into your prepared baking pan, using a spatula to smooth the top for an even bake. Ensure the batter is evenly spread out as this will help the Chocolate Chip and Cherry Blondies cook uniformly, resulting in a beautifully baked treat.
Step 7: Bake to Perfection
Place the pan in the preheated oven and bake for 30-35 minutes. Check for doneness by inserting a toothpick; it should come out mostly clean with a few moist crumbs attached. This indicates your blondies are perfectly chewy and ooey-gooey in the center, just the way they should be!
Step 8: Cool Before Cutting
Once baked, remove the pan from the oven and let the blondies cool in the pan for at least 30 minutes. This cooling time is crucial; it allows the structure to set, ensuring that each square you cut maintains its shape while retaining a soft, gooey interior, perfect for enjoying.
Chocolate Chip and Cherry Blondies Variations
Feel free to explore these delightful alternative options that can elevate your Chocolate Chip and Cherry Blondies to new heights!
-
Gluten-Free: Substitute all-purpose flour with a 1:1 gluten-free flour blend for a deliciously accommodating treat. Enjoy your blondies without the gluten, knowing they’ll still taste delightful!
-
Vegan Twist: For an egg-free version, replace the large egg with a flax egg made from one tablespoon of flaxseed meal mixed with three tablespoons of water. This will bind your ingredients perfectly while keeping them plant-based.
-
Nutty Surprise: Add ½ cup of chopped walnuts or pecans for added crunch and flavor that complements the sweet cherries beautifully. A little nutty texture enhances every bite, making these blondies even more enjoyable!
-
Fruity Remix: Experiment by swapping out half of the cherries for another fruit like diced strawberries or rasberries, bringing a new flavor profile to your blondies. This twist adds a colorful burst to your delicious creation!
-
Brown Sugar Variation: Try using dark brown sugar instead of light brown sugar for a richer, deeper caramel flavor that will have everyone falling head over heels for your treats. It enhances the overall sweetness, making every bite heavenly!
-
Spicy Kick: For a unique flavor boost, add a pinch of cinnamon or a dash of cayenne pepper to the batter. This unexpected twist brings warmth and complexity to the sweetness that’s sure to surprise your taste buds.
-
Chocolate Lovers: Substitute semi-sweet chocolate chips with dark chocolate chunks or even white chocolate chips for a different kind of decadence. Celebrate your love for chocolate by customizing the sweetness and richness just the way you like it!
-
Add Zest: Incorporate a teaspoon of orange or lemon zest into the batter for a refreshing citrus note. It brightens the overall flavor and adds a delightful zing that pairs perfectly with rich chocolate and tart cherries.
These variations ensure your Chocolate Chip and Cherry Blondies can cater to a variety of tastes and dietary needs. So, don’t hesitate to let your creativity shine in the kitchen! Looking for more dessert inspiration? Try making Chocolate Zucchini Cake or indulge in delicious Pistachio White Chocolate cookies!
What to Serve with Chocolate Chip and Cherry Blondies?
These delightful treats are not just a dessert; they can create a whole meal experience filled with warmth and sweetness!
-
Vanilla Ice Cream: This classic pairing brings a smooth and creamy contrast that highlights the chewy blondies' texture.
-
Whipped Cream: Light and fluffy, whipped cream adds a delightful aeration, enhancing the richness of the blondies while balancing flavors beautifully.
-
Fresh Berries: A medley of strawberries and blueberries introduces a fresh, tangy note that complements the sweetness of the chocolate and cherries.
-
Chocolate Sauce: Drizzling warm chocolate sauce over the blondies intensifies their indulgence, creating a decadent dessert experience worth savoring.
-
Coffee or Espresso: The rich, deep flavors of a brewed coffee or espresso can enhance the blondie's taste, making it an excellent companion for afternoon treats.
-
Mint Tea: A refreshing cup of mint tea offers a cool contrast, balancing the sweetness of the blondies and adding a soothing touch to your dessert.
Serving these Chocolate Chip and Cherry Blondies with any of these delightful options will elevate your dessert experience and create cherished memories around the table!
Make Ahead Options
These Chocolate Chip and Cherry Blondies are perfect for meal prep enthusiasts! You can mix the batter up to 24 hours in advance and refrigerate it in an airtight container to keep the ingredients fresh. If you prefer, you can also prepare the blondies completely and store them in an airtight container at room temperature for up to 3 days. To maintain the delightful chewy texture, ensure that they are kept tightly sealed to prevent drying out. When ready to serve, simply cut into squares and enjoy, or warm them slightly in the microwave for that freshly baked taste. This way, you’ll have a delicious treat ready whenever those sweet cravings hit!
Expert Tips for Chocolate Chip and Cherry Blondies
- Don’t Overmix: Be gentle when folding in the flour. Overmixing can lead to tough blondies instead of the desired chewy texture.
- Use Dry Cherries: If using frozen cherries, make sure they are well drained; excess moisture can alter the consistency of your Chocolate Chip and Cherry Blondies.
- Cool Time: Allow blondies to cool completely before cutting; this helps them firm up and retain their shape beautifully.
- Check Doneness: Use a toothpick to test for doneness, ensuring you catch that perfect, gooey center before baking too long.
- Customize Flavors: Experiment with add-ins like nuts or different types of chocolate chips for a personalized twist on your chocolate chip and cherry blondies.
Storage Tips for Chocolate Chip and Cherry Blondies
Room Temperature: Store the blondies in an airtight container at room temperature for up to 3 days to maintain their chewy texture and flavor.
Fridge: If you prefer a chilled treat, refrigerate your Chocolate Chip and Cherry Blondies for 5-6 days. Just remember to place them in an airtight container to keep them fresh.
Freezer: For longer storage, wrap individual blondie bars in parchment paper and place them in a zip-top bag. They will stay fresh in the freezer for up to 2 months.
Reheating: To enjoy warm blondies, microwave a refrigerated or frozen piece for about 10-15 seconds until just warm. Serve with a scoop of ice cream for an extra special treat!
Chocolate Chip and Cherry Blondies Recipe FAQs
How do I choose ripe cherries for the best flavor?
Absolutely! When selecting cherries, look for ones that are firm, plump, and shiny. Ideally, they should have a deep red color without any dark spots or blemishes. If you're using frozen cherries, ensure they are wild cherries for their delightful flavor profile, and thaw them before adding to your batter for the freshest taste.
What’s the best way to store leftovers?
Very! To keep your Chocolate Chip and Cherry Blondies fresh, store them in an airtight container at room temperature for up to 3 days. If you want to extend their life, refrigerate them where they will stay delightful for 5-6 days. Just be sure to keep them tightly sealed to prevent them from drying out.
Can I freeze these blondies?
Absolutely! For long-term storage, wrap each blondie individually in parchment paper and then place them in a zip-top bag. This way, they will stay fresh for up to 2 months. When you're ready to enjoy them, simply thaw in the fridge overnight or pop them in the microwave for about 10-15 seconds for a quick treat.
What do I do if my blondies turn out too dry?
Oh, I understand how disappointing that can be! Dryness often occurs from overbaking or too much flour. Aim for that sweet spot where a toothpick comes out with moist crumbs, not dry. If you find yourself in a dry situation, you can serve them warm with a scoop of ice cream or drizzled chocolate to add moisture and flavor back in.
Are these blondies suitable for my gluten-free diet?
Absolutely! To make your Chocolate Chip and Cherry Blondies gluten-free, just swap the all-purpose flour for a 1:1 gluten-free flour blend. This simple adjustment retains the same deliciousness without sacrificing texture, allowing everyone to enjoy these treats together.
Can I make these blondies vegan?
Very! For a vegan version of Chocolate Chip and Cherry Blondies, simply replace the large egg with a flax egg made from 1 tablespoon of flaxseed meal mixed with 2.5 tablespoons of water. Also, choose plant-based butter and dairy-free chocolate chips, and you'll have a scrumptious treat everyone can enjoy!
Chocolate Chip and Cherry Blondies: Sweet Bliss Awaits!
Ingredients
Equipment
Method
- Preheat your oven to 350°F (175°C) and line or grease an 8×8-inch baking pan.
- In a large mixing bowl, whisk together the melted unsalted butter and light brown sugar until smooth and creamy.
- Add in the large egg and vanilla extract, mixing until fully integrated.
- Sprinkle in the all-purpose flour and salt, gently folding until the batter just comes together.
- Fold in the semi-sweet chocolate chips and halved cherries until evenly distributed.
- Pour the batter into the prepared baking pan and smooth the top for an even bake.
- Bake for 30-35 minutes until a toothpick comes out mostly clean with a few moist crumbs.
- Let the blondies cool in the pan for at least 30 minutes before cutting.


Leave a Reply