
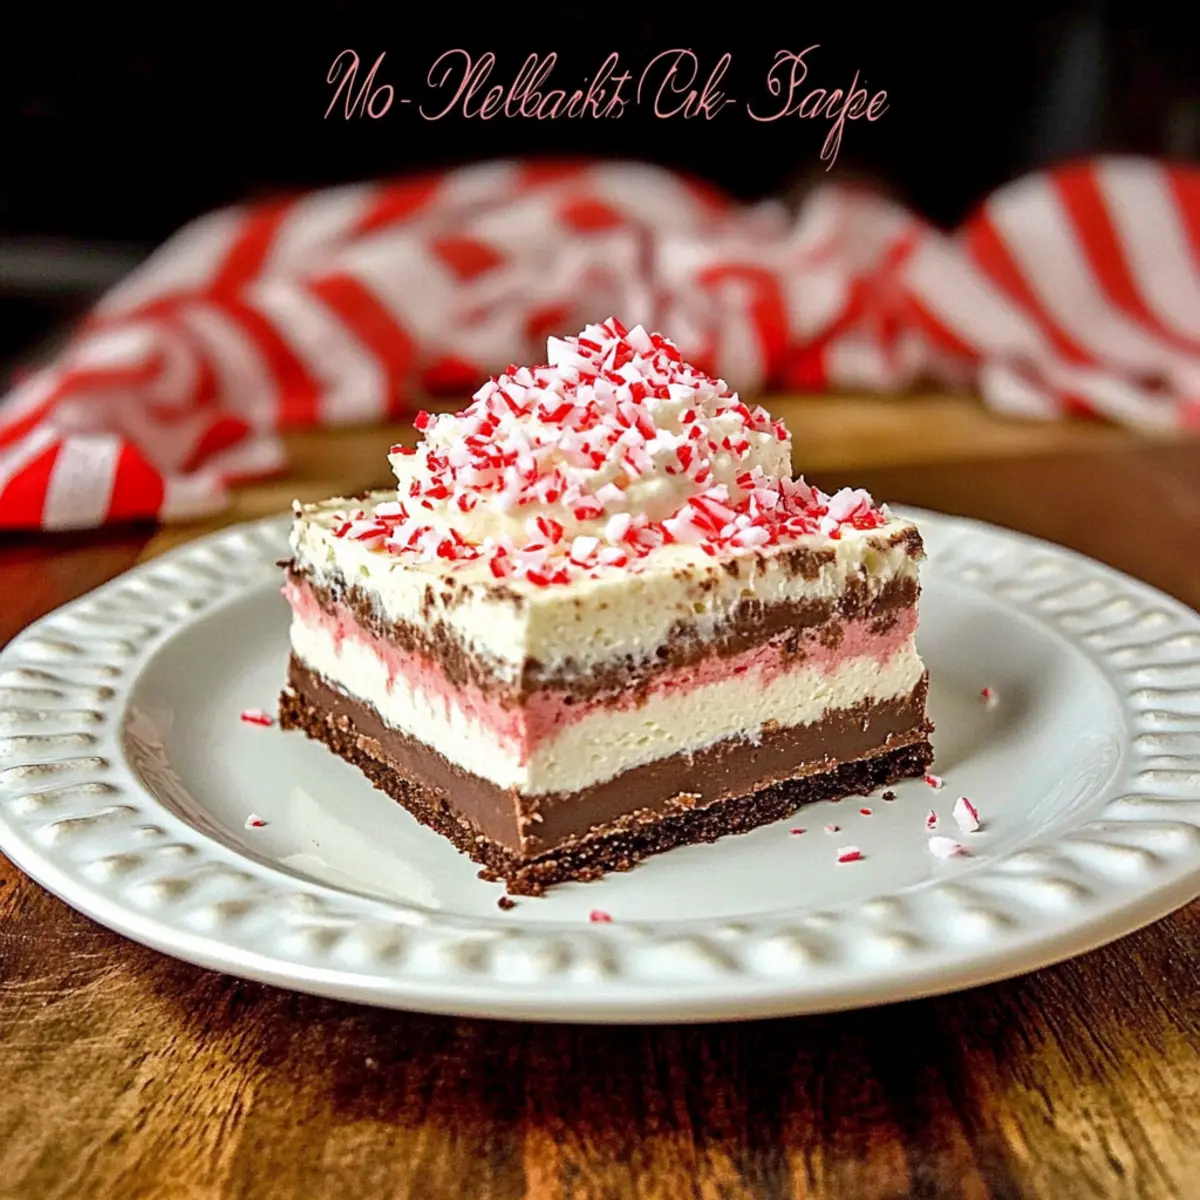
As I lined up the ingredients for this delightful holiday treat, the scent of peppermint wafted through my kitchen, stirring up cherished memories of family gatherings. These No-Bake Chocolate Peppermint Squares are not only a festive way to indulge but also an incredibly easy dessert to whip up in just 20 minutes! With a crunchy cookie crust paired with a fluffy peppermint cheesecake layer, it's the perfect blend of textures that will keep your guests coming back for more. Not only do these squares look gorgeous on any dessert table, but they also allow you to spend less time in the kitchen and more time creating joyful memories with loved ones. Curious how you can make this scrumptious dessert come to life? Let’s dive in!
Why You’ll Love These Chocolate Peppermint Squares
Irresistible Minty Bliss: The refreshing peppermint flavor paired with rich chocolate creates a truly unique taste experience, perfect for holiday gatherings.
Quick & Easy: With just 20 minutes of prep time, these no-bake squares save you hours in the kitchen, leaving you free to savor the festivities.
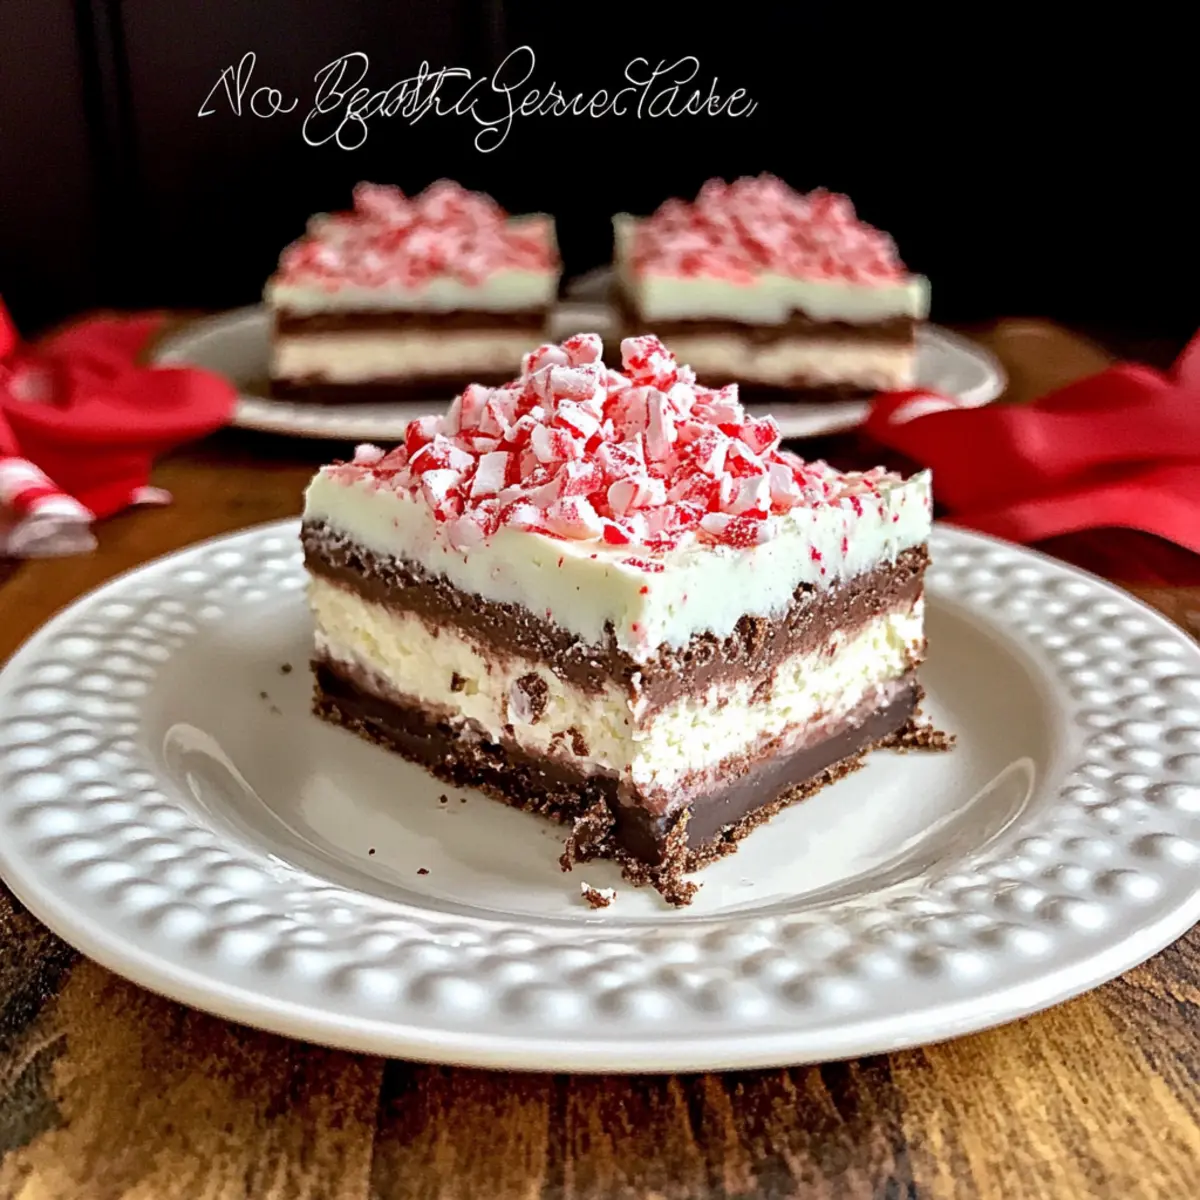
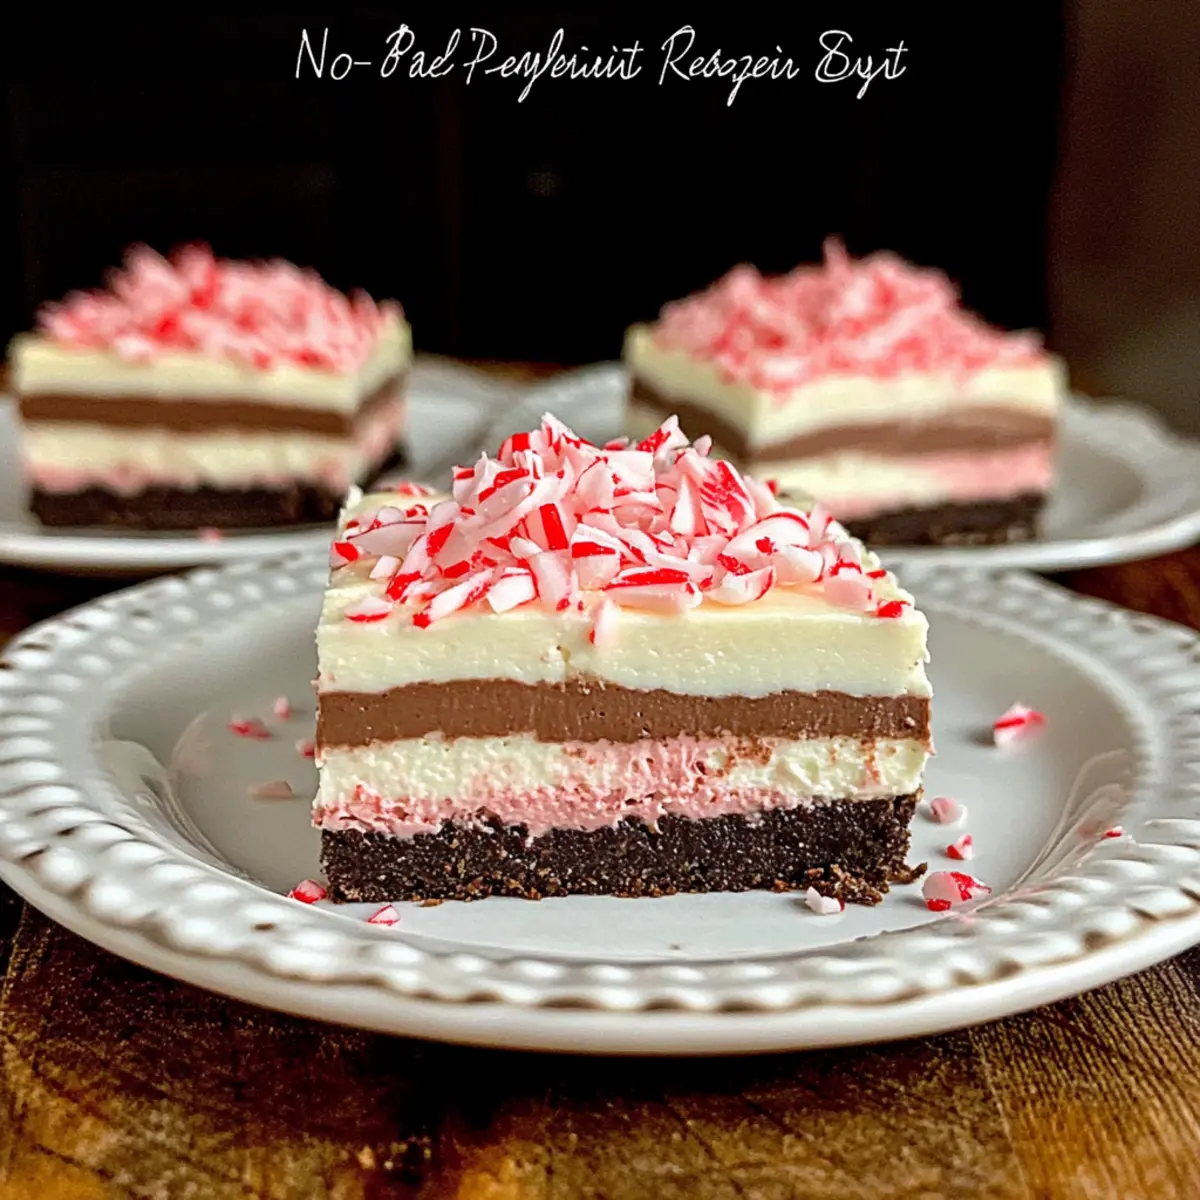
Delightful Textures: Enjoy a fabulous crunch from the cookie crust, velvety cheesecake, and silky chocolate layers, all in one delectable bite.
Impress Your Guests: The stunning presentation makes them a showstopper at any dessert table, ensuring everyone will be asking for seconds.
Flexible Ingredients: Customize your squares by substituting vanilla wafers for Oreos or adding nuts instead of candy canes for a fun twist. Want to try another delightful treat? Check out these Chocolate Cupcake Decadent options for the perfect pairing!
Chocolate Peppermint Squares Ingredients
• Curiosity about making these festive treats? Here’s what you’ll need!
For the Crust
- Vanilla Wafer Crumbs – Provides a sweet and crunchy crust. You can substitute with crushed Oreos for a chocolatey twist.
- Unsalted Butter – Binds the crust together; make sure it's softened for easy mixing.
- Sugar – Sweetens the crust; feel free to adjust to your preferred level of sweetness.
For the Peppermint Layer
- Cream Cheese – Creates the smooth and creamy peppermint filling; must be softened for the best consistency.
- Finely Crushed Peppermint Candy Cane or Starlight Mints – Adds delightful mint flavor and a pop of color; choose based on your taste preference.
- Milk – Blends beautifully with cream cheese and chocolate pudding; whole milk is preferred for richness.
- Whipped Topping – Lightens the peppermint layer for a fluffy finish; essential for that airy mouthfeel.
For the Chocolate Layer
- Instant Chocolate Pudding Mix – This provides the delicious chocolate flavor without any cooking required; make sure it’s a standard 4-serving size.
For the Topping
- Coarsely Chopped Peppermint Candy Cane – Adds a delightful crunch and a festive look; perfect for garnishing your squares.
With these ingredients, you’re just a step away from creating your delicious Chocolate Peppermint Squares!
Step‑by‑Step Instructions for No-Bake Chocolate Peppermint Squares
Step 1: Prepare the Crust
In a mixing bowl, combine crushed vanilla wafer crumbs, melted unsalted butter, and sugar until it forms a moist mixture. Press this mixture firmly into the bottom of a 9 x 9-inch pan, creating an even layer. Once well packed, refrigerate the crust for about 10 minutes to help it set and become firm.
Step 2: Make the Peppermint Layer
In a large bowl, beat the softened cream cheese and whole milk together until smooth and creamy. Gradually add in the sugar along with the finely crushed peppermint candy, mixing well to fully incorporate. Gently fold in the whipped topping until the mixture is light and fluffy, then spread it evenly over the chilled crust, smoothing the top.
Step 3: Make the Chocolate Layer
In a separate bowl, whisk together the instant chocolate pudding mix with the required amount of milk for 2 minutes, until it thickens and becomes smooth. Carefully pour the chocolate mixture over the peppermint layer, ensuring an even distribution. Allow it to set for about 5 to 10 minutes at room temperature until slightly firm.
Step 4: Add Topping
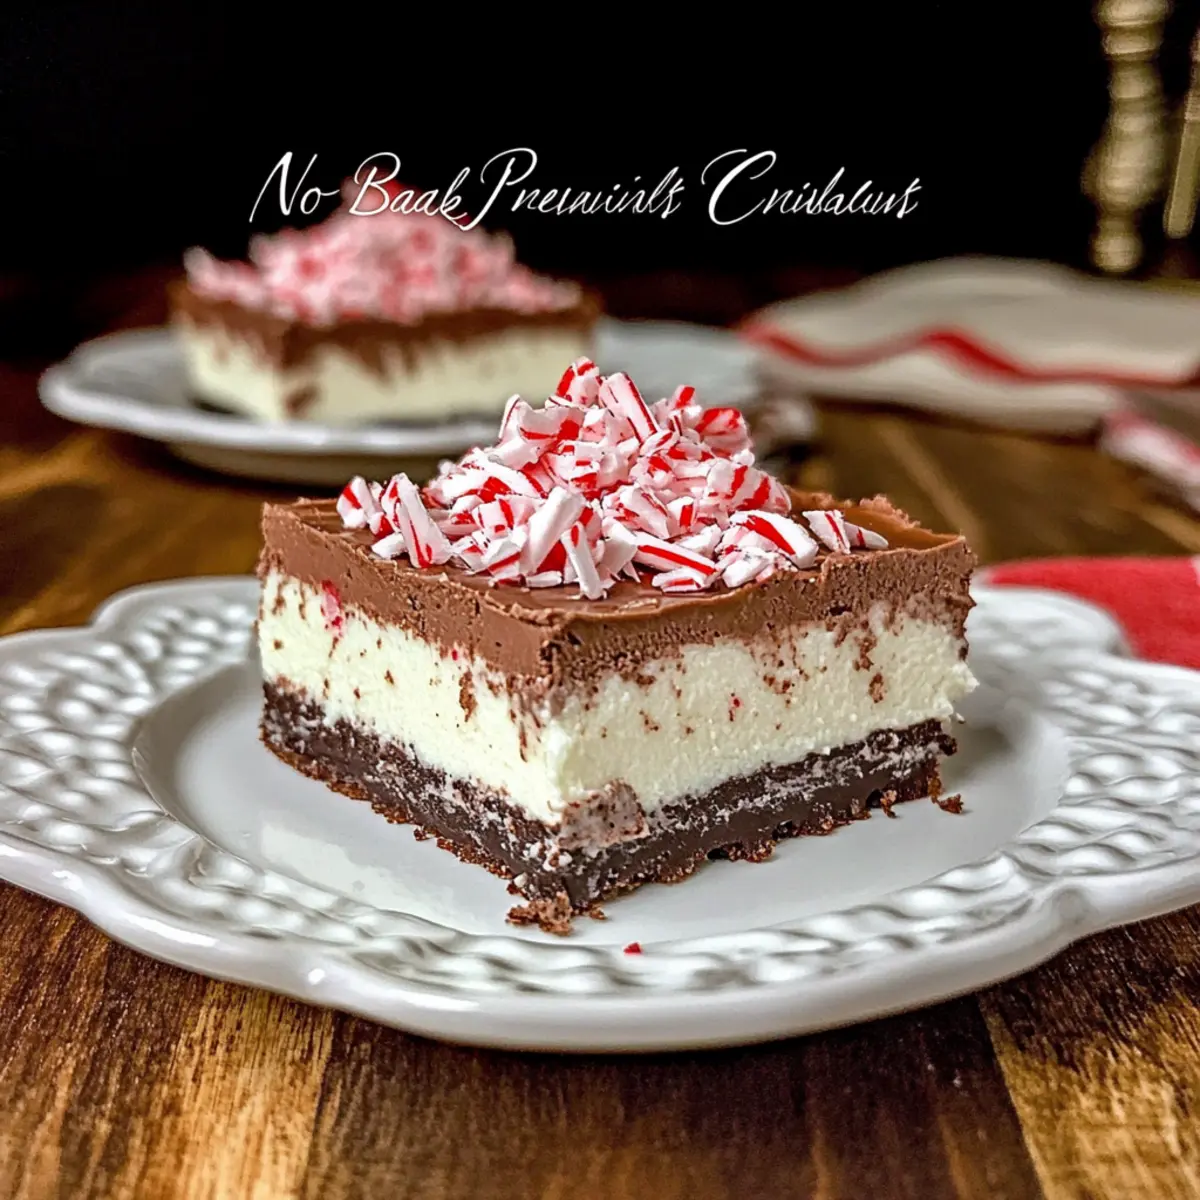
Once the chocolate layer has set, spread another layer of whipped topping over it, creating a light and airy finish. For a festive touch, sprinkle coarsely chopped peppermint candy canes on top, ensuring even coverage for both flavor and visual appeal.
Step 5: Chill or Freeze
Place the pan in the refrigerator and chill for at least 4 hours to allow the layers to set properly. For a firmer texture akin to an ice cream cake, you can also freeze it for about 1 hour before slicing. When ready, cut into squares and serve chilled for a refreshing dessert experience.
Chocolate Peppermint Squares Variations
Feel free to get creative with these delicious squares and make them your own!
- Chocolatey Crust: Substitute vanilla wafer crumbs with crushed Oreos for a deeper chocolate flavor that perfectly complements the peppermint layers.
- Nutty Crunch: Replace the crushed peppermint candy with coarsely chopped nuts, such as walnuts or pecans, for a delightful crunch and a warm, nutty flavor.
- Dairy-Free Alternative: Use dairy-free cream cheese and a plant-based whipped topping to create a vegan version of these delightful squares.
- Extra Mint: Boost the peppermint flavor by adding a few drops of peppermint extract to the cream cheese layer. Just a little goes a long way!
- Layer It Up: Consider adding a layer of thinly sliced bananas on top of the peppermint layer before adding the chocolate layer for a fresh twist.
- Holiday Spices: Sprinkle a pinch of cinnamon or nutmeg into the chocolate pudding mixture to introduce a warm, festive flavor.
- Frozen Delight: For a refreshing summer treat, serve these squares straight from the freezer; the texture becomes nearly ice cream-like!
- Colorful Toppings: Change it up by using colorful sprinkles or chocolate shavings on top instead of peppermint candy; this is especially fun for kids!
With these variations, your no-bake chocolate peppermint squares can shine in so many unique ways. Curious about other festive treats? You might want to check out these delightful Pistachio White Chocolate cookies or indulge in a luscious slice of Chocolate Zucchini Cake. Enjoy experimenting!
What to Serve with No-Bake Chocolate Peppermint Squares
Indulge your senses and complement your holiday gathering with these delightful pairings that enhance the magic of this sweet treat.
-
Rich Hot Chocolate: Warm, creamy hot chocolate adds a cozy touch, perfect for balancing the cool peppermint flavors while keeping everyone toasty.
-
Crunchy Biscotti: These crunchy delights provide a satisfying contrast to the soft texture of the squares, making for a delightful dipping experience.
-
Minty Mojito Mocktail: A refreshing mint-infused drink elevates the dessert's flavor profile and provides a bright and zesty finish to your meal.
-
Chocolate-Dipped Strawberries: The sweetness of strawberries pairs perfectly with the rich chocolate of the squares, adding a fresh and fruity element to your dessert spread.
-
Spiced Gingerbread Cookies: These festive cookies amplify the holiday spirit and add a wonderful mix of warm spices to your dessert table.
-
Vanilla Bean Ice Cream: Creamy and velvety, a scoop of vanilla bean ice cream serves as a luscious counterpoint to the rich layers of chocolate peppermint squares.
These delightful additions will create a joyful and memorable feast that keeps the spirit high and the tastebuds dancing!
How to Store and Freeze Chocolate Peppermint Squares
Fridge: Store leftover chocolate peppermint squares in an airtight container for up to 1 week, ensuring they stay fresh and tasty for your indulgence anytime.
Freezer: For long-term storage, freeze the squares for up to 2 months. Just wrap them securely in plastic wrap and aluminum foil to prevent freezer burn.
Thawing: When ready to enjoy again, thaw in the fridge overnight to retain the creamy texture and flavors. Serve chilled for a delightful treat any time!
Reheating: No need to reheat; serve straight from the fridge or freezer for the best experience.
Expert Tips for Chocolate Peppermint Squares
- Layer Consistency: Ensure each layer is evenly spread to maintain structural integrity when cutting. This helps your chocolate peppermint squares hold their beautiful shape.
- Chill Time Matters: Always chill or freeze your dessert as instructed; this enhances flavors and improves the overall texture, making every bite delightful.
- Cutting Technique: Use a sharp knife that’s warmed under hot water to create smooth, clean slices for your chocolate peppermint squares, minimizing crumbling.
- Peppermint Substitutions: Feel free to switch the crushed candy canes with other toppings like grated chocolate or crushed nuts for a fun twist on flavor and texture.
- Storage Tips: Store any leftovers in an airtight container in the fridge for up to a week to preserve freshness and deliciousness.
Make Ahead Options
These No-Bake Chocolate Peppermint Squares are ideal for meal prep, making your holiday dessert planning a breeze! You can prep the crust and peppermint layer up to 24 hours in advance; simply store them in the refrigerator to maintain their freshness. When ready to serve, mix the instant chocolate pudding with milk and layer it over the peppermint layer—this will ensure a smooth application. Allow the squares to chill in the fridge for at least 4 hours, or pop them in the freezer for about an hour for a firmer texture. Just as delicious and beautifully layered, these squares let you enjoy time with your loved ones without missing a sweet treat!
Chocolate Peppermint Squares Recipe FAQs
How do I choose the right peppermint candy?
When selecting peppermint candy for your Chocolate Peppermint Squares, look for finely crushed peppermint candy canes or Starlight mints. Ensure they are vibrant and fresh without any dark spots, as that indicates they may be stale. For a fun twist, you can even use homemade peppermint bark!
How should I store my no-bake dessert?
To keep your Chocolate Peppermint Squares fresh, store them in an airtight container in the refrigerator for up to one week. If you're looking to extend their shelf life, you can freeze them for up to 2 months. Always ensure they're well-sealed to prevent freezer burn.
Can I freeze Chocolate Peppermint Squares?
Absolutely! To freeze your Chocolate Peppermint Squares, wrap them tightly in plastic wrap followed by aluminum foil to protect them from freezer burn. They can be kept in the freezer for up to 2 months. When you're ready to enjoy them, simply thaw them in the fridge overnight for the best texture.
What should I do if my layers don’t set properly?
If your peppermint or chocolate layers don’t set as expected, ensure you’ve chilled them for the correct time. For a quicker set, place the dessert in the freezer for about 30 minutes before cutting. If still problematic, a quick re-blend of the mixtures before assembling may help, as well as ensuring your cream cheese is adequately softened.
Are there any dietary substitutions I can make?
Yes! For a dairy-free version, consider using vegan cream cheese and coconut whipped topping. If you need a gluten-free option, simply replace the vanilla wafer crumbs with gluten-free cookies or almond flour. Always remember to check for allergies pertaining to any substitute ingredients you plan to use.
Can I add extra flavor to my squares?
Certainly! To enhance the flavor of your Chocolate Peppermint Squares, consider adding a splash of peppermint extract to the cream cheese mixture for an extra punch. Additionally, a layer of melted chocolate can be drizzled on top before the whipped topping for added richness and visual appeal.
Decadent Chocolate Peppermint Squares: Easy No-Bake Delight
Ingredients
Equipment
Method
- In a mixing bowl, combine crushed vanilla wafer crumbs, melted unsalted butter, and sugar until it forms a moist mixture. Press this mixture firmly into the bottom of a 9 x 9-inch pan, creating an even layer. Refrigerate for about 10 minutes to help it set.
- In a large bowl, beat softened cream cheese and whole milk together until smooth and creamy. Gradually add in sugar and finely crushed peppermint candy, mixing well. Gently fold in whipped topping until light and fluffy, then spread evenly over the chilled crust.
- In a separate bowl, whisk together the instant chocolate pudding mix with the required amount of milk for 2 minutes until thickened. Pour the chocolate mixture over the peppermint layer.
- Spread another layer of whipped topping over the chocolate layer. Sprinkle coarsely chopped peppermint candy canes on top.
- Chill in the refrigerator for at least 4 hours or freeze for 1 hour before slicing into squares and serving chilled.


Leave a Reply