
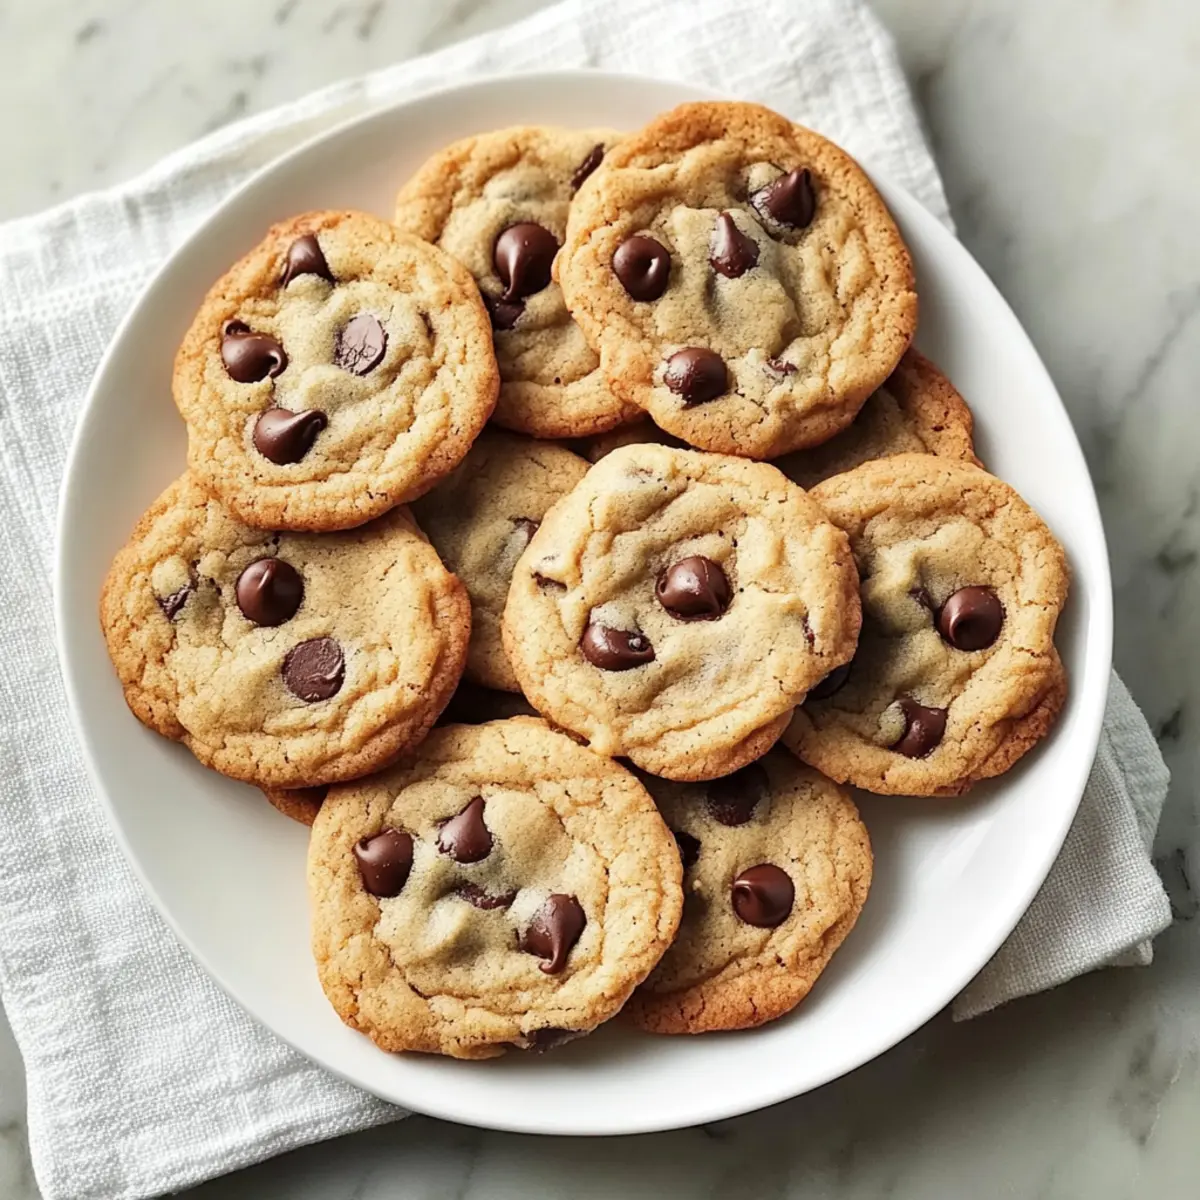
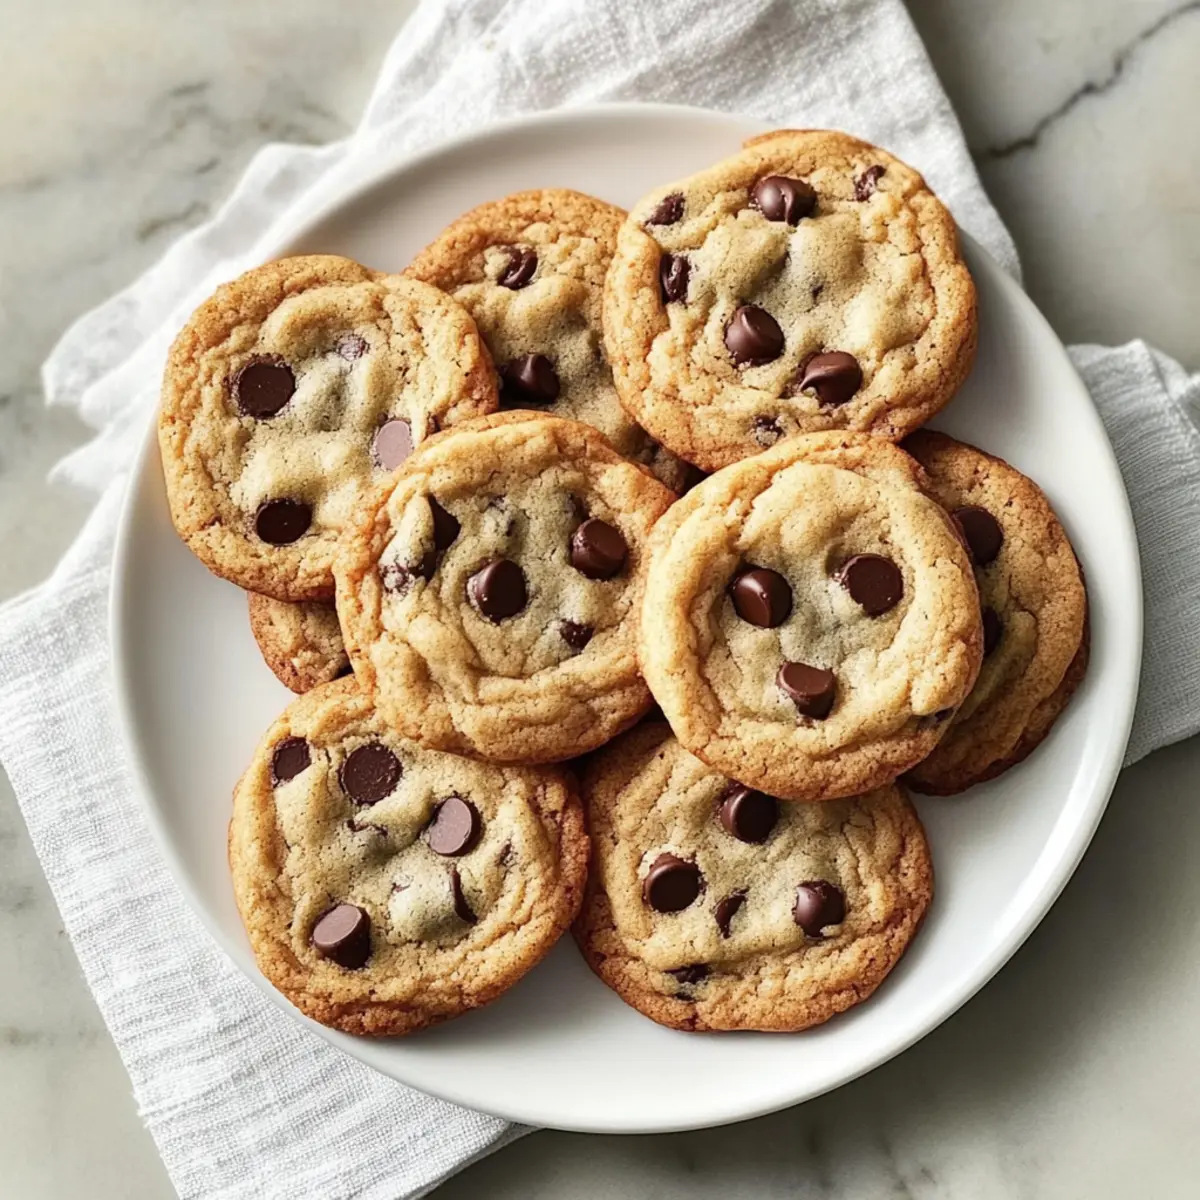
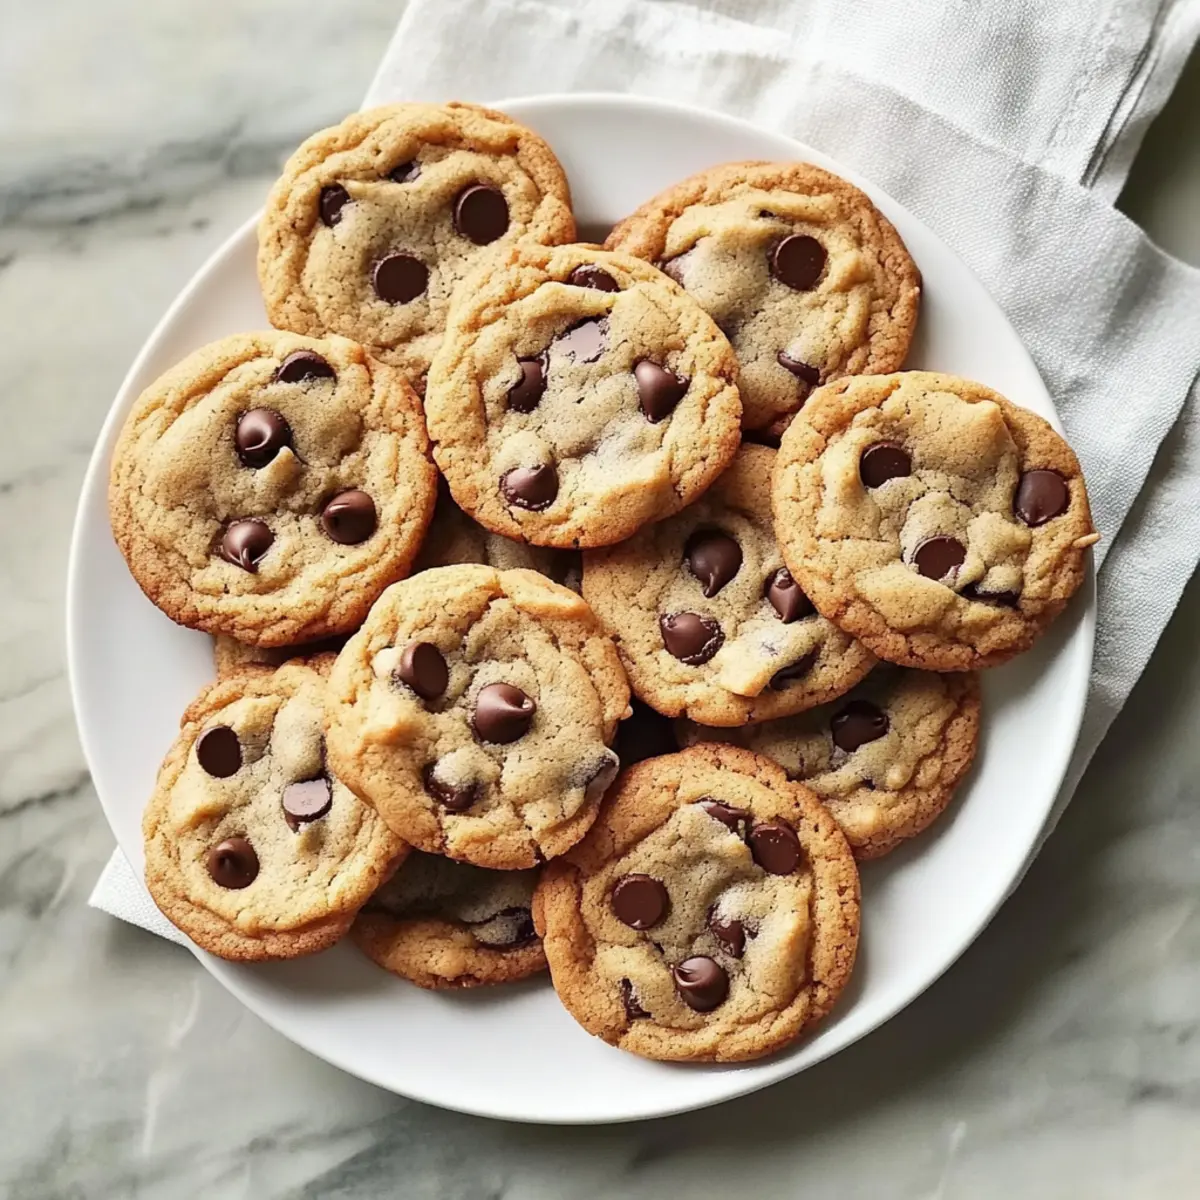
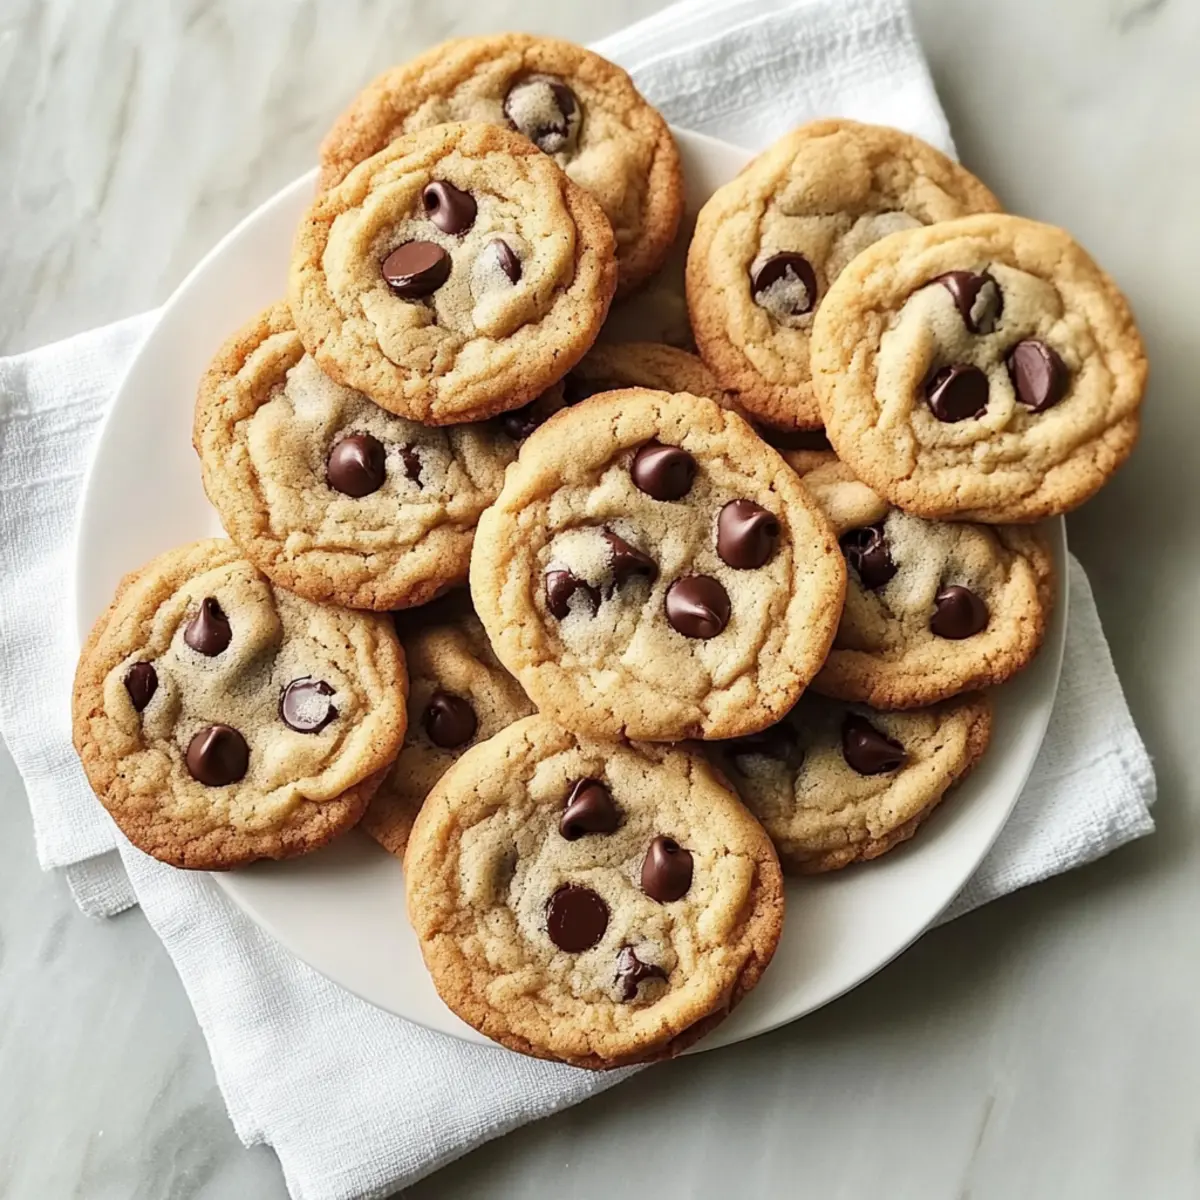
As I stood in my kitchen, the sweet scent of melting chocolate wafted through the air, transporting me back to cozy afternoons spent baking with my family. These Classic Melt-in-Your-Mouth Chocolate Chip Cookies remind me of simpler times, where joy was found in sharing homemade treats. This recipe is a cinch, making it perfect for both seasoned bakers and those looking to conquer cookie-making for the first time. Not only do they feature customizable mix-ins for a personal touch, but they also bake up quickly, making them an ideal choice for any gathering—or even a solitary sweet indulgence. So, whether you're aiming to impress guests or simply satisfy a chocolate craving, these cookies are sure to delight. Curious how you can elevate this classic recipe even further? Let’s dive in!
Why Are These Cookies So Addictive?
Irresistible aroma: The moment these cookies start baking, your kitchen will be filled with a heavenly scent that beckons everyone to gather around.
Customizable goodness: Enjoy the flexibility to mix in your favorite ingredients, like nuts or oats, making each batch uniquely yours.
Quick and easy: With simple steps and minimal prep, you'll have these delectable treats ready in no time—perfect for busy days or surprise guests.
Nostalgic flavors: Each bite offers a comforting taste reminiscent of classic family recipes, bringing warmth and joy to your kitchen.
Perfect texture: These cookies achieve a satisfying balance between chewy centers and crispy edges that will have you reaching for seconds, or thirds! If you’re looking to try another delightful option, check out these Chocolate Cupcake Decadent cupcakes for a sweet twist!
Classic Chocolate Chip Cookies Ingredients
For the Cookies
- Unsalted Butter – Provides a rich, buttery flavor and moisture; use unsalted for better control over saltiness.
- Granulated Sugar – Contributes sweetness and crispiness; can be substituted with coconut sugar for a healthier option.
- Light Brown Sugar – Adds moisture and a hint of caramel flavor; dark brown sugar can enhance richness.
- Large Eggs – Binds ingredients and adds moisture; use room temperature eggs for optimal mixing.
- Vanilla Extract – Enhances the overall flavor; opt for pure vanilla extract for best results.
- All-Purpose Flour – Creates structure in the cookies; for gluten-free options, use a gluten-free flour blend with xanthan gum.
- Baking Powder – Promotes slight puffiness; ensure freshness for optimal rise.
- Kosher Salt – Balances sweetness and elevates flavors; sea salt can be used as a substitute.
- Baking Soda – Assists with cookie spread and browning; critical for achieving perfect consistency.
- Semisweet Chocolate Chips – Provides chocolatey goodness; swap with dark chocolate chips for a richer flavor.
Optional Mix-Ins
- Nuts (e.g., walnuts, pecans) – Add for crunch and flavor.
- Oats – Stir in for added texture and heartiness.
- Other Chocolate Varieties – Experiment with white or milk chocolate chips for unique flavors.
Step‑by‑Step Instructions for Classic Melt-in-Your-Mouth Chocolate Chip Cookies
Step 1: Preheat the Oven
Begin by preheating your oven to 375°F (190°C). This ensures your Classic Chocolate Chip Cookies will bake evenly and achieve that perfect golden-brown finish. While the oven heats up, prepare your baking sheets with parchment paper, making it easier to transfer the cookies later without sticking.
Step 2: Cream the Butter and Sugars
In a stand mixer fitted with a paddle attachment, combine the unsalted butter, granulated sugar, and light brown sugar. Beat on medium speed for about 2-3 minutes until the mixture is light and fluffy, and the sugars dissolve completely. Scrape down the sides of the bowl occasionally to ensure even mixing, creating a smooth base for your cookie dough.
Step 3: Incorporate Eggs and Vanilla
Add the eggs one at a time, mixing well after each addition for about 30 seconds. This step is crucial for binding the ingredients together, contributing to the chewy texture of your Classic Chocolate Chip Cookies. Finally, blend in the pure vanilla extract until fully incorporated, filling your kitchen with a delightful aroma.
Step 4: Mix Dry Ingredients
In a separate bowl, whisk together the all-purpose flour, baking powder, kosher salt, and baking soda. This step is important as it keeps the leaveners evenly distributed throughout the dough. Once combined, gradually mix the dry ingredients into the wet mixture on low speed until just combined, taking care not to overmix, which helps keep the cookies tender.
Step 5: Fold in the Chocolate Chips
Using a spatula, gently fold in the semisweet chocolate chips to the dough until evenly distributed. This is where the magic happens, as the chocolate bits will melt into those irresistible pockets of gooey goodness in your Classic Chocolate Chip Cookies. Be careful not to overwork the dough to maintain its fluffy texture.
Step 6: Portion the Dough
Using a cookie scoop or a tablespoon, portion out about 3 tablespoons of dough for each cookie and place them onto the prepared baking sheets. Make sure to leave about 2 inches of space between each scoop, allowing room for spreading as the cookies bake. This ensures uniformity and perfect cookie shapes!
Step 7: Chill the Dough (Optional)
For an extra chewy texture, you can chill the dough in the refrigerator for about 30 minutes while the oven continues to preheat. Chilling helps control the spread of the cookies, resulting in thicker, wonderfully chewy Classic Chocolate Chip Cookies, but this step is optional if you’re short on time.
Step 8: Bake the Cookies
Once the oven has reached the desired temperature and your dough is ready, carefully place the baking sheets in the oven. Bake the cookies for 8-10 minutes, or until the edges are golden brown while the centers remain slightly soft. Rotate the pans halfway through for even baking, ensuring all cookies get that delicious, golden color.
Step 9: Cool on the Pan
After baking, allow the cookies to cool on the baking sheets for about 5 minutes. This helps them set properly and makes transferring them easier. The edges should be firm, while the centers will continue to cook slightly from residual heat, leading to that perfect melt-in-your-mouth texture.
Step 10: Transfer to a Cooling Rack
Finally, use a spatula to transfer the warm cookies to a wire rack, allowing them to cool completely. This will permit air circulation around the cookies, keeping them delightful and soft. As you wait for them to cool, don’t forget to enjoy the heavenly aroma wafting through your kitchen!
Make Ahead Options
These Classic Chocolate Chip Cookies are perfect for those busy days when you want to save time without sacrificing flavor! You can prepare the cookie dough up to 72 hours in advance and store it in the refrigerator, wrapped tightly in plastic wrap to maintain its freshness. Alternatively, scoop the cookies onto parchment-lined baking sheets and freeze them for up to 1 month; this way, you can bake fresh cookies straight from the freezer—just add a couple of extra minutes to the baking time. When you're ready to serve, simply preheat your oven and bake until golden. This prep-ahead method keeps your cookies just as delicious, ensuring warm, gooey treats are always within easy reach!
What to Serve with Classic Melt-in-Your-Mouth Chocolate Chip Cookies
Indulging in these beloved cookies invites a beautiful opportunity to create a delightful, heartwarming meal.
- Tall Glass of Milk: A classic choice! The rich creaminess beautifully complements the sweet, chocolatey flavors, making each bite more enjoyable.
- Vanilla Ice Cream: Scoop some creamy vanilla ice cream on top or between two cookies for an irresistibly decadent dessert sandwich. The warm cookie contrasts perfectly with the cold ice cream, creating a delightful flavor symphony.
- Fresh Berries: Strawberries or raspberries add a refreshing burst of tartness that balances the sweetness of the cookies, providing a light, fruity touch to your dessert experience.
- Chocolate Sauce Drizzle: Elevate the indulgence by drizzling warm chocolate sauce over your cookies. This adds another layer of chocolate bliss that any chocoholic would adore!
- Nutty Fruit Medley: A mix of nuts and dried fruits can complement the cookie’s ingredients. The crunch of nuts and chewiness of dried fruits create fun textures to enjoy alongside each cookie.
- Coffee or Espresso: Pair your cookies with a robust cup of coffee or a shot of espresso. The bitter notes of the coffee highlight the sweetness of the cookies, making for a perfect afternoon treat.
- Caramel Sauce: For an extra treat, some homemade caramel sauce drizzled over warm cookies gives a sweet touch that feels indulgent and gourmet. Enjoy the gooey, sumptuous goodness!
Expert Tips for Classic Chocolate Chip Cookies
- Chill for Chewiness: Refrigerate the dough for at least 30 minutes to enhance chewiness and control cookie spread during baking.
- Fresh Ingredients Matter: Ensure your baking powder and baking soda are fresh; expired leaveners can lead to flat, uneven cookies.
- Room Temperature Ingredients: Use room temperature butter and eggs for easier mixing, which contributes to a better, fluffier texture in your Classic Chocolate Chip Cookies.
- Don’t Overmix: Combine the wet and dry ingredients on low speed until just incorporated to avoid tough cookies—less mixing is more!
- Baking Time Adjustment: Keep an eye on the cookies; they should be golden around the edges but slightly soft in the center for the perfect texture.
Classic Chocolate Chip Cookies Variations
Feel free to explore these delightful twists on classic chocolate chip cookies that will spark your creativity and tantalize your taste buds!
-
Nutty Delight: Add chopped walnuts or pecans for an added crunch. The nutty flavor pairs beautifully with chocolate, creating a delicious contrast that everyone will love.
-
Oatmeal Boost: Incorporate 1 cup of rolled oats into the mix for a heartier cookie. This twist adds great texture and a bit of chewiness, making each bite satisfying and filling.
-
Double Chocolate: Swap half of the flour with cocoa powder for a decadent treat. Rich and chocolaty, these cookies will have chocolate lovers weak in the knees!
-
Spicy Kick: Introduce a dash of cinnamon or nutmeg for a warm, aromatic twist. These spices will elevate the flavor and add a touch of cozy nostalgia to each bite.
-
Dairy-Free: Substitute vegan butter and dairy-free chocolate chips for a scrumptious dairy-free version. You won’t miss the dairy at all, and everyone can enjoy these cookies together!
-
Gluten-Free Option: Use a gluten-free flour blend instead of all-purpose flour to cater to gluten-sensitive friends and family. They’ll appreciate the effort and indulge in the same deliciousness!
-
Fun Mix-Ins: Get creative with mix-ins like dried fruits, toffee bits, or even crushed up candy bars. The possibilities are endless, and each combination creates a unique treat.
-
Salted Caramel: Drizzle a bit of caramel sauce on top before baking and sprinkle with sea salt for a sweet and salty flavor explosion. It’s the perfect gourmet touch that will impress your guests!
Don’t forget to check out these tasty Oatmeal Cookies Chewy for a wholesome alternative or the delightful Chocolate Zucchini Cake for another sweet indulgence!
How to Store and Freeze Classic Chocolate Chip Cookies
Room Temperature: Store cookies in an airtight container at room temperature for up to 3 days to maintain their softness and flavor.
Fridge: For extended freshness, you can keep them in the fridge for up to a week. Just be sure to seal them well to avoid drying out.
Freezer: Freeze your Classic Chocolate Chip Cookies in a single layer, then transfer to a zip-top bag for up to 3 months. This way, they stay fresh and ready to enjoy!
Reheating: To enjoy frozen cookies, simply thaw at room temperature or pop them in a microwave for about 10-15 seconds for that melt-in-your-mouth experience.
Classic Chocolate Chip Cookies Recipe FAQs
How do I select the right chocolate for my cookies?
Absolutely! For the best flavor, I recommend using semisweet chocolate chips, which provide that classic, sweet chocolate experience. You can also mix in dark chocolate chips for a richer flavor or try milk chocolate for a sweeter take. If you have dietary restrictions, opt for dairy-free chocolate chips to keep it inclusive for everyone.
How should I store my chocolate chip cookies for freshness?
To keep your Classic Chocolate Chip Cookies soft and delicious, store them in an airtight container at room temperature for up to 3 days. If you wish to extend their freshness, you can refrigerate them for up to a week—just be sure to keep them sealed well to prevent drying out. A little tip from my kitchen: If you're in a humid area, you might consider adding a piece of bread in the container to help retain moisture!
Can I freeze the cookie dough?
Yes, you can totally freeze the cookie dough! Scoop out individual portions and place them on a parchment-lined baking sheet to freeze until firm. Once frozen, transfer them into a zip-top bag or an airtight container, separating layers with parchment paper to prevent sticking. The dough can be frozen for up to 3 months. When you’re ready to bake, simply add an extra 1-2 minutes to the baking time—easy-peasy!
What if my cookies turn out flat?
Very often, flat cookies are a result of using melted butter or not properly measuring flour. To prevent this, make sure your butter is softened to room temperature, and I recommend spooning the flour into your measuring cup and leveling it off instead of scooping directly from the bag, which can pack it down. Additionally, ensure your baking powder and soda are fresh, as old leavening agents can lead to flat cookies.
What’s a good gluten-free option for these cookies?
If you’re looking for a gluten-free option, I recommend using a gluten-free flour blend that contains xanthan gum, which helps bind the ingredients together. You can follow the same measurements as you would with all-purpose flour. Some blends work even better if you slightly increase the flour quantity by about a tablespoon, ensuring the dough has a great texture and rise.
Can I use cold eggs instead of room temperature eggs?
Using cold eggs can impact your cookie dough's texture, making it denser. However, if you forget to take them out to warm up, you can quickly place them in a bowl of warm water for about 10-15 minutes. This trick will help them reach the desired room temperature without sacrificing your cookie-making momentum!
Perfectly Chewy Classic Chocolate Chip Cookies to Savor
Ingredients
Equipment
Method
- Preheat the oven to 375°F (190°C) and prepare baking sheets with parchment paper.
- In a stand mixer, combine the unsalted butter, granulated sugar, and light brown sugar. Beat on medium speed for 2-3 minutes until light and fluffy.
- Add the eggs one at a time, mixing well after each addition. Then blend in the vanilla extract until fully combined.
- In a separate bowl, whisk together the flour, baking powder, salt, and baking soda. Gradually mix the dry ingredients into the wet mixture on low speed.
- Gently fold in the semisweet chocolate chips until evenly distributed.
- Portion out about 3 tablespoons of dough for each cookie onto prepared baking sheets, leaving space for spreading.
- For extra chewiness, chill the dough in the refrigerator for 30 minutes before baking.
- Bake the cookies for 8-10 minutes, until the edges are golden brown and centers slightly soft. Rotate pans halfway through.
- Cool on the baking sheets for about 5 minutes before transferring to a wire rack to cool completely.


Leave a Reply