
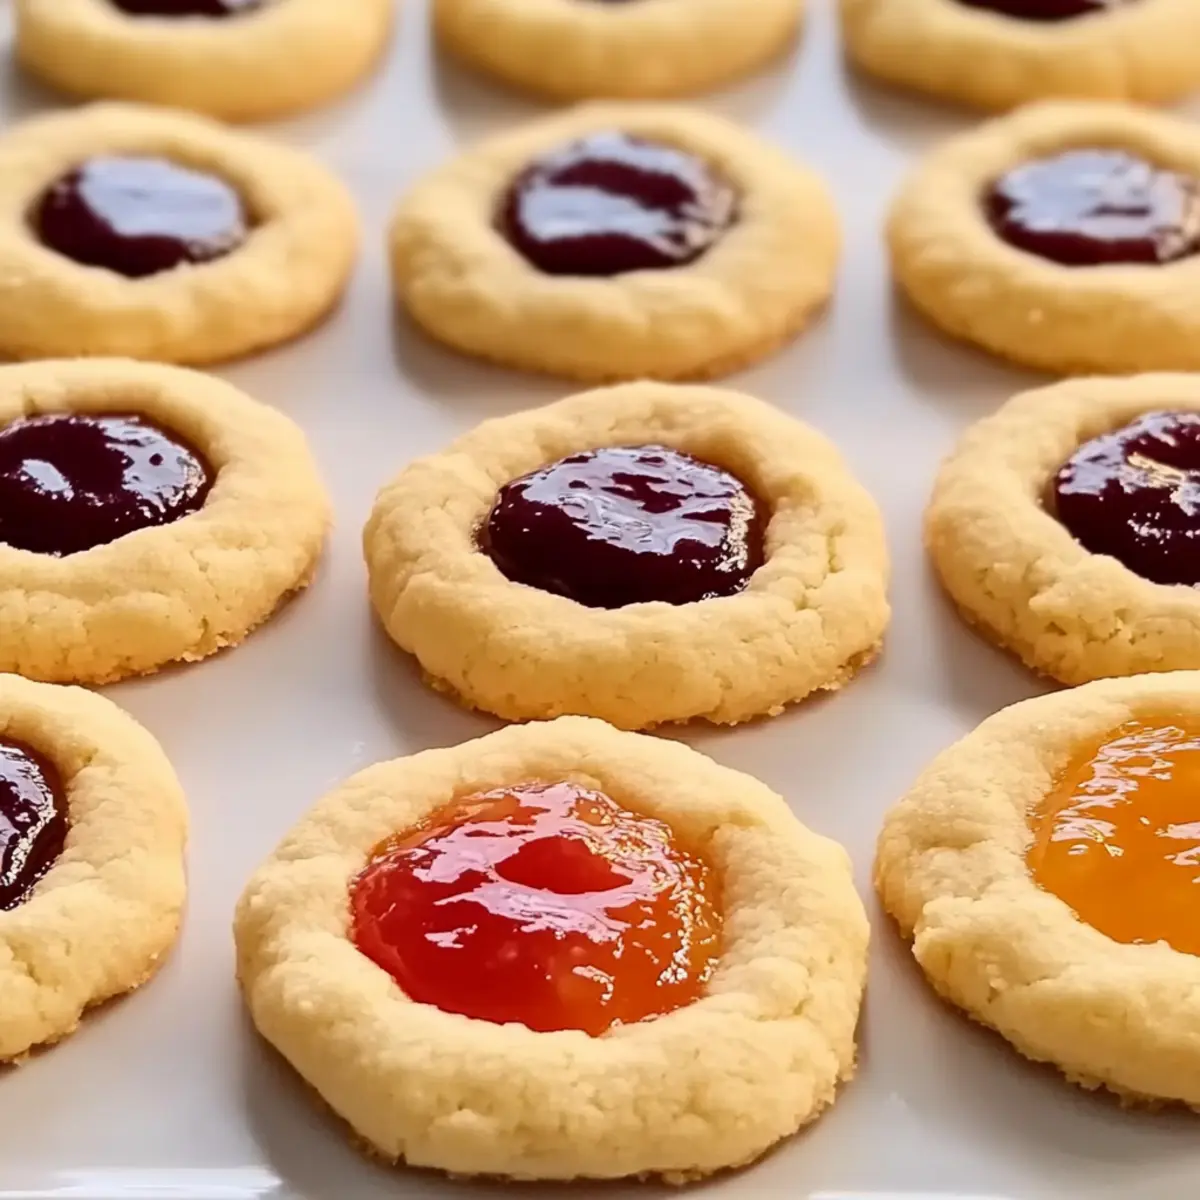
As I stood in the kitchen, the sweet aroma of baking cookies instantly transported me to my grandmother’s cozy home, where we spent countless afternoons making a beloved treat: Classic Thumbprint Cookies. With their buttery texture and delightful fillings—be it luscious chocolate ganache or vibrant fruit preserves—these cookies are not just treats; they encapsulate memories of laughter and warmth. What I adore most about this recipe is its flexibility; you can personalize each thumbprint to fit any taste, whether you're craving something fruity or rich. Plus, these cookies come together quickly, making them the perfect last-minute surprise for any gathering. Curious about how to create this nostalgic delight and impress everyone at your next get-together? Let’s dive into the recipe!
Why Are Classic Thumbprint Cookies Irresistible?
Nostalgic Memory: Each bite takes you back to cherished moments, whether it's holiday gatherings or cozy afternoons spent baking with loved ones.
Customizable Fillings: With options like fruity preserves or decadent chocolate ganache, you can tailor these cookies to suit every palate!
Quick and Easy: The straightforward process means you can whip up a batch in no time—ideal for last-minute gatherings or a sweet craving.
Versatile Options: Whether you prefer a gluten-free option or want to experiment with flavors like lemon zest, these cookies can adapt to your needs.
Crowd-Pleasing Treat: These cookies always impress friends and family alike, making them the perfect addition to any dessert table or afternoon tea. For another delightful cookie recipe, check out Pineapple Cookies Tropical.
Classic Thumbprint Cookies Ingredients
For the Dough
- Butter – Provides richness and flavor; use unsalted for better control over salt levels.
- Granulated Sugar – Sweetens and contributes to cookie structure; can substitute with coconut sugar for a deeper flavor.
- Egg Yolk – Adds moisture and richness; do not use egg whites in this recipe.
- Vanilla Extract – Enhances flavor; can substitute with almond extract for a different taste profile.
- All-Purpose Flour – Works as the base for the cookie structure; substitute with a gluten-free blend for a gluten-free version.
- Salt – Balances sweetness; essential for flavor enhancement.
For the Fillings
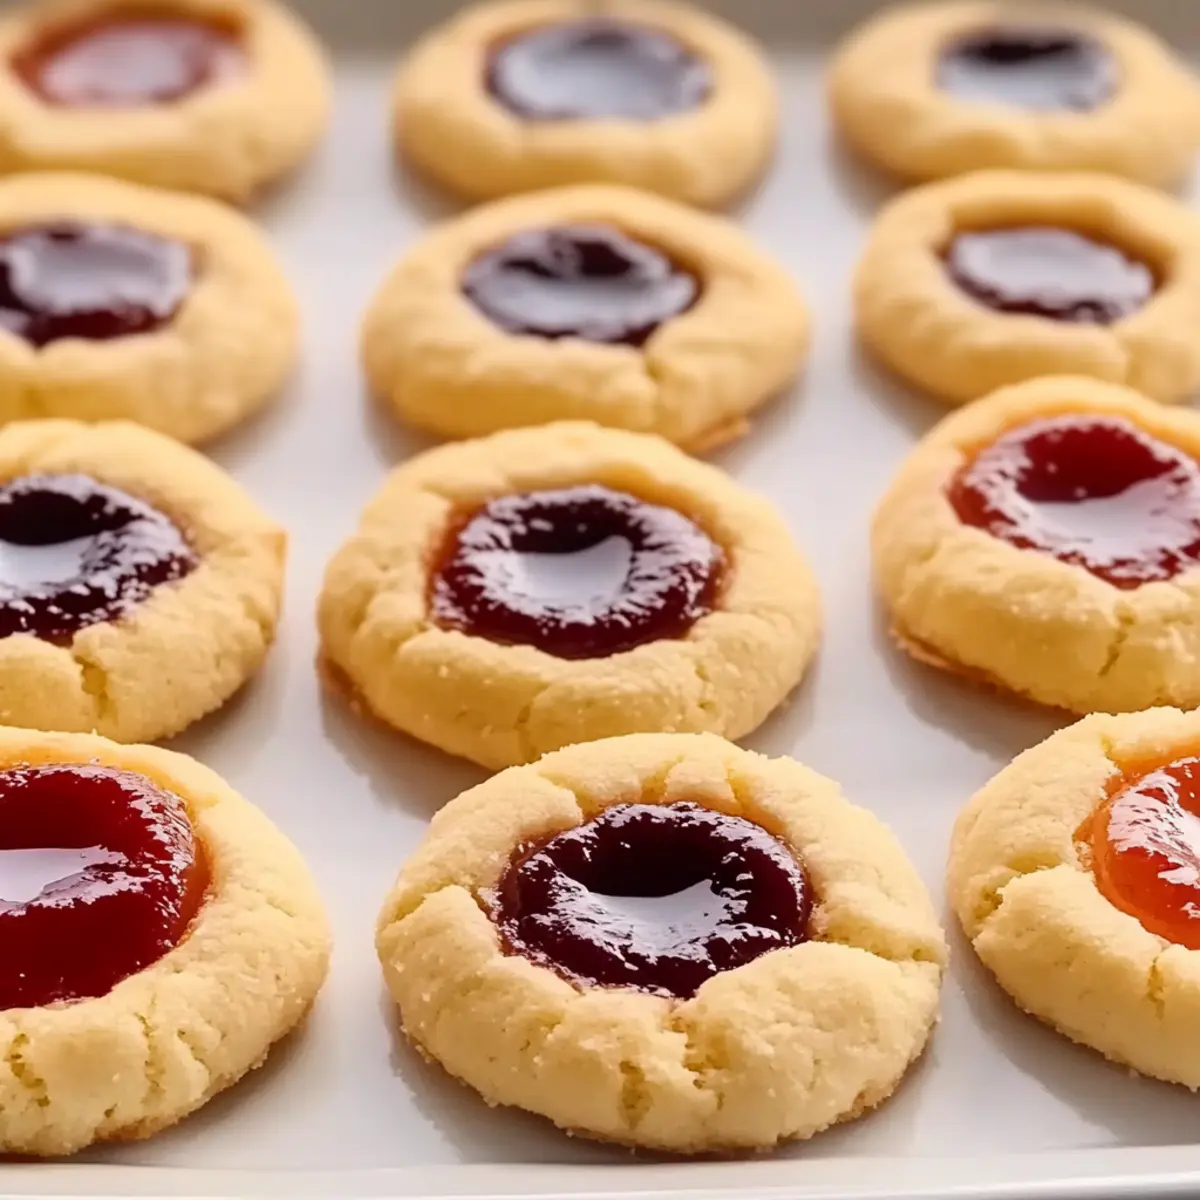
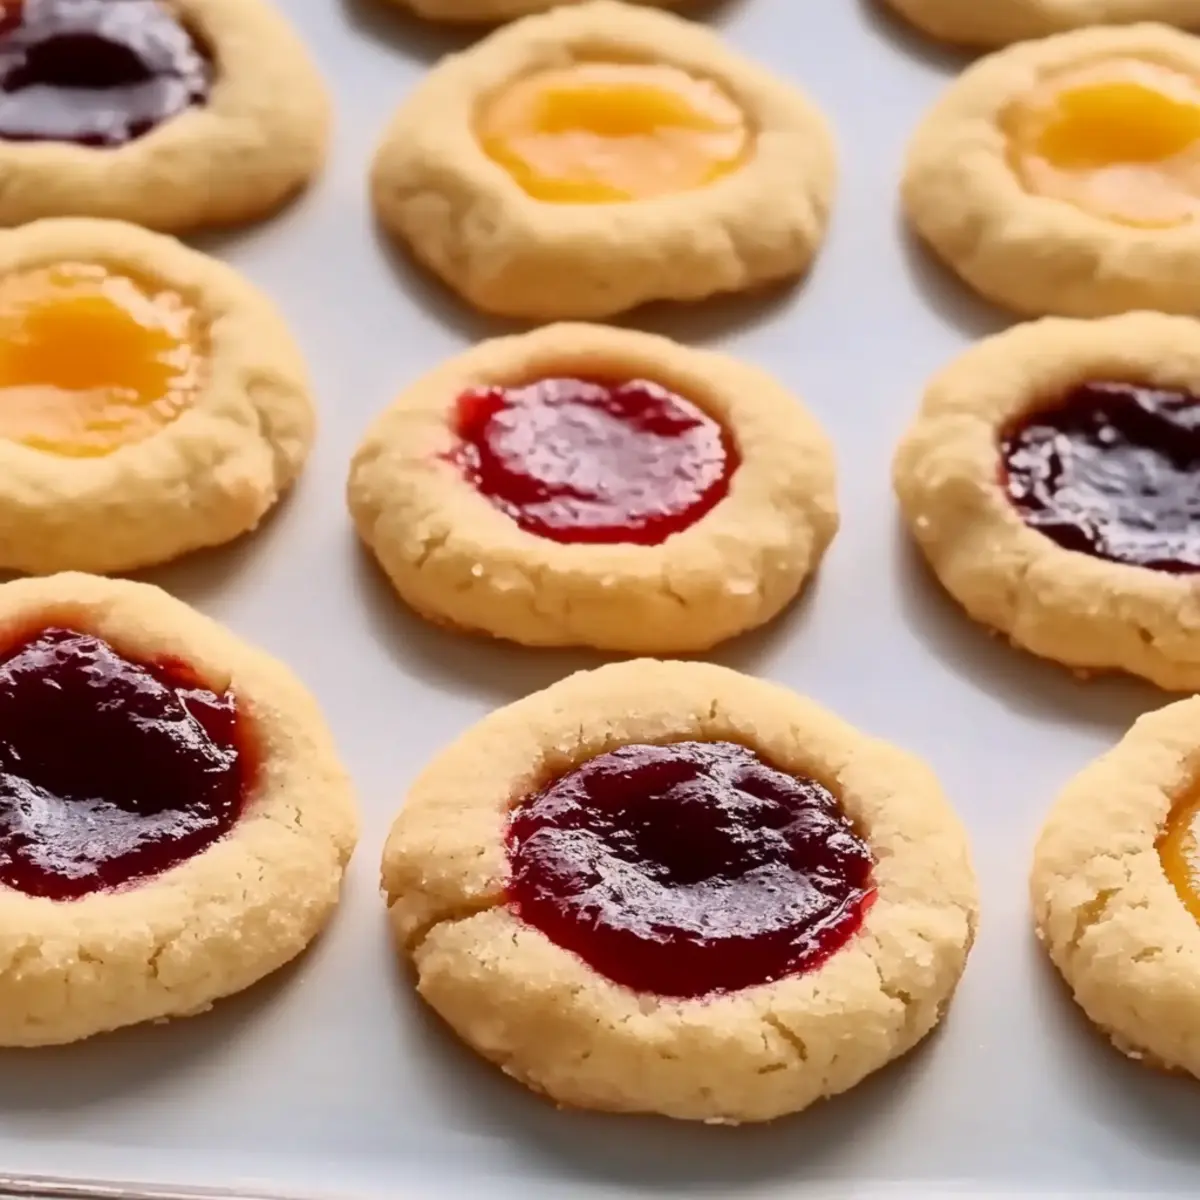
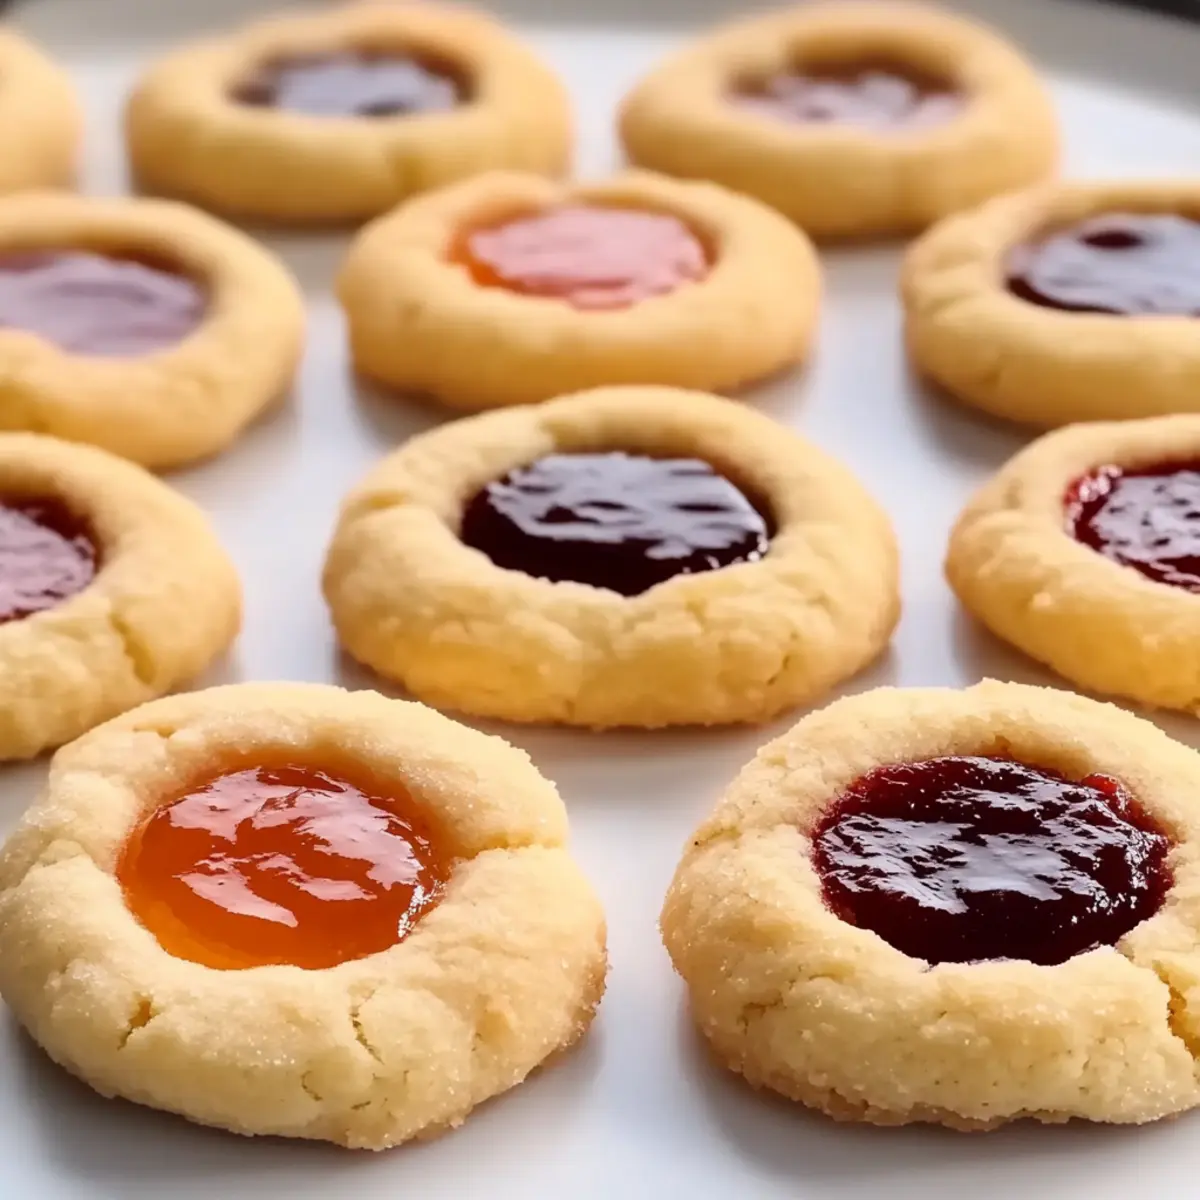
- Fruit Preserves/Chocolate Ganache – Optional fillings that provide flavor and visual appeal; use your favorite preserves or chocolate based on preference.
For Decoration
- Powdered Sugar – Optional dusting for decoration that adds a sweet finishing touch.
These Classic Thumbprint Cookies are a delightful treat that will bring warmth and sweet nostalgia to your table!
Step‑by‑Step Instructions for Classic Thumbprint Cookies
Step 1: Prepare Dough
Begin by creaming together 1 cup of softened unsalted butter and ¾ cup of granulated sugar in a large mixing bowl. Use an electric mixer on medium speed for about 2-3 minutes until the mixture is light and fluffy. Then, add 1 egg yolk and 1 teaspoon of vanilla extract, mixing until fully incorporated, ensuring the dough is smooth and creamy.
Step 2: Combine Dry Ingredients
In a separate bowl, whisk together 2 cups of all-purpose flour and ¼ teaspoon of salt; this ensures an even distribution. Gradually add the dry mixture to the wet ingredients, mixing at low speed until a soft dough forms, about 1-2 minutes. The dough for your Classic Thumbprint Cookies should be manageable and slightly sticky, indicating it’s ready for chilling.
Step 3: Chill Dough
Cover the dough tightly with plastic wrap and refrigerate for at least 30 minutes. Chilling is crucial as it helps the dough maintain its shape while baking, preventing too much spreading. When ready, the dough will be firm to the touch and easy to handle, ideal for rolling into cookie balls.
Step 4: Preheat Oven
While the dough is chilling, preheat your oven to 350°F (175°C). Prepare a baking sheet by lining it with parchment paper, which will prevent the cookies from sticking and help them bake evenly. This temperature is perfect for achieving the lightly golden edges of your Classic Thumbprint Cookies.
Step 5: Shape Cookies
Once the dough has chilled, scoop tablespoon-sized portions and roll them into smooth balls. Place the dough balls on the lined baking sheet, spacing them about 2 inches apart to allow for spreading during baking. This step will create the delightful shape that is characteristic of Classic Thumbprint Cookies.
Step 6: Make Indentations
Using your thumb, make an indentation in the center of each cookie ball, pressing gently but firmly to create a well for the filling. If you prefer, you can use the back of a small spoon to achieve a uniform shape. Aim for a deep enough indentation to hold the filling without breaking the cookie.
Step 7: Add Filling
Fill each indentation with your choice of fruit preserves or chocolate ganache, using a teaspoon for precise measurements. This is where you can get creative! Make sure not to overfill, as the fillings will bubble slightly during baking. The fillings add a burst of flavor, making your Classic Thumbprint Cookies all the more delightful.
Step 8: Bake
Carefully place the filled baking sheet in the preheated oven and bake for 12-15 minutes, keeping an eye on the edges. They should turn lightly golden while the centers remain soft. The delightful aroma wafting through your kitchen will signal that your Classic Thumbprint Cookies are almost ready.
Step 9: Cool
Once baked, remove the cookies from the oven and allow them to cool on the baking sheet for about 5 minutes. This waiting period helps them firm up. Afterward, transfer the cookies to a wire rack to cool completely. If desired, dust them lightly with powdered sugar for an elegant finish before serving.
What to Serve with Classic Thumbprint Cookies?
Delightful Classic Thumbprint Cookies deserve a feast of flavors to complement their sweet allure.
-
Freshly Brewed Coffee: The rich bitterness of coffee balances out the sweetness, creating a comforting afternoon ritual. There's nothing like a warm cookie with a steaming cup.
-
Herbal Tea: Opt for a fragrant chamomile or mint tea for a refreshing pairing. The soothing flavors enhance the subtle sweetness of the cookies, making it a delightful combo.
-
Vanilla Ice Cream: Melted ice cream oozing over warm cookies adds a creamy texture and temperature contrast. The ice cream’s sweetness pairs beautifully with any filling you choose.
-
Fruity Punch: A vibrant fruit punch adds a splash of fruity goodness and a refreshing zest. This pairing brightens the dessert table while enhancing the fruity preserve fillings.
-
Curd Tarts: Serve alongside lemon or raspberry curd tarts for a tangy twist. The tartness of the curd beautifully complements the cookie’s sweetness, making each bite an adventure.
-
Decadent Brownies: For the ultimate dessert spread, pair with fudgy brownies. This duo caters to every dessert lover's dream, balancing textures and flavors in each mouthful.
-
Spiced Nuts: The crunch of spiced nuts creates a savory contrast to the soft, sugary cookies. This combination brings joy to your palate with delightful texture contrasts and flavor contrasts.
Make Ahead Options
These Classic Thumbprint Cookies are fantastic for meal prep and can save you precious time during busy days! You can prepare the dough up to 24 hours in advance by following the initial steps and chilling it tightly wrapped in plastic wrap in the refrigerator. If you want, you can also shape the cookies into balls and refrigerate them for up to 3 days before baking. To maintain their irresistible texture, make sure they're spaced apart on the baking sheet to prevent sticking. When ready to bake, simply preheat your oven and fill each indentation with your preferred preserves or ganache before popping them in the oven for a delightful treat just as good as freshly made!
Classic Thumbprint Cookies Variations
Feel free to get creative and personalize your Classic Thumbprint Cookies with these fun twists and substitutions!
-
Gluten-Free: Substitute all-purpose flour with a gluten-free blend for a delicious, inclusive treat that everyone can enjoy.
You won’t lose any of the buttery flavor, and your friends will never guess they’re gluten-free! -
Jam Extravaganza: Swap out fruit preserves for any jam of your choice. Raspberry, strawberry, or even fig can add unique flavors to your cookies.
Imagine the colorful assortment of flavors and how delightful they’ll look on your dessert table! -
Nutty Delight: Add ¼ cup of finely chopped nuts like walnuts or pecans to the cookie dough for extra crunch and a touch of richness.
These will not only enhance the flavor but also elevate the texture of your Classic Thumbprint Cookies. -
Chocolate Dipped: For an added special touch, dip the edges of your cookies in melted chocolate after cooling.
This decadent addition will make your thumbprint cookies the star of any gathering; who can resist chocolate? -
Fruity Flavor Boost: Stir in some lemon or orange zest into the dough to introduce a fragrant citrus twist.
The result will be a refreshing brightness that perfectly complements the sweetness of your chosen filling. -
Alternative Fillings: Instead of your usual ganache, play with flavored fillings like peanut butter or nutella for a fun change.
Your friends will be amazed by the surprise as they bite into those unexpected flavors! -
Spicy Kick: Add a pinch of cayenne pepper or cinnamon for a warm, spicy edge to your dough.
This unique twist can turn your classic cookie into an exciting treat, sparking delightful conversations during cookie time! -
Exotic Twist: Use tropical fruit fillings like passionfruit or mango puree for a fresh, tropical vibe.
Your Classic Thumbprint Cookies will transport your taste buds to a sunny beachside retreat, making them perfect for summer gatherings!
With these delightful variations, you can create a multitude of flavor experiences that keep your baking adventures exciting! And don’t forget, if you’re in the mood for something even sweeter, check out our delicious Pineapple Cookies New recipe for a bright and tropical twist!
Expert Tips for Classic Thumbprint Cookies
-
Softened Butter: Ensure your butter is truly softened, as too firm butter can lead to dense cookies. This helps create that delightful, tender texture you crave in Classic Thumbprint Cookies.
-
Chill is Key: Don’t skip the chilling step! Chilling the dough prevents excessive spreading during baking, ensuring your thumbprints hold their shape beautifully.
-
Indentation Depth: Make your indentations deep enough to hold the filling but avoid piercing through the bottom of the dough. This helps prevent leaks while baking.
-
Watch Your Bake Time: Keep a close eye on your cookies during the last couple of minutes in the oven; they may firm up more as they cool, so it’s essential to take them out when the edges are lightly golden.
-
Mixing Caution: Be careful not to overmix the dough once you add dry ingredients. Overmixing can lead to tough cookies; gently mix until just combined for tender Classic Thumbprint Cookies.
How to Store and Freeze Classic Thumbprint Cookies
Room Temperature: Store your Classic Thumbprint Cookies in an airtight container at room temperature for up to 1 week. This keeps them fresh and soft, perfect for snacking!
Fridge: For extra freshness, refrigerate the cookies in a sealed container, where they can last up to 2 weeks. Let them come to room temperature before serving for the best flavor.
Freezer: To freeze, place the cookies in a single layer on a baking sheet, freeze until solid, then transfer to a freezer-safe bag. They can be frozen for up to 3 months without losing flavor.
Reheating: To enjoy the cookies warm, reheat in the oven at 350°F (175°C) for about 5 minutes. This will revive their lovely buttery texture!
Classic Thumbprint Cookies Recipe FAQs
How do I choose ripe fruit preserves for my Classic Thumbprint Cookies?
Absolutely! When selecting fruit preserves, look for ones that have a bright color and a thick consistency. Avoid jars with dark spots or an overly watery texture, as these can indicate spoilage. If possible, choose organic preserves made with minimal ingredients for the best flavor.
What is the best way to store Classic Thumbprint Cookies?
Very good question! To keep your cookies fresh, store them in an airtight container at room temperature for up to 1 week. For longer freshness, you can refrigerate them in a sealed container for up to 2 weeks. Always let them come to room temperature before serving to enhance their flavor and texture.
Can I freeze Classic Thumbprint Cookies? If so, how?
Of course! Freezing is a great option for preserving your delicious treats. First, place the cookies in a single layer on a baking sheet and freeze until solid—this helps prevent them from sticking together. Then, transfer them to a freezer-safe bag or container. They can be frozen for up to 3 months. When you're ready to enjoy them, simply reheat in the oven at 350°F (175°C) for about 5 minutes to restore their delightful softness.
What should I do if my cookie dough is too sticky?
No problem! If your dough is too sticky to handle, I recommend chilling it for an additional 15-30 minutes in the refrigerator, which can help firm it up. If it’s still too sticky after chilling, you can sprinkle a little extra flour on your work surface before rolling into balls. Just be cautious not to add too much flour, as it can make the cookies tough.
Are Classic Thumbprint Cookies suitable for those with allergies?
Great point! Classic Thumbprint Cookies can be made to accommodate various dietary needs. For gluten-free options, simply replace the all-purpose flour with a gluten-free blend. Additionally, if you or your guests have egg allergies, you might try using a flax egg (1 tablespoon of ground flaxseed mixed with 2.5 tablespoons of water) as a substitute. Always check the labels on your fillings for allergens as well—many preserves are nut-free, but it's best to confirm!
Classic Thumbprint Cookies: Customize Your Sweet Treats!
Ingredients
Equipment
Method
- Cream together the butter and granulated sugar until light and fluffy. Add the egg yolk and vanilla extract, mixing until smooth.
- In a separate bowl, whisk together the flour and salt. Gradually add the dry ingredients to the wet mixture, mixing until a soft dough forms.
- Cover the dough with plastic wrap and refrigerate for at least 30 minutes.
- Preheat your oven to 350°F (175°C) and line a baking sheet with parchment paper.
- Roll tablespoon-sized portions of dough into balls and place them on the baking sheet.
- Make an indentation in the center of each ball using your thumb.
- Fill each indentation with your choice of fruit preserves or chocolate ganache.
- Bake in the preheated oven for 12-15 minutes until lightly golden around the edges.
- Allow the cookies to cool on the baking sheet for 5 minutes before transferring to a wire rack.
- If desired, dust the cooled cookies with powdered sugar before serving.


Leave a Reply