
As I watched my niece tear into a bag of cotton candy, I was struck by the sheer joy evident in her eyes—something about that sugary fluff transports us back to carefree days at the fair. That's the magic I wanted to capture in my Cotton Candy Cake. This delightful dessert features airy layers of pastel colors and a light, fluffy texture that will have everyone reminiscing about their childhood delights. Perfect for birthdays, baby showers, or any joyous occasion, it's not only visually stunning but also a breeze to make, ensuring you spend more time with loved ones and less time in the kitchen. Ready to take a sweet trip down memory lane and create smiles all around? Let’s dive into this whimsical recipe!
Why is this Cotton Candy Cake a must-try?
Nostalgic Experience: Every bite of this cake is like a ticket back to your childhood, reminding you of carefree days at carnivals and fairs.
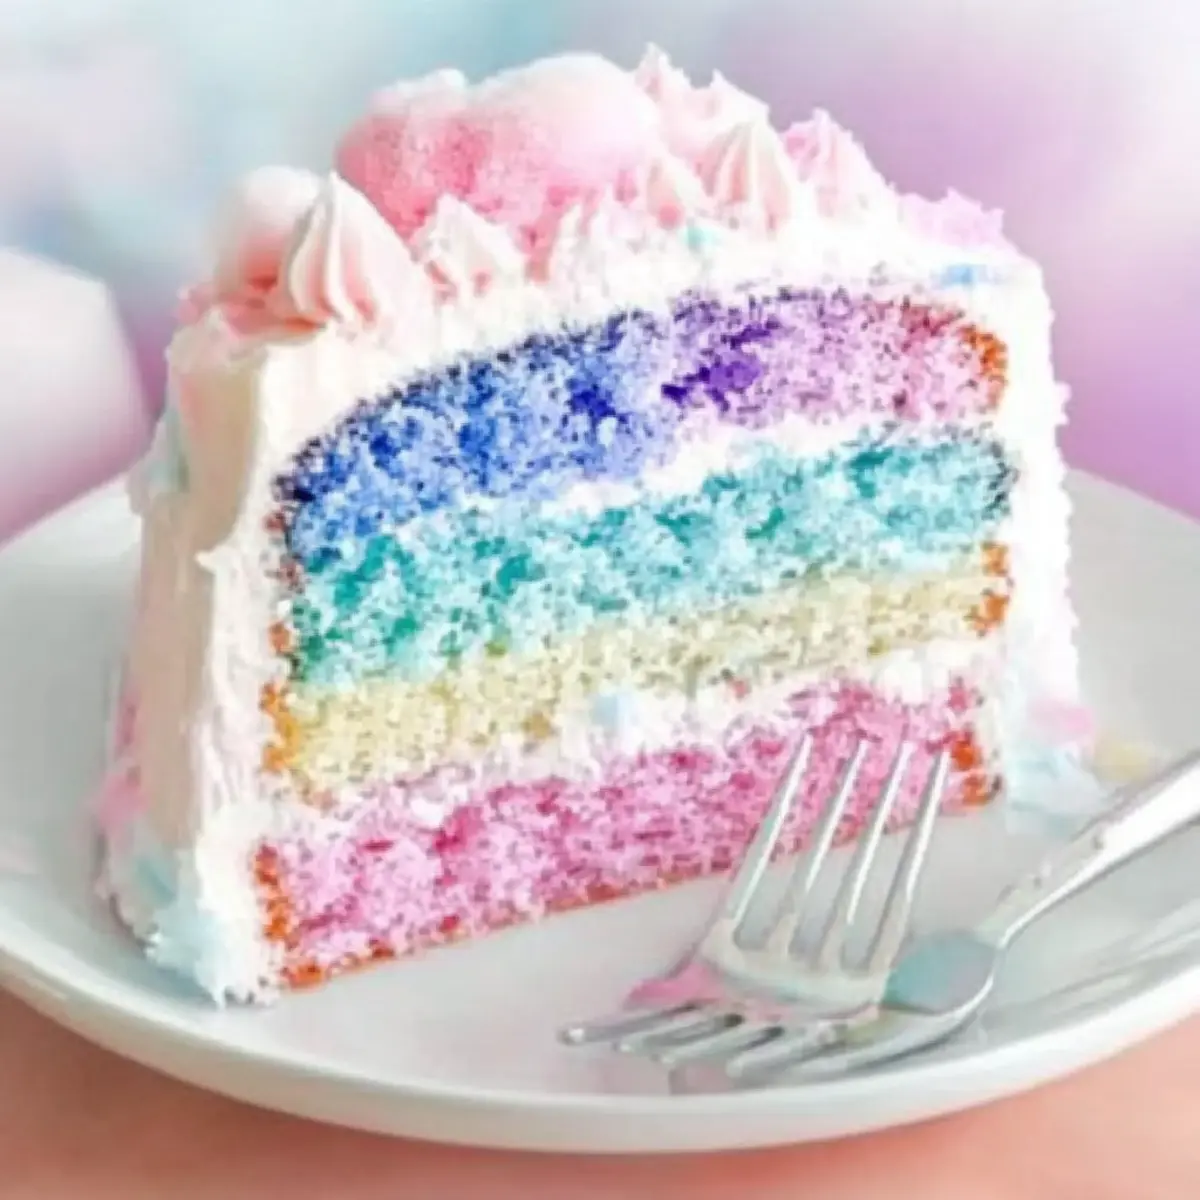
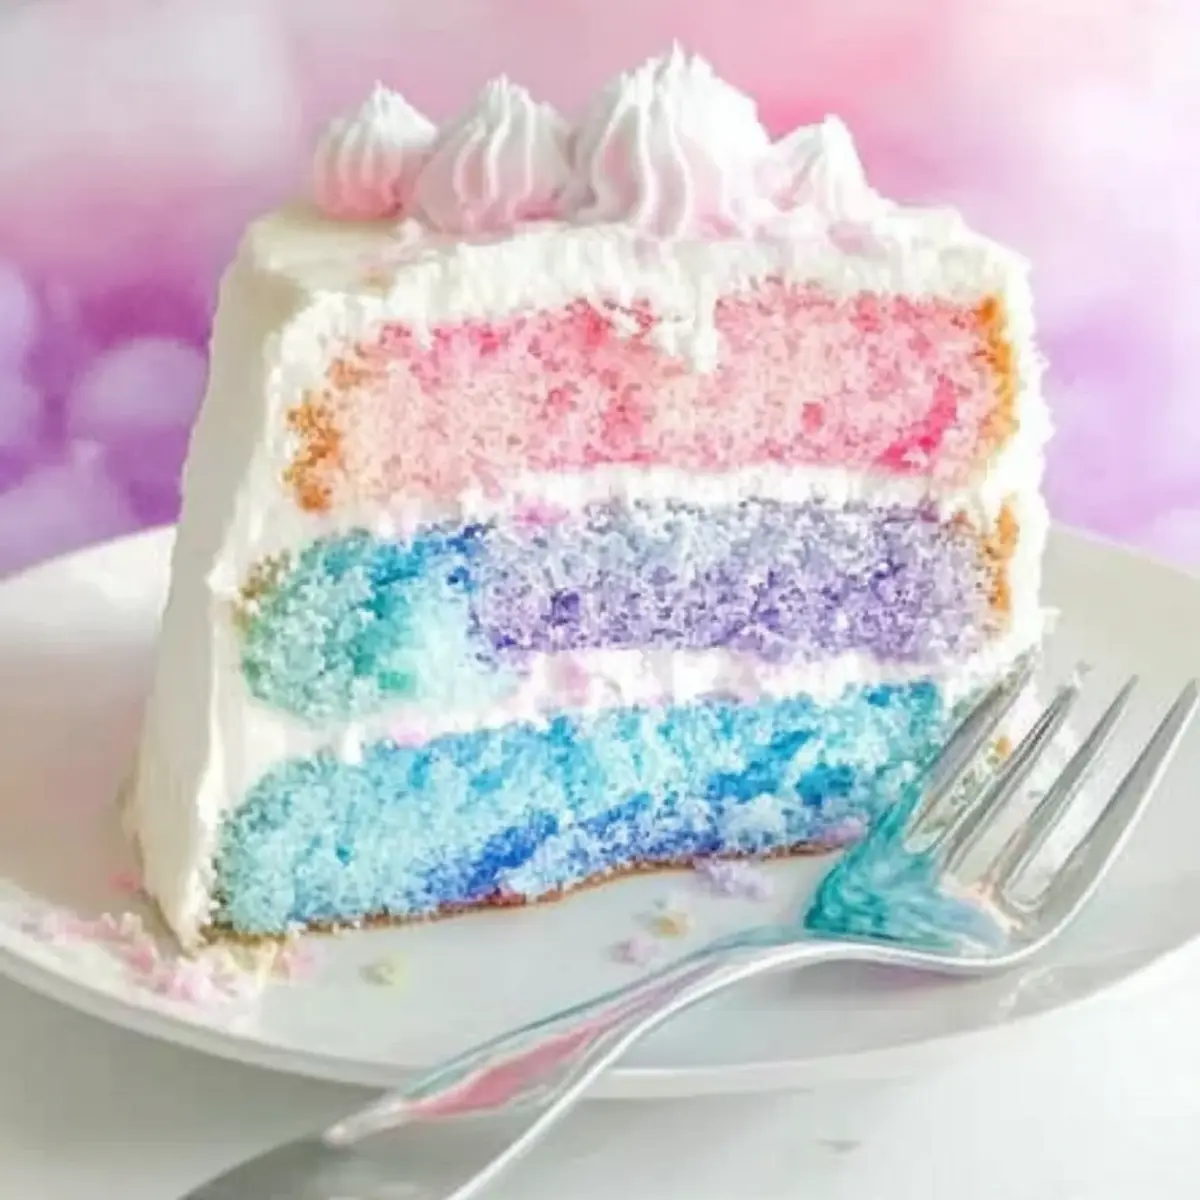
Visually Stunning: The pastel swirls of pink, blue, and violet create a feast for the eyes, perfect for festive occasions.
Effortless Preparation: The straightforward baking process means you can whip it up without any fuss, leaving you more time to enjoy celebrations.
Versatile Delight: Whether it’s topped with cotton candy or a light frosting, the decorative options are endless, allowing for personal creativity—want something less sweet? Try adding cream cheese to the frosting!
Transformable Treat: Not just a cake! You can easily turn this delightful batter into cupcakes for a fun twist. If you're in the mood for something else, take a look at my scrumptious Chocolate Zucchini Cake or the decadent Copycat Birthday Cake.
Prepare to be the hero of your next gathering with this irresistible Cotton Candy Cake!
Cotton Candy Cake Ingredients
For the Cake
- Cake Flour – Provides structure and lightness; substitute with all-purpose flour for a denser cake.
- Granulated Sugar – Adds sweetness and moisture; a granulated sugar alternative works for a lower-calorie option.
- Baking Powder – Leavening agent for a fluffy cake; no substitutes are needed.
- Salt – Enhances flavor; can be omitted for a lower sodium version.
- Unsalted Butter – Creates richness and moisture; shortening can be used for a lighter option.
- Eggs – Bind ingredients and add moisture; a flaxseed mixture can serve as a vegan alternative.
- Milk – Adds moisture for a tender crumb; use nut milk for a non-dairy version.
- Cotton Candy Extract – Provides the hallmark flavor of the cake; substitute with vanilla extract and pink food coloring if needed.
- Food Coloring – For pastel swirls; gel food coloring mixes better without altering batter consistency.
For the Decoration
- Cotton Candy – A whimsical topping that mimics carnival fun; optional if you prefer a simpler frosting.
Step‑by‑Step Instructions for Cotton Candy Cake
Step 1: Preheat the Oven
Begin by preheating your oven to 350°F (175°C). This step is crucial for ensuring your Cotton Candy Cake bakes evenly and rises beautifully. While the oven heats up, gather your baking pans—two 8-inch round ones should work perfectly. Grease them lightly and line the bottoms with parchment paper for easy release after baking.
Step 2: Prepare the Cake Pans
Once the oven is preheated, it’s time to prepare your cake pans. Lightly grease the sides with butter or cooking spray, then carefully place a circle of parchment paper at the bottom of each pan. This will prevent sticking and ensure that your fluffy Cotton Candy Cake comes out intact. Set the pans aside while you mix the batter.
Step 3: Mix Dry Ingredients
In a large mixing bowl, whisk together 2 cups of cake flour, 2 teaspoons of baking powder, and a pinch of salt. Mixing these dry ingredients first helps to evenly distribute the baking powder for a light and fluffy cake. You should see a fine, uniform blend that will combine beautifully with your wet ingredients later.
Step 4: Cream Butter and Sugar
In another bowl, beat 1 cup of unsalted room-temperature butter with 1 ¾ cups of granulated sugar. Use an electric mixer on medium speed for about 3-4 minutes until the mixture is light and fluffy. This process incorporates air into the butter, which is vital for creating the airy texture of your Cotton Candy Cake.
Step 5: Add Eggs and Milk
Next, add 4 large eggs, one at a time, mixing well after each addition to ensure they are fully incorporated. Then, pour in 1 cup of milk along with 1 tablespoon of cotton candy extract. Continue mixing on low speed until everything is blended and smooth, creating a rich batter that’s both moist and flavorful.
Step 6: Combine Wet and Dry Ingredients
Gradually add the dry flour mixture to the wet ingredients, mixing on low speed just until incorporated. Be gentle here; overmixing can lead to a dense cake. Stop when you see no dry flour, and allow the batter to come together, creating the base for your delicious Cotton Candy Cake.
Step 7: Divide and Color Batter
Now that your batter is ready, divide it into three bowls. Add a few drops of gel food coloring to each bowl—one with pink, one with blue, and the last with violet. Gently fold the color into each batch until you achieve vibrant pastel shades, ensuring they remain swirled and not completely blended.
Step 8: Layer Batter
Pour alternating spoonfuls of each colored batter into the prepared cake pans. Start with one color, then layer the next on top, creating a freeform swirl effect. Aim for a colorful masterpiece! This layering technique is what gives your Cotton Candy Cake its whimsical, carnival-inspired appearance.
Step 9: Bake the Cake
Place the pans in your preheated oven and bake for about 25 minutes. Keep an eye on them; the cakes are done when they are golden and a toothpick inserted into the center comes out clean. Once ready, take them out and let them cool in the pans for about 10 minutes before transferring them to a wire rack.
Step 10: Cool and Frost
Allow the layers of your Cotton Candy Cake to cool completely on the wire rack. Once cooled, you can frost them with a fluffy cotton candy buttercream. Start by spreading a layer between the two cakes and then frost the top and sides, ensuring every slice will be bursting with that delightful, pastel allure.
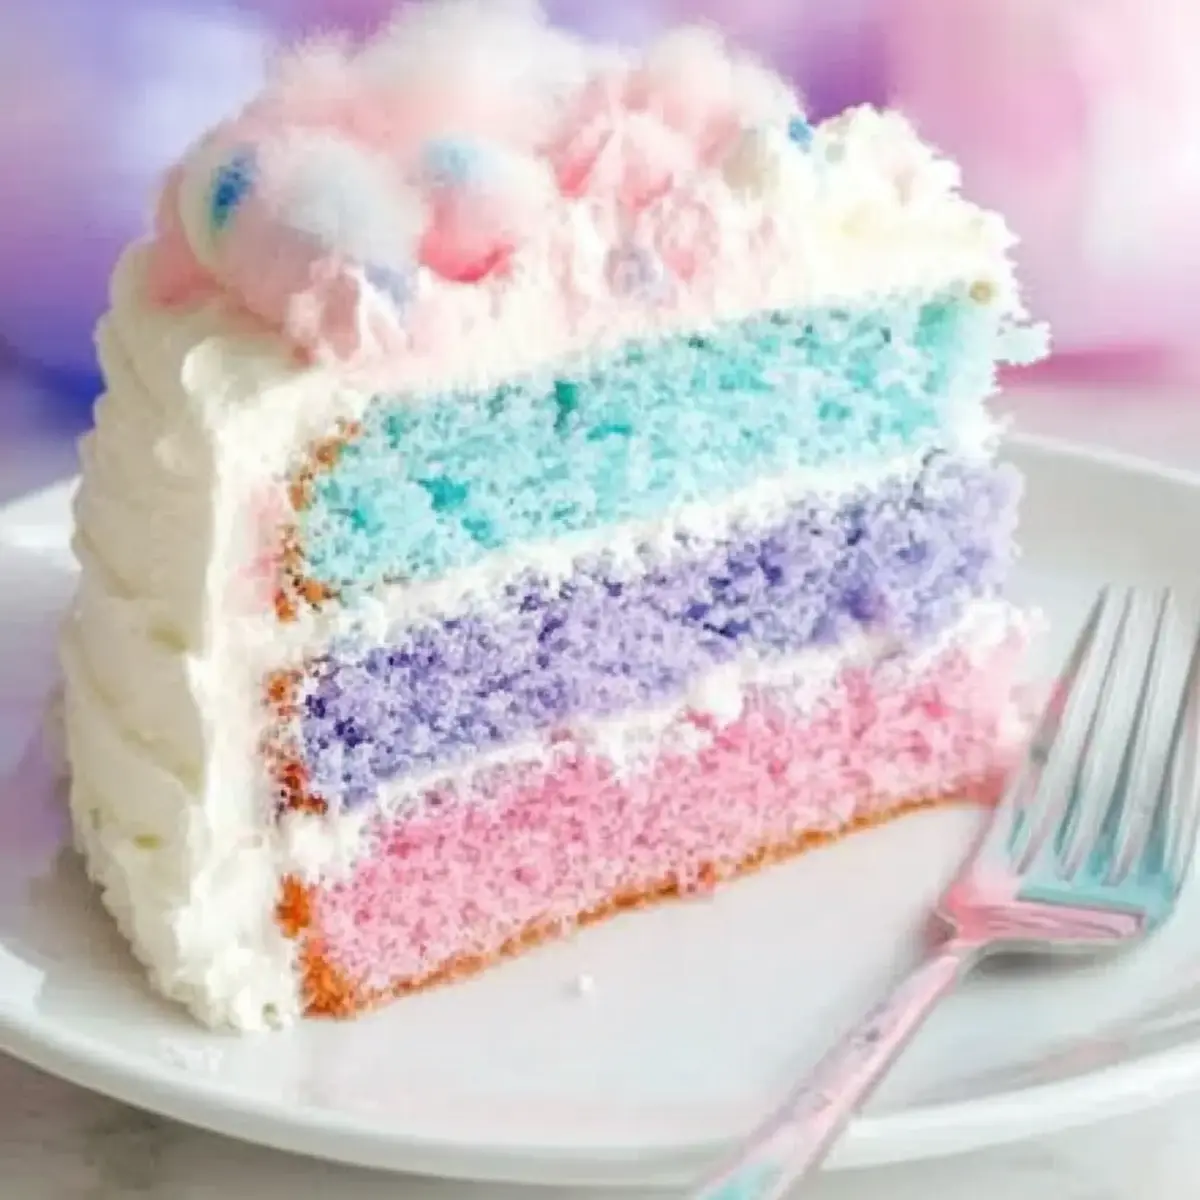
Step 11: Top Decoratively
For a fun finishing touch, decorate the top of your frosted Cotton Candy Cake with fluffy tufts of cotton candy and some colorful sprinkles. This whimsical decoration truly captures the spirit of childhood delights, making your cake not only delicious but visually stunning, perfect for any celebration!
Cotton Candy Cake Customization Ideas
Looking to sprinkle your own magic on this nostalgic treat? Feel free to get creative as we explore exciting variations to make this Cotton Candy Cake uniquely yours!
- Dairy-Free: Substitute regular milk with almond milk or coconut milk for a delightful non-dairy version that's just as moist.
- Gluten-Free: Use a gluten-free flour blend in place of cake flour to cater to gluten-sensitive friends without sacrificing flavor or texture.
- Cake Pops: Transform the cake into fun cake pops by baking it, crumbling it up, and mixing with frosting. Roll into balls, stick a lollipop stick in, then coat in chocolate and sprinkles!
- Irresistible Frosting: Add cream cheese to the frosting to create a tangy balance to the sweetness that some may prefer. Alternatively, try a fluffy whipped cream for a lighter touch!
- Layered Cupcakes: For an adorable twist, make these in cupcake form. Bake in liners at 350°F for 18–20 minutes, and decorate with cotton candy and color-coordinated frosting.
- Flavor Variation: Mix in cotton candy flavored cake mix or candy melts into the batter for an intensified cotton candy flavor, amplifying the fun!
- Edible Glitter: For a bit of sparkle, dust your cake with edible glitter; it adds a magical touch that will wow your guests!
- Sprinkle Surprise: Elevate the festivity by adding a mix of pastel sprinkles in between the layers for a delightful crunch and a burst of color.
With all these fantastic variations, you can create a childhood dream that will leave everyone awestruck! And if you’re in the mood for another treat post-baking, don’t miss out on my delightful Pecan Caramel Cake or the decadent Chocolate Cupcake Decadent. Your kitchen awaits your creative flair!
Expert Tips for Cotton Candy Cake
-
Room Temperature Butter: Ensure the butter is at room temperature for optimal creaming, which creates a light and fluffy cake texture.
-
Don’t Overmix: Avoid overmixing the batter once wet and dry ingredients are combined; this helps maintain the fluffiness and delicate texture of the Cotton Candy Cake.
-
Use Gel Food Coloring: Opt for gel food coloring rather than liquid, as it provides vibrant pastel shades without affecting the cake's consistency.
-
Cool Completely: Allow the cakes to cool completely before frosting; this prevents the buttercream from melting and ensures beautiful, clean layers.
-
Store Properly: Keep the cake in an airtight container at room temperature; this helps keep it moist, while cotton candy may dissolve in high humidity.
What to Serve with Cotton Candy Cake?
As you plan to wow your guests with this delightful dessert, consider these scrumptious pairings to create a memorable meal.
-
Bubblegum Ice Cream: Adds a nostalgic sweetness that complements the cake’s cotton candy flavor. This dreamy pairing enhances the playful essence of your celebration!
-
Fruit Salad: A refreshing mix of vibrant, seasonal fruits can balance the sweetness, offering a light contrast that brightens each bite. Fresh strawberries, blueberries, and melon create a colorful presentation that looks as good as it tastes.
-
Vanilla Whipped Cream: Timeless and simple, this airy topping enhances the cake's fluffiness while adding a luscious creaminess that everyone loves. You can even fold in a touch of cotton candy flavoring for that extra flair.
-
Sparkling Lemonade: The zesty carbonation of sparkling lemonade cleanses the palate wonderfully, making it a perfect match to the cake's sweetness. Serve it in stylish glasses for a festive touch!
-
Chocolate Dip Strawberries: Juicy strawberries dipped in rich chocolate create a sweet contrast, marrying the fun of cotton candy with elegant flavors. Placing them on the platter adds a dash of luxury to your dessert table.
-
Cotton Candy Milkshake: For those looking to embrace the theme fully, a creamy milkshake made with cotton candy ice cream topped with whipped cream and confetti sprinkles is a playful delight that echoes the cake's whimsical spirit.
-
Marshmallow Treats: Chewy marshmallow squares provide that gooey texture that pairs perfectly with cotton candy, invoking fond memories of fairground treats in a bite-sized form. These treats are fun to serve and enjoy!
-
Frozen Fruit Pops: If you're looking for something light, these refreshing bites can keep things cool and bright—especially on a warm day—while their fruity notes balance the cake's sweetness.
-
Lemon Tart: A tangy dessert can provide a bright contrast that beautifully balances the fluffy sweetness of the cake, ensuring a satisfying end to your meal.
-
Berry Compote: A warm berry compote spooned over the cake adds a burst of tartness that plays beautifully with the cotton candy flavor, enhancing the overall experience.
Make Ahead Options
These whimsical Cotton Candy Cake layers are perfect for busy home cooks looking to save time! You can bake the cake layers up to 3 days in advance; just let them cool completely before wrapping each layer tightly in plastic wrap and refrigerating. For added simplicity, consider frosting the cake only right before serving to maintain that fresh, fluffy texture. If you’re looking to keep things even easier, the cake layers can also be frozen for up to 1 month—just thaw them in the fridge overnight before frosting. This way, your Cotton Candy Cake stays just as delicious, and you’ll be ready to impress your guests with minimal last-minute effort!
How to Store and Freeze Cotton Candy Cake
Room Temperature: Keep the cake covered at room temperature for up to 3 days to maintain its delightful moisture and flavor.
Fridge: For longer freshness, store the cake in the fridge in an airtight container for up to 5 days.
Freezer: If you want to keep it for a longer period, wrap the cake layers tightly in plastic wrap and foil, then freeze for up to 3 months.
Reheating: When ready to enjoy, let the cake thaw in the fridge overnight before serving; frost after thawing for the best texture and taste.

Cotton Candy Cake Recipe FAQs
How do I select the right ingredients for my Cotton Candy Cake?
Absolutely! When selecting ingredients, opt for fresh cake flour for the best texture. For the butter, make sure it’s unsalted and at room temperature for an optimal cream. If you can find it, cotton candy extract will give your cake that dreamy flavor, but you can also create a similar taste by combining vanilla extract with pink food coloring.
What is the best way to store left-over Cotton Candy Cake?
To keep your Cotton Candy Cake fresh, store it in an airtight container at room temperature for up to 3 days. If you’d like to prolong its life, refrigerate it for up to 5 days. Just ensure it is well-wrapped so it doesn't dry out, especially if you're in a dry climate.
Can I freeze my Cotton Candy Cake for later?
Very! To freeze your Cotton Candy Cake, allow the layers to cool completely first. Then, wrap each layer tightly in plastic wrap followed by aluminum foil. You can freeze the layers for up to 3 months. When you're ready to enjoy, let them thaw in the fridge overnight. Once thawed, frost the cake before serving for the best results.
I don’t have cotton candy extract—what can I use as a substitute?
No worries! If you can't find cotton candy extract, you can easily swap it with good-quality vanilla extract combined with a touch of pink food coloring to achieve both the flavor and aesthetic. Start with about 1 teaspoon of vanilla extract and add the food coloring gradually until you reach your desired hue.
What should I do if my cake doesn't rise as expected?
If your Cotton Candy Cake doesn't rise properly, it may be due to expired baking powder or overmixing the batter. Always check your baking powder's expiration date before use, and when combining wet and dry ingredients, mix just until they're incorporated. A few lumps are okay; they're better than a dense cake!
Can I make this Cotton Candy Cake vegan-friendly?
Absolutely! To make a vegan version, replace the eggs with a flaxseed mixture (1 tablespoon of flaxseed meal mixed with 2.5 tablespoons of water equals one egg), and use plant-based milk along with vegan butter or a suitable oil. You won't sacrifice flavor or texture, and you can still enjoy that whimsical taste!
Cotton Candy Cake: A Sweet Slice of Nostalgia Awaits
Ingredients
Equipment
Method
- Preheat your oven to 350°F (175°C) and prepare your cake pans.
- Lightly grease the sides of your cake pans and place parchment paper at the bottoms.
- Whisk together the cake flour, baking powder, and salt in a large mixing bowl.
- Beat the unsalted butter and granulated sugar together until light and fluffy.
- Add the eggs one at a time, mixing well, then pour in the milk and cotton candy extract.
- Gradually mix the dry ingredients with the wet, stirring until just combined.
- Divide the batter into three bowls and add gel food coloring to each.
- Layer the colored batter into the prepared cake pans for a swirled effect.
- Bake for about 25 minutes until a toothpick comes out clean. Cool in pans for 10 minutes.
- Allow the cakes to cool completely on a wire rack before frosting with buttercream.
- Decorate with cotton candy and colorful sprinkles for a festive touch.


Leave a Reply