
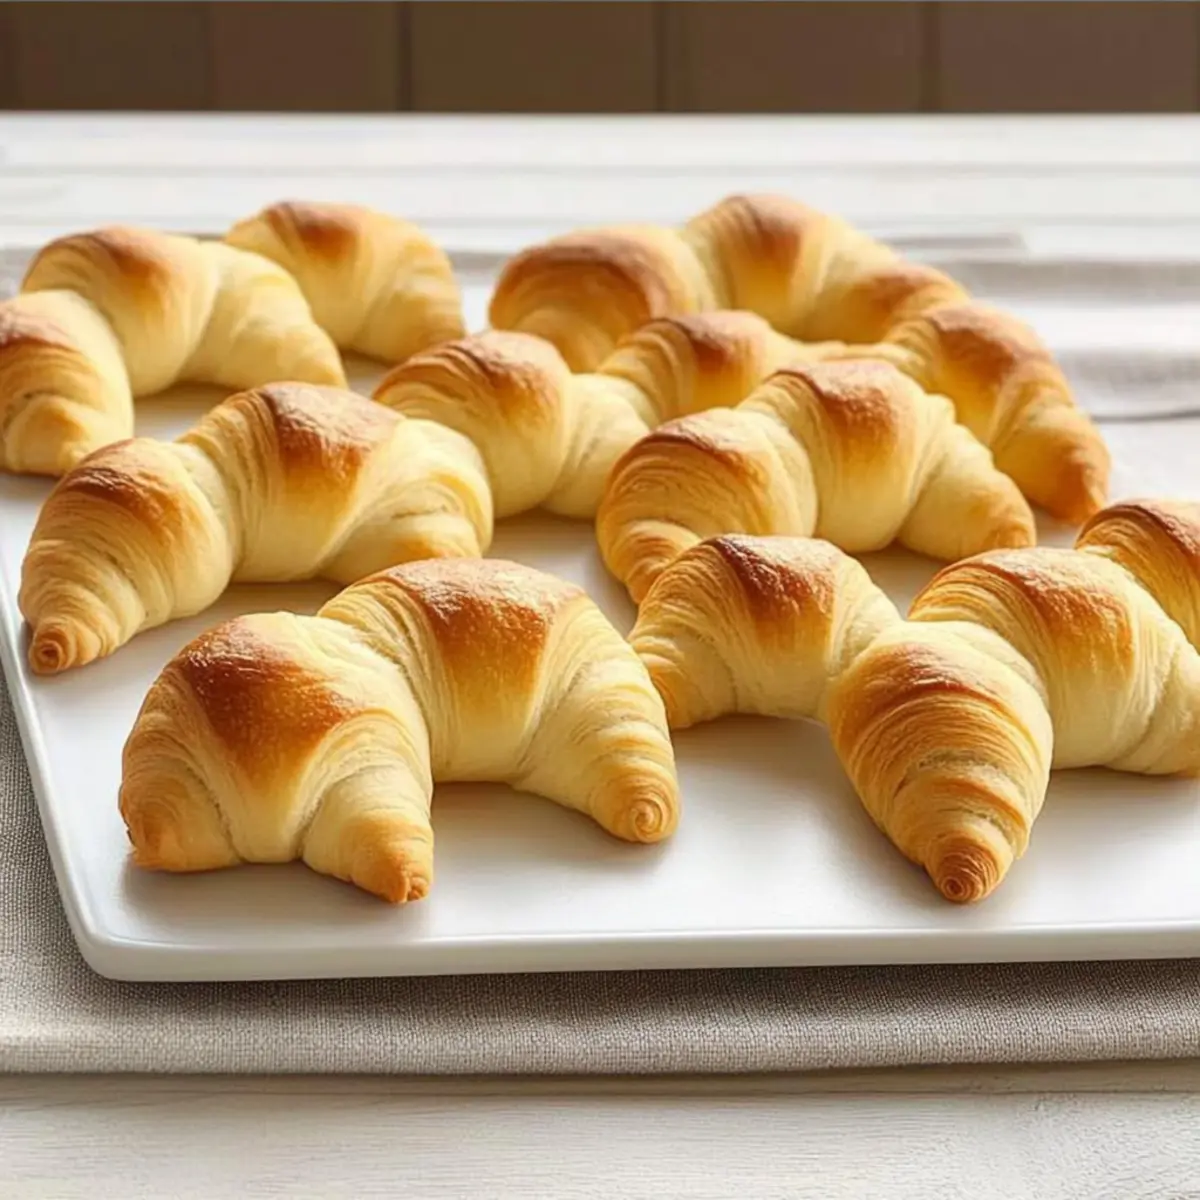
As I stood in my kitchen, the aroma of freshly baked bread filled the air, transporting me back to my grandmother's cozy home, where the heartwarming scent of yeast rolls greeted us every time we visited. Today, I’m excited to share a recipe for Flaky Homemade Crescent Rolls that’s both simple and satisfying. These rolls are delightfully buttery and flaky, perfect for elevating any meal - from weeknight dinners to holiday feasts. With just a few key ingredients and easy steps, you will be amazed at how homemade crescent rolls can transform your cooking experience. Not only are they a fantastic crowd-pleaser, but they also freeze beautifully, allowing you to stock up for when that craving hits. Ready to impress your family and friends with a touch of homemade goodness? Let’s dive in!
Why are these crescent rolls a must-try?
Irresistible Flakiness: Each bite of these homemade crescent rolls delivers a delightful crunch followed by a soft, buttery interior that truly melts in your mouth.
Easy to Make: Don’t be intimidated by yeast baking—this recipe simplifies the process into just five steps!
Versatile Additions: Customize your crescent rolls with fresh herbs or sweet fillings like cinnamon for a unique twist that suits any meal.
Perfect for Any Occasion: Whether it’s a cozy family dinner or a festive gathering, these rolls are sure to impress your guests and become the star of the table.
Meal Prep Friendly: Make a batch and freeze the shaped rolls for easy access to fresh, warm rolls whenever you need them—perfect for unexpected guests!
These crescent rolls are not just a treat; they enhance your culinary repertoire, making mealtime special. Why not try pairing them with homemade soups and stews for a comforting dish?
Crescent Rolls Ingredients
• Let's gather the essentials for these delightful rolls!
For the Dough
- All-Purpose Flour – Provides structure and body; you can experiment with whole wheat flour for a healthier twist.
- Active Dry Yeast – Creates fluffiness and helps the dough rise; always ensure it's fresh for best results.
- Salt – Enhances flavor and balances the sweetness from honey, making the rolls even more delicious.
- 2% Milk – Activates the yeast and adds moisture; heat it to between 120°F - 130°F for optimal results.
- Butter (Cubed & Melted) – Adds rich flavor and helps create a flakier texture; opt for unsalted butter for better control.
- Honey – Acts as a natural sweetener and aids in browning; feel free to substitute with sugar or maple syrup if needed.
- Egg Yolks – Contributes richness and color to the dough; using room temperature yolks helps with mixability.
For the Topping
- Melted Butter – Brushing on before baking adds shine and extra flavor; don’t skip this step for that perfect golden crust.
- Sea Salt or Herbs – Sprinkle on top before baking for an added touch of flavor; it elevates the rolls to a gourmet level.
With these simple ingredients, you'll be well on your way to making irresistible crescent rolls that will surely impress!
Step‑by‑Step Instructions for Flaky Homemade Crescent Rolls
Step 1: Prepare Dry Ingredients
In a large mixing bowl, combine 1-½ cups of all-purpose flour with 2 tablespoons of active dry yeast and 1 teaspoon of salt. Stir gently to evenly distribute the ingredients. This dry mixture forms the foundation for your crescent rolls, so ensure it’s well combined before moving to the next step.
Step 2: Heat Wet Ingredients
In a small saucepan, combine ⅔ cup of 2% milk, ¼ cup of cubed unsalted butter, and 2 tablespoons of honey. Heat gently over medium heat until the mixture reaches 120°F - 130°F, ensuring the butter melts without boiling. Once heated, immediately pour this warm mixture into the dry ingredients to activate the yeast.
Step 3: Mix Dough
Using an electric mixer fitted with a paddle attachment, beat the mixture on medium speed for 2 minutes until it becomes well-blended and smooth. The dough will be slightly sticky at this stage, which is perfect as it keeps the crescent rolls soft and fluffy. Scrape down the sides of the bowl if necessary.
Step 4: Incorporate Egg Yolks
Add 2 room-temperature egg yolks to the dough mixture and beat on high speed for an additional 2 minutes. This enriches the dough, providing a lovely golden color and deeper flavor. After mixing, gradually stir in enough remaining flour, about 1 cup, until a soft, sticky dough forms.
Step 5: Knead the Dough
Transfer the dough onto a floured surface and knead for 6-8 minutes, using flour as needed to prevent sticking. The dough should become smooth and elastic, which is crucial for the texture of your crescent rolls. When done, shape it into a ball and prepare for rising.
Step 6: First Rise
Place the kneaded dough into a greased bowl, turning it to coat the surface. Cover with a clean kitchen towel and let it rise in a warm, draft-free area until doubled in size, approximately 45 minutes. This step vitalizes the yeast, giving your crescent rolls that sought-after puffiness.
Step 7: Chill the Dough
After the dough has risen, gently punch it down to release air. Cover the bowl again with the kitchen towel and refrigerate overnight. Chilling the dough helps to develop the flavors and makes it easier to roll out the next day, setting you up for delightful crescent rolls.
Step 8: Shape the Rolls
Once the dough is chilled, remove it from the fridge and divide it into two equal pieces. Roll each piece into a 14-inch circle on a floured surface. Use a sharp knife or pizza cutter to cut each circle into 8 wedges, creating a total of 16 triangles that will become your flaky crescent rolls.
Step 9: Roll the Wedges
Brush each wedge lightly with melted butter and roll it up starting from the wide end toward the point. Pinch the edges to seal, ensuring your crescent rolls hold their shape while baking. Place them seam-side down on parchment-lined baking sheets, ready for their final rise.
Step 10: Final Rise
Cover the shaped rolls loosely with a kitchen towel and let them rise again until doubled, which should take about 45 minutes. This second rise allows for the rolls to puff up beautifully in the oven, achieving that lovely texture we expect from homemade crescent rolls.
Step 11: Bake the Rolls
Preheat your oven to 375°F. Once preheated, bake the crescent rolls for 9-11 minutes, or until they are golden brown and puffed. Keep an eye on them as they bake; you want that perfect color to ensure they are both beautiful and delicious.
Step 12: Serve Warm
Remove the crescent rolls from the oven and brush them with extra melted butter for added flavor and shine. Allow them to cool slightly before serving warm. These buttery homemade crescent rolls are perfect alongside any meal and sure to impress your family!
Make Ahead Options
These flaky homemade crescent rolls are ideal for meal prep, allowing you to enjoy fresh-baked goodness with minimal last-minute effort! You can prepare the dough up to 24 hours in advance by refrigerating it overnight after the first rise. Additionally, once shaped, the rolls can be frozen before the final rise; simply place them on a baking sheet, cover, and freeze until solid. Once frozen, transfer them to an airtight container for up to 3 months. When you're ready to bake, thaw them in the fridge overnight, then let them rise at room temperature for about 45 minutes before brushing with butter and baking. This way, you can always have homemade crescent rolls on hand, ready to impress!
Crescent Rolls Variations & Substitutions
Feel free to explore these delightful variations to personalize your crescent rolls experience!
-
Whole Wheat: Substitute all-purpose flour with whole wheat flour for a heartier texture and added nutrition. This will create a denser roll that’s still delicious!
-
Herbed Delight: Mix in fresh herbs like rosemary or thyme into the dough for an aromatic twist. The fragrant herbs will elevate your rolls, making them a perfect pairing for soups.
-
Savory Cheese: Add shredded cheese like cheddar or mozzarella into the filling before rolling. This cheesy addition creates a gooey, savory surprise hidden inside.
-
Sweet Cinnamon: Sprinkle a layer of cinnamon and sugar on the rolled-out dough before shaping for a sweet twist. These rolls are perfect for a special brunch treat!
-
Garlic Butter: Brush melted butter mixed with minced garlic before rolling for a savory garlic flavor. These rolls are sure to impress garlic lovers at your dinner table!
-
Spicy Kick: Add a pinch of crushed red pepper flakes to the dough for a touch of heat. If you love bold flavors, these spicy crescent rolls will be a hit!
-
Chocolate Treats: Incorporate chocolate chips into the dough for a sweet surprise. Perfect as a breakfast treat or a little dessert twist after dinner.
-
Vegan Option: Swap melted butter with coconut oil and replace milk with almond or soy milk for a vegan-friendly version. These rolls will still rise beautifully and taste scrumptious!
Get ready to enjoy these crescent rolls in so many wonderful ways. Whether pairing them with homemade soups or serving alongside a hearty salad, your culinary options are endless! For more ideas on delicious pairings, check out our guide on What to Serve with Crescent Rolls!
Expert Tips for Perfect Crescent Rolls
Flour Your Hands: Always flour your hands when kneading the dough. This helps prevent sticking and ensures a smooth kneading process.
Warm Environment: Allow the dough to rise in a warm area; drafts can hinder rising and lead to dense rolls.
Check Yeast Freshness: Ensure your active dry yeast is fresh to achieve maximum fluffiness in your crescent rolls. Stale yeast can prevent proper rising.
Chill Before Shaping: Refrigerating the dough overnight not only develops flavors but also makes it easier to roll out and shape.
Butter for Shine: Brush the crescent rolls with melted butter before baking for a gorgeous golden color and added flavor.
Experiment with Fillings: Don’t be afraid to add fresh herbs or sweet fillings to the dough, transforming your crescent rolls into a unique treat!
How to Store and Freeze Crescent Rolls
Room Temperature: Store leftover crescent rolls in an airtight container at room temperature for up to 3 days. This keeps them fresh and soft for quick snacks or meals.
Fridge: For longer freshness, place crescent rolls in an airtight container in the fridge. They can last up to 5 days, but may lose some flakiness.
Freezer: Freeze shaped, unbaked crescent rolls before the second rise. Wrap each roll tightly in plastic wrap and store in a freezer-safe bag for up to 3 months.
Reheating: To enjoy frozen crescent rolls, thaw them in the refrigerator overnight, allow them to rise, then bake as directed. Perfectly fresh, warm rolls await you!
What to Serve with Flaky Homemade Crescent Rolls?
Imagine the warmth and joy of a home-cooked meal, where each bite is enhanced by a buttery, flaky roll that melts in your mouth.
- Creamy Mashed Potatoes: The rich, buttery texture complements the softness of the crescent rolls, making for a comforting side that everyone loves.
- Savory Chicken Pot Pie: Pairing these rolls with a warm, hearty pot pie provides a delightful contrast of flavors, soaking up all the delicious gravy.
- Fresh Garden Salad: A vibrant salad with crisp greens and tangy dressing adds freshness, balancing the rich buttery taste of the crescent rolls perfectly.
- Mushroom Soup: The earthiness of a creamy mushroom soup creates an inviting combination that emphasizes the delicate flavors of the rolls.
- Honey Butter: Serve warm with a side of honey butter to drizzle over the crescent rolls, enhancing that sweet and savory experience.
- Roast Chicken: A succulent, herb-seasoned roast chicken alongside these rolls completes a classic Sunday dinner, creating a satisfying feast.
- Sautéed Green Beans: The crispness of sautéed green beans offers a lovely textural contrast, while their vibrant color makes the meal visually appealing.
- Apple Crisp: Indulge in a warm apple crisp for dessert, as the sweetness of baked apples harmonizes beautifully with the lightness of the crescent rolls.
- Sparkling Cider: A glass of sparkling cider provides a refreshing drink option that complements the buttery richness of the crescent rolls perfectly.
- Lemonade: A glass of fresh lemonade brings a zesty brightness, cutting through the richness of the rolls while enhancing your meal’s overall enjoyment.
Crescent Rolls Recipe FAQs
How do I choose the right flour for my crescent rolls?
Absolutely! For the best results, I highly recommend using all-purpose flour. It provides the perfect structure and body for your crescent rolls. If you're looking for a healthier option, whole wheat flour can be a substitute, but keep in mind it may alter the texture slightly, making it denser.
What’s the best way to store leftover crescent rolls?
To keep your crescent rolls fresh, store them in an airtight container at room temperature for 3 to 5 days. For longer storage, consider placing them in the refrigerator, where they can last up to 5 days, but they might lose some of their delightful flakiness.
Can I freeze crescent rolls, and if so, how?
Very! To freeze shaped, unbaked crescent rolls, wrap each roll tightly in plastic wrap and place them in a freezer-safe bag. They can be stored for up to 3 months. When you're ready to bake, simply thaw them in the refrigerator overnight and allow them to rise before following your baking instructions. This ensures they rise properly and taste just as fresh as when you made them!
What if my crescent rolls don’t rise properly?
Don’t worry, this can happen! First, check if your yeast is fresh; stale yeast can hinder rising. Ensure you're allowing the dough to rise in a warm, draft-free area, as cooler temperatures can slow down the yeast activity. If your dough looks dense, you might need to knead it a bit more. Remember, a smooth and elastic dough rises best!
Are these crescent rolls safe for those with allergies?
If anyone in your household has allergies, always check ingredient labels for potential allergens. For those with gluten sensitivities, you can experiment with gluten-free flour blends, though this may change the texture slightly. Additionally, if lactose is an issue, consider using a non-dairy milk alternative and a dairy-free butter replacement.
Can I add variations to my crescent rolls?
Of course! The more the merrier! Customize your crescent rolls by incorporating fresh herbs like rosemary or thyme for a savory twist, or mix in some cinnamon and sugar for a sweet variation. Cheese lovers might enjoy adding shredded cheese before rolling them up for a cheesy delight.
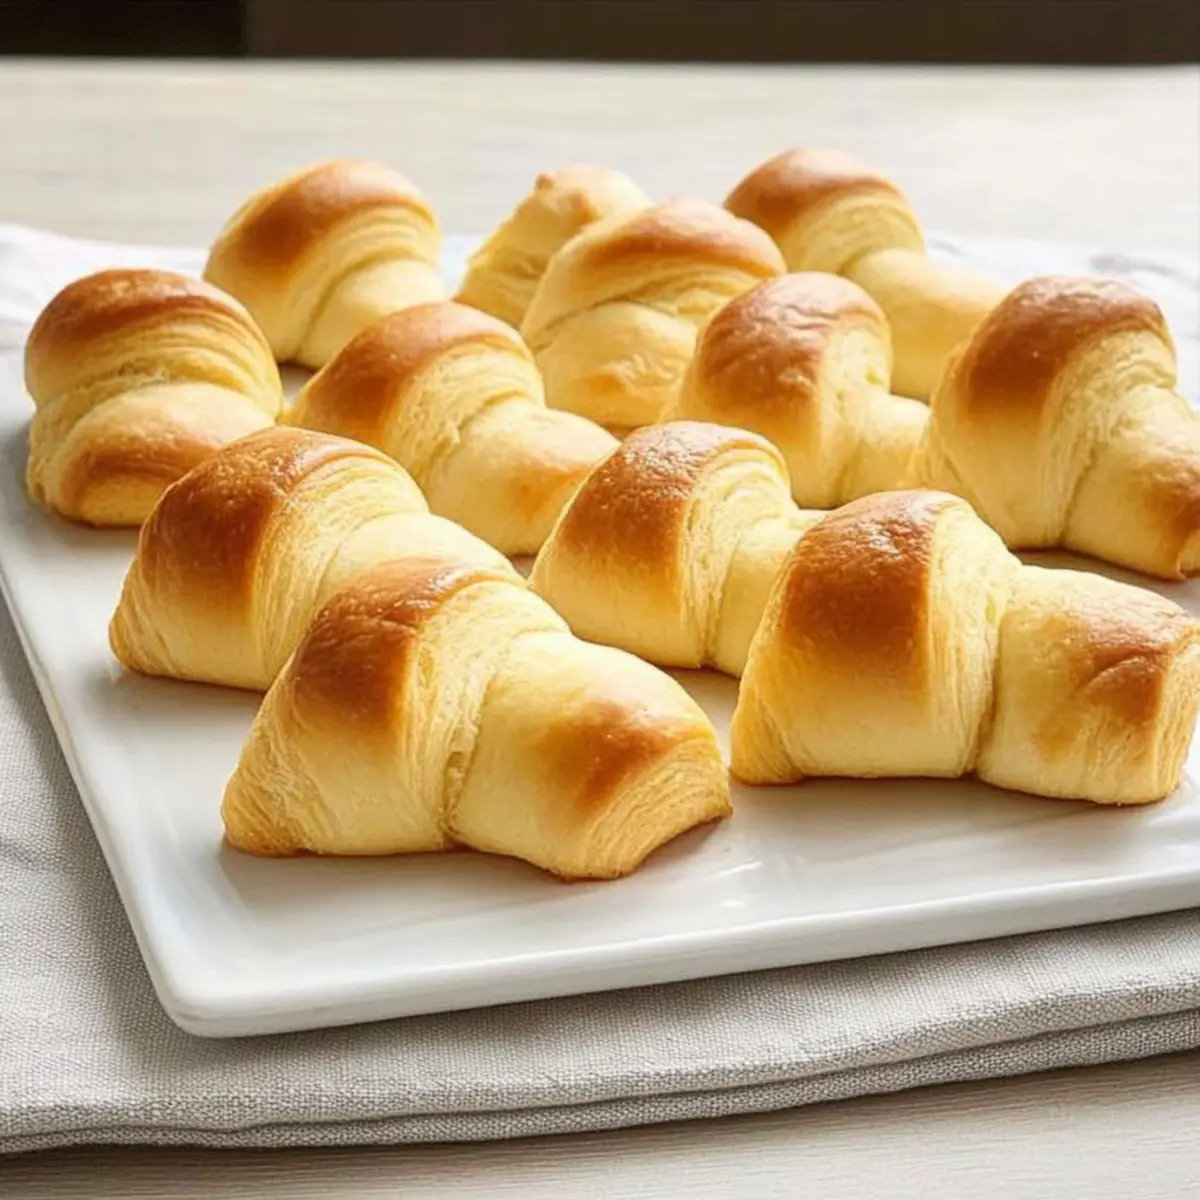
Buttery Homemade Crescent Rolls That Melt in Your Mouth
Ingredients
Equipment
Method
- Combine 1-½ cups of all-purpose flour, 2 tablespoons of active dry yeast and 1 teaspoon of salt in a large bowl.
- Heat ⅔ cup of 2% milk, ¼ cup of cubed unsalted butter, and 2 tablespoons of honey until 120°F - 130°F. Pour into the dry mixture.
- Beat on medium speed for 2 minutes until the mixture is well-blended and smooth.
- Add 2 room-temperature egg yolks and beat on high for 2 minutes. Gradually stir in enough flour (about 1 cup) until a soft, sticky dough forms.
- Knead the dough on a floured surface for 6-8 minutes until smooth and elastic.
- Place the dough in a greased bowl, cover, and let it rise in a warm area until doubled, about 45 minutes.
- Punch down the risen dough, cover, and refrigerate overnight.
- Divide the dough into two pieces and roll each into a 14-inch circle. Cut into 8 wedges.
- Brush wedges with melted butter and roll from the wide end toward the point. Place seam-side down on baking sheets.
- Allow the rolls to rise again until doubled, about 45 minutes.
- Preheat oven to 375°F and bake the crescent rolls for 9-11 minutes until golden brown.
- Brush with melted butter and allow to cool slightly before serving.


Leave a Reply