
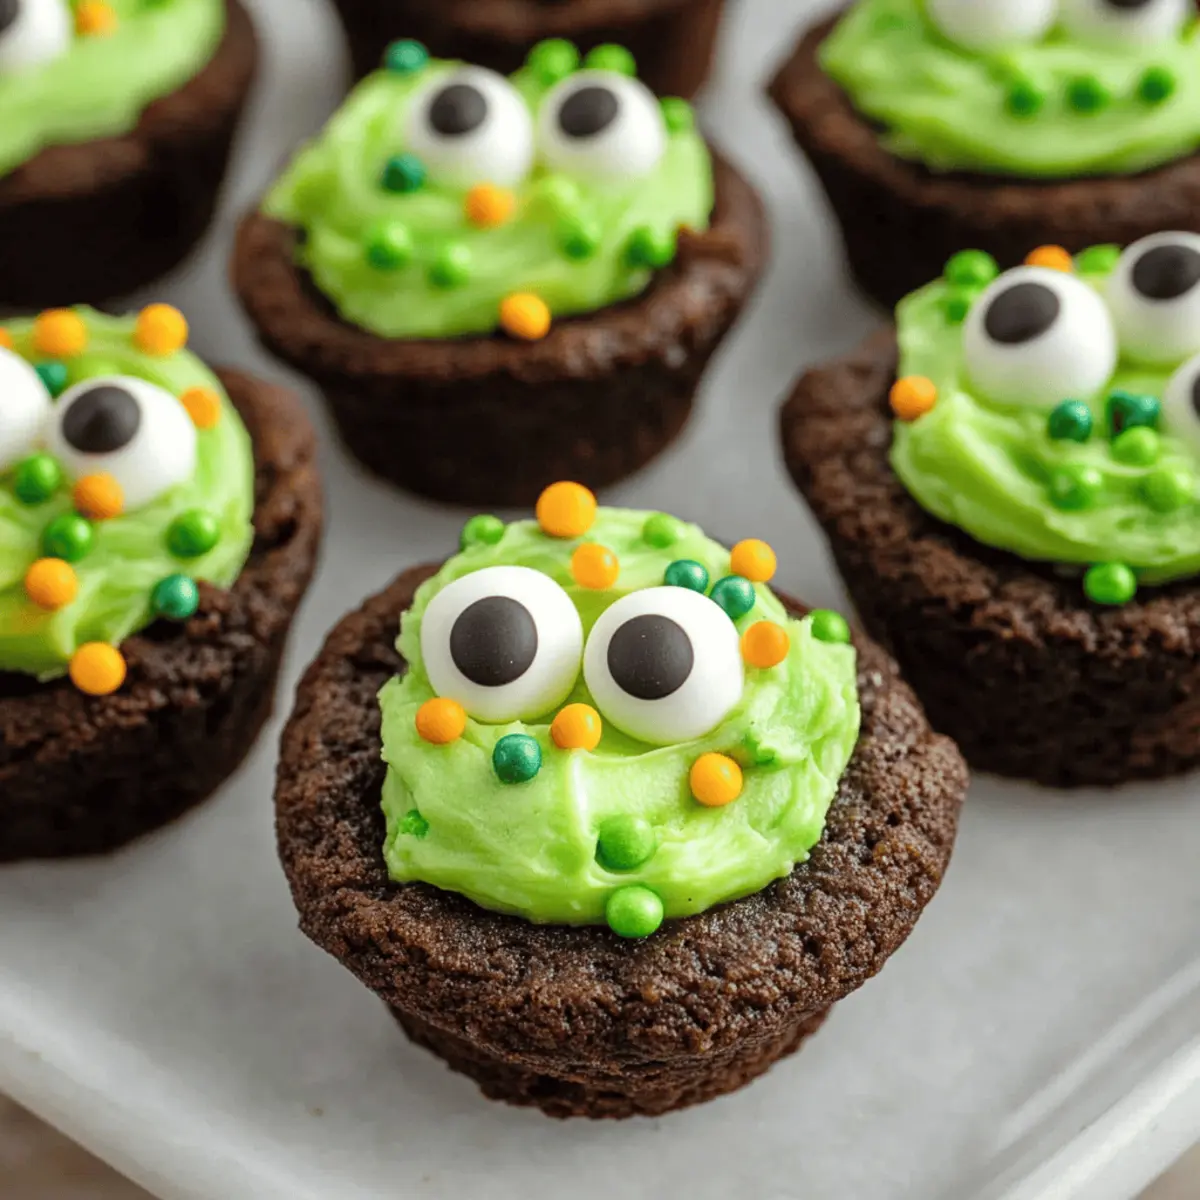
As I was scrolling through my favorite Halloween pins, I stumbled upon a whimsical idea that instantly sparked my creativity: Cute Cauldron Cookie Cups! These delightful treats are not only easy to whip up but also make for a visually stunning centerpiece at any spooky gathering. Made with soft cake mix, these little cookie cups are flavorful and inviting, filled with vibrant green buttercream that perfectly mimics a bubbling potion. They’re guaranteed to please both kids and adults, turning any Halloween party into a magical experience. Plus, these cauldron cookies offer a fun baking activity for the whole family, allowing little ones to unleash their inner chefs. Ready to add a sprinkle of festive fun to your fall baking? Let’s dive into this enchanting recipe!
Why You'll Love These Cookie Cups
Easy to Make: The simplicity of using cake mix ensures that even novice bakers can whip these up in no time.
Cute Presentation: These cookie cups are a stunning addition to any Halloween party, sure to impress guests with their whimsical design.
Kid-Friendly Fun: A fantastic baking project that encourages creativity, letting kids help with decorating their own cauldrons!
Deliciously Decadent: The rich chocolate flavor combined with creamy buttercream creates a delightful treat that everyone will enjoy.
Versatile Options: Customize your cauldron cookie cups with different frostings and colors to suit any occasion. For a tropical twist, check out Pineapple Cookies Tropical or indulge with Creamy Pistachio White Chocolate Cookies.
Crowd-Pleasing: Perfect for gatherings, these cookies are sure to become a fast favorite at any Halloween celebration!
Cute Cauldron Cookie Cup Ingredients
For the Cookie Cups
• Devil's Food Cake Mix – Provides a rich chocolate flavor and structure; can substitute with chocolate or vanilla cake mix for a lighter taste.
• Eggs – Essential for binding the cookie dough and maintaining moisture.
• Canola or Vegetable Oil – Adds moisture for a soft cookie; melted butter can be used for a buttery flavor.
• Black Food Coloring (optional) – Enhances the chocolate color for a spooky effect; not necessary but adds visual appeal.
For the Buttercream
• Unsalted Butter – The base for creamy buttercream; use softened butter for the best texture.
• Powdered Sugar – Sweetens the frosting and gives it structure; essential for the desired consistency.
• Vanilla Extract – Adds warmth and flavor depth; can substitute with almond extract for a unique twist.
• Salt – Balances sweetness in frosting for a well-rounded flavor.
• Milk – Adjusts frosting consistency; use whole or skim milk for a smooth texture.
• Green Food Coloring – For vibrant decoration; allows customization for different themes.
For Decoration
• Decorative Sprinkles – Enhance the visual fun of the cookies; use themed sprinkles for a seasonal touch.
• Candy Eyeballs – Adorable additions to make your cauldron cookies extra festive.
• Pretzel Sticks – Perfectly resemble stirrers for your bubbling potions!
Let’s get baking these cute cauldron cookie cups—your Halloween gatherings are about to get a lot sweeter!
Step‑by‑Step Instructions for Cute Cauldron Cookie Cups
Step 1: Preheat and Prepare
Begin by preheating your oven to 350°F (175°C). While the oven heats up, grease your mini muffin pans with cooking spray or butter to ensure easy removal of the cookie cups later. This crucial step helps set the stage for your Cute Cauldron Cookie Cups to bake evenly and release smoothly after they’re done.
Step 2: Mix the Cookie Dough
In a large mixing bowl, combine the Devil's Food cake mix, eggs, canola or vegetable oil, and black food coloring if desired. Mix everything thoroughly until a smooth dough forms, approximately 2-3 minutes. The dough should be rich in color and completely combined, signaling it’s ready to be scooped into the prepared muffin pans for your delightful cauldron cups.
Step 3: Fill the Muffin Pans
Using a cookie scoop or spoon, carefully fill each cavity of the mini muffin pan with the cookie dough, making sure to flatten each scoop slightly for even baking. Aim for about two-thirds full to allow the cookies to rise. Place the filled pans in the preheated oven and bake for 8-10 minutes, until the edges are set but the centers appear slightly soft.
Step 4: Create Indentations
Once the cookies are baked, remove the pans from the oven and immediately press your thumb or the back of a small spoon into the center of each warm cookie to create an indentation. This step is essential for forming the cups that will hold your vibrant frosting. Allow the cookie cups to cool in the pan for about 5 minutes before transferring them to a wire rack to cool completely.
Step 5: Prepare the Buttercream Frosting
While your Cute Cauldron Cookie Cups cool, it's time to make the buttercream frosting. In a mixing bowl, beat the softened unsalted butter until creamy. Gradually add the powdered sugar, mixing on low speed to avoid a sugar cloud, then increase to medium speed. Add in the vanilla extract, a pinch of salt, and mix until fluffy and smooth, about 3-5 minutes. Adjust the consistency with milk as needed.
Step 6: Color the Buttercream
To achieve the perfect bubbling potion color, add a few drops of green food coloring into the buttercream and mix until well incorporated. The frosting should be vibrant and inviting, perfectly mimicking the cauldron's contents. Taste a bit to ensure it’s sweet yet balanced, and adjust with more sugar or salt if necessary.
Step 7: Pipe the Frosting
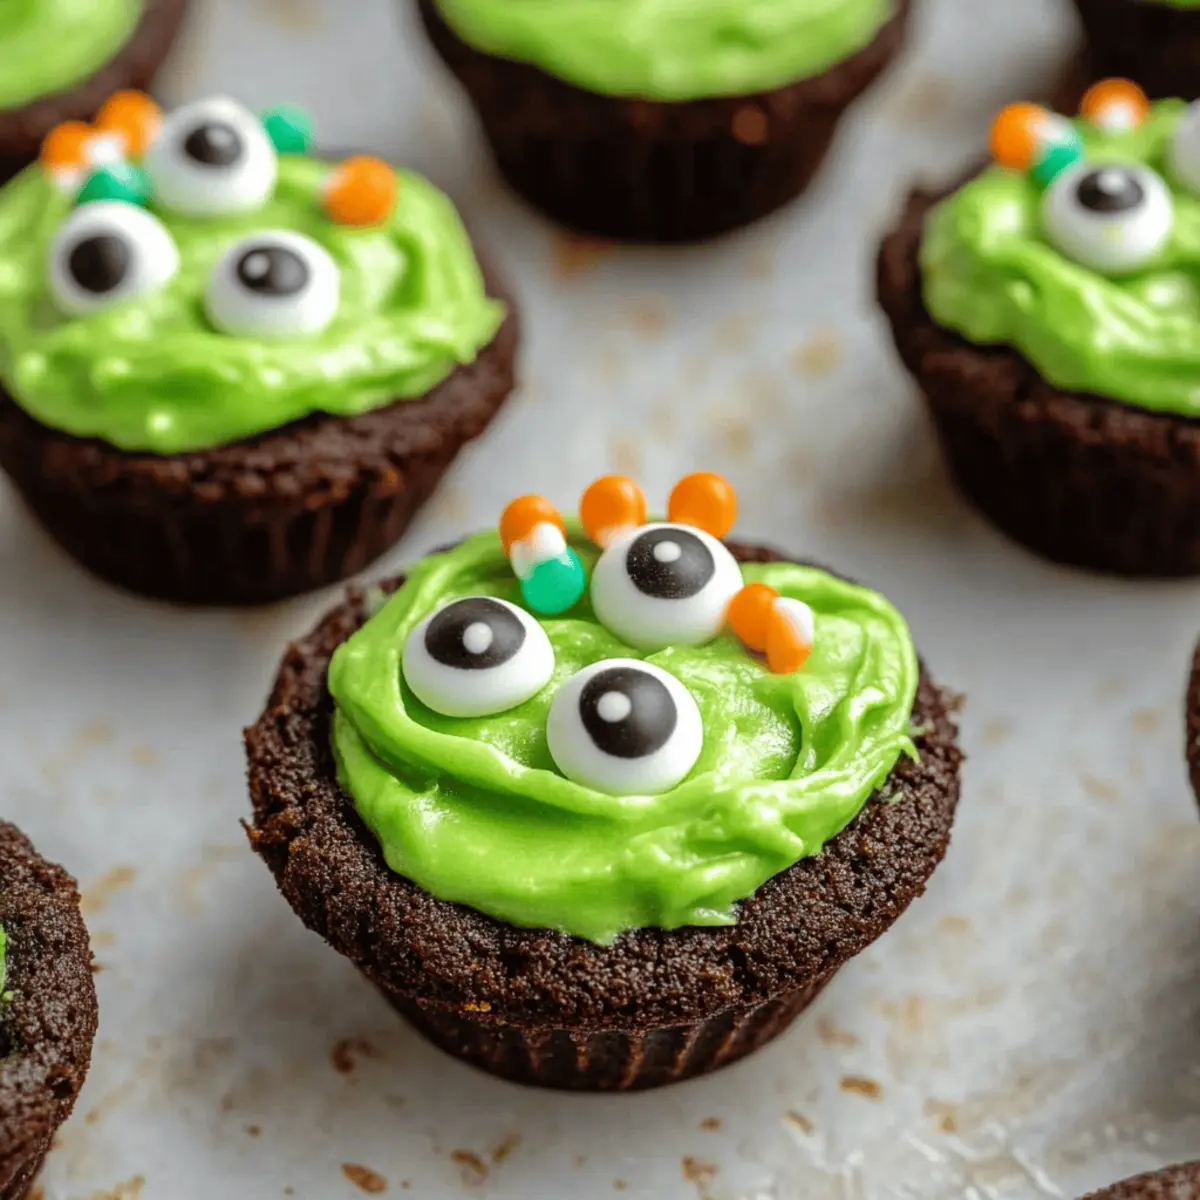
Once your cookie cups are completely cool, it's time to fill them with the colorful frosting. Using a piping bag fitted with a round tip, pipe the green buttercream into each indentation of the cookie cups, creating a delightful swirl that resembles a bubbling potion. This is where the fun really begins with your Cute Cauldron Cookie Cups!
Step 8: Decorate the Cookie Cups
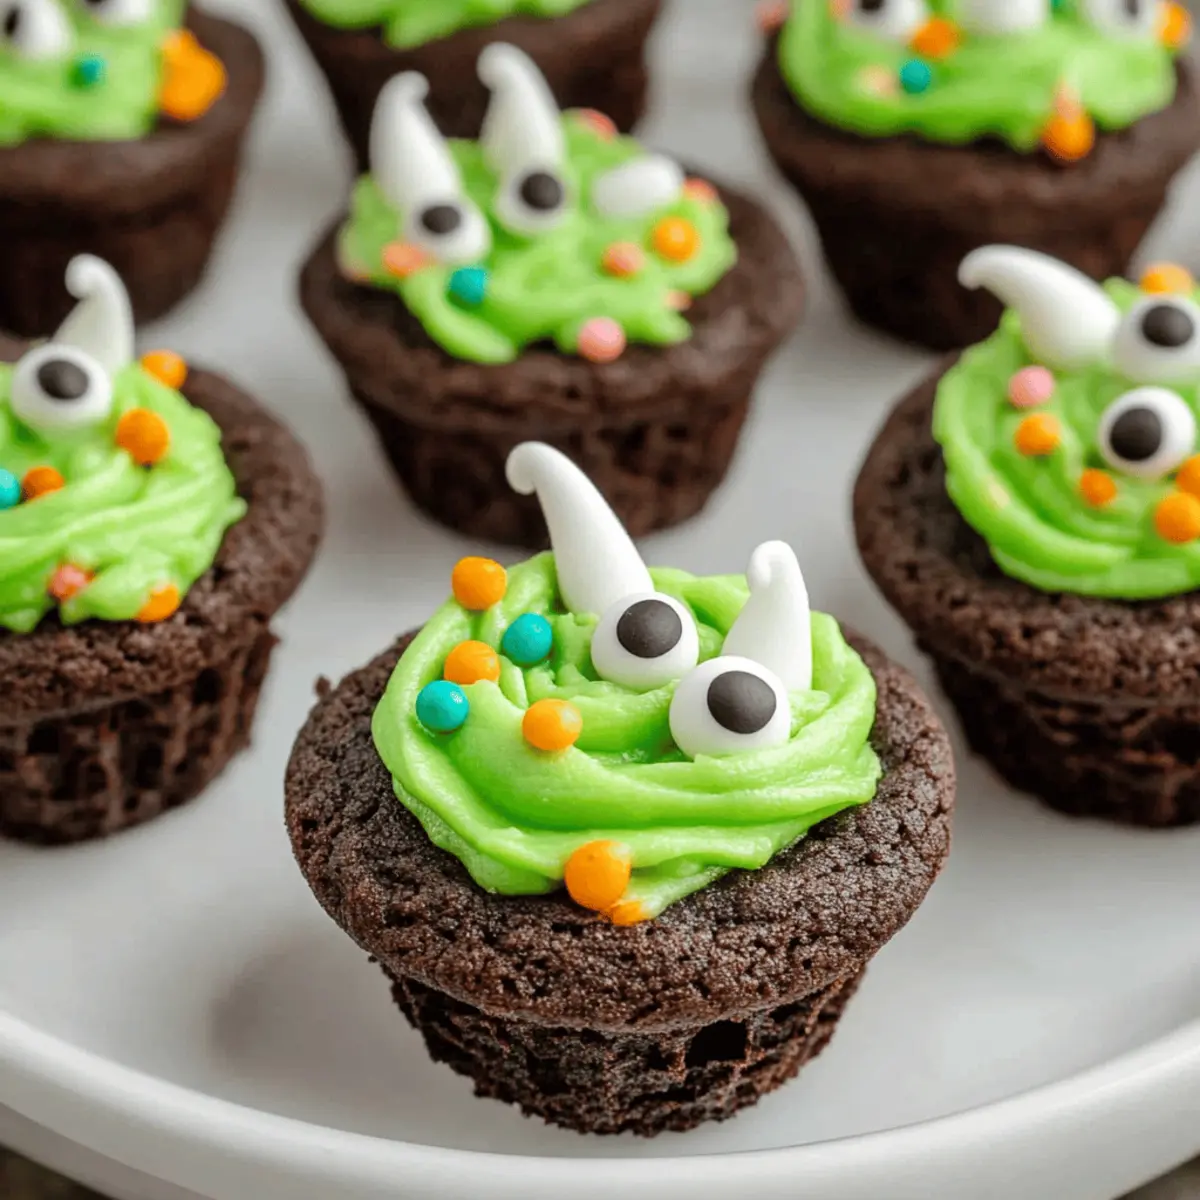
Add the finishing touches to your cauldron cookies by decorating them with whimsical sprinkles, candy eyeballs, and a pretzel stick as a stirrer to enhance their festive flair. Be creative with your decorations, and tailor them to your Halloween theme. Once decorated, your cute cauldron cookie cups are ready to impress your friends and family!
Make Ahead Options
These Cute Cauldron Cookie Cups are perfect for busy home cooks looking to save time during Halloween festivities! You can prepare the cookie cups up to 3 days in advance—simply bake them, create the indentations, and let them cool completely. Store the undecorated cookie cups in an airtight container at room temperature. When you're ready to serve, make the buttercream and fill each cup to maintain that fresh, vibrant flavor. For added convenience, you can also prepare the buttercream up to 24 hours ahead; store it in the refrigerator and let it come to room temperature before piping. With these make-ahead tips, you'll have delightful treats ready to impress with minimal last-minute effort!
How to Store and Freeze Cute Cauldron Cookie Cups
Room Temperature: Store your Cute Cauldron Cookie Cups in an airtight container at room temperature for up to 3-4 days to keep them fresh and soft.
Fridge: If you want to prolong their freshness, you can refrigerate the undecorated cookie cups for up to a week. Just be sure to store them in an airtight container to prevent drying out.
Freezer: Undecorated cookie cups can be frozen for up to three months. Wrap each cup individually in plastic wrap, then place them in a freezer-safe bag or container for best results.
Reheating: When ready to enjoy, simply let the frozen cups thaw at room temperature, then fill with freshly made buttercream before decorating. Avoid freezing decorated cookie cups as the sprinkles may bleed when thawed.
Cute Cauldron Cookie Cups Variations
Feel free to let your creativity flow and customize these delightful cookie cups into your very own spooky creations!
-
Brownie Base: Substitute the cake mix with a mini brownie base for an even richer chocolate flavor that will leave everyone craving more. The fudgy texture creates a wonderfully decadent treat.
-
Cream Cheese Frosting: For a tangy twist, try using cream cheese frosting instead of buttercream. It pairs perfectly with the chocolate cups, adding a delightful creaminess that’s hard to resist.
-
Store-Bought Frosting: In a pinch? Use store-bought frosting colored green—convenience at its best! This option saves time and still delivers on taste, making these cookies a quick and easy treat.
-
White Chocolate Ganache: For a creamy, decadent filling, try using white chocolate ganache tinted green. It adds a smooth, rich twist and pairs beautifully with the chocolate cookie base.
-
Flavor Infusion: Mix in a few drops of peppermint or orange extract to the buttercream for a seasonal flavor boost. These variations can elevate your spooky treats and surprise your guests!
-
Alternative Toppings: Experiment with toppings like crushed Oreo cookies for a graveyard effect or chocolate chips for added texture. It’s a fun way to personalize your cookie cups while maintaining that Halloween spirit.
-
Spicy Kick: For the brave souls, incorporate a touch of cayenne pepper into the frosting for a surprising sweet-heat combo that leaves a lasting impression. Just a pinch goes a long way!
For additional inspirations, why not take a look at my favorite Pineapple Cookies Tropical or whip up some White Chocolate Cookies for a varied treat selection? Enjoy customizing your cauldron cookie cups!
Expert Tips for Cute Cauldron Cookie Cups
• Cool Completely: Allow your cookie cups to cool entirely before adding frosting to prevent melting, ensuring a clean presentation.
• Perfect Indentations: Press firmly but gently into the cookies after baking to create a deep enough well for frosting; avoid over-pressing, which may cause cracking.
• Texture Check: Make sure your buttercream is smooth and spreadable; add milk gradually to avoid thinning it too much. Keep the consistency fluffier for better piping.
• Creative Decorations: Use various sprinkles and candies to match your Halloween party theme—think seasonal colors for a more festive touch.
• Avoid Bleeding Sprinkles: If decorating in advance, wait until just before serving to maintain the vibrant look of your Cute Cauldron Cookie Cups.
What to Serve with Cute Cauldron Cookie Cups
These delightful treats transform any gathering into a magical experience, perfect for pairing with a variety of festive favorites.
-
Milkshakes: Creamy and rich, these drinks create a nostalgic pairing that complements the chocolatey taste of the cookies.
-
Spooky Punch: A fun and colorful beverage adds an element of excitement, both visually and in flavor, to your Halloween spread.
-
Fruit Skewers: Bright and refreshing, seasonal fruit adds a burst of color and balance to the sweetness of the cauldron cookie cups.
-
Mini Pumpkin Pies: For those who adore fall flavors, these can be a delightful and traditional contrast to the cookie’s chocolate base.
-
Cheesy Nachos: Hitting a savory note, the richness of cheesy nachos can create a fun contrast with the sweet cauldron cookies. They offer a comforting party food option!
-
Caramel Apples: This classic treat brings a scrumptious crunch and fall flavor, making it a perfect whimsical side to the cookies.
-
Halloween-themed Cupcakes: Matching desserts elevate your gathering's theme, while their fluffy texture pairs beautifully with the chewy cookie cups.
With these thoughtful pairings, your Halloween gathering will be a feast for not just the eyes but the taste buds too!
Cute Cauldron Cookie Cups Recipe FAQs
What type of cake mix should I use for these cookie cups?
I recommend using Devil's Food Cake Mix for a rich chocolate flavor, but if you want something lighter, chocolate or vanilla cake mixes work perfectly too!
How should I store my Cute Cauldron Cookie Cups?
Store your cookie cups in an airtight container at room temperature for up to 3-4 days. If you prefer to keep them longer, you can refrigerate the undecorated cups for up to a week, just make sure to keep them well-sealed!
Can I freeze the cookie cups?
Absolutely! You can freeze undecorated cookie cups for up to three months. Wrap each cup individually in plastic wrap, then place them in a freezer-safe bag. Thaw at room temperature when you’re ready to fill and decorate them.
How can I avoid issues with frosting melting?
To prevent melting, ensure the cookie cups are completely cool before adding the buttercream topping. If you're worried about it, you might even consider chilling your frosted cookies briefly before serving, especially in warm environments.
Are these cookie cups suitable for kids with allergies?
While the main ingredients (cake mix, butter, eggs) are common allergens, you can make substitutions to accommodate various dietary needs. For example, you can use allergy-friendly cake mixes and a dairy-free butter substitute. Always check labels thoroughly!
What are some decorating tips for my cauldron cookie cups?
Get creative! Use themed sprinkles for extra flair, and include candy eyeballs and pretzel sticks for that perfect spooky touch. Make sure to wait until just before serving to add sprinkles for a vibrant look without bleeding.

Cute Cauldron Cookie Cups: A Spooky Sweet Adventure
Ingredients
Equipment
Method
- Preheat your oven to 350°F (175°C) and grease your mini muffin pans.
- In a large mixing bowl, combine the Devil's Food cake mix, eggs, canola or vegetable oil, and black food coloring if desired. Mix until smooth, about 2-3 minutes.
- Fill each cavity of the mini muffin pan with the cookie dough, flattening slightly. Bake for 8-10 minutes until edges are set and centers are soft.
- Remove the pans from the oven and press your thumb into the center of each cookie to create indentations. Cool in the pan for 5 minutes, then transfer to a wire rack.
- Beat softened unsalted butter until creamy, gradually add powdered sugar, mixing on low then medium speed. Add vanilla, salt, and mix until fluffy, about 3-5 minutes.
- Add green food coloring to the buttercream and mix until well incorporated.
- Pipe the green buttercream into each indentation of the cookie cups.
- Decorate with sprinkles, candy eyeballs, and pretzel sticks as stirrers.


Leave a Reply