
As the days grow longer and spring breathes new life into our gardens, I find myself craving bright and cheerful desserts that mirror the season's vibrancy. Enter the Easy and Colorful Easter Poke Cake—a delightful twist on a classic that captures the essence of Easter gatherings. This whimsical cake is incredibly versatile, allowing you to customize it with playful themes that appeal to both kids and adults alike. With its quick prep time and make-ahead convenience, it's designed to fill your home with joy while letting you bask in precious moments with loved ones. Plus, with gluten-free and dairy-free options available, everyone can join in on the festive fun! How will you personalize your poke cake this spring?
Why Is This Easter Poke Cake Special?
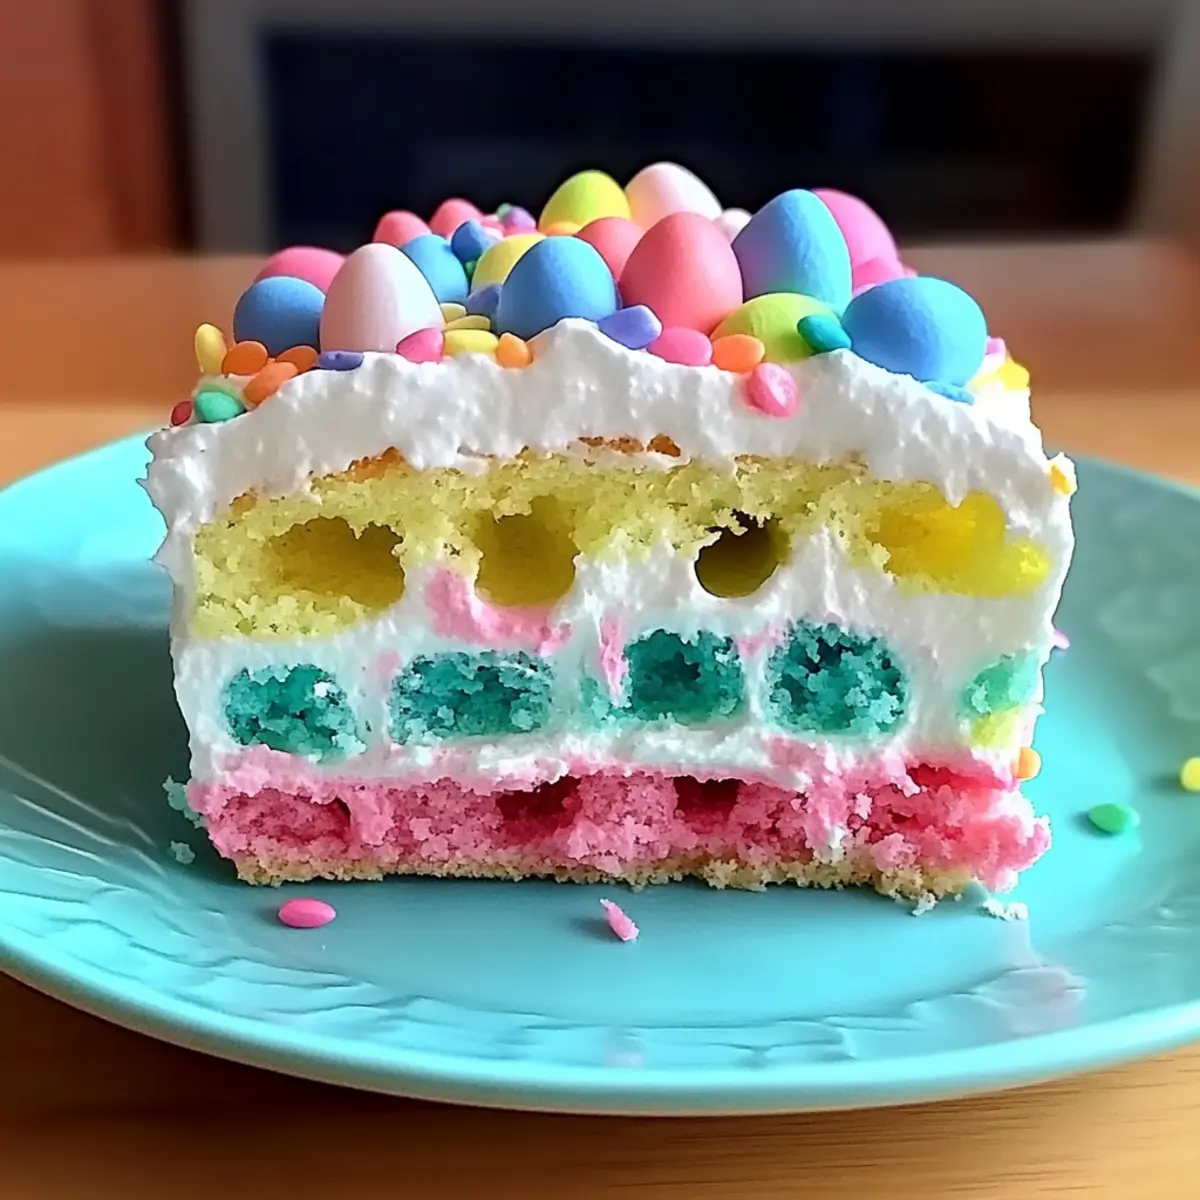
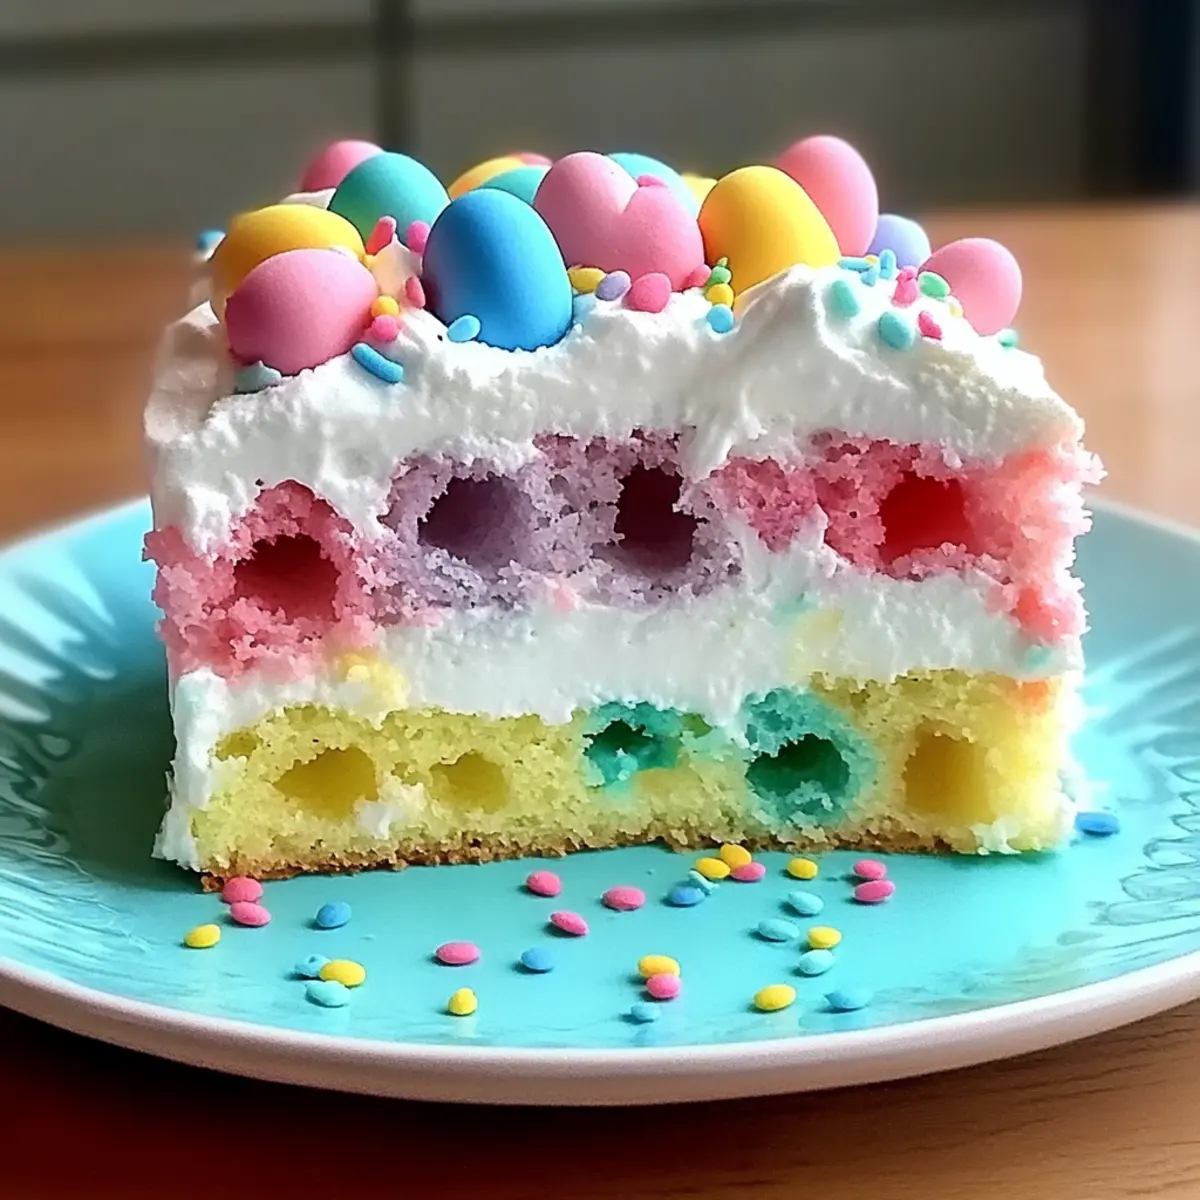
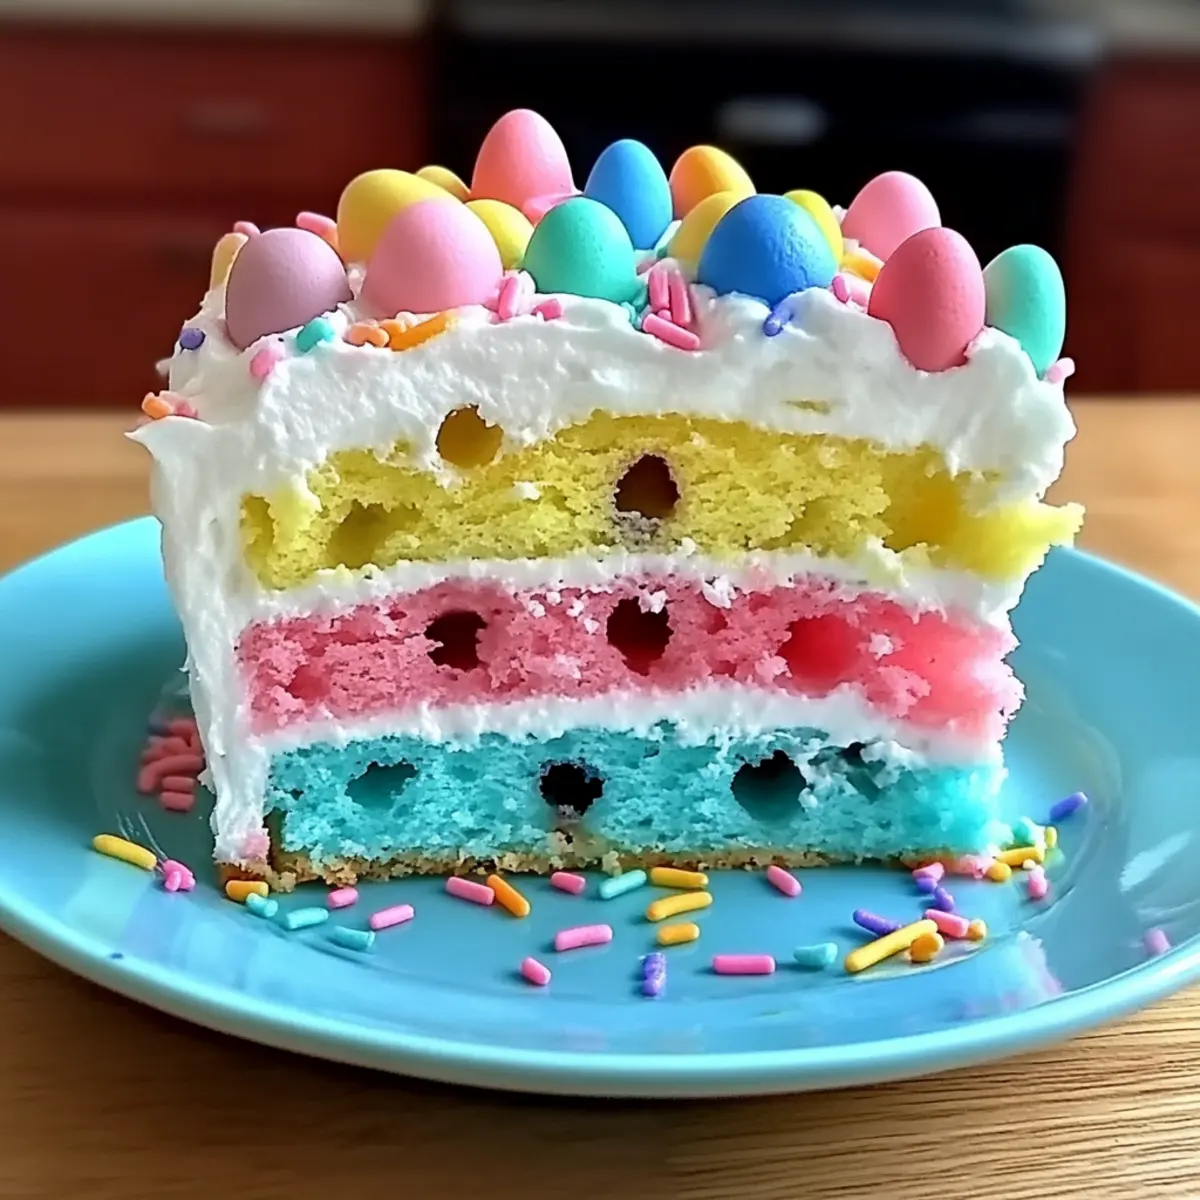
Vibrant Colors: This cake is a feast for the eyes, bursting with lively hues that can be tailored to any spring theme, delighting guests of all ages.
Make-Ahead Magic: Prep it ahead of time, chill it, and let it do its thing in the fridge—more time for celebrating and less time in the kitchen!
Versatility Galore: Choose from an array of pudding flavors like chocolate or cheesecake, and even experiment with gluten-free mix options to suit every palate, ensuring no one is left out.
Kid-Friendly Fun: Kids will love the bright colors and the joy of poking the cake and uncovering sweet surprises, making it a captivating activity in the kitchen.
Decadent Texture: With its pudding-filled layers, this cake offers a delightful blend of moistness and creaminess that simply melts in your mouth, leaving everyone coming back for seconds!
Elevate your dessert game with this Easy and Colorful Easter Poke Cake, and don't forget to pair it with a fresh fruit salad for that perfect spring touch!
Easter Poke Cake Ingredients
For the Cake
• White Cake Mix – A perfect base; swap for vanilla or lemon for a flavor twist.
• Milk – Activates the pudding mix; any kind, including dairy-free, works well.
For the Pudding Layer
• Instant White Chocolate Pudding – Adds creaminess; try vanilla, cheesecake, or lemon as alternatives.
For the Topping
• Heavy Cream – Essential for a fluffy topping; use store-bought whipped cream for convenience.
• Powdered Sugar – Sweetens the whipped cream; adjust to your taste.
For the Color
• Food Coloring – Makes vibrant layers; both liquid and gel options create stunning results.
With these ingredients, you can create the delightful Easter Poke Cake that captures the essence of spring celebrations!
Step‑by‑Step Instructions for Easy and Colorful Easter Poke Cake
Step 1: Preheat and Prepare Batter
Begin by preheating your oven to 350°F (175°C) to ensure it's hot and ready. In a large bowl, combine the white cake mix with the milk, mixing until smooth. Next, divide the batter into individual bowls based on how many colors you desire to create. Add food coloring to each bowl, mixing until the colors are vibrant and visually appealing.
Step 2: Bake the Colorful Cake
Grease a 9x13 inch baking dish to prevent sticking. Now, spoon the colorful batter into the dish, swirling the different colors together for a fun effect. Bake the cake in the preheated oven for 25–30 minutes, or until the top is golden and a toothpick inserted into the center comes out clean. Allow the cake to cool for about 10 minutes in the pan.
Step 3: Poke Holes for Pudding
Once the cake has cooled slightly, use the handle of a wooden spoon or a skewer to poke holes all over the top, spacing them about an inch apart. This step is crucial as these holes will allow the pudding to seep into the cake, creating the delicious texture of your Easter Poke Cake.
Step 4: Prepare the Pudding Layer
In a separate bowl, whisk together the instant pudding mix and milk until the mixture is smooth and thick. This usually takes 2-3 minutes. Once combined, pour the pudding evenly over the top of the poke cake, making sure it fills the holes so each bite will be deliciously creamy.
Step 5: Chill the Cake
Cover the cake with plastic wrap and place it in the refrigerator to chill for at least 2 hours. This chilling time allows the pudding to set properly, enhancing the flavor and texture of your Easy and Colorful Easter Poke Cake.
Step 6: Whip the Cream Topping
After the cake has chilled, place a mixing bowl in the refrigerator for about 10 minutes for best results. In the cold bowl, combine the heavy cream and powdered sugar, then whip until soft peaks form—this usually takes 3-5 minutes. The whipped cream will add an airy layer on top of your beautifully chilled cake.
Step 7: Decorate and Serve
Spread the whipped cream evenly over the chilled cake, ensuring a thick, fluffy layer covers all the pudding underneath. For an extra festive touch, decorate the top with colorful sprinkles or edible glitter, enhancing the visual appeal of your Easy and Colorful Easter Poke Cake just before serving.

What to Serve with Easy and Colorful Easter Poke Cake
As you plan your festive gathering, consider these delicious pairings that will elevate your Easter celebration.
-
Fresh Fruit Salad: A medley of colorful fruits add a refreshing contrast to the rich sweetness of the poke cake, balancing flavors beautifully.
-
Vanilla Ice Cream: The creamy, cold ice cream melts into the moist cake, creating a delightful combination of temperature and texture that's irresistible.
-
Chocolate-Dipped Strawberries: These decadent treats enhance the playful spirit of Easter and add decadent richness to the dessert table.
-
Minty Green Salad: A light salad featuring fresh greens, cucumber, and a zesty lemon dressing offers a crisp contrast, cleansing the palate between bites.
-
Lemonade Spritzers: Refreshing and bubbly, these drinks provide a citrusy zing that perfectly complements the sweet cake, making every sip delightful.
-
Brownie Bites: Rich, fudgy brownies provide a sweet counterpart with a dense texture, inviting guests for an indulgent dessert experience.
-
Coconut Macaroons: Their chewy texture pairs wonderfully with the cake's moistness, while their tropical flavor evokes a festive spring atmosphere.
Elevate your Easter feast and create unforgettable memories with these complementary treats!
Expert Tips for Easter Poke Cake
-
Chill First: Chill the heavy cream in advance for a light and fluffy whipped topping that holds its shape beautifully on the cake.
-
Spacing Matters: When poking holes in the cake, aim for even spacing to ensure the pudding seeps in properly without creating sogginess.
-
Avoid Toppings Too Early: Wait until just before serving to add decorative toppings—this keeps colors vibrant and textures fresh.
-
Customization Options: Feel free to swap in different pudding flavors or use gluten-free cake mix, so everyone can savor the festive Easter Poke Cake.
-
Natural Coloring: For a healthier twist, consider using natural colorants like beet juice or turmeric instead of artificial food coloring for colorful layers.
Storage Tips for Easter Poke Cake
Fridge: Store the Easter Poke Cake loosely covered with plastic wrap in the refrigerator for up to 3 days to maintain its freshness and flavor.
Freezer: For longer storage, freeze slices of the poke cake wrapped tightly in plastic wrap and aluminum foil for up to 2 months. Thaw in the refrigerator overnight before serving.
Reheating: If you prefer to serve the cake slightly warm, allow it to come to room temperature after thawing before enjoying. Avoid reheating in the microwave, as it may alter the cake's delightful texture.
Make Ahead Options
The Easy and Colorful Easter Poke Cake is a fantastic option for meal prep enthusiasts! You can bake the cake base up to 24 hours in advance, letting it cool completely before wrapping it tightly in plastic wrap. This helps maintain its moisture and texture. You can also prepare the pudding layer and refrigerate it below 3 days before serving, so all you need to do is poke holes in the cake and pour the pudding over it. Simply cover the assembled cake and chill it for at least 2 hours before topping with whipped cream. This way, you’ll have a delightful dessert ready to impress your guests, freeing up time for your other party preparations!
Easter Poke Cake Variations & Substitutions
Feel free to get creative and customize your Easter Poke Cake to suit your taste and dietary needs!
-
Gluten-Free: Use a gluten-free cake mix to ensure everyone at the table can enjoy this treat.
-
Dairy-Free: Substitute regular milk and heavy cream with almond milk and coconut whipped cream for a dairy-free delight.
-
Pudding Flavors: Switch things up by trying chocolate, butterscotch, or even coconut pudding for a different flavor profile.
-
Natural Colorants: Use beet juice, spirulina, or turmeric to achieve vibrant colors without artificial ingredients, adding a healthy twist.
-
Individual Parfaits: Layer the pudding and whipped cream in clear cups for a fun, elegant dessert that showcases the colors beautifully.
-
Sprinkle Boost: Enhance the cake's theme by choosing themed sprinkles (like bunnies or eggs) that celebrate the Easter spirit.
-
Fruit Layers: Add fresh fruits like sliced strawberries, blueberries, or bananas between the cake layers for a refreshing twist and added sweetness.
If you’re looking for more delightful cake ideas, consider making a luscious Chocolate Zucchini Cake or a festive Copycat Birthday Cake for your next gathering!
Easy and Colorful Easter Poke Cake Recipe FAQs
What type of cake mix is best for this Easter Poke Cake?
I recommend using a white cake mix as it provides a nice neutral flavor that complements the pudding and colors. However, feel free to swap it for vanilla or lemon cake mix if you desire a different taste profile. The important part is ensuring it's a mix that can create a moist cake.
How should I store the Easter Poke Cake after making it?
To keep your Easter Poke Cake fresh, store it loosely covered with plastic wrap in the refrigerator for up to 3 days. This helps maintain its moistness and flavor. If you're not planning to finish it within that time frame, it can be frozen for longer enjoyment.
Can I freeze the Easy and Colorful Easter Poke Cake?
Absolutely! For freezing, slice the cake and wrap each piece tightly in plastic wrap followed by aluminum foil. This way, it can be stored in the freezer for up to 2 months. When you're ready to enjoy a slice, simply let it thaw overnight in the refrigerator for the best texture.
What if my cake turns out soggy?
A soggy cake is often due to an excess of pudding or not allowing the cake to cool properly before poking holes. Ensure the cake cools for about 10 minutes and that you poke evenly spaced holes. If you find the pudding mix is too runny, whisk it for a little longer until it's thick, allowing it to soak in without making the cake soggy.
Are there any dietary considerations for the Easter Poke Cake?
Yes! You can easily customize this recipe to cater to dietary restrictions. For a gluten-free option, substitute with a gluten-free cake mix. You can also use any type of milk, including almond or soy, for a dairy-free version. It’s all about making sure everyone can enjoy your delightful Easter Poke Cake!
Colorful Easter Poke Cake that Sparks Joy and Delight
Ingredients
Equipment
Method
- Preheat your oven to 350°F (175°C). In a large bowl, combine the white cake mix with the milk, mixing until smooth. Divide the batter into individual bowls and add food coloring to each bowl until colors are vibrant.
- Grease a 9x13 inch baking dish. Spoon the colorful batter into the dish, swirling the different colors together. Bake for 25–30 minutes, or until golden and a toothpick comes out clean. Cool in the pan for 10 minutes.
- Poke holes all over the top of the cooled cake using a wooden spoon handle or skewer, spacing them about an inch apart.
- In a separate bowl, whisk the instant pudding mix and milk until smooth and thick. Pour the pudding evenly over the cake, filling the holes.
- Cover with plastic wrap and refrigerate for at least 2 hours to allow the pudding to set.
- Chill a mixing bowl for 10 minutes, then combine heavy cream and powdered sugar in it. Whip until soft peaks form, which takes 3-5 minutes.
- Spread the whipped cream evenly over the chilled cake. Decorate with colorful sprinkles or edible glitter before serving.

Leave a Reply