
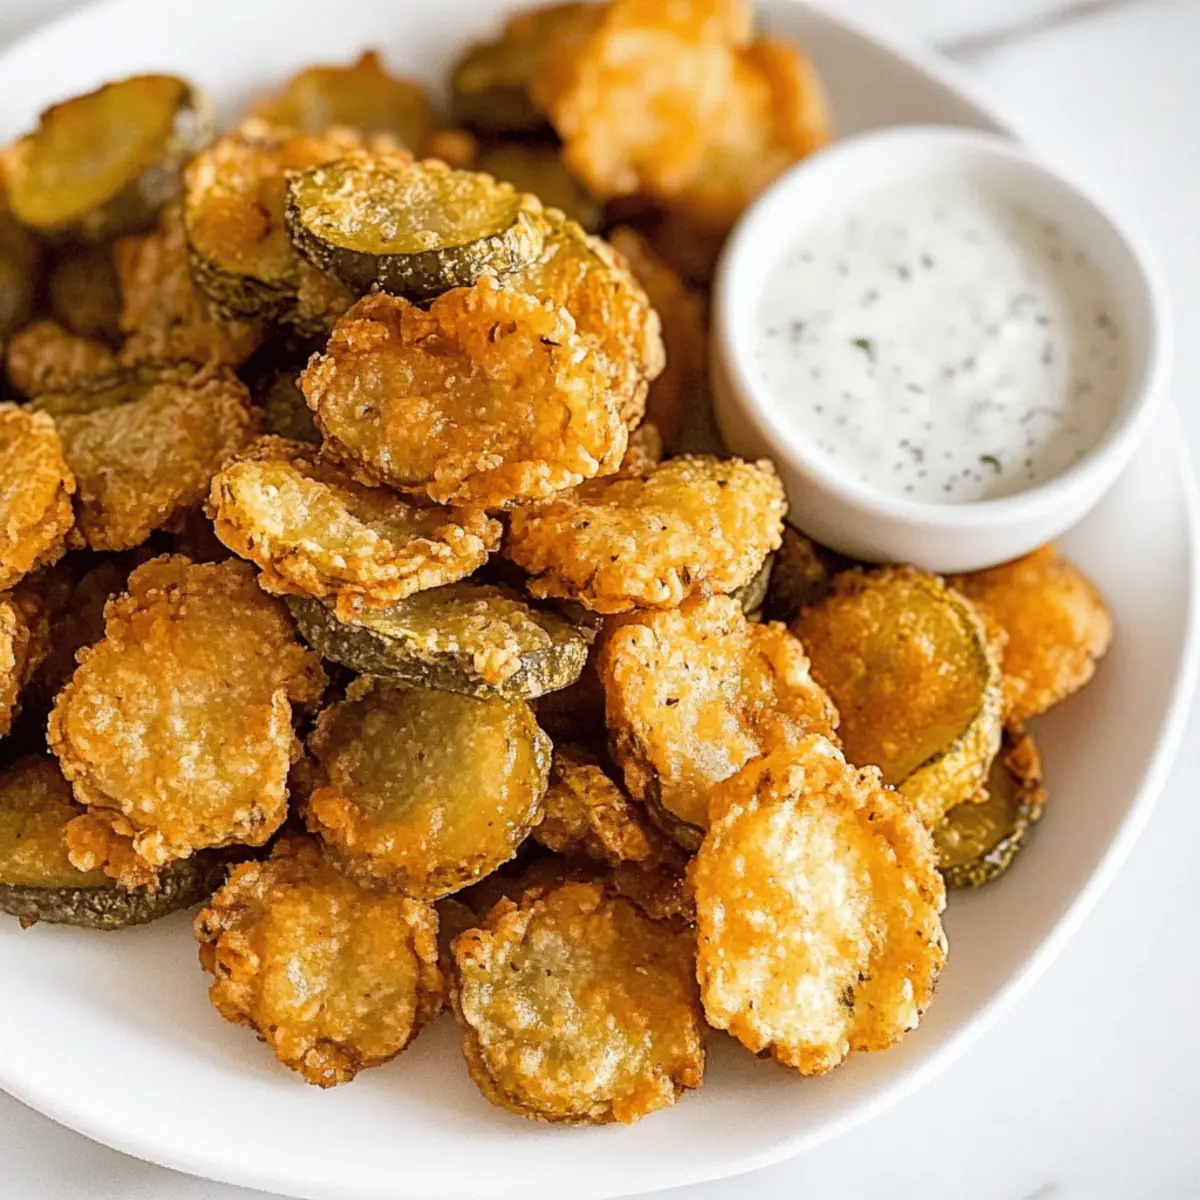
As I bit into the first crispy fried pickle I ever tasted, the delightful crunch and tangy surprise took me straight to the heart of Southern cuisine. This Fried Pickles Recipe encapsulates that magic, offering a quick and satisfying snack that’s perfect for gatherings or a cozy night in. Every bite presents a tantalizing blend of textures, from the golden, seasoned batter to the tender pickle inside. Not only are these pickles a crowd-pleaser, but they’re also incredibly easy to whip up, allowing you to skip the fast-food run while still enjoying a delicious treat. So, are you ready to embrace the joy of frying those pickles at home and immerse yourself in the flavor? Let’s dive in!
Why Are Fried Pickles So Irresistible?
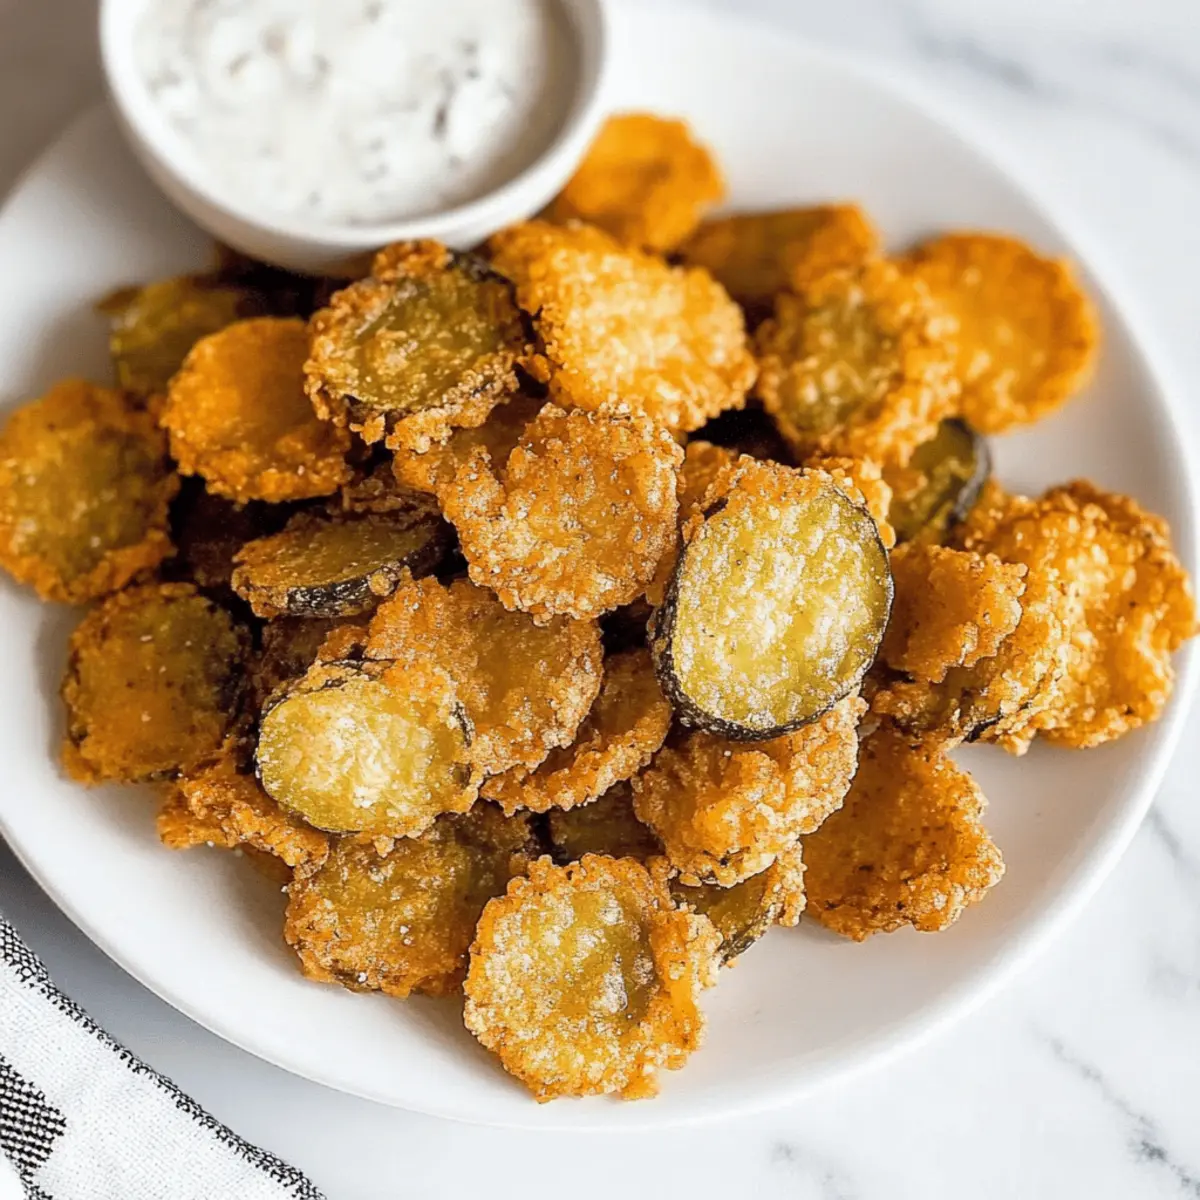
Crispy Texture: This Fried Pickles Recipe offers a satisfyingly crunchy coating that contrasts beautifully with the tender pickle inside.
Quick Preparation: With minimal ingredients and steps, you'll have these delightful bites ready in no time, making them perfect for last-minute gatherings.
Flavor Explosion: The blend of spices and herbs creates a burst of savory flavors, elevating the basic pickle into a gourmet snack.
Versatile Options: Enjoy them with classic ranch dressing, or get creative with blue cheese dip or spicy hot sauce for extra zing.
Crowd-Pleasing Delight: These fried pickles are a guaranteed hit at any event, from casual game nights to festive parties. If you're curious about more tasty variations, check out our fun take on Onion Beef Fried for another flavor-packed recipe.
Get ready to impress your friends and family with this classic appetizer!
Fried Pickles Recipe Ingredients
For the Pickles
• Sliced Pickles – Use dill pickles for a classic tangy flavor; drain them well to keep the coating crisp.
For the Batter
• All-Purpose Flour – This is the base of your batter, providing structure for that perfect crunch.
• Baking Powder – Lightens the batter for an airy texture that’s just right.
• Salt – Enhances overall flavor; feel free to adjust based on your taste intentions.
• Ground Black Pepper – Adds a mild kick and depth; freshly ground is the best choice.
• Garlic Powder – This is essential for savory notes; substitute with garlic salt by reducing other salt added.
• Onion Powder – Imparts sweetness and complexity; for a fresher flavor, use minced onion instead.
• Paprika Powder – Provides color and a subtle smokiness; smoked paprika offers a delightful twist.
For the Wet Mixture
• Large Eggs – Binds the batter ingredients, giving it a rich flavor; can replace with plant-based options for non-egg versions.
• Milk – Creates a luscious batter; non-dairy alternatives like almond or oat milk work perfectly here.
For Frying
• Vegetable Oil – Necessary for frying, achieving that golden, crispy finish; can substitute with canola or peanut oil if preferred.
Dive into this Fried Pickles Recipe and experience a crunchy, tangy treat that will leave everyone wanting more!
Step‑by‑Step Instructions for Fried Pickles Recipe
Step 1: Prepare the Pickles
Begin by draining the sliced pickles thoroughly to eliminate excess moisture, ensuring a crispy finish. After draining, gently pat them dry with paper towels. This step is crucial as it prevents the batter from becoming soggy, allowing the flavors to shine when you indulge in these Fried Pickles.
Step 2: Make the Breading Station
In a medium bowl, mix together the all-purpose flour, salt, ground black pepper, garlic powder, onion powder, paprika, and baking powder. In a separate bowl, whisk together the large eggs and milk until combined. Setting up these two stations will streamline coating the pickles while creating that wonderful crunchy texture that defines this Fried Pickles Recipe.
Step 3: Heat Oil
In a deep skillet or frying pan, pour enough vegetable oil to cover the bottom by about 1-2 inches. Heat the oil over medium-high heat until it reaches 350°F (175°C), which you can check using a kitchen thermometer. The oil should shimmer lightly; this indicates it’s ready for frying. Proper oil temperature is essential to achieve that golden, crispy exterior.
Step 4: Coat the Pickles
Take each drained pickle slice and first dip it into the flour mixture, ensuring it's generously coated. Next, immerse it in the milk and egg mixture, followed by a second dip back into the flour mixture for an extra layer of crunch. This double-dipping method is the secret to achieving the perfect fried pickles that pack flavor and crunch in every bite.
Step 5: Fry
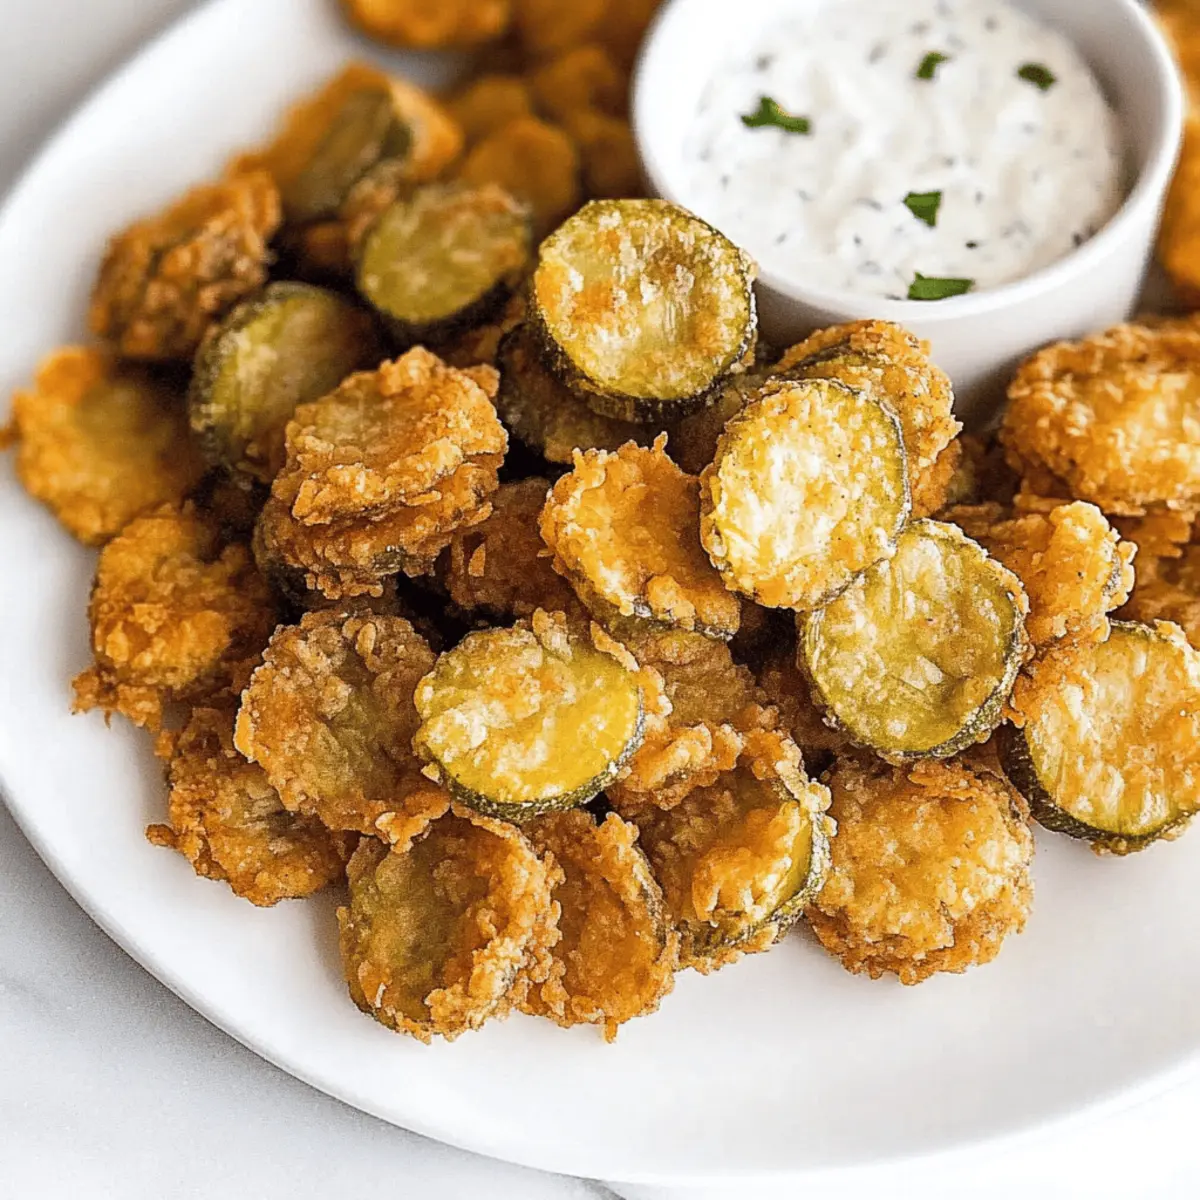
Carefully place the coated pickles into the hot oil, making sure not to overcrowd the pan. Fry each batch for about 3-4 minutes or until they turn a beautiful golden brown. The sizzling sound and visual golden hue will signal that your Fried Pickles are nearly ready to be enjoyed, so keep a close eye on them during frying.
Step 6: Drain and Serve
Once golden and crispy, use a slotted spoon to remove the fried pickles from the oil, letting the excess oil drip off. Place them on a plate lined with paper towels to absorb any remaining grease. Serve your crispy Fried Pickles with a side of tangy ranch dressing for dipping, and get ready to savor each delightful bite.
Expert Tips for Fried Pickles Recipe
- Right Temperature: Keep the oil at 350°F to achieve a perfect crunch; if too hot, the batter may burn before the pickles cook through.
- Avoid Overcrowding: Fry in small batches to prevent lowering the oil temperature, ensuring even cooking and that signature crispiness.
- Dry Thoroughly: Always pat the pickles dry after draining; excess moisture can make the batter soggy and prevent the fried pickles from getting crispy.
- Extra Crunch: For an added crunch, consider double-dipping the pickles in the batter, ensuring a thicker, more satisfying coating.
- Air Fryer Option: If you’re looking for a healthier version, use an air fryer with the same batter method for a delicious, guilt-free treat.
Make Ahead Options
These Crispy Fried Pickles are perfect for busy weeknights and meal prep enthusiasts! You can slice and drain the pickles up to 24 hours ahead of time, and store them in an airtight container in the refrigerator to maintain their crunch. Additionally, you can prepare the dry batter mixture and store it separately for up to 3 days to quicken your cooking process. Just remember to keep the wet mixture (milk and eggs) refrigerated until you're ready to fry. When it's time to serve, simply coat the pickles, fry them for about 3-4 minutes until golden brown, and enjoy this delicious snack without the hassle of last-minute prep!
What to Serve with Crispy Fried Pickles?
Indulging in crispy fried pickles brings a burst of flavor to your table, often calling for delightful companions to create a complete experience.
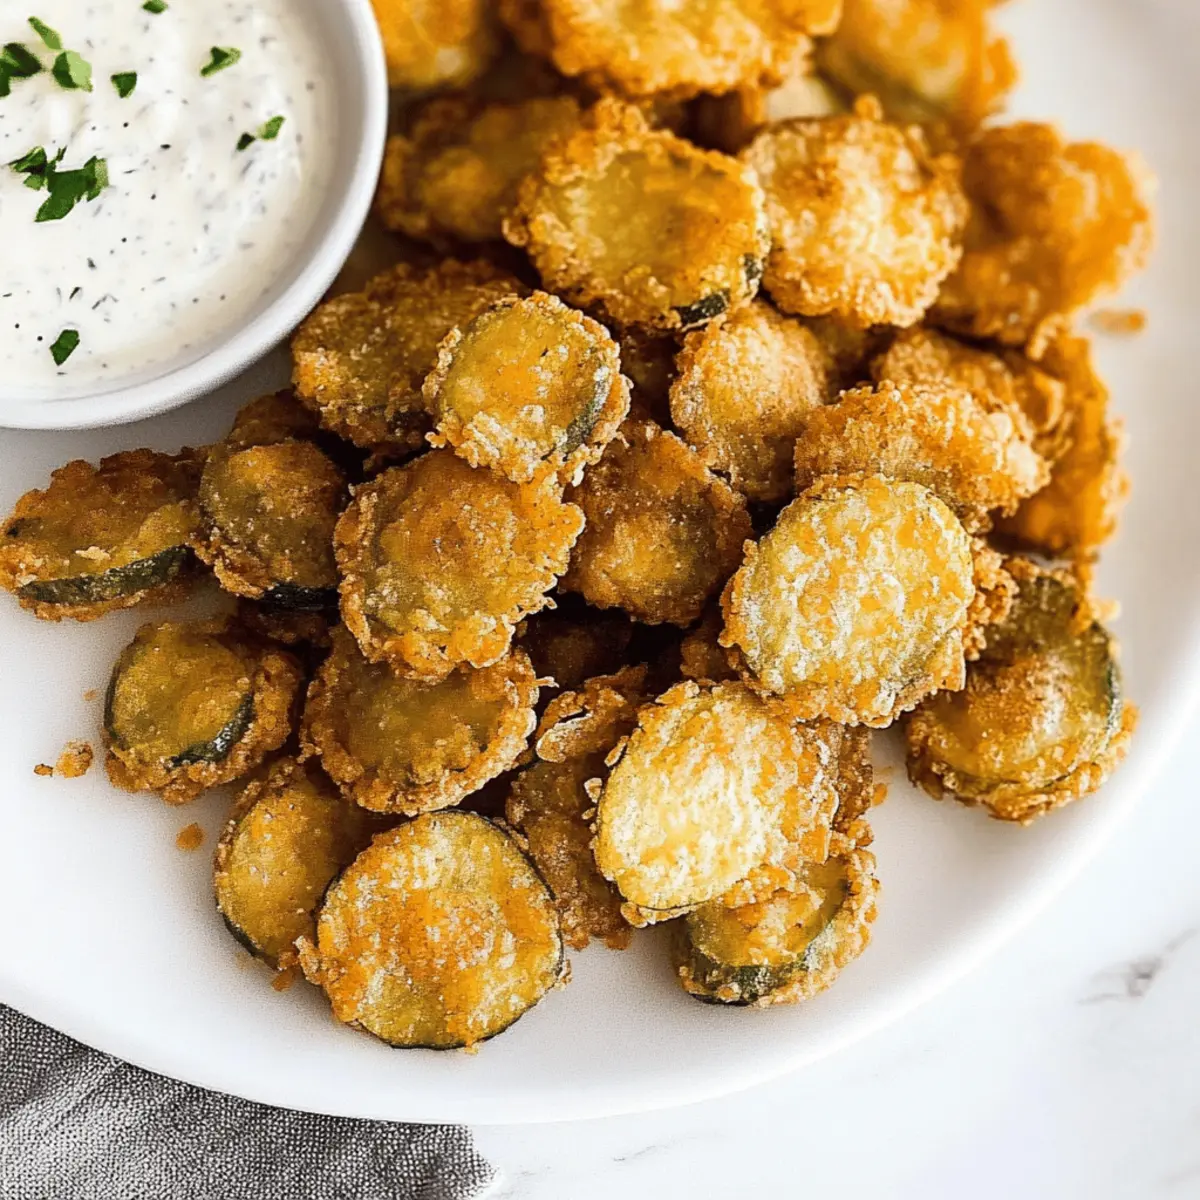
- Creamy Ranch Dip: This classic pairing enhances the tanginess of the fried pickles, providing a smooth counterbalance with every bite.
- Spicy Hot Sauce: A drizzle of your favorite hot sauce adds an exciting kick and elevates the overall flavor profile of the dish.
- Coleslaw: The crunchy freshness of coleslaw complements the crispy texture, bringing a refreshing contrast that brightens each mouthful.
- Potato Wedges: Soft, fluffy potato wedges seasoned with herbs create a satisfying texture combo, perfect for soaking up the ranch dip.
- Beer or Cider: A chilled craft beer or hard cider enhances the Southern vibe and adds a fizzy twist that cuts through the richness.
- Garlic Parmesan Breadsticks: These savory bites introduce a warm, cheesy element that pairs beautifully with the crunchy pickles.
- Deviled Eggs: Another Southern classic, these creamy yolk-filled delights bring a creamy richness that harmonizes wonderfully with the tangy fried pickles.
- Sweet Tea or Lemonade: A glass of sweet tea or refreshing lemonade completes your Southern feast, bringing a balance of sweetness to the meal.
- Mini Slider Burgers: Bite-sized sliders add heartiness and variety for a fun gathering, offering a satisfying contrast to the crispy fried pickles.
How to Store and Freeze Fried Pickles
Fridge: Store leftover fried pickles in an airtight container for up to 3 days to keep them fresh; reheat in an air fryer or oven for maximum crispiness.
Freezer: To freeze fried pickles, place them in a single layer on a baking sheet first, freeze until solid, then transfer to a sealed freezer bag; they can be stored for up to 3 months.
Reheating: For the best results, reheat frozen fried pickles in an air fryer or oven at 375°F (190°C) for about 10-12 minutes to restore their crunch and flavor.
Room Temperature: Avoid leaving fried pickles out at room temperature for more than 2 hours to ensure food safety and maintain their delicious taste.
Fried Pickles Recipe Variations
Feel free to let your creativity shine by customizing this fried pickles recipe with these delightful twists!
-
Spicy Kick: Add a teaspoon of cayenne pepper to the dry mixture for a fiery heat that pairs deliciously with the tangy pickles. Your taste buds will dance with excitement!
-
Pickle Variety: Try using dill, bread-and-butter, or spicy garlic pickles—each option provides a unique flavor profile that'll keep everyone guessing and enjoying!
-
Gluten-Free: Swap the all-purpose flour with a gluten-free blend, ensuring that everyone can enjoy these crispy delights without worry—everyone deserves a tasty treat!
-
Air Fryer Version: Lighten things up by using an air fryer instead of frying in oil. Just coat the pickles and air fry at 400°F (200°C) for about 10 minutes for a healthier option!
-
Herb-Infused: Mix dried herbs like oregano, thyme, or Italian seasoning into the flour for an aromatic twist that adds another layer of flavor—who doesn't love a fragrant bite?
-
Cheesy Delight: Incorporate grated parmesan cheese into the breadcrumbs for the ultimate cheesy crunch. This variation will make your fried pickles even more addictive.
-
Sweet & Spicy: For a sweet twist, consider adding some sugar or honey to the batter combined with a pinch of chili flakes for that sweet-heat combo that's simply irresistible.
-
Serve with Style: Ditch the ranch and pair your fried pickles with a spicy aioli or zesty remoulade for a gourmet experience. It’s all about serving up something special!
Whichever variation you choose, you’re sure to wow your guests! For more delicious ideas, don't forget to check out our tasty Onion Beef Fried recipe, perfect for a flavorful twist on meals.
Fried Pickles Recipe FAQs
How do I choose the right pickles for frying?
Absolutely! For the best flavor and texture, I recommend using dill pickles, as their tanginess complements the crispy coating beautifully. Make sure they're well-drained to avoid excess moisture, which could result in soggy fried pickles.
How should I store leftover fried pickles?
You can store leftover fried pickles in an airtight container in the refrigerator for up to 3 days. To ensure they maintain their crunch, reheat them in an air fryer or oven at 375°F (190°C) for about 10-12 minutes.
Can I freeze fried pickles?
Certainly! To freeze your fried pickles, place them in a single layer on a baking sheet and freeze until solid (around 1-2 hours). Once frozen, transfer them to a sealed freezer bag where they can be stored for up to 3 months. Don't forget to label the bag with the date!
What if my fried pickles turn out soggy?
No worries! Sogginess usually occurs due to excess moisture on the pickles or frying at too low a temperature. Always drain and pat the pickles dry before coating. Additionally, ensure your oil is heated to 350°F (175°C) for optimal frying. If you find soggy pickles, you can re-fry them quickly to restore their crispiness.
Are fried pickles safe for pets?
Fried pickles should generally be avoided for pets, especially due to the potential high salt content in both the pickles and the batter. Always check with your veterinarian if you're unsure about introducing new foods to your pet's diet.
Can I make fried pickles gluten-free?
Yes, absolutely! You can easily make a gluten-free version by substituting all-purpose flour with a gluten-free flour blend. Just ensure all your other ingredients are gluten-free as well to enjoy this delicious treat without any worries!
Crispy Fried Pickles Recipe That Will Wow Your Taste Buds
Ingredients
Equipment
Method
- Prepare the pickles by draining them and patting them dry with paper towels.
- Make the breading station by mixing flour, baking powder, salt, pepper, garlic powder, onion powder, and paprika in one bowl; whisk eggs and milk in another.
- Heat the oil in a deep skillet over medium-high heat to 350°F (175°C).
- Coat each pickle slice in the flour mixture, then the egg mixture, and back into the flour for double-dipping.
- Fry the coated pickles in the hot oil for 3-4 minutes until golden brown, ensuring they are not overcrowded.
- Remove the fried pickles using a slotted spoon and drain on paper towels before serving.
Leave a Reply