
Baking is often a blend of ingredients and a sprinkle of magic, but sometimes it’s just the thrill of creating something delightfully spooky! As Halloween approaches, I couldn't resist the urge to whip up a batch of Double Chocolate Halloween Cookies that are not only eye-catching but unbelievably easy to make. With a delightful combination of rich chocolate and playful Halloween M&Ms, these cookies come together in just one bowl and take only about 30 minutes from start to finish. They're perfect for gathering family and friends around the kitchen, making it a joyful experience that's sure to delight both young and old alike. Are you ready to add a festive twist to your baking routine? Let’s dive into the creepily delicious world of Halloween treats!
Why Are These Halloween Cookies a Must-Make?
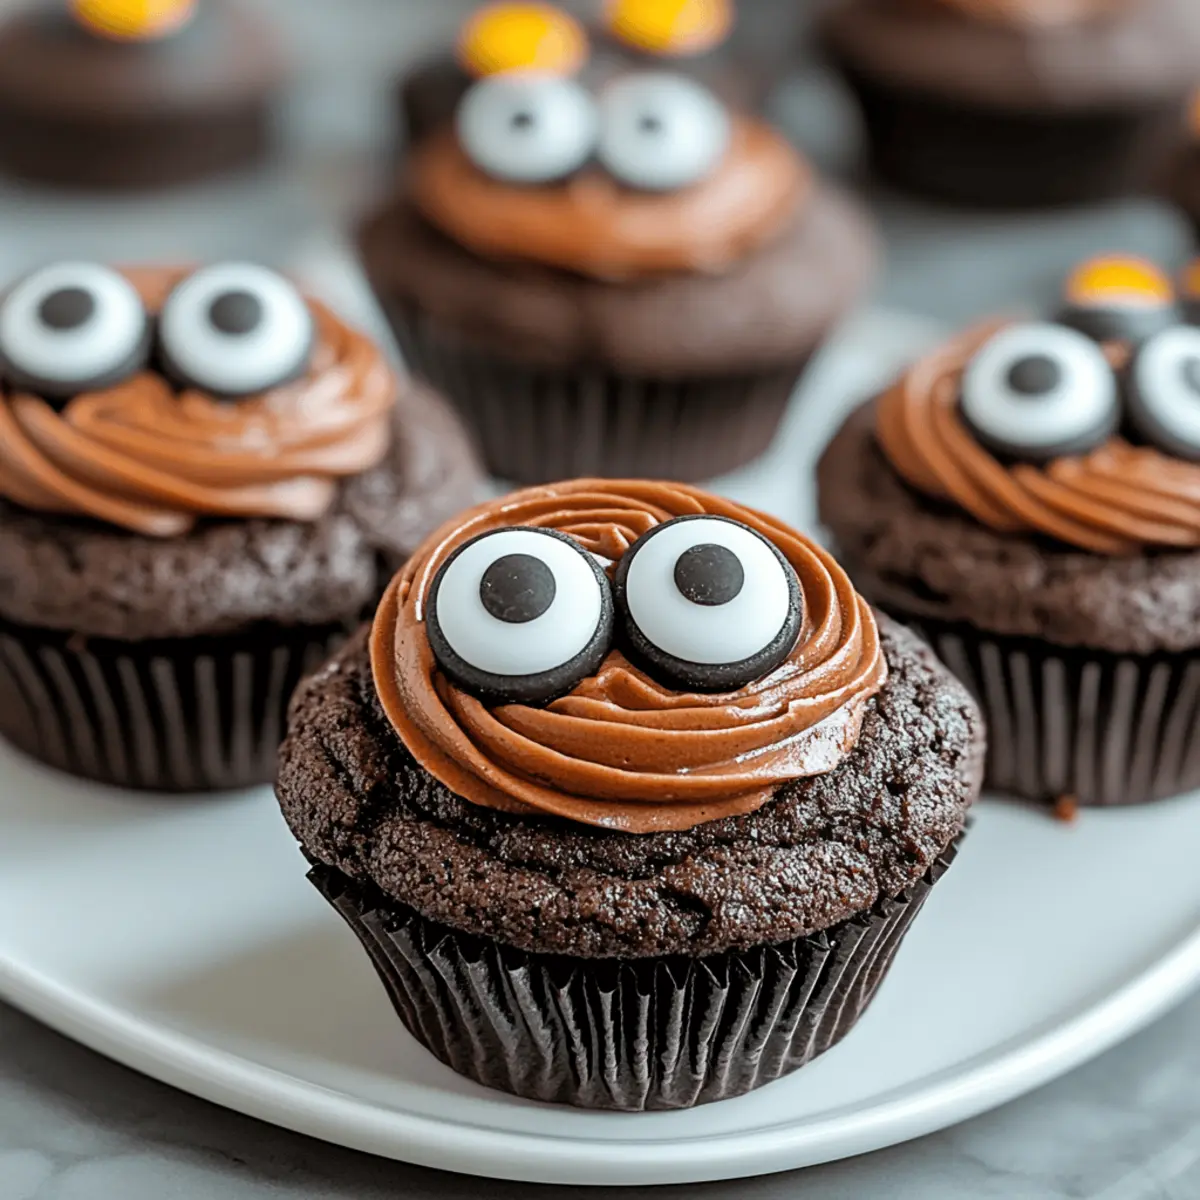
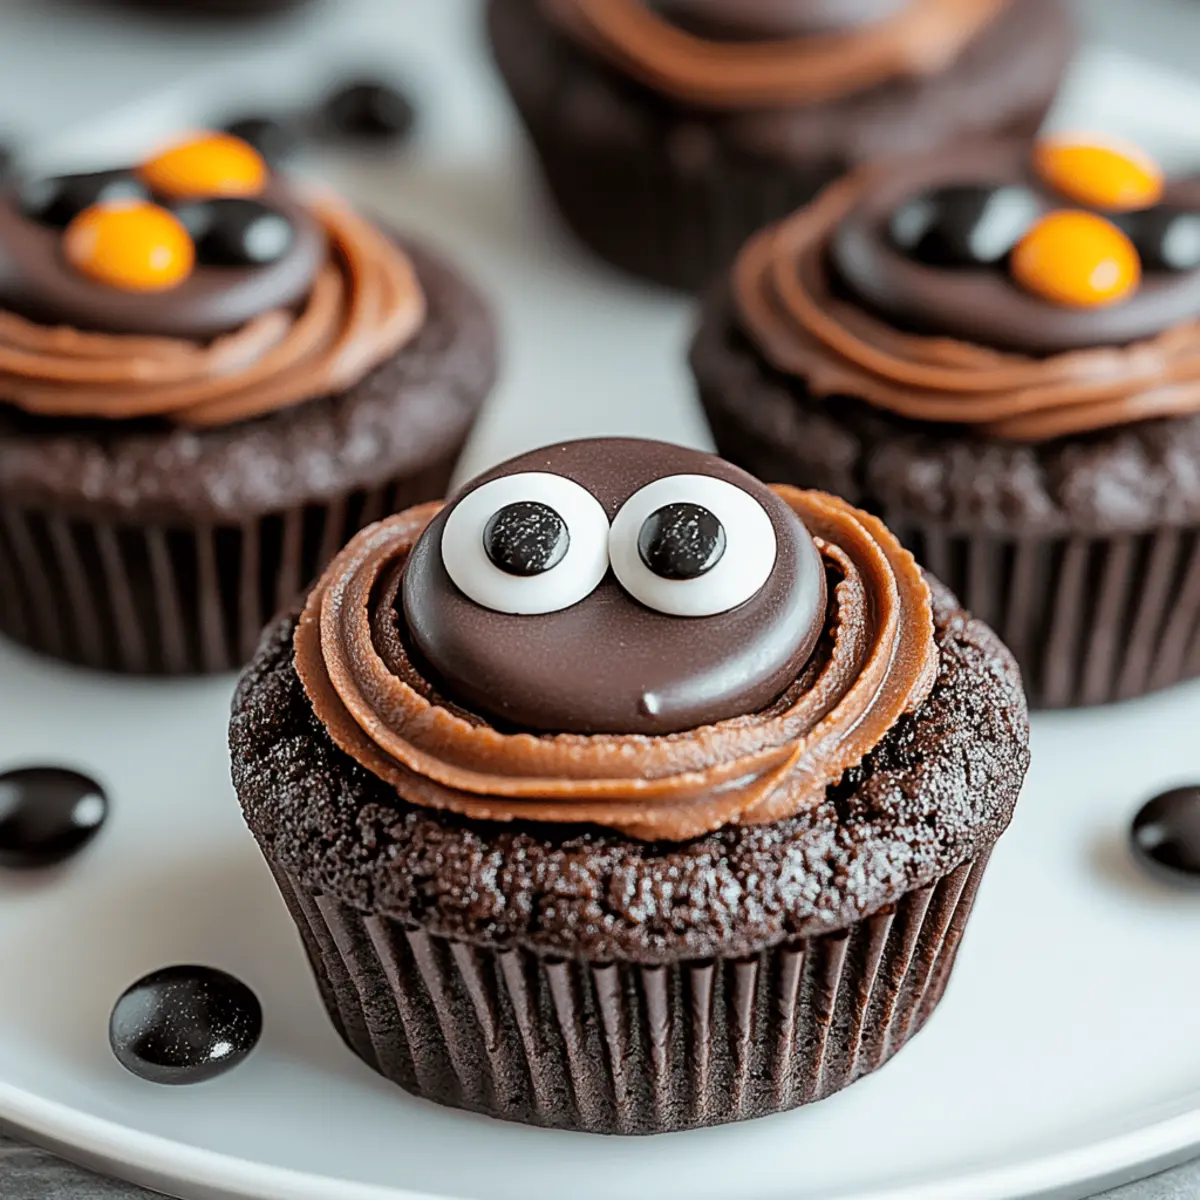
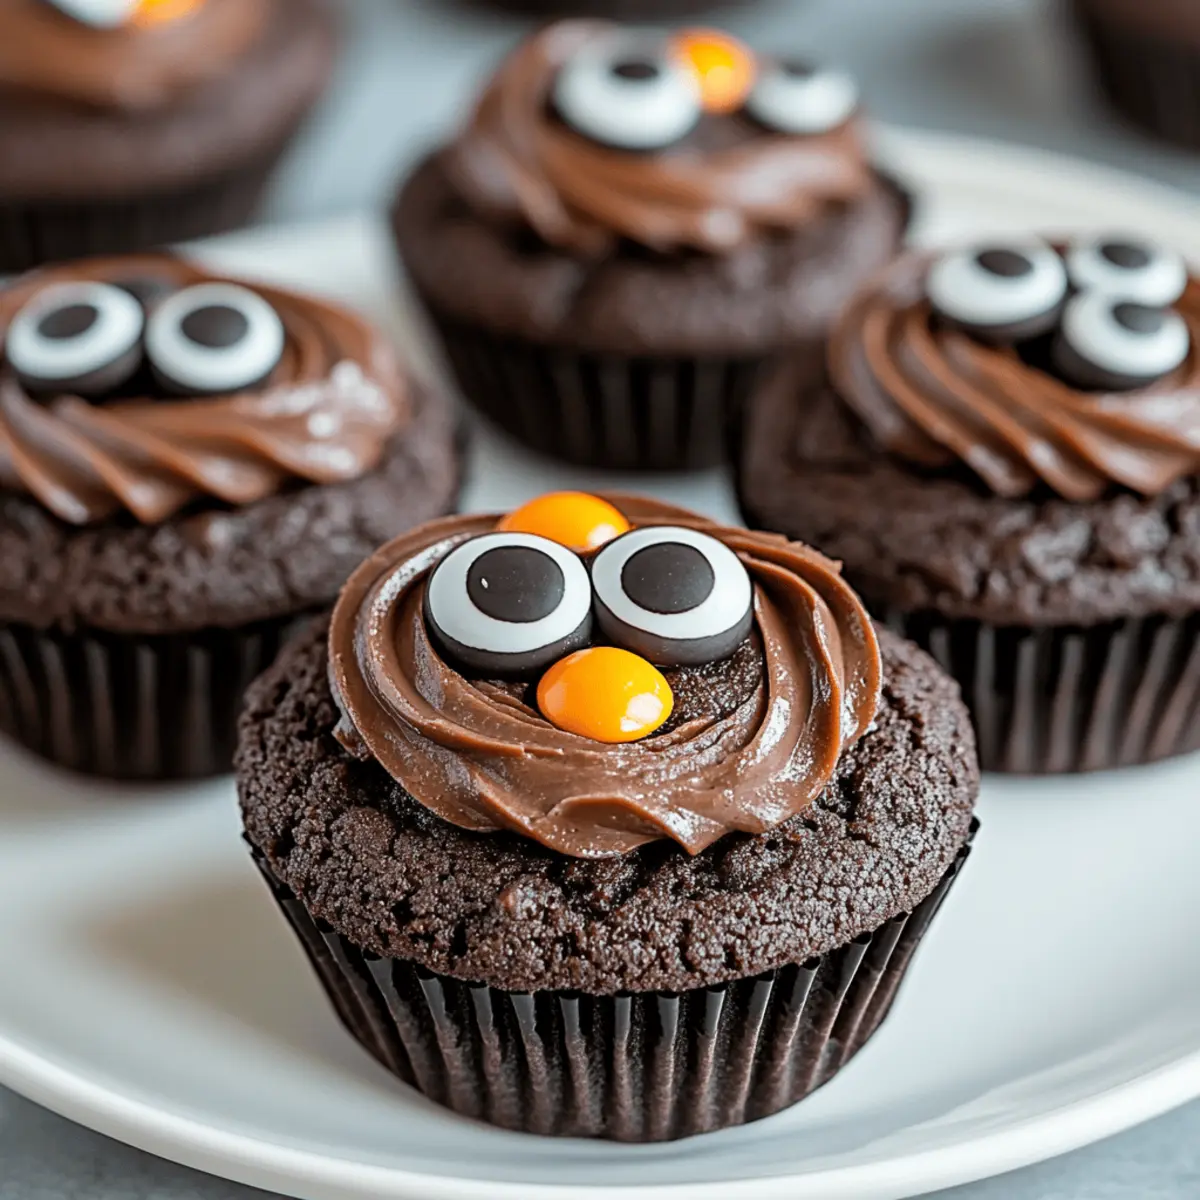
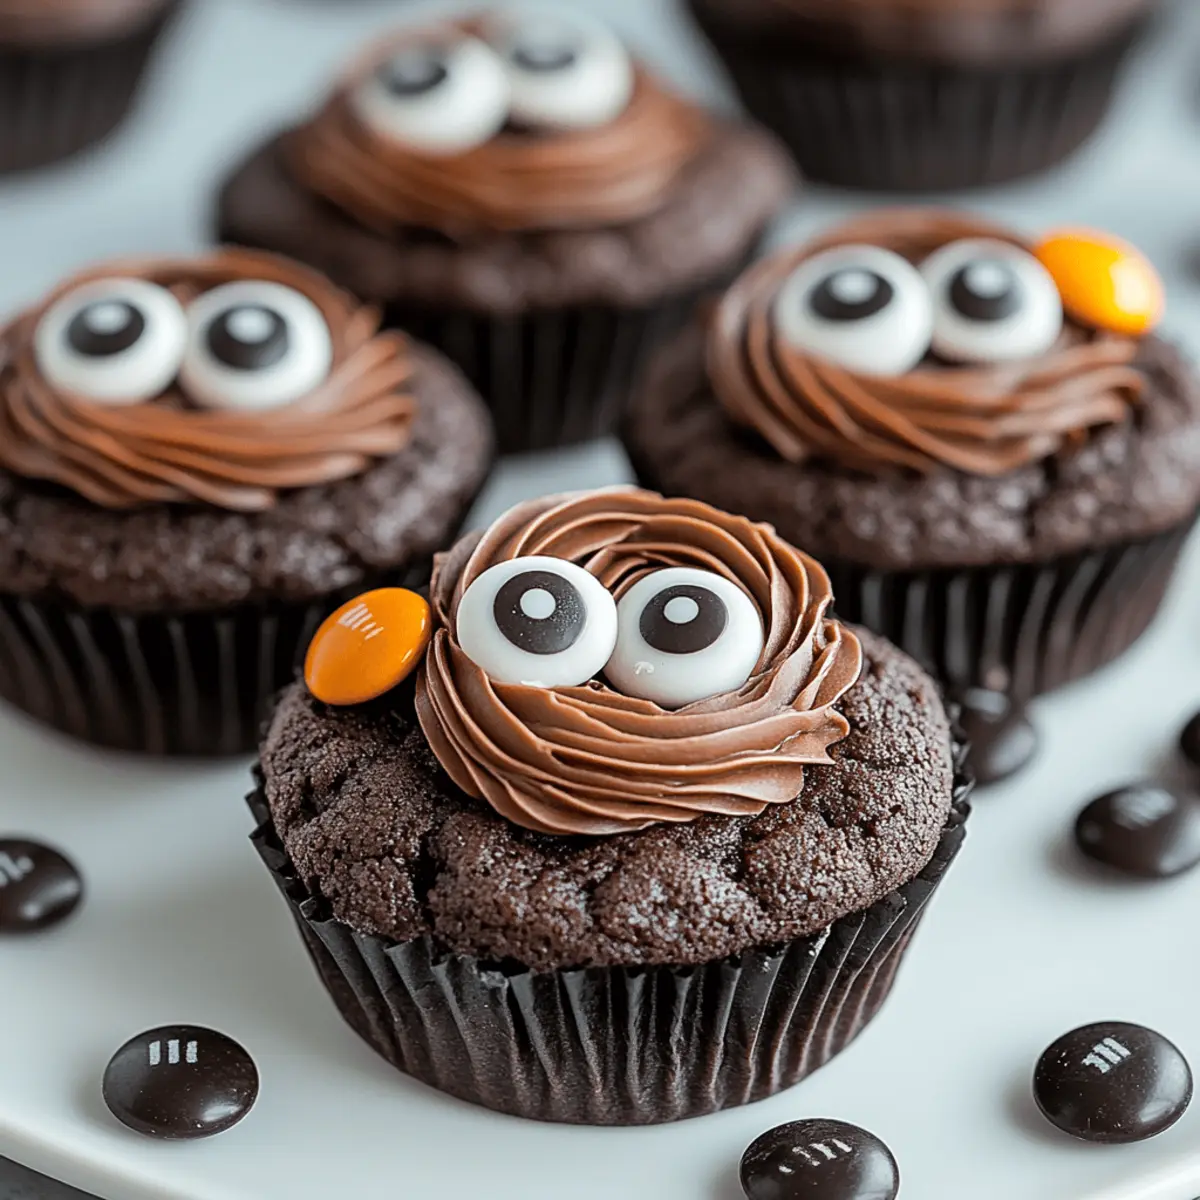
Fun and festive: These cookies are not just delicious; they are an exhilarating way to celebrate Halloween with vibrant colors from the M&Ms and whimsical candy eyeballs.
One-bowl wonder: Whipping up these treats requires minimal cleanup while maximizing flavor and fun, making them an ideal choice for busy bakers.
Chocolate lovers rejoice: With a rich chocolate base and creamy white chocolate chips, every bite is a delightful indulgence that chocolate fans will adore.
Family-friendly fun: These cookies bring everyone together. Whether for parties or family movie nights, they’re a crowd-pleaser for both kids and adults alike.
Quick and easy: Ready in about 30 minutes, they fit perfectly into your schedule, allowing you to create something special without the stress, similar to my Burnt Basque Cheesecake.
Endless versatility: Feel free to switch up the mix-ins based on the season, or try making bars for a different twist; the possibilities are endless!
Halloween Cookie Ingredients
For the Cookie Dough
- Unsalted Butter – ½ cup or 113 grams, ensures a rich base; let it soften to room temperature for easier mixing.
- Granulated Sugar – ½ cup or 100 grams, sweetens the mixture while creating a tender texture.
- Brown Sugar – ¼ cup or 50 grams, adds moisture and depth of flavor from its natural molasses.
- Vanilla Extract – 1 teaspoon, enhances the cookie's overall flavor profile.
- Egg – 1 large, binds all ingredients together and keeps the cookies moist; room temperature is best for mixing.
- All-purpose Flour – 1 cup or 127 grams, provides the structure needed for classic cookies.
- Black Cocoa Powder – ½ cup or 43 grams, boosts the chocolate intensity and adds a spooky color; Dutch-process cocoa is a fine substitute if needed.
- Cornstarch – 1 tablespoon, results in a softer, chewier texture.
- Fine Sea Salt – 1 teaspoon, balances sweetness and enhances the flavors present in the dough.
- Baking Soda – ½ teaspoon, enables the cookie to puff up during baking for that perfect chewiness.
- Baking Powder – ¼ teaspoon, adds additional lightness to your cookies.
For the Mix-Ins
- White Chocolate Chips – ½ cup or 85 grams, provide a sweet, creamy contrast to the other flavors; more can be added for decoration.
- Halloween M&Ms – 1 cup or 218 grams, these are the candy stars of the cookies, bringing vibrant color and crunch; consider adding extra for garnish.
- Edible Candy Eyeballs – Optional but fun; they add a whimsical, spooky touch perfect for Halloween-themed parties!
These Halloween cookies are sure to become a beloved tradition among family and friends!
Step‑by‑Step Instructions for Halloween Bat Cupcakes
Step 1: Preheat the Oven
Begin your baking adventure by preheating your oven to 350°F (175°C). While the oven warms up, line two baking sheets with parchment paper to ensure easy release of your Halloween Bat Cupcakes later. This preparation sets the stage for a smooth baking experience, making your kitchen feel just a bit more festive as you prepare to bring these delicious treats to life!
Step 2: Cream the Butter and Sugars
In a mixing bowl or stand mixer, combine the cool, room-temperature unsalted butter, granulated sugar, and brown sugar. Beat these ingredients together on medium speed for about 3 minutes, or until the mixture is light and fluffy. This process is essential for incorporating air into the dough, leading to soft, chewy cupcakes. As the mixture turns pale, you'll smell a delicious sweetness wafting through the kitchen!
Step 3: Add the Egg and Vanilla
Next, add in one large room-temperature egg and a teaspoon of vanilla extract. Continue mixing on medium speed until everything is well incorporated, about 1 minute. The egg helps to bind your Halloween Bat Cupcakes, while the vanilla enhances the rich chocolate flavor. You should see a glossy, smooth batter starting to form, indicating it’s time for the dry ingredients.
Step 4: Combine Dry Ingredients
In a separate mixing bowl, whisk together 1 cup of all-purpose flour, ½ cup of black cocoa powder, 1 tablespoon of cornstarch, 1 teaspoon of fine sea salt, ½ teaspoon of baking soda, and ¼ teaspoon of baking powder. This dry mixture is crucial; it provides structure to your cupcakes. Sifting the cocoa powder will help avoid lumps, ensuring a uniform, dark chocolate consistency that perfectly complements your Halloween theme.
Step 5: Mix Wet and Dry Ingredients
Gradually add the dry mixture into the wet ingredients, using a rubber spatula or the mixer on low speed. Mix until just combined, about 1-2 minutes. The dough should be slightly sticky but manageable. Avoid overmixing to ensure your Halloween Bat Cupcakes remain tender and chewy. A rich, dark batter should form, promising deliciousness in every bite!
Step 6: Fold in Mix-Ins
Now it's time for some festive delights! Gently fold in ½ cup of white chocolate chips and 1 cup of colorful Halloween M&Ms, using your spatula to ensure they are evenly distributed throughout the batter. This step is where the fun happens, as the vibrant M&Ms add both texture and a visually appealing touch to your Halloween Bat Cupcakes.
Step 7: Scoop the Batter
Using a cookie scoop or spoon, drop heaping tablespoons of batter onto your prepared baking sheets, leaving at least 2 inches of space between each dollop. Each pile should look playful and generous, making an inviting sight for your Halloween Bat Cupcakes. Feel free to dot the tops with extra M&Ms or white chocolate chips for an added touch of festivity!
Step 8: Bake the Cupcakes
Place the baking sheets in the preheated oven and bake for approximately 12 minutes. Keep a close eye on your creations; they should puff up nicely but remain soft in the centers. This delicate balance is key to achieving those irresistibly chewy cupcakes that everyone will love. Avoid letting them brown too much to keep that delightful texture!
Step 9: Cool and Transfer
Once baked, remove the Halloween Bat Cupcakes from the oven and let them cool on the baking sheet for about 5 minutes. This brief cooling time allows them to firm up just enough before you transfer them to a wire rack. Let them cool completely there so that all those wonderful flavors settle in, making them even more delectable for your Halloween festivities!
Tips for the Best Halloween Cookies
- Butter Temperature: Ensure the butter is at room temperature but not too warm; this prevents the cookies from spreading too much. Chill the dough if it's too soft.
- Sift Cocoa Powder: Sifting black cocoa powder helps avoid clumps and maintains a smooth texture, crucial for those perfect Halloween cookies.
- Don’t Overmix: Mix just until combined when adding dry ingredients; overmixing can lead to tougher cookies. Keep them soft and chewy!
- Space It Out: Use a cookie scoop and leave at least 2 inches between the dough balls on the baking sheet to allow room for them to spread.
- Watch Baking Time: Stay mindful of your baking time; when the cookies are puffy but soft in the center, it’s time to take them out.
- Storage Life: Store these Halloween cookies in an airtight container at room temperature for up to 5 days, ensuring they stay moist and delicious!
Make Ahead Options
These Double Chocolate Halloween Cookies are perfect for meal prep enthusiasts looking to save time during the busy Halloween season! You can prepare the cookie dough up to 3 days in advance. Simply mix all the ingredients and store the dough in an airtight container in the refrigerator. To maintain their delicious quality, make sure to wrap the dough tightly to prevent it from drying out. When you're ready to bake, scoop the chilled dough onto a baking sheet and allow it to sit at room temperature for about 10-15 minutes while preheating the oven. This way, you’ll enjoy fresh, chewy cookies that are just as delightful as when made the same day!
Halloween Cookies Variations & Substitutions
Feel free to get creative with these delicious Halloween cookies; let your imagination run wild!
-
White Chocolate Swap: Replace white chocolate chips with dark chocolate or semi-sweet chocolate chips for a richer flavor profile.
-
Mix-In Madness: Experiment by swapping Halloween M&Ms with seasonal-themed candies like pumpkin spice or autumn-colored chocolate for a personalized touch.
-
Dairy-Free Delight: For a dairy-free version, use dairy-free butter and coconut cream chocolate chips to maintain that rich flavor.
-
Gluten-Free Option: Substitute all-purpose flour with gluten-free flour for a delicious gluten-free version everyone can enjoy at the table.
-
Texture Twist: For a chewy cookie bar, bake the dough in an 8x8-inch pan for 25-30 minutes instead of scooping cookies.
-
Fruity Addition: Add a ½ cup of chopped dried fruits, like cranberries or cherries, to incorporate a fruity surprise in every bite.
-
Nutty Flavor: Toss in ½ cup of chopped nuts, like pecans or walnuts, to add an extra crunch and nutty appeal.
-
Cocoa Kick: Enhance the chocolate flavor by increasing the black cocoa powder to ¾ cup, or mix in a teaspoon of espresso powder for a deeper chocolate experience.
These variations can help you craft a batch that’s uniquely yours, especially if you want to make something spooky like Burnt Basque Cheesecake for a party! Happy baking!
What to Serve with Double Chocolate Halloween Cookies
Embrace the spirit of the season by pairing these festive treats with delightful sides that enhance the spooky magic of your gathering!
- Creamy Pumpkin Soup: A warm, velvety bowl of pumpkin soup adds a seasonal touch and contrasts beautifully with the sweetness of the cookies.
- Classic Cornbread: The subtle sweetness and crumbly texture of cornbread is a delicious addition to your Halloween spread, balancing out the cookie's rich chocolate.
- Apple Cider: Serve warm or chilled, this classic beverage captures the essence of fall and refreshes the palate perfectly after a gooey chocolate treat.
- Spooky Cheese Platter: Mix festive cheeses with Halloween-themed crackers and fruits for a visually striking, savory complement that pairs well with the sweet cookies.
- Chocolate Dipped Fruit: Add a touch of elegance and a hint of healthiness with chocolate-dipped strawberries or bananas that echo the cookies' rich flavor.
- Vanilla Ice Cream: A scoop of creamy vanilla ice cream alongside the warm cookies creates an indulgent dessert that's sure to satisfy every sweet tooth.
- Festive Fruit Salad: Incorporate seasonal fruits like pomegranates, pears, and oranges to introduce a refreshing and colorful side that balances the chocolate's richness.
- Pumpkin Spice Latte: This cozy drink embodies fall vibes, and its warm spices can elevate the cookie experience—perfect for sipping while unwrapping Halloween treats.
- Candy Corn Parfait: Layer candy corn, whipped cream, and crushed cookies in a glass for a fun and eye-catching dessert that’s a hit with both kids and adults.
- Gingerbread Ice Cream Sandwiches: Elevate your Halloween theme with these quick treats featuring layers of gingerbread cookies and a scoop of your favorite ice cream in between!
How to Store and Freeze Halloween Cookies
Room Temperature: Keep your Halloween cookies in an airtight container at room temperature for up to 5 days. This will maintain their delightful softness and flavor, making them perfect for snacking.
Fridge: If you want to prolong freshness, store the cookies in the fridge for up to 7 days. Just ensure they're well-wrapped to prevent them from drying out.
Freezer: For longer storage, freeze the raw dough in an airtight container or wrap it tightly in plastic wrap for up to 3 months. When you're ready to bake, just scoop and bake from frozen!
Reheating: To enjoy your cookies warm, simply pop them in a preheated oven at 350°F (175°C) for about 5-7 minutes. This will revive their freshly baked taste, even with leftover Halloween cookies!
Double Chocolate Halloween Cookies Recipe FAQs
What type of chocolate should I use for the best flavor?
I recommend using black cocoa powder for a rich chocolate flavor and deep color in your Halloween cookies. However, if it's unavailable, Dutch-process cocoa works just as well. The choice between traditional cocoa and Dutch-process can slightly change the flavor profile, so feel free to experiment based on your preference!
How should I store my Halloween cookies?
These delectable cookies can be stored in an airtight container at room temperature for up to 5 days to maintain their moisture and soft texture. If you want to keep them fresh longer, consider refrigerating them for up to 7 days, ensuring they’re well-wrapped to prevent drying.
Can I freeze the cookie dough?
Absolutely! You can freeze the raw dough for up to 3 months. Just scoop the dough balls onto a baking sheet lined with parchment, freeze until solid, then transfer them to an airtight container or freezer bag. When you're ready to bake, simply place the frozen dough on a baking sheet and add a couple of extra minutes to the baking time.
What if my cookies come out flat?
If your Halloween cookies spread too much and become flat, it might be due to warm butter or over-mixing the dough. Make sure the butter is at a cool room temperature, and if the dough feels too soft, chilling it in the refrigerator for about 15 minutes before baking can help. Additionally, check that your leavening agents are fresh, as old baking soda or baking powder can affect the rise.
Are there any dietary concerns with these cookies?
These cookies contain common allergens, such as gluten and dairy, due to the use of all-purpose flour and butter. If you're baking for someone with allergies, consider substituting the all-purpose flour with a gluten-free blend and using dairy-free butter alternatives. Always double-check the labels of the ingredients to ensure they meet dietary needs, especially if they are for little ghouls or friends with specific requirements!
Delicious Halloween Bat Cupcakes That Fly Off the Table
Ingredients
Equipment
Method
- Preheat your oven to 350°F (175°C) and line two baking sheets with parchment paper.
- In a mixing bowl, cream the unsalted butter, granulated sugar, and brown sugar together for about 3 minutes until light and fluffy.
- Add in the egg and vanilla extract, mixing until well incorporated.
- Whisk together the dry ingredients in a separate bowl: flour, cocoa powder, cornstarch, salt, baking soda, and baking powder.
- Gradually add the dry mixture to the wet ingredients until just combined.
- Fold in the white chocolate chips and Halloween M&Ms gently.
- Drop spoonfuls of the batter onto the baking sheets, spacing at least 2 inches apart.
- Bake for approximately 12 minutes, or until puffed but soft in the centers.
- Let the cupcakes cool on the baking sheet for about 5 minutes before transferring them to a wire rack to cool completely.


Leave a Reply