
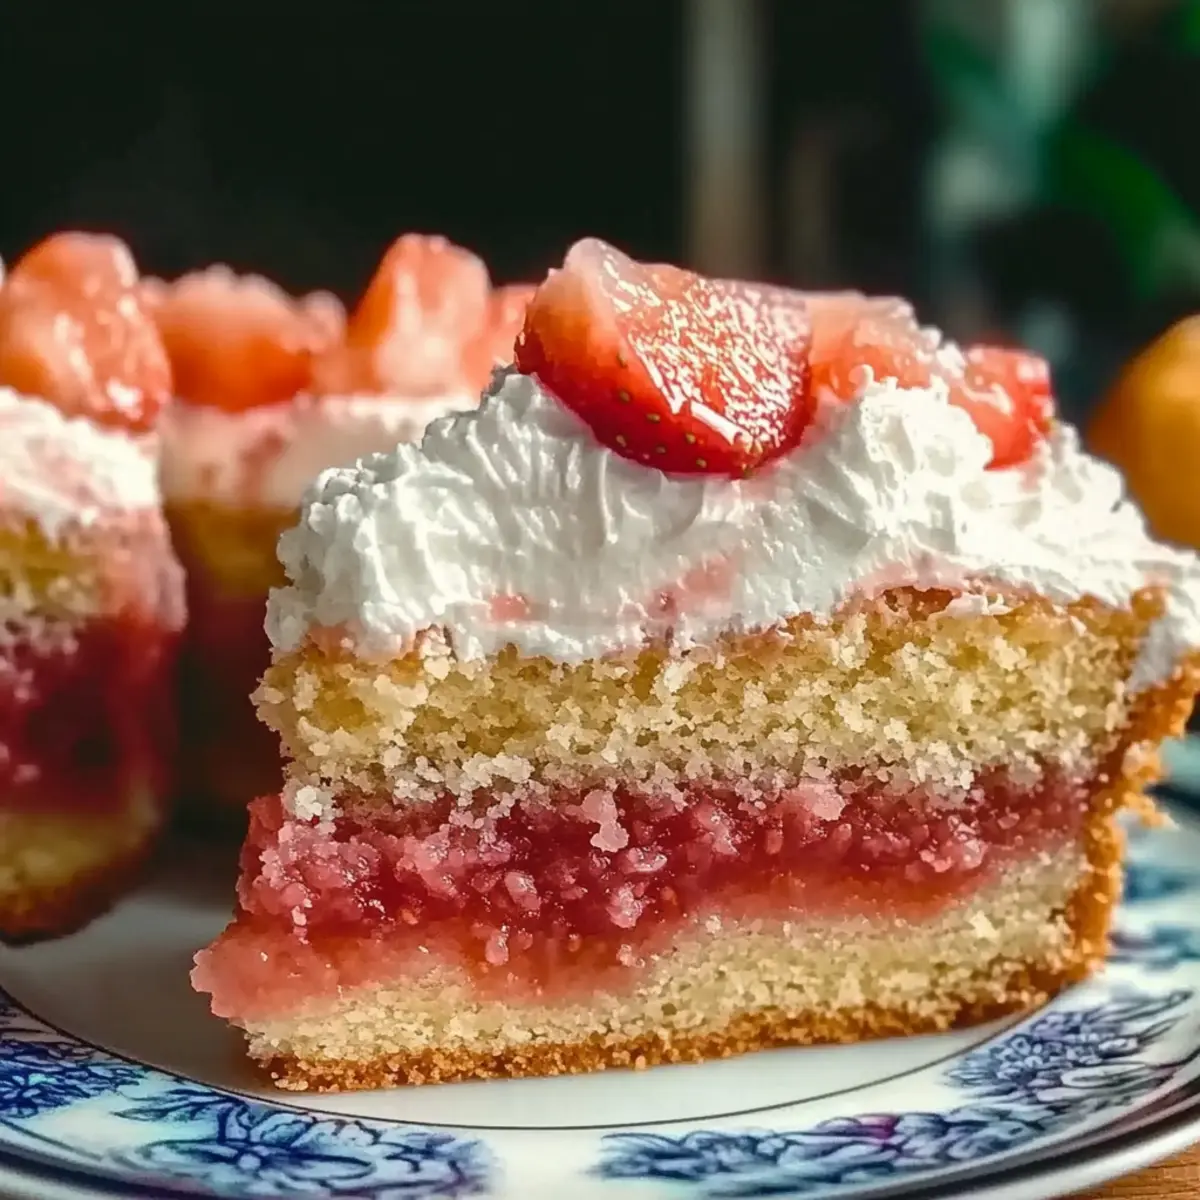
As I sift through vibrant memories of sun-soaked beaches, the tantalizing aroma of a Decadent Hawaiian Guava Cake wafts my way, transporting me to a tropical paradise. This easy-to-make dessert captures the essence of island life, blending luscious guava and sweet strawberries into a delightfully moist cake that's perfect for sharing at gatherings or enjoying on a cozy weeknight. Not only is this Hawaiian Guava Cake a crowd-pleaser with its stunning presentation, but it also invites playful creativity in the kitchen—whether you want to swap in other tropical flavors or add fun toppings. Ready to bring those tropical vibes into your home? Let's dive into this delightful recipe!
Why is Hawaiian Guava Cake a Must-Try?
Tropical Paradise: With its exotic blend of guava and strawberries, this cake transports you straight to an island getaway. Simplicity: Made from a cake mix and easy-to-find ingredients, it's approachable for bakers of all levels. Family-Friendly: Perfect for kids and adults alike, guaranteed to be a hit at any gathering! Versatility: Feel free to experiment with different tropical juices or fun toppings. And if you're looking for more tropical treats, don't miss out on the delightful Hawaiian Roll French Toast or the refreshing Hawaiian Huli Huli Chicken. Treat yourself and your loved ones to this show-stopping dessert!
Hawaiian Guava Cake Ingredients
For the Cake
• Strawberry Cake Mix – This provides the base and sweetness; feel free to substitute with white or yellow cake mix if you prefer.
• Guava Nectar or Juice – Infuses tropical goodness into the cake; you can swap with any favorite tropical juice.
• Eggs (large, room temperature) – Essential for structure and moisture; room temperature eggs mix in better for a smooth batter.
• Coconut Oil (melted) – Adds moisture and a subtle coconut flavor; if necessary, vegetable oil works too.
For the Cream Cheese Mixture
• Cream Cheese (room temperature) – Adds a rich and creamy texture; letting it sit out helps it blend smoothly.
• Granulated Sugar – Sweetens both the cake and glaze; no substitutes recommended for best flavor.
• Vanilla Extract – Elevates the overall flavor; using pure vanilla will yield the best taste.
For the Glaze
• Cornstarch – Helps thicken the guava glaze to the perfect consistency; essential for getting that glossy finish.
• Water – Used to create a slurry to help combine the cornstarch; no alternatives specified here.
For the Topping
• Cool Whip (thawed) – Provides a creamy, delightful topping; consider homemade whipped cream for a personal touch.
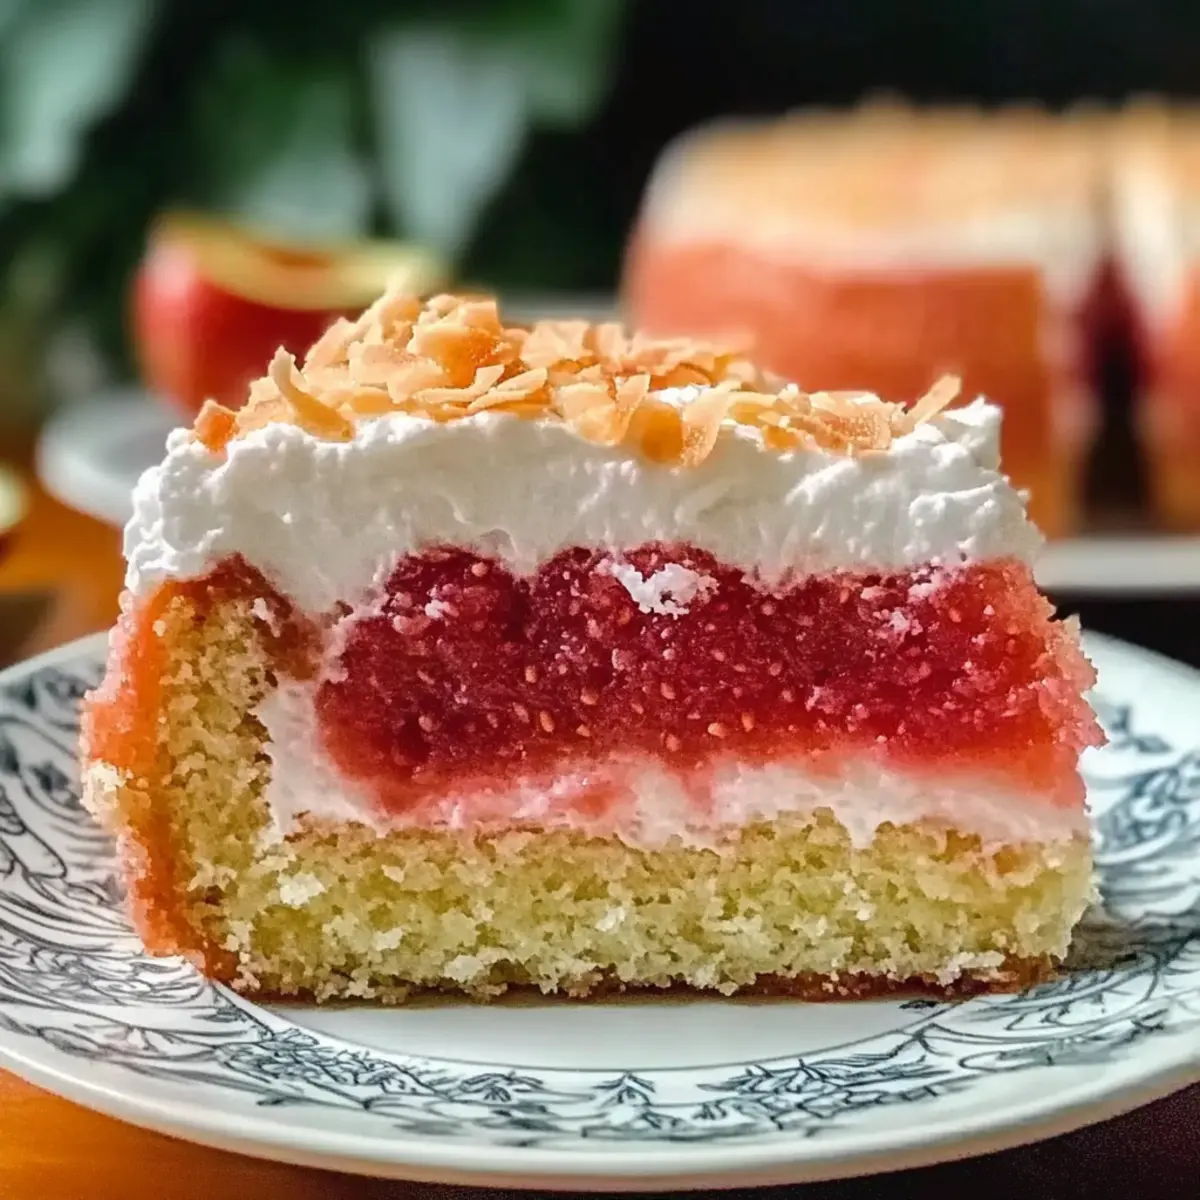
• Sweetened Coconut Flakes – Adds a touch of texture and visual appeal; optional, but makes for a beautiful presentation.
Step‑by‑Step Instructions for Hawaiian Guava Cake
Step 1: Preheat and Prepare
Begin your Hawaiian Guava Cake adventure by preheating your oven to 350°F (175°C). While the oven warms, grease a 9x13-inch baking pan with coconut oil or non-stick spray, ensuring it’s well-coated to prevent sticking. This foundation will help your cake achieve a beautiful, moist texture as it bakes.
Step 2: Combine Dry Ingredients
In a large mixing bowl, pour in the strawberry cake mix, creating a fragrant base for your decadent cake. Add the guava nectar, room-temperature eggs, and melted coconut oil to the bowl. Using a whisk or electric mixer, beat the ingredients together until you achieve a smooth batter, making sure to scrape the sides for even mixing.
Step 3: Mix the Cream Cheese Filling
In a separate bowl, blend the room-temperature cream cheese and granulated sugar. Utilize a hand mixer to whip these together until the mixture reaches a creamy and smooth consistency, then add in the vanilla extract for a heavenly aroma. This rich cream cheese mixture will provide an indulgent layer to your Hawaiian Guava Cake.
Step 4: Fold in Cream Cheese Mixture
Gently fold the creamy mixture into the cake batter using a spatula. Be careful to maintain the fluffy texture, avoiding over-mixing. This step integrates the richness of the cream cheese into the wholesome Hawaiian Guava Cake batter, elevating its flavor profile and ensuring a moist, delightful texture throughout the cake.
Step 5: Bake the Cake
Pour the combined batter into the prepared baking pan, spreading it evenly with a spatula. Place the pan in the preheated oven and bake for 25-30 minutes. Keep an eye on it, and when a toothpick inserted comes out clean, your Hawaiian Guava Cake is ready to be removed and cooled, filling your kitchen with enticing aromas.
Step 6: Prepare the Glaze
While the cake cools, transition to creating the guava glaze. In a saucepan over medium heat, combine guava nectar, sugar, and cornstarch. Stir the mixture consistently until it thickens, usually taking about 5-7 minutes. This glossy glaze will add a stunning tropical finish to your cake, so be patient as it becomes luscious and thick.
Step 7: Create a Slurry
To ensure the glaze reaches perfection, mix water with a small amount of cornstarch to create a slurry. Stir the slurry into your thickened guava sauce, gently mixing until smooth. This technique combats any lumps and enriches the glaze, which will beautifully coat your Hawaiian Guava Cake once cooled.
Step 8: Glaze and Serve
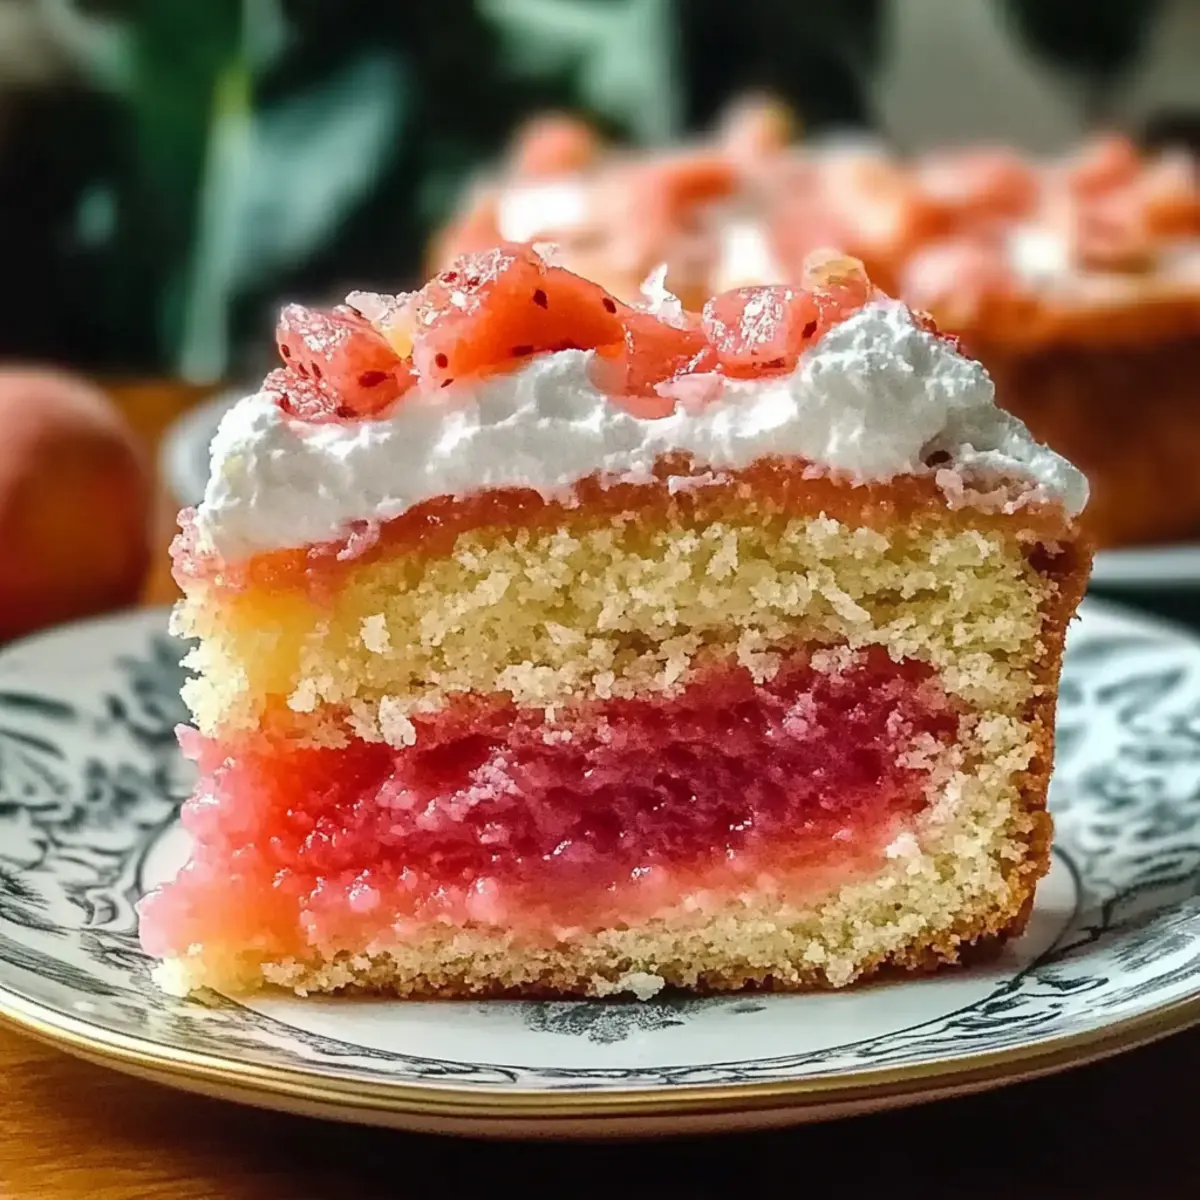
Once your cake has completely cooled, pour the prepared guava glaze over the top, allowing it to cascade down the sides. For a touch of creaminess, spread a generous layer of Cool Whip on top, and sprinkle sweetened coconut flakes for a festive presentation. Slice into this tropical delight and savor each bite of your Hawaiian Guava Cake!
Make Ahead Options
These Hawaiian Guava Cake preparations are ideal for busy cooks looking to simplify their meal planning. You can prepare the cake base up to 24 hours in advance by baking it, allowing it to cool completely, and then storing it, tightly covered, in the refrigerator. For optimal freshness, make the guava glaze the same day you plan to serve it, as reheating it may cause separation. Simply pour the glaze over the cake and add the Cool Whip topping before serving for a delightful finish. This way, you’ll enjoy a stunning dessert that's just as delicious and ready with minimal effort!
Hawaiian Guava Cake Variations & Substitutions
Feel free to let your creativity shine as you customize this delightful recipe with your own personal touches!
- Dairy-Free: Substitute cream cheese with a dairy-free cream cheese alternative and use coconut whipped cream for topping.
- Gluten-Free: Use a gluten-free cake mix instead of standard strawberry cake mix—everyone can enjoy your tropical treat!
- Fruit Fusion: Swap guava nectar with mango or passion fruit juice for a wonderful flavor twist that excites the palate.
- Texture Boost: Add crushed pineapple to the batter for extra moisture and delightful texture that pairs beautifully with the guava.
- Choco Delight: Drizzle with melted dark chocolate or chocolate sauce for a richer, indulgent experience that's sure to tempt chocolate lovers.
- Coconut Lovers: Incorporate finely shredded coconut into the cake batter for added flavor and texture to heighten the tropical vibe.
- Berry Burst: Blend in some fresh or frozen berries for a stunning pop of color and sweetness to complement the guava.
- Nutty Surprise: Top with toasted macadamia nuts or coconut chips for a crunchy contrast to the cake's moist texture, enhancing both flavor and presentation.
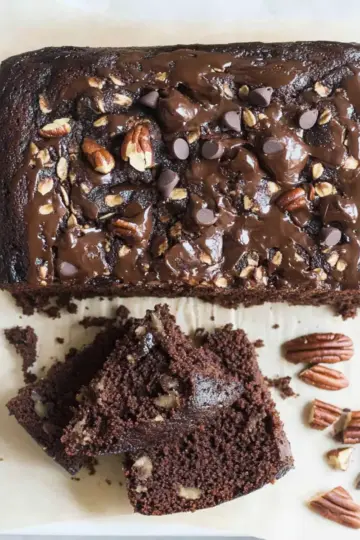
Unleash your inner chef and explore these variations to make the Hawaiian Guava Cake uniquely yours. For more delectable recipes, try our amazing Chocolate Zucchini Cake or savor the delightful experience of Pecan Pie Dump Cake. Happy baking!
Storage Tips for Hawaiian Guava Cake
Fridge: Store leftovers in an airtight container for up to 3-5 days to maintain freshness and moisture. Avoid covering with plastic wrap to let the cake breathe.
Freezer: For longer storage, wrap individual slices of Hawaiian Guava Cake in plastic wrap and place them in a freezer-safe bag. They can last up to 2 months in the freezer.
Reheating: To enjoy a slice, let it thaw in the fridge overnight or for a couple of hours at room temperature. Reheat gently in the microwave for 10-15 seconds or until warmed through.
Glaze Preservation: If the glaze starts to separate, give it a gentle stir before serving. Refrigerate any glaze leftovers in a tightly sealed container for up to 3 days.
What to Serve with Decadent Hawaiian Guava Cake
Elevate your dessert experience by pairing delightful accompaniments that complement the island vibes of this sweet treat.
- Fresh Tropical Fruits: Slices of pineapple, kiwi, or mango add a refreshing contrast to the rich flavors of the cake, enhancing its tropical essence.
- Coconut Sorbet: A scoop of this creamy, coconut-flavored sorbet keeps the tropical theme alive and provides a sweet, cool reprieve.
- Vanilla Ice Cream: Classic and comforting, a scoop of vanilla ice cream melts beautifully against the warm, moist cake, creating a heavenly combination.
- Coconut Chiffon Pie: This light dessert echoes the tropical coconut essence, providing a smooth and airy finish that balances the richness of the guava cake.
- Mango Lassi: This creamy, yogurt-based drink offers a zesty, cooling effect that pairs nicely with the sweetness of the cake, making each bite even more delightful.
- Sparkling Lemonade: A bright, fizzy beverage that refreshes the palate and contrasts the sweet decadence of the cake, adding a hint of citrus zing.
- Chocolate-Covered Strawberries: Indulge in this delightful treat that offers a pop of flavor and a touch of decadence that beautifully complements the guava notes.
Create a feast for the senses with these delicious pairings, ensuring your Hawaiian Guava Cake shines at any gathering!
Expert Tips for Hawaiian Guava Cake
-
Room Temperature Ingredients: Ensure your eggs and cream cheese are at room temperature. This helps achieve a smooth and well-combined batter, crucial for a light and fluffy Hawaiian Guava Cake.
-
Don't Soak the Cake: Pour the guava glaze over the completely cooled cake. If you glaze it while warm, the cake may soak up too much, resulting in a soggy texture.
-
Substitute Wisely: If you don't have guava nectar, feel free to experiment with other tropical juices like pineapple or passion fruit. This flexibility allows you to tailor your Hawaiian Guava Cake to your taste.
-
Perfect Consistency: Use cornstarch to thicken the glaze properly. If it's too runny, add a little more cornstarch slurry; if too thick, warm it gently and add water gradually until it’s right.
-
Customize the Topping: Consider using homemade whipped cream instead of Cool Whip for a more personal touch. You can also top it with fresh fruits to enhance the tropical theme!

Hawaiian Guava Cake Recipe FAQs
What should I look for when selecting guava nectar or juice?
Absolutely! When choosing guava nectar or juice, look for brands that use real fruit and avoid those with added sugars or artificial flavors for the best tropical flavor. The nectar should have a vibrant color and a slightly thick consistency, indicating it's made from real guavas. If it’s available, unsweetened juice can provide a more authentic taste.
How should I store leftover Hawaiian Guava Cake?
To keep your Hawaiian Guava Cake fresh, store any leftovers in an airtight container in the refrigerator for up to 3-5 days. Covering the cake with plastic wrap isn't recommended as it can lead to sogginess. For the best flavor and texture, enjoy within this timeframe!
Can I freeze slices of Hawaiian Guava Cake?
Certainly! For freezing, wrap individual slices of the Hawaiian Guava Cake tightly in plastic wrap and place them in a freezer-safe bag. This helps lock in freshness and prevents freezer burn. The cake can be frozen for up to 2 months. When you’re ready to enjoy, let the slices thaw in the fridge overnight or at room temperature for a couple of hours.
What if my guava glaze turned out too thick?
No worries! If your guava glaze ends up too thick, gently warm it in a saucepan over low heat. Gradually add a small amount of water, stirring continuously until you reach your desired consistency. It’s important to do this gradually to avoid making the glaze too runny. If it’s too thin, you could make a cornstarch slurry and whisk in small amounts until thickened.
Are there any dietary considerations for Hawaiian Guava Cake?
Very much so! If you're concerned about allergies, this cake contains eggs and dairy from the cream cheese. For a dairy-free option, you can swap in vegan cream cheese. You might also choose a gluten-free cake mix to accommodate gluten sensitivities. Always check the labels of your ingredients for hidden allergens, and don’t hesitate to ask about ingredient substitutions if needed to fit dietary needs.
How can I enhance the tropical flavor of the Hawaiian Guava Cake?
The more the merrier! For an extra burst of tropical flavor, consider mixing in crushed pineapple or adding diced mango to the cake batter. You can also infuse the frosting with a hint of coconut extract or serve the cake with a side of fresh tropical fruit. These additions will elevate your dessert into an even more delightful experience!
Tropical Hawaiian Guava Cake for Your Next Celebration
Ingredients
Equipment
Method
- Preheat your oven to 350°F (175°C) and grease a 9x13-inch baking pan with coconut oil.
- In a large mixing bowl, combine the strawberry cake mix, guava nectar, eggs, and melted coconut oil. Beat until smooth.
- In a separate bowl, blend the cream cheese and sugar until creamy. Add vanilla extract.
- Fold the cream cheese mixture into the cake batter gently.
- Pour the combined batter into the prepared baking pan and bake for 25-30 minutes.
- For the glaze, combine guava nectar, sugar, and cornstarch in a saucepan over medium heat; stir until thickened.
- Mix cornstarch with water to create a slurry, then stir into the glaze until smooth.
- Once cooled, pour the glaze over the cake, add Cool Whip, and sprinkle with coconut flakes.


Leave a Reply