
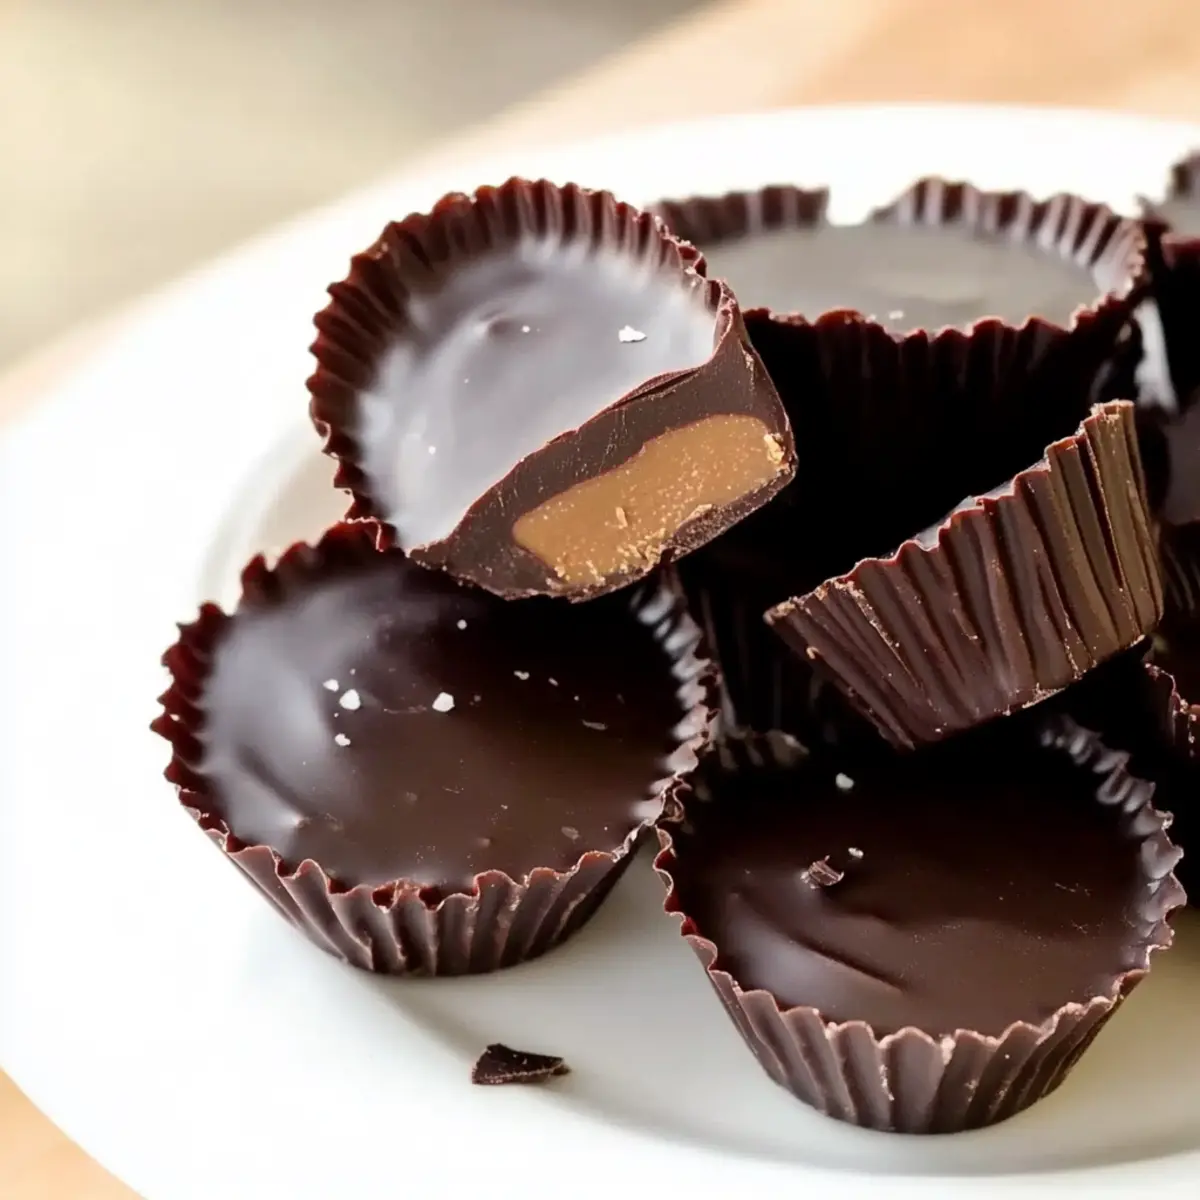
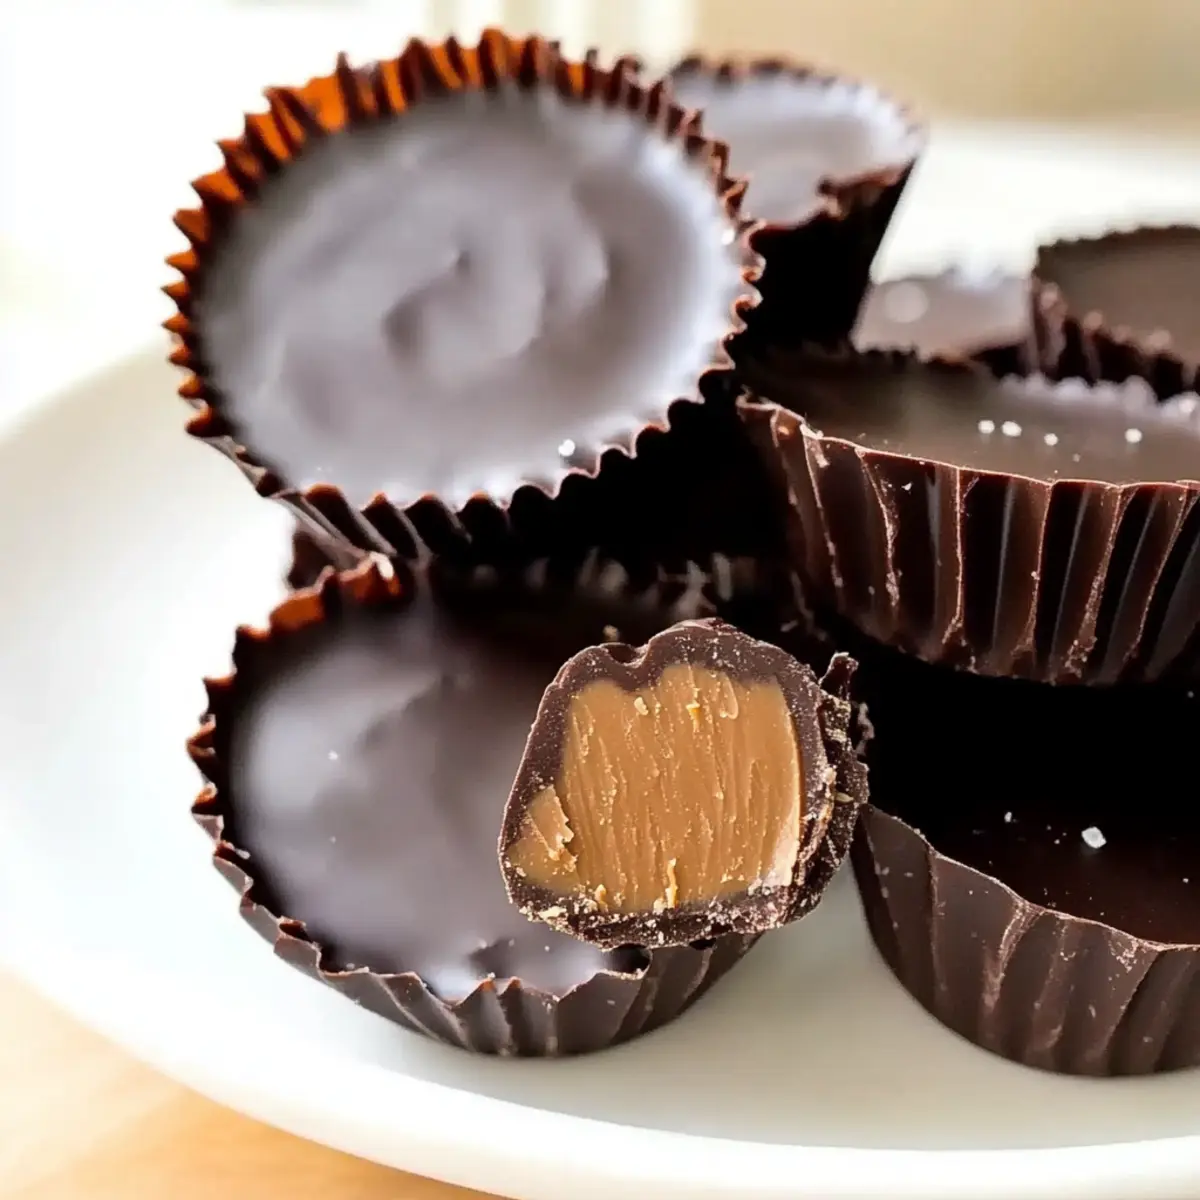
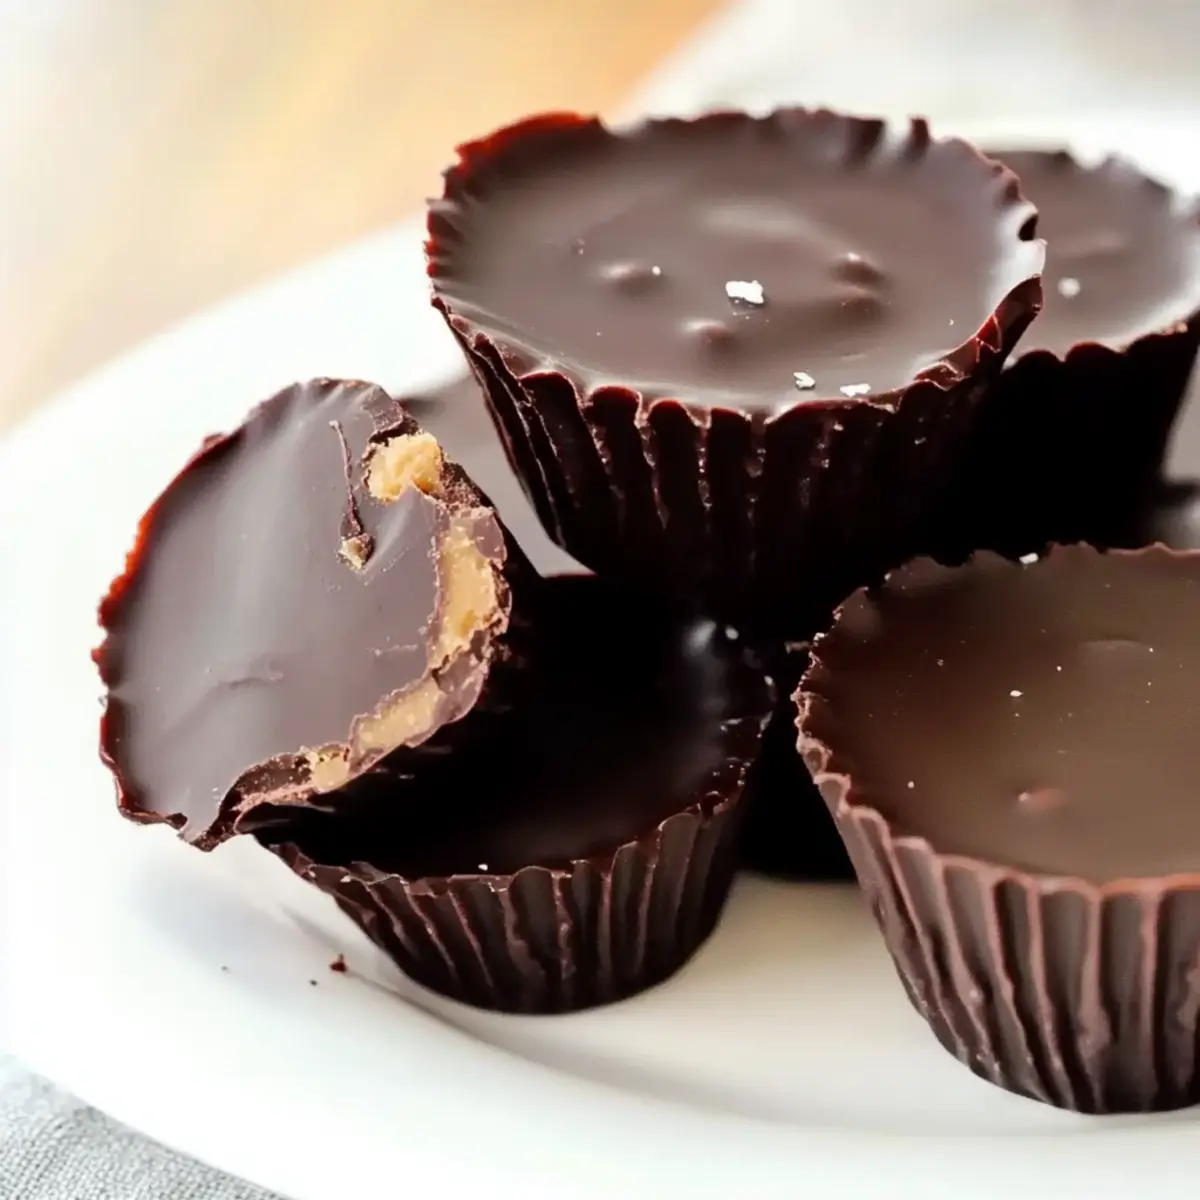
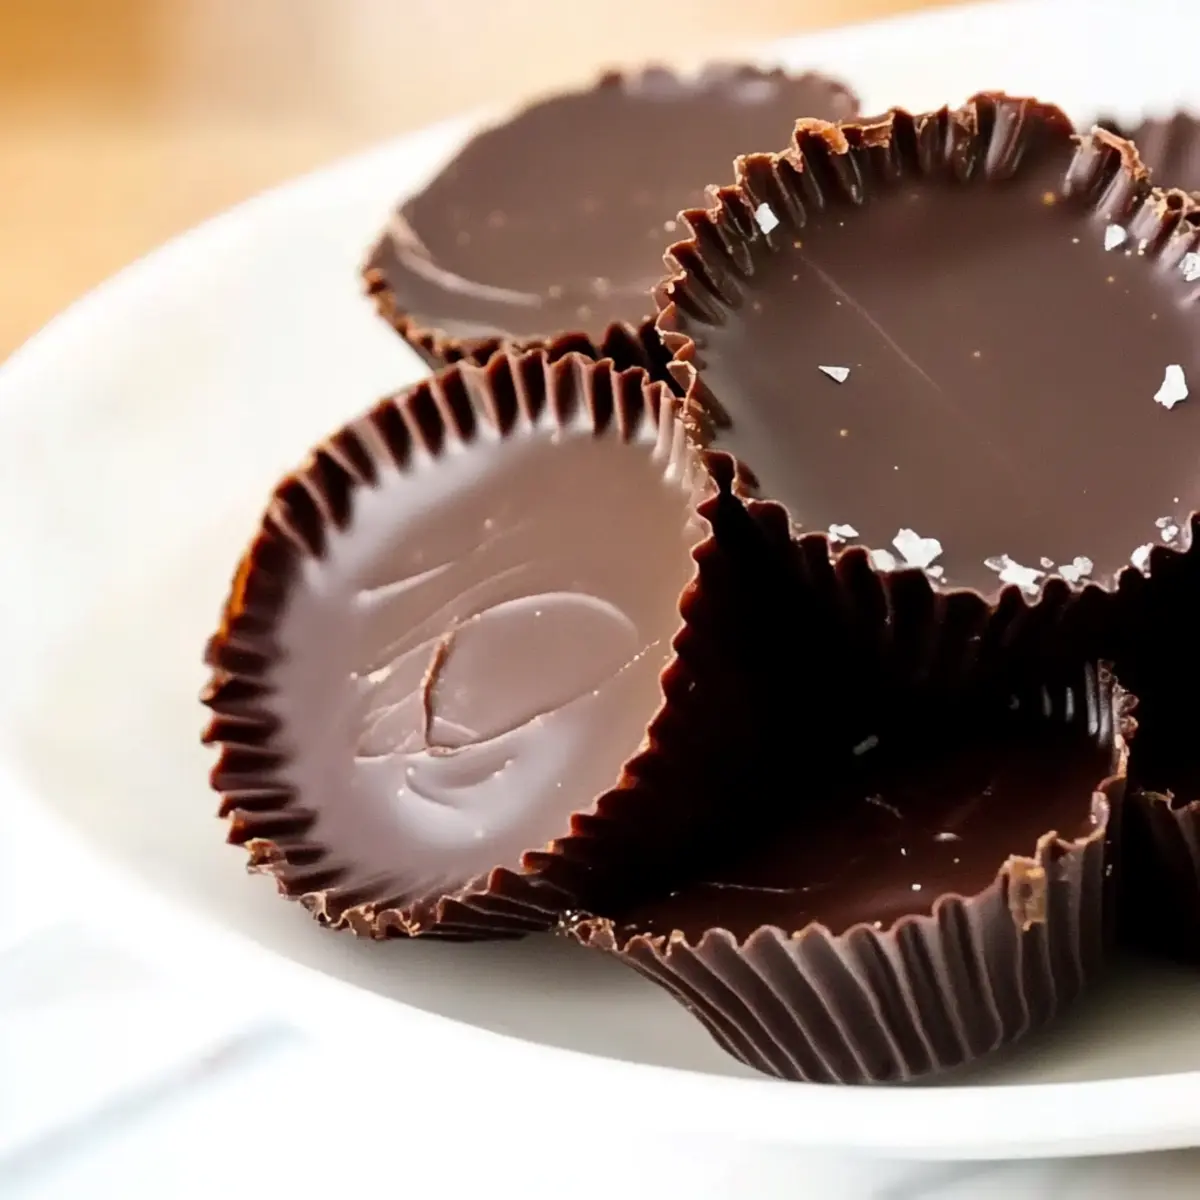
As I stood in my kitchen, the rich aroma of melting dark chocolate enveloped me like a warm hug. This was the moment I had been waiting for—a chance to whip up my favorite indulgence: Homemade Peanut Butter Cups. With just three simple ingredients, these low-carb delights prove that satisfying your sweet cravings can be both easy and guilt-free. Not only do they cater to a range of diets, including gluten-free and dairy-free, but these little cups of joy are a perfect way to elevate your snack game without the need for complicated recipes. Whether you’re a seasoned home-chef or just looking to ditch fast food for something a bit more wholesome, these peanut butter cups are a sweet escape. Curious about how quickly you can transform a few pantry staples into a classic treat? Let’s dive into the recipe!
Why Homemade Peanut Butter Cups?
Simplicity at Its Best: With only three ingredients, whipping up these treats is a breeze!
Decadent Flavor: The rich dark chocolate enveloping a creamy nut butter center is simply irresistible.
Diet-Friendly: Ideal for low-carb, gluten-free, and dairy-free diets, these cups cater to everyone’s tastebuds.
Endless Customization: Experiment with almond or cashew butter and various chocolates to create your favorite version!
Crowd-Pleasing Dessert: Perfect for parties or family gatherings, these homemade delights will disappear in no time.
Craving something sweet? Try pairing them with a glass of cold milk or check out our Garlic Butter Steak Bites and Potatoes for a complete meal!
Homemade Peanut Butter Cups Ingredients
For the Peanut Butter Filling
• 1 cup smooth peanut butter – Provides creaminess and nutty flavor; almond or cashew butter can also be used for a change!
• 1 teaspoon sea salt – Enhances the flavors beautifully; use flaky sea salt for an appealing texture.
For the Chocolate Coating
• ½ pound dark chocolate – This forms the exterior; go for 72% cocoa solids for a rich taste, or opt for darker chocolate for more intensity.
Dare to experiment and make these delightful homemade peanut butter cups your own!
Step‑by‑Step Instructions for Homemade Peanut Butter Cups
Step 1: Chill Mold
Begin by placing your candy mold in the freezer for about 15-20 minutes. The cold mold will help the chocolate set quickly, ensuring a smooth finish. While waiting, gather your ingredients and equipment, making sure you have your melting bowl and double boiler ready.
Step 2: Melt Chocolate
Set up your double boiler over medium heat, adding the dark chocolate into the top portion. Stir continuously for 5-7 minutes until the chocolate is completely melted and smooth, with a glossy finish. Be cautious not to overheat, as chocolate seizes easily; keep the heat stable to avoid any lumps.
Step 3: Coat Mold
Once the chocolate is melted, carefully remove the mold from the freezer. Fill each cavity with about ½ teaspoon of the warm chocolate using a spoon. Gently spread the chocolate up the sides of the mold to create an even coating. The glossy shine of the chocolate should be visible as you work, signaling the delectable treat to come.
Step 4: Chill Base
Return the coated mold to the freezer for 5-10 minutes until the chocolate base is firm to the touch. You’ll know it’s ready when the chocolate feels set and loses its shine. This step is crucial for creating that perfect shell for your homemade peanut butter cups.
Step 5: Add Nut Butter
Take your preferred nut butter and place it into a zip-lock bag, sealing it securely. Snip off a small corner of the bag and pipe the nut butter into each chocolate shell until they are about ¾ full. Smooth out the nut butter with a small spatula and sprinkle a few grains of sea salt on top to enhance the flavors.
Step 6: Top with More Chocolate
Melt additional chocolate in the double boiler, then dollop another spoonful on top of the nut butter in each mold. Ensure the tops are level and smooth for that professional look, then place the mold back in the freezer for at least 30 minutes until completely firm.
Step 7: Remove from Mold
Once the peanut butter cups are firm, gently tap the mold against the countertop, allowing the cups to release. If necessary, you can use your fingers to coax them out, placing the completed treats on paper towels to absorb any excess melted chocolate. Enjoy the glazing shine of your homemade peanut butter cups!
Make Ahead Options
These Homemade Peanut Butter Cups are perfect for busy weeknights and meal prep enthusiasts! You can make the chocolate coating up to 24 hours in advance and store it in the refrigerator, ensuring it stays fresh and ready to use. Simply follow the first three steps of the recipe, chill the molds, and then fill them with chocolate. Once set, refrigerate the coated molds until you're ready to add the nut butter filling. The nut butter can be prepped and stored in a zip-lock bag for up to 3 days; just remember to pipe it into the cups before serving. With these make-ahead options, you'll enjoy delicious homemade treats with minimal effort on the day you want to indulge!
What to Serve with Low Carb Homemade Peanut Butter Cups?
Indulging in homemade treats is always a joy, and these peanut butter cups are the perfect treat to elevate any sweet occasion.
-
Crispy Almond Cookies: The nutty crunch of almond cookies provides a delightful contrast to the creamy cups, making for a perfect snack combo.
-
Fresh Berries: Tart raspberries or strawberries add a refreshing note that balances the richness of the peanut butter cups beautifully.
-
Coconut Ice Cream: A scoop of coconut ice cream enhances the tropical vibe, offering a creamy, refreshing option that pairs well with chocolate.
-
Espresso or Dark Coffee: The bold flavors of coffee bring out the chocolate in the cups and create a lovely afternoon pick-me-up.
-
Homemade Whipped Cream: Light and airy, homemade whipped cream can elevate the dessert experience, inviting a dash of vanilla to complement the flavors.
-
Chilled Almond Milk: A glass of unsweetened almond milk serves as a perfect, dairy-free companion to these rich treats, bringing a silky finish to each bite.
Each of these pairings offers a unique twist that aligns beautifully with the low carb homemade peanut butter cups, making your indulgence a truly special occasion.
Storage Tips for Homemade Peanut Butter Cups
Room Temperature: Store your homemade peanut butter cups at room temperature for up to 3 days, ensuring they’re in a cool, dry place away from direct sunlight.
Fridge: If you want to extend their freshness, keep them in the fridge for up to one week, placing them in an airtight container to maintain their texture and flavor.
Freezer: For longer storage, freeze the peanut butter cups in a single layer on a baking sheet, then transfer to a freezer bag. They can last up to 2 months; just thaw at room temperature before enjoying!
Reheating: When ready to savor your treats, there’s no need to reheat; simply enjoy them cold or at room temperature, savoring every delicious bite!
Tips for the Best Homemade Peanut Butter Cups
- Chill Thoroughly: Ensure your mold is well-chilled before pouring chocolate; this helps achieve a smoother finish and quicker set time.
- Quality Ingredients: Use high-quality dark chocolate for a richer flavor in your homemade peanut butter cups; it truly makes a difference in taste.
- Nut Butter Choice: Experiment with various nut butters—almond or cashew butter can add exciting new flavors; just ensure they're smooth for easy filling.
- Mind the Temperature: Be cautious while melting chocolate; overheating can cause it to seize. Stir constantly over low heat for the best results.
- Salt Sprinkle: A little flaky sea salt on top balances sweetness beautifully; don’t skip this step for that perfect sweet-salty bite!
Homemade Peanut Butter Cups Variations
Feel free to get creative and personalize your homemade peanut butter cups with these delightful swaps and additions!
-
Nut Butter Swap:
Use almond or cashew butter for a different flavor profile that’s equally creamy. This adds a unique twist to each bite. -
Sweetener Alternative:
Try using a sugar-free sweetener like erythritol or stevia to keep these treats low-carb. You'll enjoy the same sweetness without the added sugar! -
Chocolate Type:
Experiment with different chocolates such as milk chocolate or white chocolate for a sweeter taste. Each variation brings a whole new experience to these classic cups. -
Crunch Factor:
Add chopped nuts, like hazelnuts or pecans, into the nut butter for an exciting texture twist. The crunchy element creates a satisfying contrast with the smooth filling. -
Heat it Up:
A sprinkle of cayenne pepper or chili powder in the nut butter adds a spicy kick. This unexpected warmth can elevate your sweet treats to a gourmet level! -
Flavor Boost:
Incorporate a dash of vanilla extract or almond extract into the nut butter for enhanced depth of flavor. Just a little can make a big difference! -
Toppings Galore:
Top your cups with a drizzle of melted chocolate and a sprinkle of flaky sea salt for a gourmet touch. This simple addition makes your homemade delights irresistibly photogenic.
Feeling adventurous? Check out how to make a creamy butternut squash soup to accompany these sweet treats or indulge in a decadent Reeses Peanut Butter flavor replica. Enjoy customizing these delightful bites!
Homemade Peanut Butter Cups Recipe FAQs
How do I choose the best nut butter for my peanut butter cups?
Absolutely! When selecting nut butter, look for smooth and creamy textures without added sugars or oils. If you’re feeling adventurous, almond and cashew butters offer lovely variations in flavor. Just remember, avoid chunky nut butters for a perfectly smooth filling!
How should I store homemade peanut butter cups?
You can store your homemade peanut butter cups at room temperature for up to 3 days, but for a longer shelf life, keep them in the fridge for up to a week in an airtight container. If you choose to freeze them, ensure they’re in a single layer on a baking sheet first, then transfer to a freezer bag. They can last up to 2 months! Simply let them thaw at room temperature before enjoying.
How can I prevent the chocolate from seizing while melting?
Very! To prevent chocolate from seizing, make sure the bottom of your double boiler is completely dry—any moisture can cause the chocolate to clump. Use low heat and stir continuously for about 5-7 minutes until it’s just melted. If seizing occurs, you can try adding a small amount of coconut oil to salvage it; just remember to start with dry tools!
Can I make these peanut butter cups vegan and still enjoy a great flavor?
Absolutely! Just opt for dark chocolate that is dairy-free, as many brands cater to vegan diets. Ensure your nut butter is strictly plant-based, and you can create a delectable treat that perfectly fits a vegan lifestyle. Don't forget to check labels for hidden dairy ingredients!
What’s the best way to customize my peanut butter cups?
Very! To personalize your homemade peanut butter cups, experiment with different nut butters like almond or cashew for diverse flavors. Plus, consider adding seasonings like cinnamon or chili powder to the nut butter filling. Drizzle a bit of honey or maple syrup before sealing with chocolate for added sweetness. The possibilities are as endless as your creativity!
Satisfy Your Cravings with Homemade Peanut Butter Cups
Ingredients
Equipment
Method
- Chill Mold: Place your candy mold in the freezer for about 15-20 minutes to help the chocolate set quickly.
- Melt Chocolate: Set up your double boiler over medium heat, stirring dark chocolate for 5-7 minutes until smooth.
- Coat Mold: Fill each cavity with about ½ teaspoon of warm chocolate and spread it up the sides.
- Chill Base: Return the coated mold to the freezer for 5-10 minutes until the chocolate base is firm.
- Add Nut Butter: Place nut butter in a zip-lock bag, pipe into each shell until ¾ full, and sprinkle sea salt.
- Top with More Chocolate: Melt additional chocolate and smooth it over the nut butter, then freeze for 30 minutes.
- Remove from Mold: Gently tap the mold against the countertop to release the cups.

Leave a Reply