
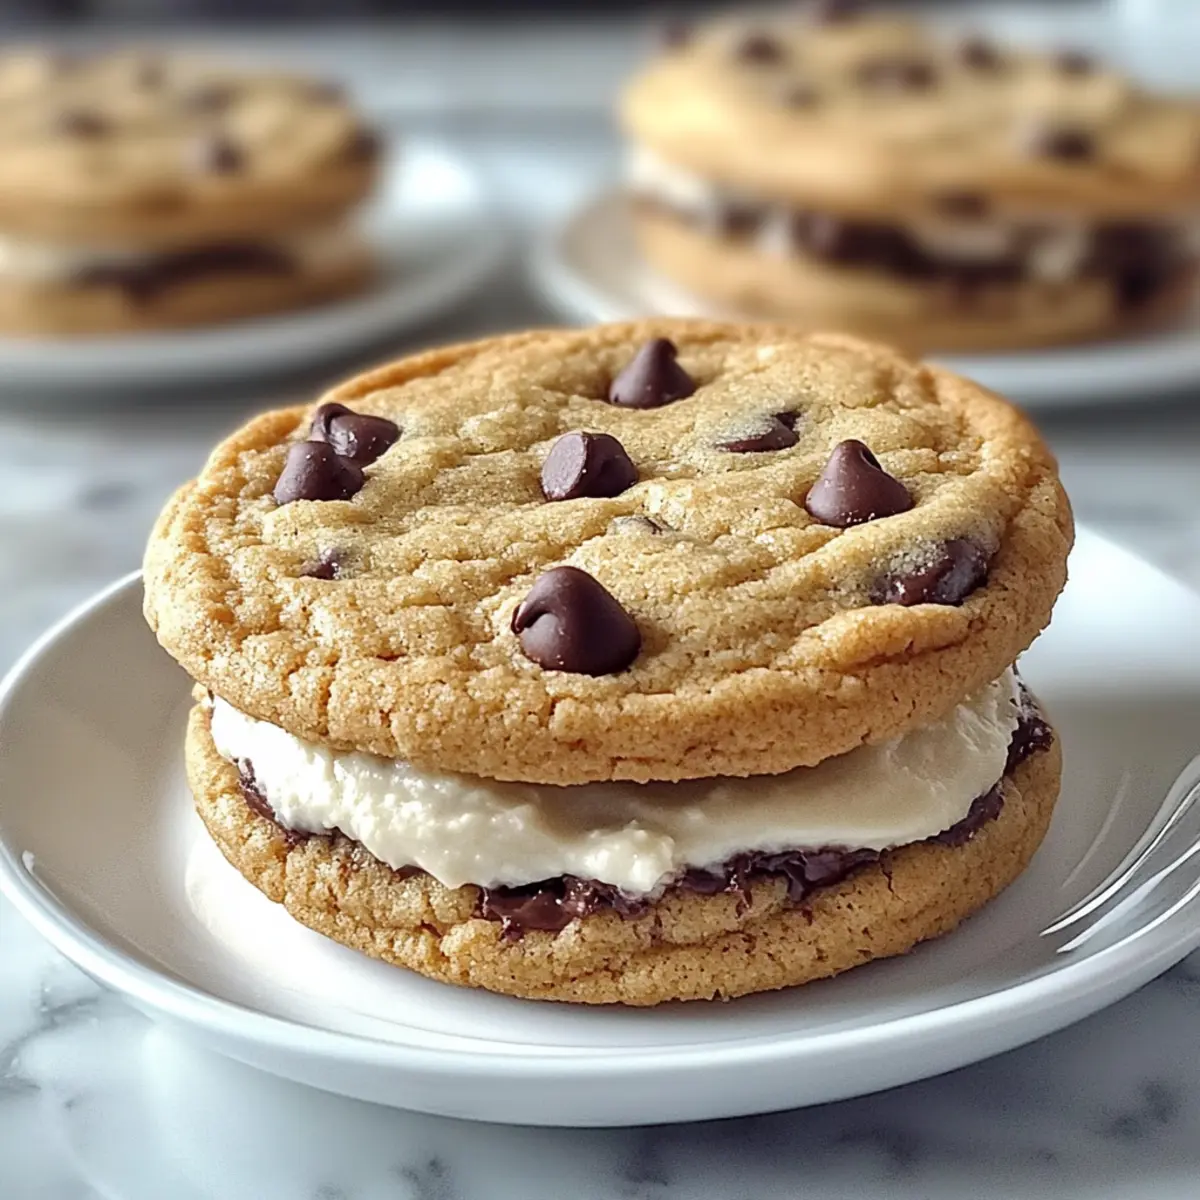
The scent of freshly baked cookies wafting through the kitchen can instantly transport you back to warmer days and cherished memories. I always find that there’s something deeply comforting about making Irresistible Chocolate Chip Cookie Sandwiches. The soft, chewy cookies cradle a luscious filling that can be customized to meet any dietary needs—think gluten-free or dairy-free options for your loved ones. This recipe not only satisfies those sweet cravings but also keeps you from the temptation of fast food, allowing you to whip up a delightful treat in no time. Whether you’re planning a cozy gathering or simply looking to relish a homemade dessert, these cookie sandwiches promise smiles all around. Ready to unwrap the secret to these delightful treats? Let’s dive into the recipe!
Why are these cookies a must-try?
Irresistible Comfort: The combination of soft, chewy cookies and creamy filling creates a nostalgic treat that warms the heart.
Customizable Delight: With options for gluten-free and dairy-free diets, everyone can indulge in these delicious cookie sandwiches.
Family-Friendly Fun: Perfect for family baking sessions, these treats are sure to bring smiles to both kids and adults.
Quick and Easy: This recipe allows you to whip up a sweet treat in no time, making it a convenient option whenever cravings hit.
Perfect for Any Occasion: Whether it’s a cozy gathering or just a casual evening at home, these sandwiches cater to every sweet tooth and occasion.
Explore even more delicious ideas in our tasty dessert section to make your gatherings memorable!
Chocolate Chip Cookie Sandwich Ingredients
For the Cookies
• All-Purpose Flour – Provides structure; substitute with gluten-free flour for a gluten-free version.
• Baking Soda – Helps the cookies rise; omit if using self-rising flour.
• Salt – Enhances flavor; reduce for low-sodium diets.
• Unsalted Butter – Adds richness and moisture; use dairy-free butter for a dairy-free option.
• Granulated Sugar – Sweetens and helps create a chewy texture; replace half with coconut sugar for a lower glycemic index.
• Brown Sugar – Contributes moisture and caramel flavor; both light and dark varieties work well.
• Vanilla Extract – Infuses sweetness; opt for real vanilla for the best results.
• Large Egg – Binds ingredients together; replace with ¼ cup applesauce for a vegan option.
• Chocolate Chips – Adds chocolate flavor; use semi-sweet or dark chips for a rich experience.
For the Filling
• Powdered Sugar – Sweetens the filling; use erythritol for a low-sugar option.
• Cream Cheese – Creates a creamy texture; substitute with vegan cream cheese or whipped coconut cream for a dairy-free option.
Whip up these irresistibly delightfully quick treats and enjoy the warm embrace of homemade goodness!
Step‑by‑Step Instructions for https://www.recipesbygloria.com/irresistible-chocolate-chip-cookie-sandwiches/?utmsource=Pinterest&utmmedium=organic
Step 1: Preheat and Prepare
Begin by preheating your oven to 350°F (175°C) and lining two baking sheets with parchment paper. This ensures your Irresistible Chocolate Chip Cookie Sandwiches bake evenly and don’t stick. Having everything ready will make the process smooth and enjoyable, so gather your ingredients and equipment before diving in!
Step 2: Mix the Dry Ingredients
In a medium mixing bowl, whisk together the all-purpose flour, baking soda, and salt. This step is crucial for evenly distributing the leavening agent and ensuring your cookies rise perfectly. Set the bowl aside while you prepare the wet ingredients, so you’re ready for a seamless blending of flavors.
Step 3: Cream the Butters and Sugars
Using a large mixing bowl, beat the softened unsalted butter along with granulated sugar, brown sugar, and vanilla extract. Mix for about 2-3 minutes until the mixture is creamy and light. This step adds richness to your cookie dough, which is essential for those delicious Chocolate Chip Cookie Sandwiches.
Step 4: Incorporate the Egg
Next, add in the large egg and mix until fully incorporated and the batter appears light and fluffy. This binding ingredient is key for bringing your dough together while adding moisture. Take a moment to enjoy the sweet aroma as it blossoms during mixing—it’s truly a comforting experience!
Step 5: Combine Wet and Dry Mixtures
Gradually add the dry mixture to the wet ingredients, folding gently to combine. As you blend, be careful not to overmix. Once nearly combined, fold in the chocolate chips, which will melt deliciously and create that irresistible gooey factor in your sandwiches!
Step 6: Bake the Cookies
Drop rounded tablespoons of your cookie dough onto the prepared baking sheets, leaving about 2 inches between each mound. Bake for 10 minutes, or until they are golden brown around the edges but still soft in the center. This slight underbaking ensures a chewy texture in your finished Chocolate Chip Cookie Sandwiches.
Step 7: Cool the Cookies
Once baked, remove the cookies from the oven and let them cool on the baking sheets for a few minutes. Then transfer them to wire racks to cool completely. It’s crucial that they are completely cooled before assembly; this keeps the filling from melting and ensures a delightful bite every time.
Step 8: Prepare the Creamy Filling
While the cookies cool, prepare the filling by beating together cream cheese, powdered sugar, and a splash of vanilla extract until smooth and creamy. This rich filling is what elevates your Chocolate Chip Cookie Sandwiches to that delightful indulgence. Customize it as needed for dietary options!
Step 9: Assemble the Sandwiches
Once the cookies are fully cooled, grab one and generously spread the creamy filling on the flat side. Top it with another cookie, pressing gently to form a sandwich. Repeat until all your cookies are transformed into delightful treats, ready to share, or savor all to yourself!
Storage Tips for Chocolate Chip Cookie Sandwiches
-
Room Temperature: Enjoy your assembled chocolate chip cookie sandwiches at room temperature for up to 3 days if stored in an airtight container to maintain freshness.
-
Fridge: For longer-lasting treats, refrigerate the sandwiches for up to 1 week. Just make sure they are sealed well to prevent drying out.
-
Freezer: Freeze individually wrapped sandwiches in plastic wrap or an airtight freezer bag for up to 3 months. This way, you can enjoy a chilled treat whenever cravings strike.
-
Thawing: When you're ready to indulge, simply thaw the frozen sandwiches at room temperature for about 30 minutes before serving for the best texture.
What to Serve with Irresistible Chocolate Chip Cookie Sandwiches
The perfect accompaniment elevates the joy of enjoying these soft, chewy, and creamy treats to a whole new level!
-
Cold Milk: This classic duo enhances the cookie experience, with milk's creamy texture complementing the rich filling beautifully. Dipping each half in milk for a moment builds an extra element of enjoyment.
-
Fresh Berries: Light, juicy strawberries or raspberries provide a refreshing contrast to the sweetness of the cookies, balancing the flavors and adding a pop of color to your plate. They create a delightful burst of flavor between bites.
-
Vanilla Ice Cream: Serving these sandwiches with a scoop of creamy vanilla ice cream transforms them into a decadent dessert. The ice cream's coolness and smoothness make for a sensational combination that satisfies any sweet tooth.
-
Iced Coffee or Latte: A smooth, chilled coffee drink pairs perfectly with this dessert, offering a slight bitterness that complements the cookie’s sweetness beautifully. It's a wonderful choice for an afternoon treat or cozy gathering.
-
Chocolate Sauce Drizzle: Elevate your cookie sandwiches even further by drizzling warm chocolate sauce over the top. This rich addition adds indulgent flavor and makes every bite feel like a special occasion.
-
Chopped Nuts: Sprinkle some chopped walnuts or pecans on the side for an added crunch. The nuttiness pairs splendidly with the cookies, adding a delightful texture that enhances the overall experience.
-
Hot Cocoa: In cooler months, a warm cup of cocoa is the ultimate companion to these cookies. The comforting drink, rich in chocolate flavor, makes every bite feel even more heartwarming.
-
Slice of Fruit Tart: For a touch of elegance, complement these cookie sandwiches with a slice of fruit tart. The tart’s brightness and flakiness introduce a delightful contrast to the chewy cookies.
These delicious pairing suggestions will ensure your gathering or cozy night in is unforgettable, making indulgence easy and delightful!
Expert Tips for Chocolate Chip Cookie Sandwiches
-
Room Temperature Ingredients: Ensure your butter and eggs are at room temperature for better mixing, leading to a creamier cookie dough.
-
Watch the Bake Time: Remove cookies when they are just golden around the edges, keeping the center soft for that perfect chewy texture in your chocolate chip cookie sandwiches.
-
Chill the Dough: If the dough feels too soft to handle, chill it for 15-30 minutes. This helps the cookies maintain their shape while baking.
-
Cool Completely: Allow cookies to cool entirely before assembling. This prevents the creamy filling from melting and allows for a neat and delightful sandwich.
-
Experiment with Fillings: Don’t hesitate to customize your fillings for chocolate chip cookie sandwiches; you can include flavored cream cheese or even ice cream for a fun twist!
Make Ahead Options
These Irresistible Chocolate Chip Cookie Sandwiches are perfect for busy home cooks looking to save time without sacrificing flavor! You can prepare the cookie dough up to 24 hours in advance by mixing all the ingredients, then refrigerating the dough. This allows the flavors to meld beautifully. Additionally, you can whip up the creamy filling and store it in an airtight container in the fridge for up to 3 days. When you’re ready to bake, just scoop the chilled dough onto baking sheets and bake as instructed. Remember, slightly underbaking ensures that your cookies remain deliciously chewy! By preparing these components ahead of time, you’ll always have a delightful treat ready to enjoy.
Variations & Substitutions for Irresistible Chocolate Chip Cookie Sandwiches
Feel free to unleash your creativity and customize these cookie sandwiches to match your taste buds or dietary needs!
-
Dairy-Free: Swap cream cheese for vegan cream cheese or whipped coconut cream for a luscious filling everyone can enjoy.
-
Gluten-Free: Use a gluten-free all-purpose baking blend instead of regular flour to make these treats suitable for gluten-sensitive palates.
-
Nutty Goodness: Stir in chopped nuts like walnuts or pecans into the cookie dough for added texture and a delightful crunch.
-
Fruit-Filled: Add dried fruits, such as raisins or cranberries, for a sweet surprise that complements the richness of the cookies beautifully.
-
Chocolate Lovers: Replace chocolate chips with dark chocolate chunks or fold cocoa powder directly into the dough for a chocolatey twist.
-
Spicy Twist: Incorporate a pinch of cayenne pepper or a dash of cinnamon into the dough for a surprising warmth that dances on your palate.
-
Ice Cream Delight: For a decadent treat during the summer, use softened ice cream as the filling for an indulgently cool experience.
-
Flavor Variants: Experiment with different flavored extracts in the filling, like almond or mint, to give your cookie sandwiches a unique twist.
These variations not only add fun but also cater to various dietary preferences, ensuring that everyone at your gathering can enjoy a delightful bite! If you’re looking for more creative ideas, check out our tasty dessert section to inspire your next baking adventure!
Irresistible Chocolate Chip Cookie Sandwiches Recipe FAQs
How do I select ripe ingredients for my cookie sandwiches?
Absolutely! Freshness is key in baking. For your cookies, choose butter that’s at room temperature for easy creaming. Ensure your eggs are also room temperature for best incorporation. As for chocolate chips, go for high-quality semi-sweet or dark chips—this will enhance the flavor of your sandwiches significantly.
What is the best way to store my cookie sandwiches?
For optimum freshness, keep assembled cookie sandwiches in an airtight container at room temperature for up to 3 days. If you'd like them to last longer, refrigerate them for up to a week. I often put a piece of parchment paper between layers to prevent them from sticking together. This way, you’ll always have a delightful treat ready!
Can I freeze my chocolate chip cookie sandwiches?
Very! To freeze your cookie sandwiches, wrap each sandwich tightly in plastic wrap or place them in an airtight freezer bag. They can be stored for up to 3 months. When you're ready to enjoy, thaw them at room temperature for about 30 minutes. This will keep the texture just right!
What should I do if the cookies spread too much during baking?
If you notice your cookies spreading too much, check that you used the correct amount of flour—measuring accurately is crucial! Be mindful of your butter. If it's too soft, you may want to chill the dough for 15-30 minutes before baking to help maintain shape. Lastly, making sure your oven is preheated properly helps achieve the perfect cookie.
Are there any dietary considerations I should note?
Of course! If you’re making these for someone with dietary restrictions, you can easily use gluten-free flour and dairy-free butter and cream cheese. Always read labels to ensure there are no hidden allergens, especially with chocolate chips. This way, everyone can enjoy the deliciousness without worries!
Irresistible Chocolate Chip Cookie Sandwiches with Creamy Filling
Ingredients
Equipment
Method
- Preheat your oven to 350°F (175°C) and line two baking sheets with parchment paper.
- In a medium mixing bowl, whisk together the all-purpose flour, baking soda, and salt.
- In a large mixing bowl, beat the softened unsalted butter, granulated sugar, brown sugar, and vanilla extract until creamy and light.
- Add in the large egg and mix until fully incorporated.
- Gradually add the dry mixture to the wet ingredients, folding gently to combine. Fold in the chocolate chips.
- Drop rounded tablespoons of cookie dough onto the prepared baking sheets, leaving about 2 inches between each mound. Bake for 10 minutes, or until golden brown around the edges.
- Remove the cookies from the oven and let them cool on the baking sheets for a few minutes before transferring to wire racks to cool completely.
- Prepare the filling by beating together cream cheese, powdered sugar, and a splash of vanilla extract until smooth.
- Once the cookies are cooled, spread the creamy filling on the flat side of one cookie and top it with another cookie to form a sandwich.


Leave a Reply