
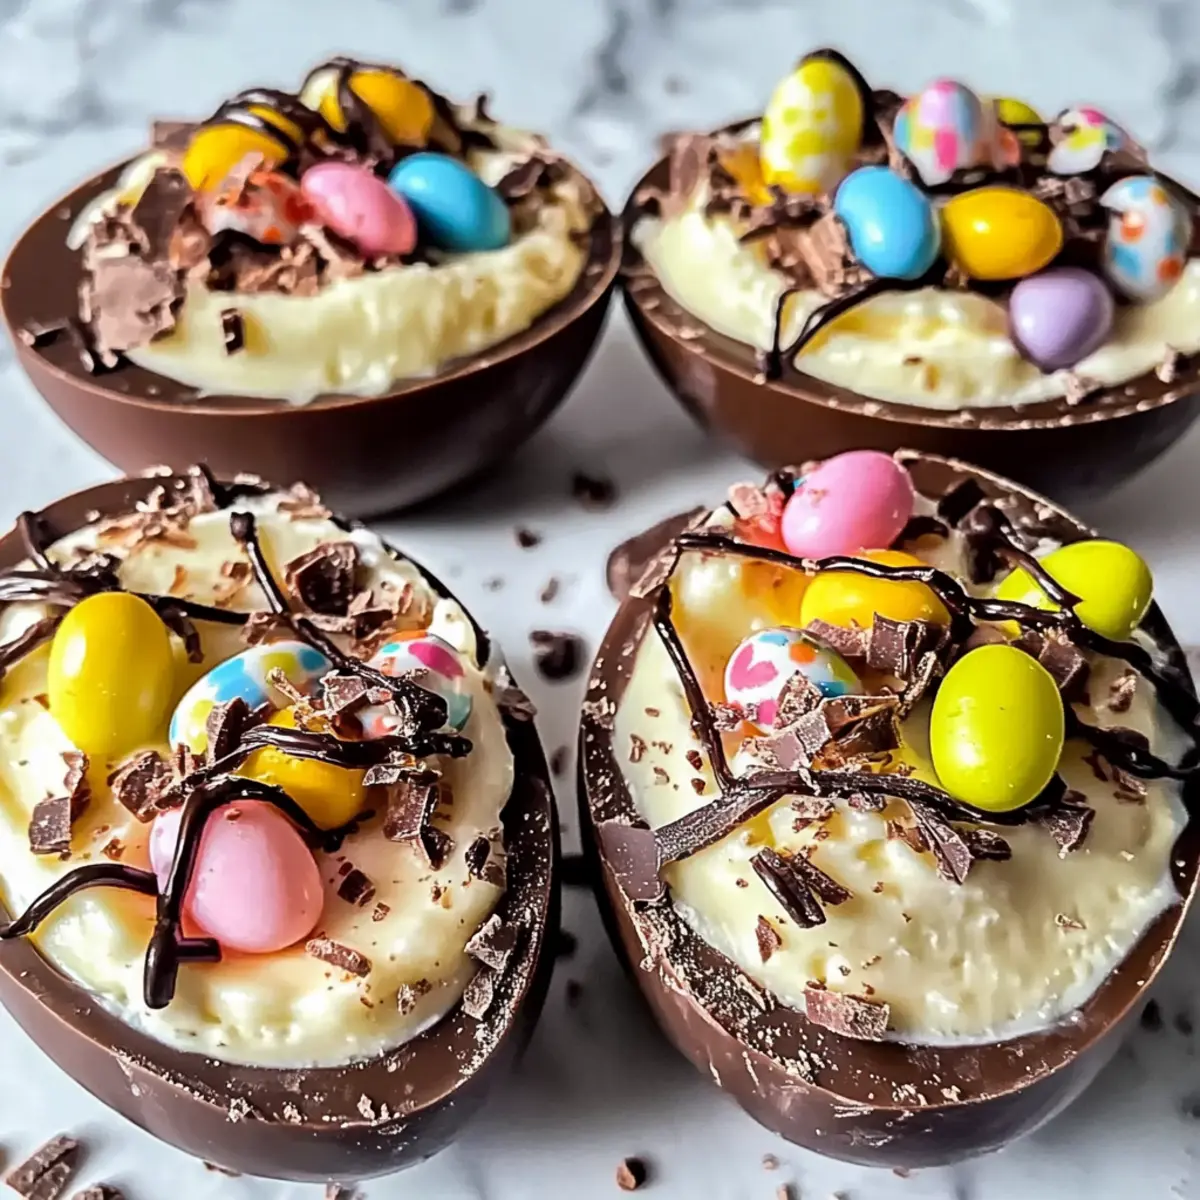
Easter is just around the corner, and there's something magical about transforming a simple dessert into a whimsical centerpiece. That’s where my No-Bake Easter Egg Cheesecake comes into play! This recipe not only allows you to dodge the oven—perfect for those warm spring days—but also sparks creativity with delightful flavor variations and the ability to cater to different diets. Imagine decadent chocolate egg shells cradling a luscious cheesecake filling, ready to wow your family and friends during those festive gatherings. This easy cheesecake is bound to be a hit, making it the perfect treat to celebrate the season. Curious about how to prepare this showstopper? Let’s dive in!
Why is this cheesecake a must-try?
Effortless Magic: Create a stunning dessert without the hassle of baking! This cheesecake is as easy to make as it is delightful.
Creative Freedom: With endless flavor variations, you can personalize your cheesecake to suit any palate. Whether it’s a hint of citrus or a fruity layer, the choice is yours!
Diet-Friendly Options: Not everyone can enjoy traditional desserts, but this recipe offers dairy-free and gluten-free adaptations, making it inclusive for all guests.
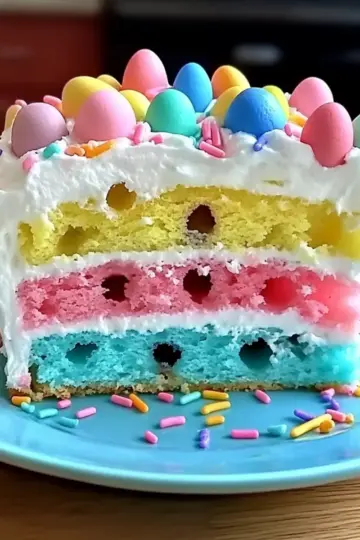
Visually Striking: The whimsical chocolate egg shells make this cheesecake a gorgeous centerpiece for your Easter table, sure to impress everyone!
Time-Saving: Perfect for busy hosts, you can prepare it in advance and chill, allowing you to focus on your celebration. For another easy treat, try these Breakfast Egg Muffins for a quick morning bite!
No-Bake Easter Egg Cheesecake Ingredients
• Prepare to create this festive dessert masterpiece with these simple ingredients!
For the Cheesecake Filling
- Cream Cheese – Provides the creamy texture for the cheesecake; use dairy-free cream cheese for a vegan version.
- Caster Sugar or Granulated Sugar – Sweetens the cheesecake filling; caster sugar is preferred for a smoother blend.
- Milk or Almond Milk – Adds moisture and helps blend the filling smoothly; almond milk is a great dairy-free alternative.
- Vanilla Extract or Almond Extract – Enhances flavor; almond extract adds a distinctive nutty note for a twist.
- Whipping Cream or Coconut Cream – Adds lightness and airiness to the filling; opt for coconut cream for a dairy-free choice.
For the Crust
- Hollow Easter Eggs – The whimsical molds for the cheesecake; ensure they are intact and not overly shiny.
- Cookies (e.g., Arnotts Granita or Graham Crackers) – Forms the base crust; substitute with gluten-free cookies for a gluten-free option.
- Unsalted Butter – Binds the cookie crumbs for the crust; consider using coconut oil for dairy-free versions.
For the Decoration
- Melted Dark Chocolate or Milk Chocolate – Used for drizzling on top, adding richness and visual appeal.
- Mini Eggs or other chocolates – Decorative topping that enhances the festive look; use any small chocolates that suit your theme.
Get ready to impress your guests with this No-Bake Easter Egg Cheesecake!
Step‑by‑Step Instructions for No-Bake Easter Egg Cheesecake
Step 1: Prepare the Crust
Start by crushing your cookies into fine crumbs using a food processor or a zip-top bag and rolling pin. Melt the unsalted butter in a microwave-safe bowl, then mix it with the cookie crumbs until fully combined. Firmly press the mixture into the hollow Easter egg shells with the back of a spoon. Place the filled egg shells in the refrigerator for about 30 minutes to set.
Step 2: Make the Filling
In a mixing bowl, beat the cream cheese with an electric mixer on medium speed until smooth and creamy, about 2-3 minutes. Gradually add in the caster sugar, almond milk, and vanilla extract, mixing until completely lump-free. This luscious filling is the heart of your No-Bake Easter Egg Cheesecake, so make sure everything is well incorporated for a perfectly creamy texture.
Step 3: Whip the Cream
In a separate bowl, pour in the cold whipping cream and use a hand mixer to whip it on high speed until soft peaks form, which should take about 3-5 minutes. Be careful not to over-whip it, as you want a light, airy consistency. Gently fold the whipped cream into the cream cheese mixture using a spatula, which will add volume and fluffiness to your cheesecake filling.
Step 4: Fill the Eggs
Once your crust has set, take the hollow egg shells out of the refrigerator. Carefully spoon the cheesecake filling into each shell, smoothing the tops with a spatula for a neat appearance. Ensure not to overfill them, as the filling will expand slightly when chilled. Chill the filled Easter egg shells for at least 30 minutes to allow the flavors to meld beautifully.
Step 5: Decorate
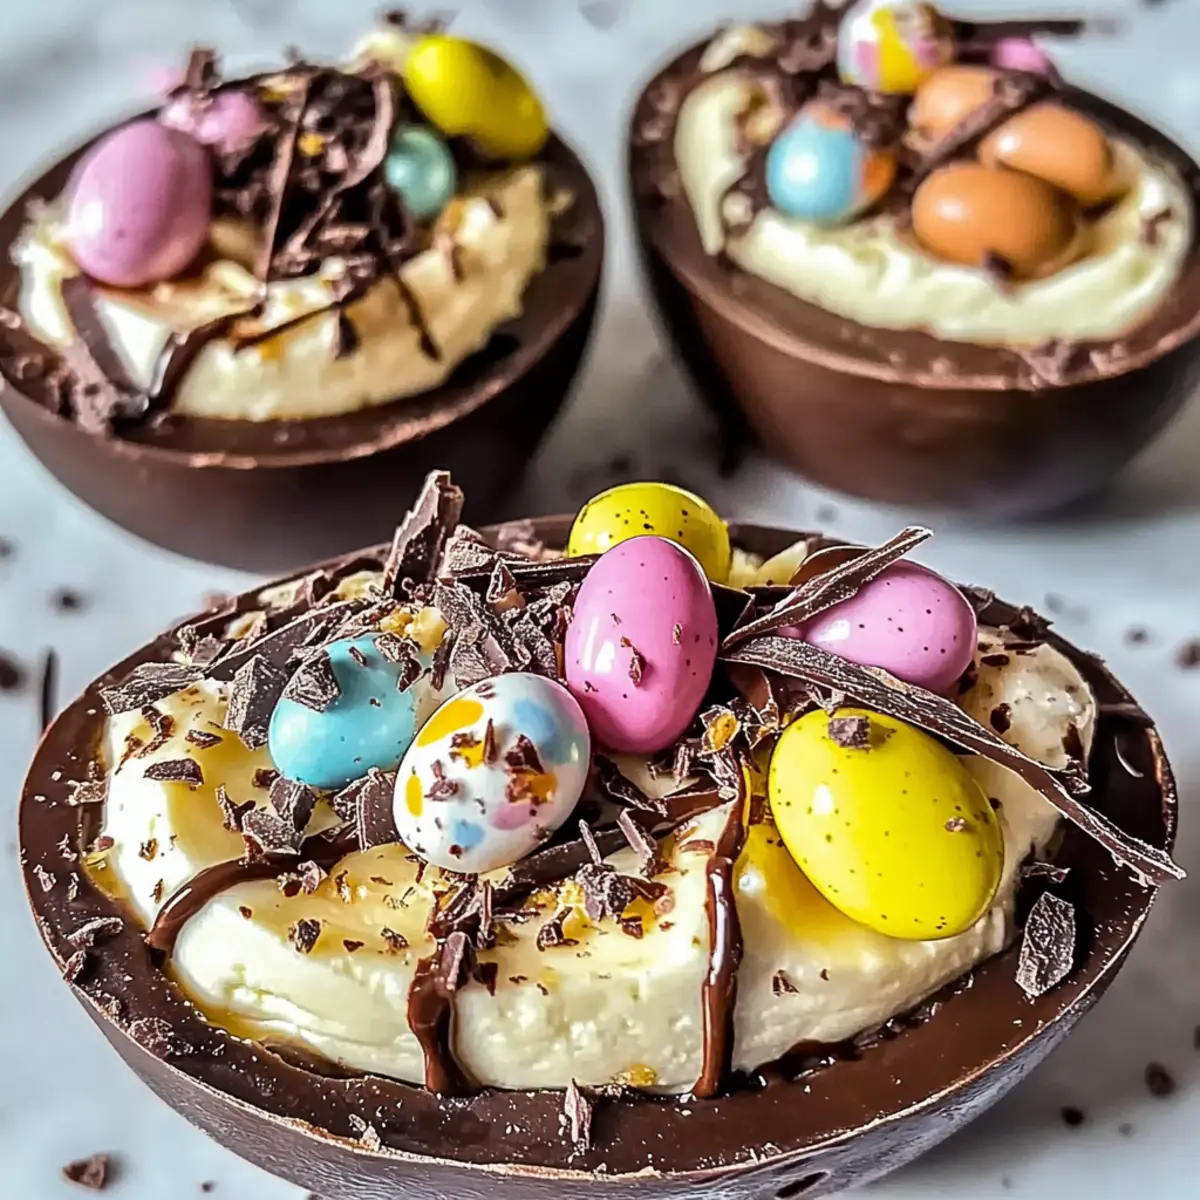
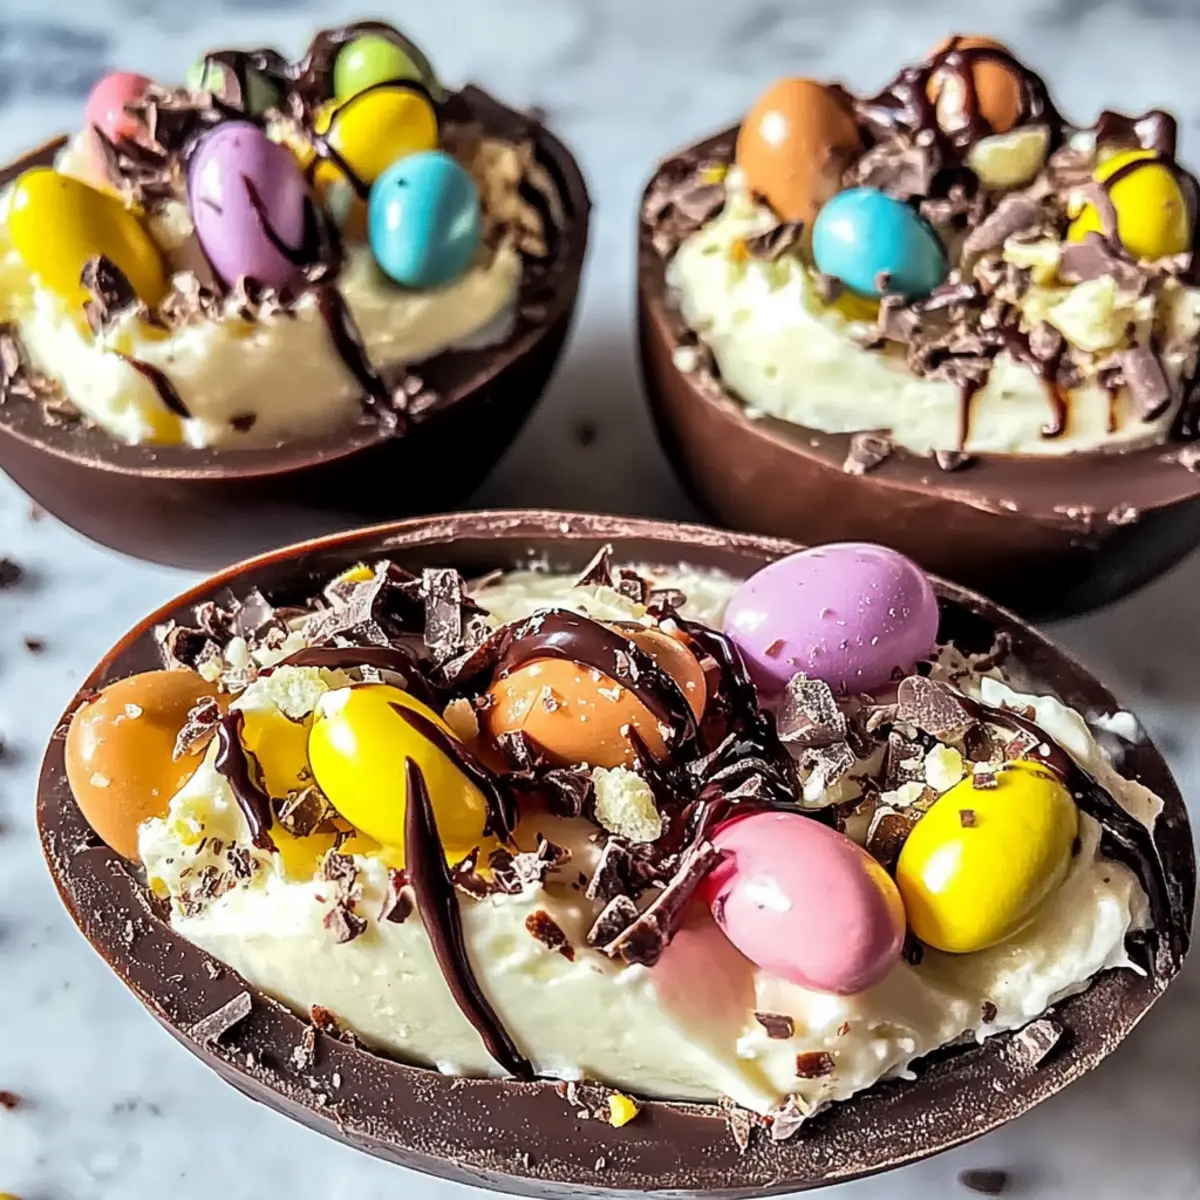
Melt your choice of dark or milk chocolate in a microwave-safe bowl, heating in short bursts to avoid burning. Drizzle the melted chocolate over the filled egg shells, allowing it to create beautiful, decorative patterns. Then, sprinkle mini eggs or your selected chocolates over the top for that festive touch, making your No-Bake Easter Egg Cheesecake visually appealing.
Step 6: Chill
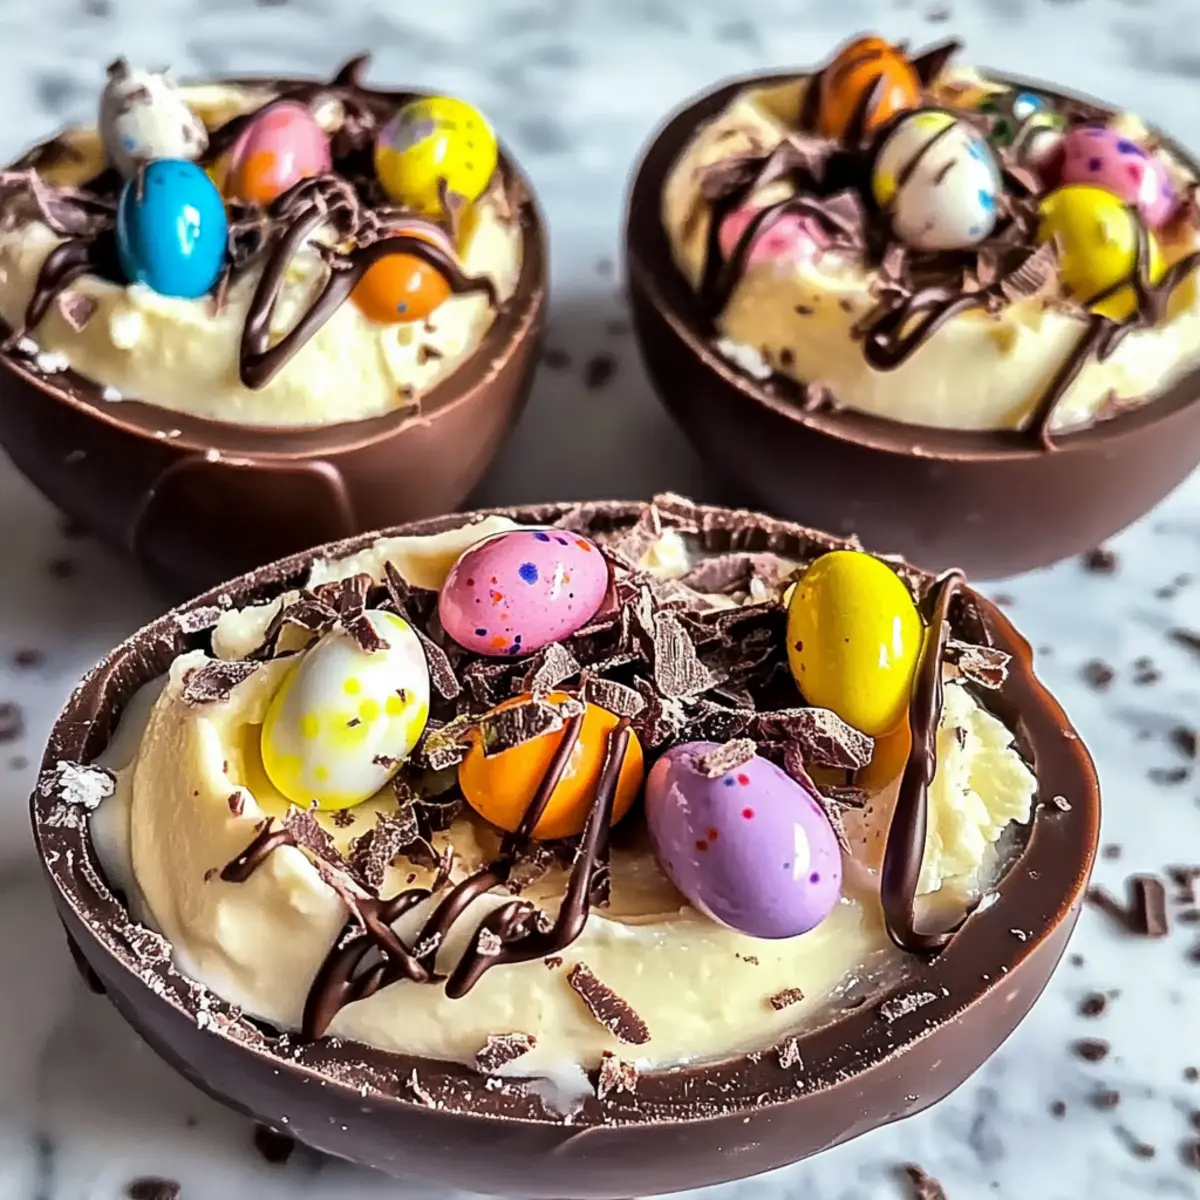
After decorating, return the cheesecake-filled eggs to the refrigerator and allow them to chill for at least 2-3 hours, preferably overnight. This ensures that the filling sets properly and flavors deepen. When they're ready to serve, the cheesecake will offer a delightful contrast of textures, with a creamy interior and a crunchy chocolate crust.
What to Serve with No-Bake Easter Egg Cheesecake
Elevate your festive gathering with delightful pairings that enhance the creamy indulgence of your dessert.
-
Fresh Berries: Bright, juicy berries like strawberries or raspberries offer a refreshing contrast and complement the cheesecake’s richness. Their natural sweetness and acidity will balance the creamy filling beautifully.
-
Mint Chocolate Chip Ice Cream: This creamy, cool treat adds a fun twist and complements the chocolate exterior of the cheesecake, enhancing the overall dessert experience. It combines the freshness of mint with a delightful crunch!
-
Sparkling Water: For a refreshing palate cleanser, try serving sparkling water with a twist of lemon or lime. The bubbles and zesty citrus notes will refresh your guests after indulging in the cheesecake.
-
Chocolate Covered Pretzels: These sweet and salty snacks provide a crunchy texture that pairs wonderfully with the velvety cheesecake. Their caramelized notes will enhance the chocolate flavor, creating a delightful harmony.
-
Chocolate-Covered Strawberries: Indulge your guests with these decadent treats. The pairing of rich chocolate and fresh fruit will enchant your guests and add a touch of elegance to your dessert table.
-
Whipped Cream: Lightly sweetened whipped cream drizzled over your cheesecake can add an airy finish and enhance its creaminess! It’s a classic pairing that never disappoints.
-
Easter-Themed Cookies: Serve colorful sugar cookies shaped like Easter eggs for a festive touch. Their sweetness will echo your cheesecake's flavors while adding a playful element to the table.
-
Caramel Sauce: A drizzle of homemade or store-bought caramel sauce will bring extra decadence to the cheesecake finale. It adds a delightful gooey texture and complements the richness of the chocolate.
-
Fruit Sorbet: A raspberry or lemon sorbet is a great palate-cleansing option. The fruity chill perfectly contrasts the cheesecake, making for a beautifully balanced dessert experience.
Storage Tips for No-Bake Easter Egg Cheesecake
Fridge: Store your No-Bake Easter Egg Cheesecake in an airtight container in the refrigerator for up to 3 days. Ensure it's well-covered to maintain freshness and flavor.
Freezer: If you need to keep it longer, freeze the cheesecake for up to 1 month. Wrap it tightly in plastic wrap and then in aluminum foil to prevent freezer burn.
Thawing: To enjoy your frozen cheesecake, simply transfer it to the fridge to thaw overnight before serving. This helps preserve the creamy texture of the filling.
Reheating: There's no need to reheat this cheesecake; it's best served chilled to fully appreciate the smooth, delightful flavors!
No-Bake Easter Egg Cheesecake Variations
Feel free to get creative with these delightful twists and adaptations for your cheesecake, unlocking a world of flavors and textures!
-
Dairy-Free: Substitute traditional dairy with vegan cream cheese and coconut cream for a rich, cruelty-free dessert.
-
Flavor Infusion: Add citrus zest (like lemon or orange) to brighten up your filling and provide a zesty kick. It’s a refreshing contrast to the chocolate!
-
Fruity Layer: Fold pureed berries, like strawberries or raspberries, into the cheesecake filling for a pop of color and fruitiness. It's a delightful surprise!
-
Spice it Up: A sprinkle of cinnamon or nutmeg can enhance the overall taste profile, providing warmth and depth that pairs beautifully with chocolate.
-
Decadent Chocolate: Opt for chocolate-flavored cream cheese for an extra-rich cheesecake. This decadent swap is sure to satisfy chocolate lovers at your table.
-
Nutty Twist: Incorporate crushed nuts into the cookie crust or sprinkle atop for added crunch and a delightful nutty flavor. Toasted almonds or walnuts make great choices!
-
Caramel Drizzle: Once decorated, drizzle with caramel sauce for a sweet, gooey contrast that complements the chocolate beautifully.
-
Gluten-Free: Swap out regular cookies for gluten-free varieties in the crust to cater to those with dietary restrictions, ensuring everyone can enjoy this treat.
For more easy recipes, consider trying these delicious Breakfast Egg Muffins or indulge in a tasty Cottage Cheese Egg Salad. Each variation lets you tailor your cheesecake to fit any taste or dietary need!
Expert Tips for No-Bake Easter Egg Cheesecake
-
Whip with Care: Ensure you whip the cream just until soft peaks form. Over-whipping can lead to a grainy texture in the filling.
-
Mix Thoroughly: Achieve a lump-free filling by ensuring the cream cheese is softened and well-beaten before adding other ingredients. This step is key for your No-Bake Easter Egg Cheesecake's creamy consistency.
-
Chill Time Matters: Allow the filled egg shells to chill for at least 2-3 hours, or overnight if possible. This waiting period enhances flavors and helps the cheesecake set correctly.
-
Perfect Crust: Press the cookie crust firmly into the egg molds. A well-packed crust prevents it from crumbling when served, keeping your dessert intact.
-
Creative Decorating: Don’t hesitate to switch up your toppings! Use seasonal chocolates or vibrant sprinkles to customize your festive look and add a personal touch.
-
Storage Solutions: Keep any leftovers stored in an airtight container in the refrigerator. Enjoy them within three days for the best taste and texture of your No-Bake Easter Egg Cheesecake.
Make Ahead Options
These No-Bake Easter Egg Cheesecakes are perfect for busy cooks looking to save time during holiday celebrations! You can prepare the crust and cheesecake filling up to 24 hours in advance. Simply crush your cookies and mix with melted butter for the crust, then press into the hollow eggs; chill until set. For the filling, mix the cream cheese, sugar, almond milk, and vanilla, then fold in whipped cream and store in the refrigerator until you're ready to fill the eggs. Just before serving, spoon the filling into the chilled crusts, drizzle with melted chocolate, and garnish with mini eggs. This way, you'll have a festive dessert ready with minimal last-minute effort!
No-Bake Easter Egg Cheesecake Recipe FAQs
What kind of cream cheese should I use for the No-Bake Easter Egg Cheesecake?
Absolutely! For a classic flavor, use regular cream cheese, as it provides that perfect creamy texture. If you're looking for a dairy-free alternative, opt for vegan cream cheese, which works just as well in this recipe without sacrificing taste.
How long can I store this cheesecake in the fridge?
You can keep your No-Bake Easter Egg Cheesecake stored in an airtight container in the refrigerator for up to 3 days. Just make sure it is covered well to keep it fresh and prevent any unwanted odors from other foods.
Can I freeze the No-Bake Easter Egg Cheesecake?
Yes, you can freeze it! Wrap the cheesecake tightly in plastic wrap, followed by aluminum foil, to avoid freezer burn. It will stay fresh in the freezer for up to 1 month. When you're ready to enjoy it, move it to the fridge to thaw overnight for the best texture.
What should I do if my cheesecake filling is runny?
If you encounter a runny filling, don’t worry! Ensure your cream cheese was properly softened and mixed until smooth before adding other ingredients. A helpful tip is to try chilling the mixture before folding in the whipped cream, as this will help firm it up. If it's still too runny, consider adding a bit more whipped cream or some softened gelatin (1-2 teaspoons) during mixing.
Are there any allergy considerations for this recipe?
Very much so! This recipe can be easily adapted for various dietary needs. To make it gluten-free, simply use gluten-free cookies for the crust. If you're catering to a dairy allergy, go for dairy-free cream cheese and coconut cream to keep the richness without any dairy. Just be mindful of any additional toppings, as they may have allergens too.
How can I achieve a perfect texture for the crust?
For a sturdy and non-crumbly crust, be sure to crush your cookies finely and mix them thoroughly with the melted butter. Press the mixture firmly into the Easter egg shells, ensuring there are no gaps. Letting it chill for at least 30 minutes before filling will help it set perfectly!
No-Bake Easter Egg Cheesecake: Simple, Fun Dessert Magic
Ingredients
Equipment
Method
- Start by crushing your cookies into fine crumbs using a food processor or a zip-top bag and rolling pin. Melt the unsalted butter in a microwave-safe bowl, then mix it with the cookie crumbs until fully combined. Firmly press the mixture into the hollow Easter egg shells with the back of a spoon. Place the filled egg shells in the refrigerator for about 30 minutes to set.
- In a mixing bowl, beat the cream cheese with an electric mixer on medium speed until smooth and creamy, about 2-3 minutes. Gradually add in the caster sugar, almond milk, and vanilla extract, mixing until completely lump-free.
- In a separate bowl, pour in the cold whipping cream and use a hand mixer to whip it on high speed until soft peaks form, which should take about 3-5 minutes. Gently fold the whipped cream into the cream cheese mixture using a spatula.
- Once your crust has set, take the hollow egg shells out of the refrigerator. Carefully spoon the cheesecake filling into each shell, smoothing the tops with a spatula. Chill the filled Easter egg shells for at least 30 minutes to allow the flavors to meld beautifully.
- Melt your choice of dark or milk chocolate in a microwave-safe bowl, then drizzle the melted chocolate over the filled egg shells. Sprinkle mini eggs or your selected chocolates over the top for a festive touch.
- After decorating, return the cheesecake-filled eggs to the refrigerator and allow them to chill for at least 2-3 hours, preferably overnight, for the best texture and flavor.

Leave a Reply