
As the leaves turn a brilliant shade of orange and the air grows crisp, I can't help but get excited about the flavors of fall. This year, I’ve been playing in the kitchen, and the outcome? Irresistible Peanut Butter Pumpkins! These delightful treats are not only a hit with the kids, but they're also a healthier snack option that’s gluten-free if you choose the right cereal. The beauty of Peanut Butter Pumpkins lies in their simplicity and versatility; you can easily swap in different nut butters and candy coatings to suit your taste. They come together quickly, making them perfect for those busy autumn days, and they’re sure to impress at any Halloween gathering. Ready to learn how to create these adorable bites of joy that capture the spirit of the season? Let’s dive in!
Why Are Peanut Butter Pumpkins Perfect?
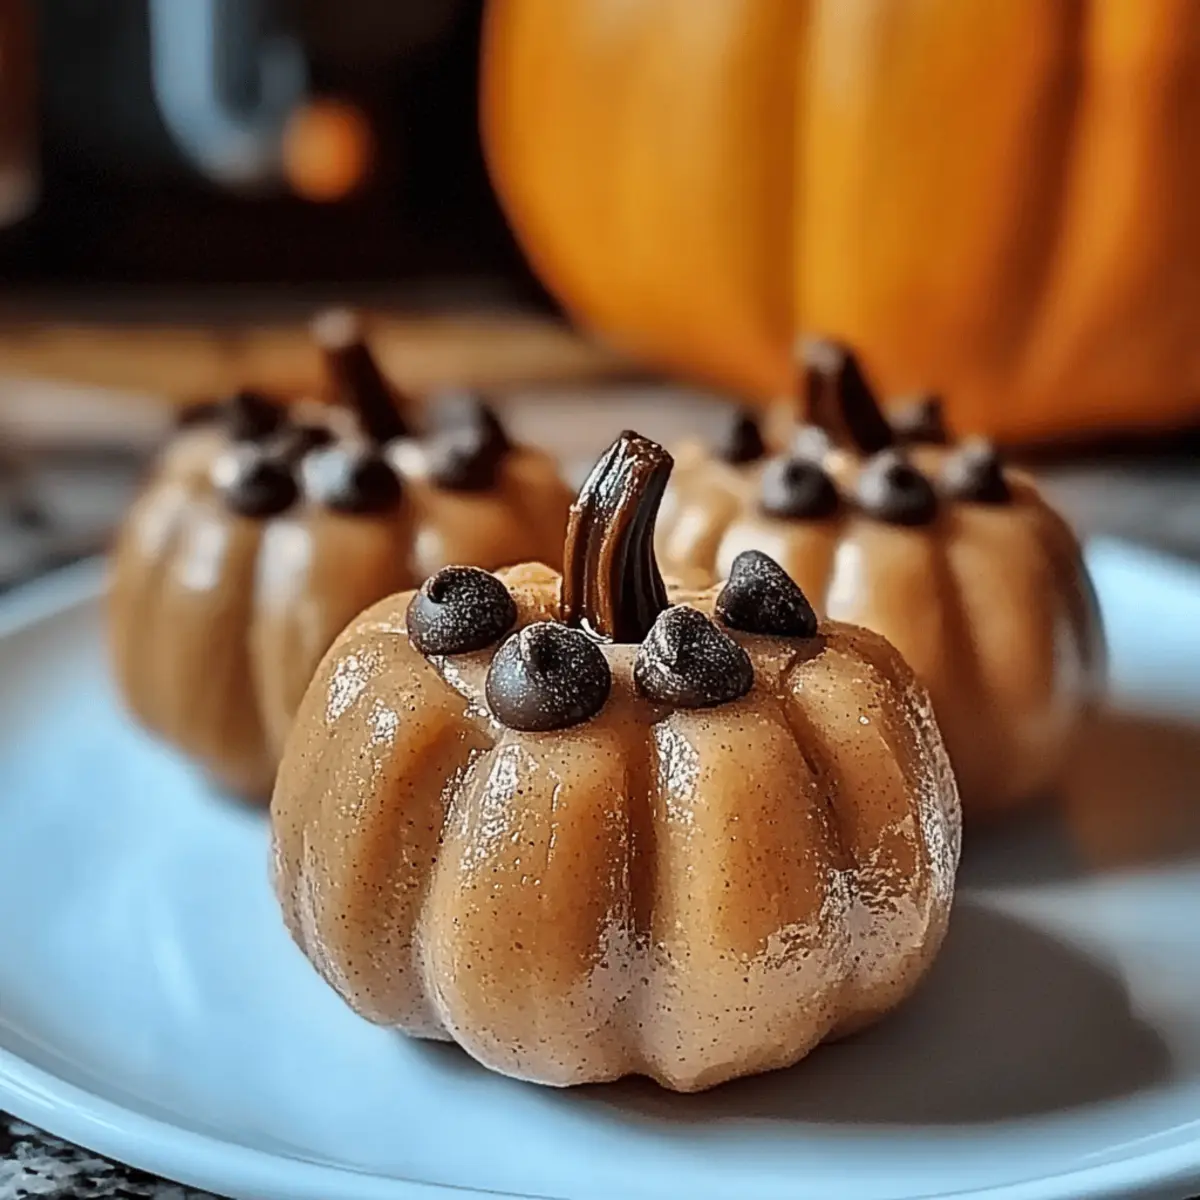
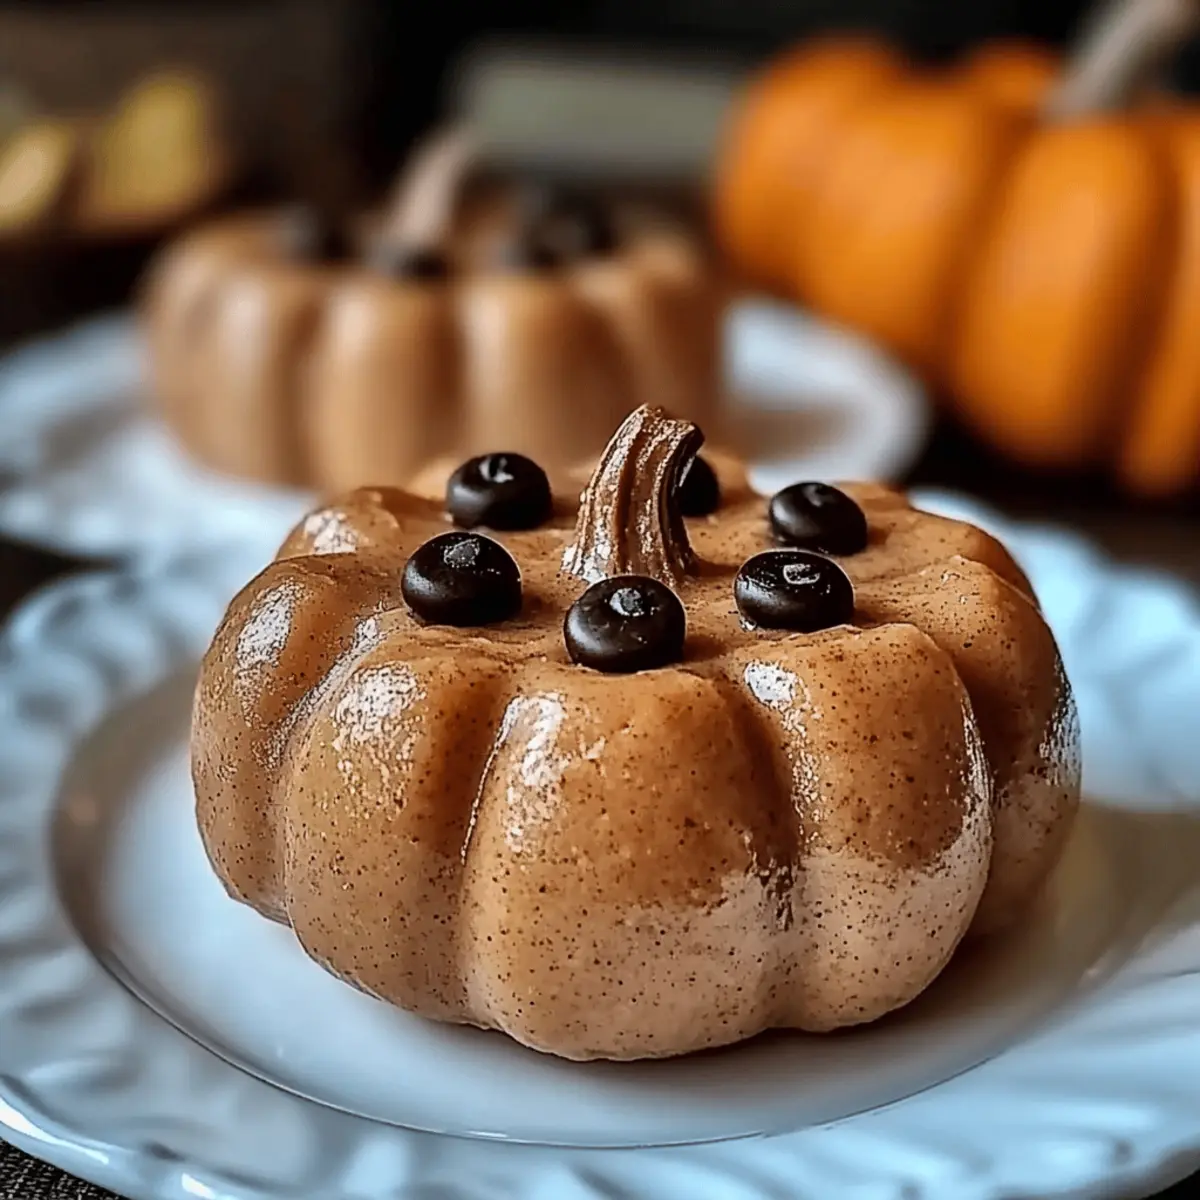
Irresistible Delight: These Peanut Butter Pumpkins are the ultimate fall treat, combining the beloved flavor of peanut butter with festive flair.
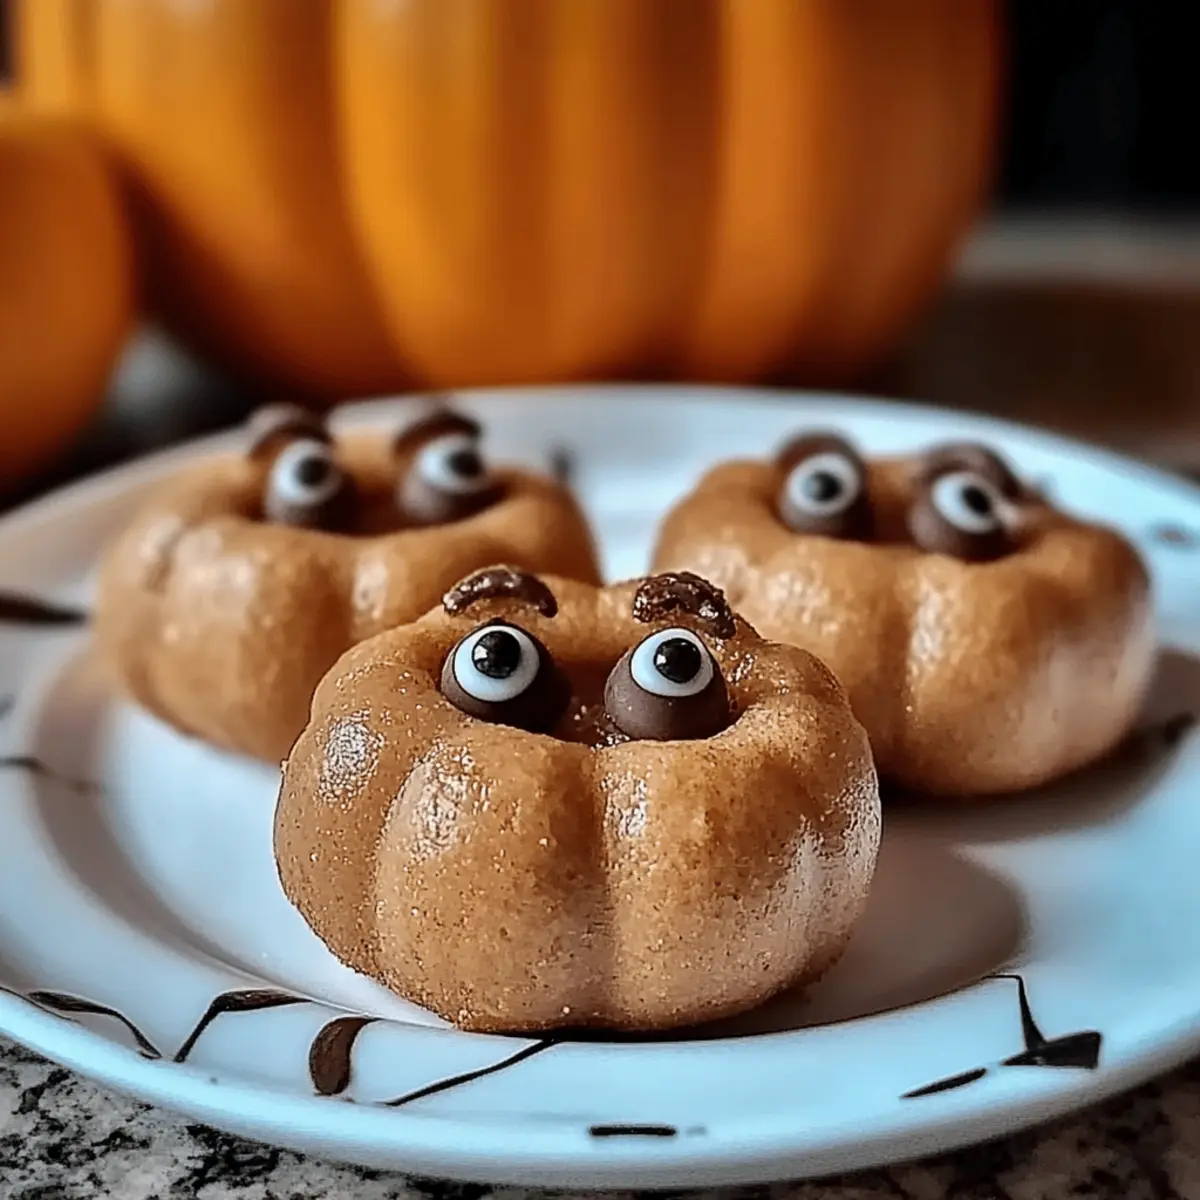
Kid-Friendly Fun: They're not just healthy; kids go crazy for these charming bites!
Quick & Easy: With a prep time that fits even the busiest schedule, you can whip these up for last-minute gatherings.
Versatile Options: Feel free to get creative! Switch up the nut butters or candy coatings for endless variations.
Nostalgic Appeal: These treats evoke childhood memories, making them perfect for sharing during the cozy autumn months.
For more delightful ideas, consider pairing these with our Butternut Squash Soup for a comforting meal, or try out the delicious Garlic Butter Steak for a fall feast everyone will love!
Peanut Butter Pumpkins Ingredients
• Dive into the flavor of Peanut Butter Pumpkins with this simple ingredient breakdown!
For the Peanut Butter Mixture
- Creamy Peanut Butter – This rich base brings nutty goodness; opt for natural for a healthier treat.
- Powdered Sugar – Adds sweetness and binding; you can reduce it for a less sugary bite.
- Vanilla Extract – Enhances the overall flavor profile; no substitutes necessary.
- Crispy Rice Cereal – Provides essential texture; use gluten-free for a truly gluten-free delight.
For the Candy Coating
- Orange Candy Melts – Vibrantly coats the pumpkins; simply swap in chocolate chips if needed.
- Vegetable Oil – Ensures smooth melting of the candy; any neutral oil will do just fine.
- Green Candy Melts – Optional for those adorable leaves; melted chocolate can work in a pinch.
For the Decoration
- Mini Chocolate Chips – Perfect for crafting cute eyes on your pumpkins; alternate with any small chocolate piece you have.
With these ingredients, you’re just steps away from creating delightful Peanut Butter Pumpkins that bring the joy of fall to your table!
Step‑by‑Step Instructions for Peanut Butter Pumpkins
Step 1: Prepare Your Workspace
Start by clearing and cleaning your kitchen counter to create an organized workspace for making Peanut Butter Pumpkins. Gather all your ingredients and equipment, including a mixing bowl, measuring cups, and a parchment-lined baking sheet. This sets the stage for a smooth cooking experience, allowing you to focus on the joy of creating these festive treats.
Step 2: Mix Peanut Butter Mixture
In a large mixing bowl, combine creamy peanut butter, powdered sugar, and vanilla extract. Use a spatula to blend these ingredients thoroughly until the mixture is smooth and well combined. This process takes about 2-3 minutes, and the resulting dough should be pliable and slightly sticky, forming a rich base for your Peanut Butter Pumpkins.
Step 3: Add Rice Cereal
Gently fold in the crispy rice cereal into the peanut butter mixture using a spatula. Ensure the cereal is fully coated, which should take about 1-2 minutes. The mixture should begin to feel thicker and more structured, forming the foundation for your adorable pumpkin shapes. Make sure to distribute the cereal evenly for the best texture.
Step 4: Form Pumpkins
Once the mixture is well combined, scoop out about 1-2 tablespoons of the dough and roll it into a ball using your hands. Place each ball on the parchment-lined baking sheet, leaving space between them. Aim for uniform sizes, about 1-2 inches in diameter, to ensure even coating later. This shaping adds a fun touch to your Peanut Butter Pumpkins.
Step 5: Chill
Cover the baking sheet with plastic wrap and place it in the refrigerator for about 30 minutes. Chilling allows the peanut butter mixture to firm up, making it easier to coat later. You’re looking for a firm texture; they should hold their shape when you gently press on them after chilling.
Step 6: Melt Candy Coating
In a microwave-safe bowl, combine orange candy melts and a little vegetable oil. Microwave in 30-second intervals, stirring until the melts are fully smooth and glossy, which should take around 1-2 minutes. The melted mixture should be warm and fluid, perfect for coating your Peanut Butter Pumpkins evenly.
Step 7: Coat Pumpkins
Using a fork or a toothpick, dip each chilled peanut butter ball into the warm candy coating. Ensure they are completely covered, then gently shake off any excess coating. Place the coated pumpkins back on the parchment-lined sheet, allowing the candy to set before adding decorations. This creates a vibrant outer layer that mimics a festive pumpkin.
Step 8: Add Decoration
Once the candy coating has started to set but is still slightly tacky, press mini chocolate chips onto the coated balls to create cute eyes. If you have green candy melts, melt and shape them into leaves, or use melted chocolate as a substitute. This step adds character to your Peanut Butter Pumpkins, making them even more delightful.
Step 9: Set
Allow your decorated Peanut Butter Pumpkins to sit at room temperature until the candy coating hardens completely, which usually takes about 15-20 minutes. You can also place them in the fridge to speed up the setting process. The end result will be charming little pumpkins ready to bring joy to your fall gatherings!
Storage Tips for Peanut Butter Pumpkins
Fridge: Store your Peanut Butter Pumpkins in an airtight container in the refrigerator for up to 1 week. This keeps them fresh while preserving their delightful texture.
Freezer: For longer storage, freeze uncoated peanut butter balls for up to 3 months. Just ensure they're well-wrapped in plastic and placed in a freezer bag to avoid freezer burn.
Reheating: There's no need to reheat these treats! Enjoy them straight from the fridge or thawed from the freezer as a refreshing snack.
Room Temperature: If serving at a gathering, Peanut Butter Pumpkins can sit out for up to 2 hours. Keep them covered to maintain freshness and prevent drying out.
Make Ahead Options
These Peanut Butter Pumpkins are perfect for meal prep, allowing busy home cooks to get ahead of their holiday baking! You can prepare the peanut butter mixture and form the pumpkin shapes up to 24 hours in advance; just keep them covered in the refrigerator. To maintain their delightful texture and prevent browning, ensure they are well-chilled before dipping. When you’re ready to finish, simply melt the candy coating, dip the chilled pumpkins, and add the decorative touches. This way, you’ll have an enchanting treat ready to impress without stress, bringing joy to your fall festivities with minimal last-minute effort!
Peanut Butter Pumpkins: Endless Variations
Embrace your creativity and make these Peanut Butter Pumpkins even more delightful with a few simple tweaks!
-
Chocolate Dipped: Replace orange candy melts with melted chocolate for a richer flavor profile. Chocolate pairs beautifully with peanut butter!
-
Nut Butter Blend: Swap peanut butter for almond or cashew butter to introduce new flavors and cater to different nut preferences. Each nut brings its unique nuances!
-
Stuffed Pumpkins: Add a surprise filling of caramel or chocolate inside each pumpkin for an extra burst of sweetness. This will make every bite exciting for your taste buds.
-
Mini Pumpkins: Shape the mixture into smaller bites to create adorable mini pumpkins perfect for snacking. These bite-sized treats make great party snacks!
-
Spiced Pumpkin Mix: Add a pinch of cinnamon and nutmeg to the peanut butter mixture for a cozy seasonal flavor. This twist will evoke the aromas of fall baking!
-
Colorful Coatings: Experiment with different colored candy melts for a vibrant array of pumpkins that can match any festive theme. Kids love colorful treats!
-
Savory Twist: For a unique flavor, mix in a pinch of sea salt with the peanut butter to enhance the sweetness. The contrast will surprise your palate!
-
Nut-Free Version: Use sunflower seed butter instead of peanut butter for a nut-free alternative. This makes the treats school-friendly as well!
For more delicious ideas, you might also enjoy our Garlic Butter Steak for a hearty meal or treat yourself to a comforting bowl of Butternut Squash Soup. Customize and enjoy every moment of your fall festivities!
Expert Tips for Peanut Butter Pumpkins
Natural Peanut Butter: Choose natural peanut butter for the best flavor. Avoid brands with added sugars or preservatives for a healthier treat.
Chill Time Matters: Always chill your peanut butter balls before coating to prevent cracking in the candy layer. This ensures a smooth finish for your Peanut Butter Pumpkins.
Proper Coating Technique: Use a fork or toothpick for proper dipping to avoid messy hands and ensure even coverage of the candy coating.
Decorate While Tacky: Press mini chocolate chips onto the pumpkins when the coating is slightly tacky for better adhesion, preventing them from falling off later.
Creative Variations: Feel free to experiment! Try different nut butters or candy coatings for unique takes on your Peanut Butter Pumpkins that fit family preferences.
What to Serve with Peanut Butter Pumpkins
Elevate your fall gatherings by complementing these sweet treats with mouthwatering sides and drinks that enhance their festive charm.
- Creamy Mashed Potatoes: Their velvety texture and mild flavor create a comforting contrast to the sweet and nutty pumpkins.
- Warm Apple Cider: The spiced warmth of apple cider adds a cozy atmosphere, perfectly embracing the essence of autumn.
- Carrot Sticks with Hummus: These crunchy, fresh bites provide a healthful, vibrant contrast to the richness of the peanut butter, enhancing the experience.
- Chocolate Chip Cookies: Classic cookies offer a familiar sweetness, delightfully fulfilling the craving for treats, creating a nostalgic atmosphere.
- Fall Salad: A mix of spinach, apples, nuts, and cranberries brings a refreshing brightness that balances out the sweetness of the pumpkins.
- Pumpkin Spice Latte: Embrace the flavors of fall with this iconic drink, echoing the festive spirit while providing a comforting coffee option.
- Roasted Sweet Potatoes: Their natural sweetness complements the Peanut Butter Pumpkins while introducing a hearty, savory element to the meal.
- Chocolate Milk: Creamy and nostalgic, this drink pairs perfectly with the pumpkin treats, making it a favorite among kids.
- Mini Cheesecakes: Individual portions of rich cheesecake add an elegant touch, ideal for satisfying everyone’s sweet tooth at your gathering.
Peanut Butter Pumpkins Recipe FAQs
How do I choose the right peanut butter for my Peanut Butter Pumpkins?
Absolutely! I recommend opting for natural peanut butter without added sugars or preservatives, as it enhances the overall flavor and is a healthier choice. Look for brands that contain only peanuts and salt for the best results in your treats.
How should I store my Peanut Butter Pumpkins?
You can store your Peanut Butter Pumpkins in an airtight container in the refrigerator for up to 1 week. This keeps them fresh and maintains their delightful texture. If you want to make them ahead, uncoated peanut butter balls can be frozen for up to 3 months. Just wrap them tightly in plastic and place them in a freezer bag.
Can I freeze my Peanut Butter Pumpkins?
Certainly! To freeze, first ensure the peanut butter balls are uncoated. Place them on a baking sheet and freeze until solid, then transfer them to a freezer bag. They will keep well for up to 3 months. When you're ready to enjoy, simply let them thaw in the fridge overnight, then coat as desired.
What should I do if my candy coating cracks?
If you notice cracking in your candy coating, it’s likely the peanut butter balls weren’t chilled enough before dipping. Ensure they are well-chilled for at least 30 minutes; this will help them hold their shape during coating. If you're still having trouble, try reducing the melting time for the candy melts; overheating can make them thick and difficult to work with.
Are Peanut Butter Pumpkins suitable for those with allergies?
Great question! These treats can be tailored to accommodate allergies. If peanut allergies are a concern, you can substitute peanut butter with almond or cashew butter. For gluten-free needs, ensure you use gluten-free crispy rice cereal. Always check ingredient labels to ensure they are free from allergens relevant to your guests.

Peanut Butter Pumpkins That Bring Fall Joy to Your Table
Ingredients
Equipment
Method
- Prepare Your Workspace: Clear and clean your kitchen counter and gather all ingredients and equipment.
- Mix Peanut Butter Mixture: In a bowl, combine peanut butter, powdered sugar, and vanilla extract, and blend until smooth.
- Add Rice Cereal: Gently fold in crispy rice cereal until fully coated.
- Form Pumpkins: Scoop 1-2 tablespoons of the mixture and roll into balls. Place on a baking sheet.
- Chill: Cover and refrigerate for about 30 minutes until firm.
- Melt Candy Coating: In a bowl, combine orange candy melts and vegetable oil; microwave until smooth.
- Coat Pumpkins: Dip each chilled ball into the warm candy coating, shaking off excess.
- Add Decoration: Press mini chocolate chips into the coated balls for eyes.
- Set: Let the pumpkins sit at room temperature until the coating hardens, about 15-20 minutes.


Leave a Reply