
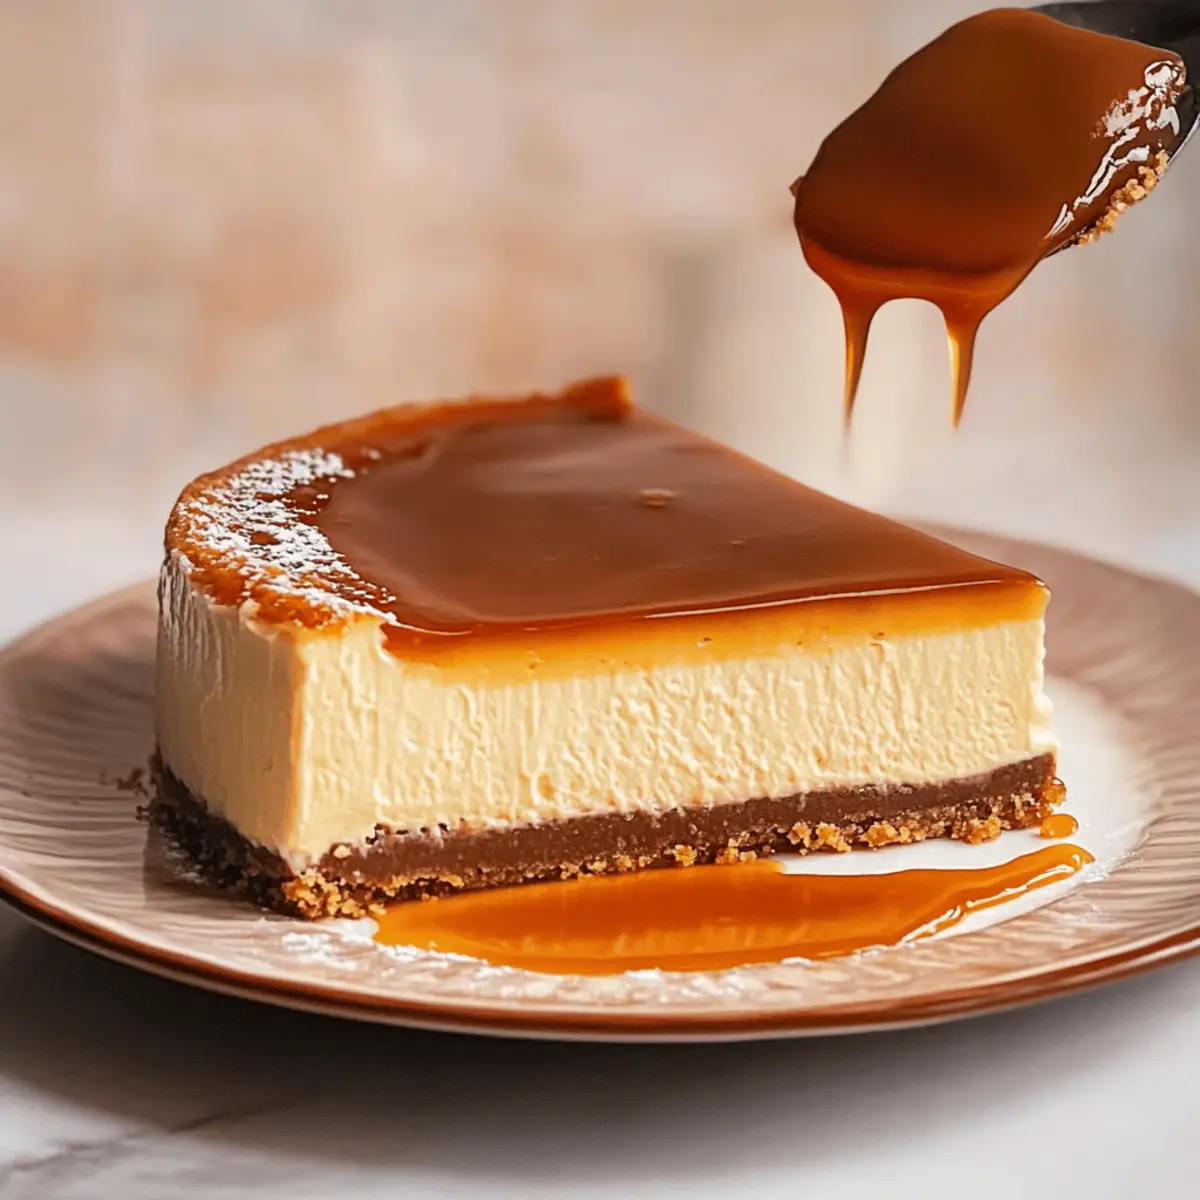
As the sun dips below the horizon and the kitchen fills with the intoxicating scent of buttery cookies and caramel, I can’t help but feel a thrill of anticipation. This isn’t just any dessert; it’s a Salted Caramel Cheesecake that wraps you in layers of creamy goodness and a hint of spice from Biscoff cookies. Perfect for everything from birthdays to quiet evenings at home, this dessert isn’t only about indulgence; it’s a wonderful way to impress guests with minimal effort. With quick prep time and a stunning presentation, you’ll find it’s not just a sweet end to a meal, but a highlight of your gathering. Are you ready to dive into this luscious treat that will leave everyone craving more?
Why Is This Cheesecake Irresistible?
Decadent Layers: Each slice offers a delightful combination of rich cream cheese and luscious salted caramel, ensuring every bite melts in your mouth.
Unique Crust: The spiced Biscoff cookie crust adds a surprising depth of flavor that sets this cheesecake apart from standard recipes.
Effortless Glamour: With minimal skills required, you'll serve a stunning dessert that looks and tastes gourmet—perfect for impressing your guests.
Simple Prep: Quick preparation means you can spend less time in the kitchen and more time enjoying your company; serve alongside fresh berries for a beautiful contrast.
Versatile Indulgence: Ideal for any occasion—birthdays, holidays, or casual dinner parties—this cheesecake will leave everyone raving about your baking skills. Don't miss out on trying variations like the Velvet Strawberry Cheesecake for your next gathering!
Salted Caramel Cheesecake Ingredients
For the Salted Caramel Sauce
• Granulated Sugar – A key ingredient for sweetness and structure in your sauce; avoid substitution for best results.
• Sliced Butter – This adds a rich creaminess; switch to unsalted butter for precise salt control.
• Heavy Cream – Essential for a smooth texture, or try non-dairy heavy cream as an alternative.
• Vanilla Extract – Elevates the flavor profile of both the caramel and cheesecake; opt for pure vanilla for richness.
• Salt – Balances the sweetness; using sea salt will give your sauce a gourmet appeal.
For the Crust
• Biscoff Cookies – The perfect spiced cookie base; feel free to swap for graham crackers or Oreos if desired.
• Melted Butter – Binds cookie crumbs together; coconut oil can also be used for a vegan-friendly option.
For the Cheesecake Filling
• Cream Cheese – Creates the rich, creamy filling; low-fat versions can be used but may impact flavor.
• Granulated Sugar – Adds necessary sweetness to the filling; this complements the salted caramel beautifully.
• Eggs – They provide structure and moisture; remember to use room temperature eggs for even mixing.
• Heavy Cream – Adds extra creaminess and richness; do consider substituting non-dairy cream if preferred.
• Sour Cream – Offers tanginess and creamy consistency; Greek yogurt works well as a substitute.
• Cornstarch – Provides stability and helps prevent cracks in your cheesecake; it’s best not to substitute this one.
So gather these ingredients and get ready to create a Salted Caramel Cheesecake that is sure to impress!
Step‑by‑Step Instructions for SALTED CARAMEL CHEESECAKE
Step 1: Prepare the Salted Caramel Sauce
In a medium saucepan over medium heat, melt 1 cup of granulated sugar, stirring occasionally until it turns an amber color, which should take about 5-7 minutes. Once melted, add 6 tablespoons of sliced unsalted butter and gently stir until combined. Gradually pour in ½ cup of warmed heavy cream along with 1 teaspoon of vanilla extract and ½ teaspoon of sea salt. Allow the caramel to cool to room temperature.
Step 2: Make the Crust
Preheat your oven to 350°F (175°C). Crush 2 cups of Biscoff cookies into fine crumbs using a food processor or a rolling pin, then combine them with ½ cup of melted butter in a mixing bowl. Press the mixture evenly into the bottom of a 9-inch springform pan with the back of a measuring cup. Bake the crust for 10 minutes, then set aside to cool while you prepare the filling.
Step 3: Prepare the Filling
In a large mixing bowl, beat 24 ounces of softened cream cheese with an electric mixer on medium speed until smooth and creamy, about 3-4 minutes. Gradually add 1 cup of granulated sugar and 1 teaspoon of vanilla extract, mixing until fully incorporated. Add 3 room temperature eggs one at a time, beating just until blended after each addition. Then, mix in ½ cup heavy cream, ½ cup sour cream, and 2 tablespoons of cornstarch until just combined, ensuring not to overmix.
Step 4: Combine and Bake
Gently fold the cooled salted caramel sauce into the cheesecake filling, being careful not to overmix. Pour the filling over the prepared and cooled crust in the springform pan. Bake in the preheated oven for 60-70 minutes, until the edges are set and the center is slightly jiggly. Turn off the oven and leave the cheesecake inside with the door ajar for 1 hour to prevent cracking.
Step 5: Chill and Serve
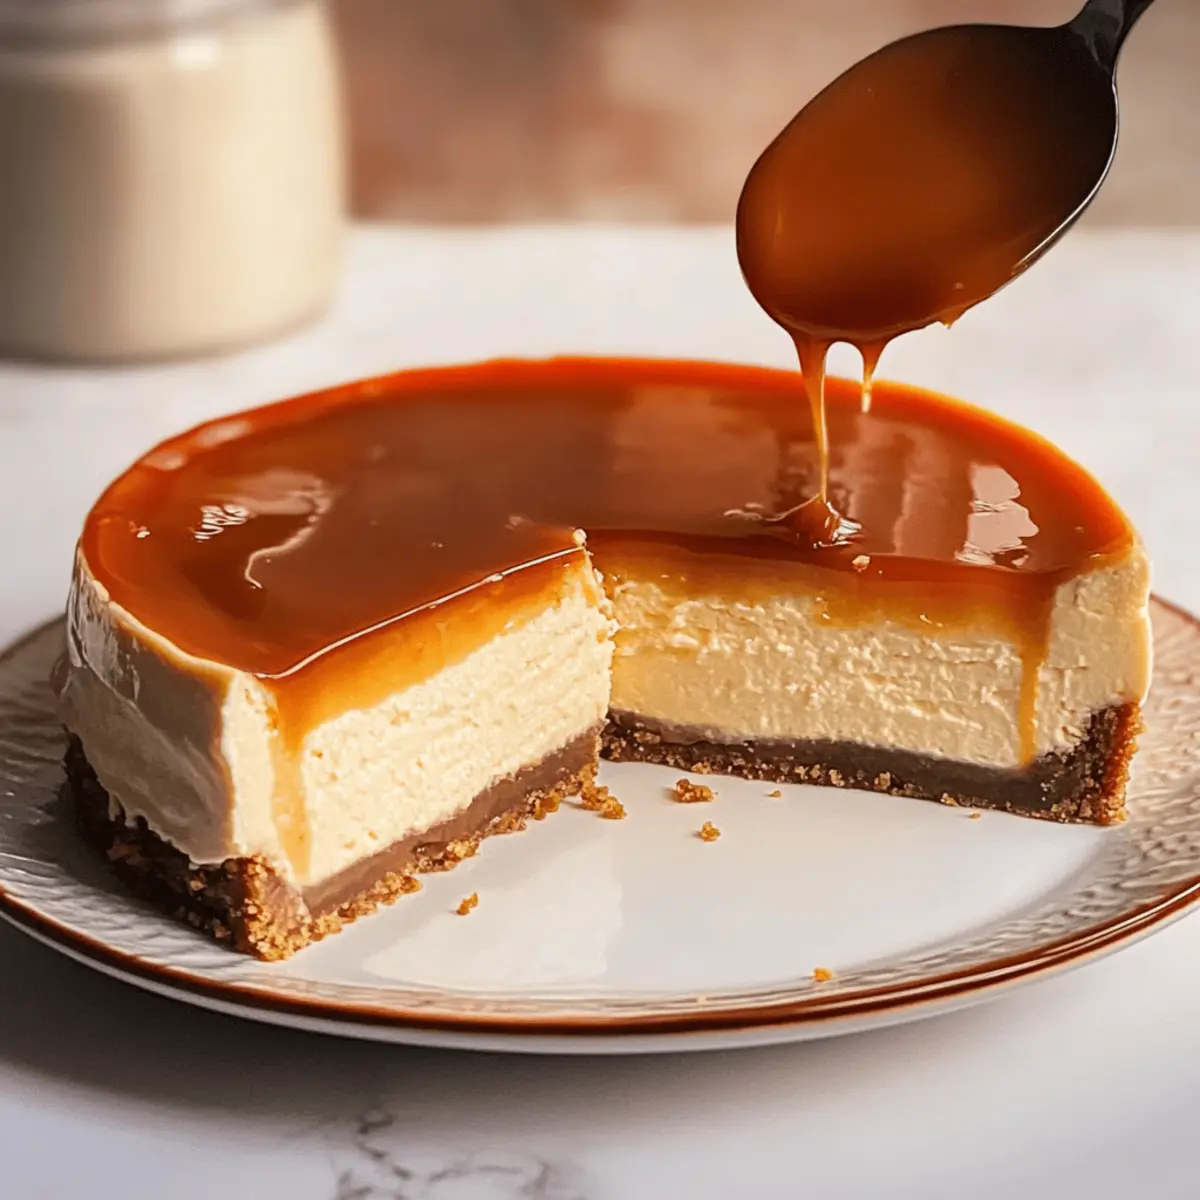
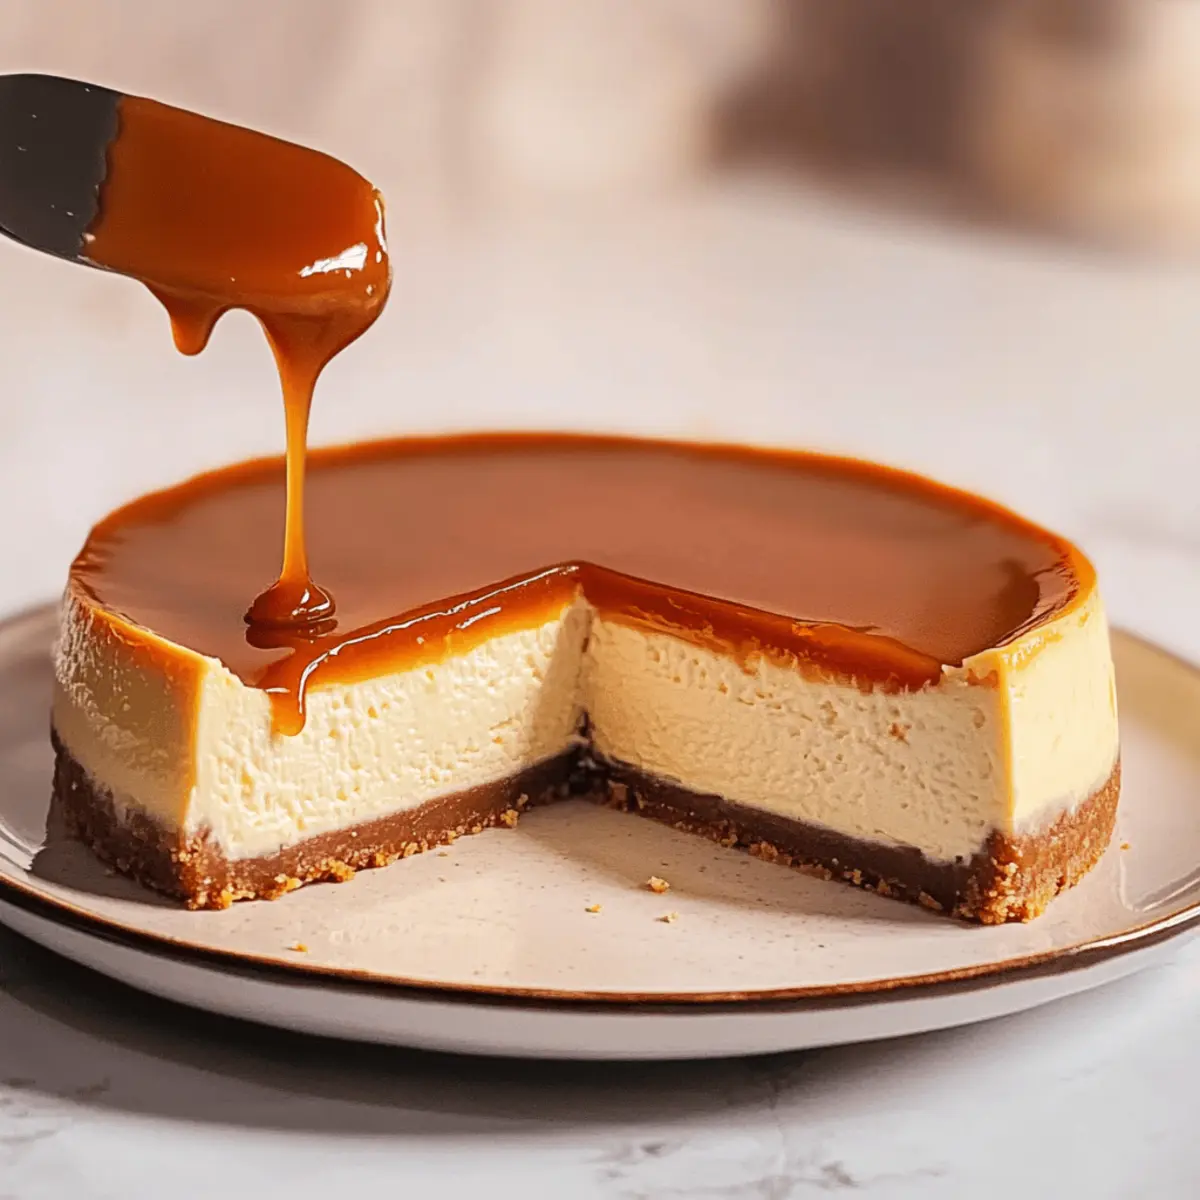
Once the cheesecake is cooled to room temperature, refrigerate it for at least 4 hours or, preferably, overnight for the best texture. Before serving, drizzle with any remaining salted caramel sauce and, if desired, sprinkle with flaky sea salt. Slice carefully and enjoy your deliciously rich SALTED CARAMEL CHEESECAKE for an unforgettable dessert experience.
Expert Tips for Salted Caramel Cheesecake
-
Room Temperature Ingredients: Ensure your cream cheese and eggs are at room temperature to avoid lumps. This helps achieve a smooth, creamy filling.
-
Don’t Overmix: Gently mix the filling and avoid overmixing after adding eggs to prevent cracks in your cheesecake during baking.
-
Cooling Time: Allow the cheesecake to cool in the oven with the door ajar after baking. This gradual cooling helps avoid cracks and ensures a perfect texture.
-
Chill Overnight: For the best flavor and texture, refrigerate your Salted Caramel Cheesecake overnight. The flavors meld beautifully during this time.
-
Serving Fresh: Drizzle extra salted caramel sauce just before serving. This adds a fresh burst of flavor and makes your dessert visually stunning!
What to Serve with Salted Caramel Cheesecake
Complement your dessert with delightful pairings that enhance its rich, buttery flavors.
- Whipped Cream: A dollop of lightly sweetened whipped cream adds airiness, balancing the cheesecake's richness perfectly.
- Fresh Berries: Strawberries, raspberries, or blueberries offer a burst of tartness, cutting through the sweetness and adding brightness to each bite.
- Coffee or Espresso: A warm cup of coffee or a shot of espresso enhances the dessert’s flavors, making it feel like a luxurious café experience.
- Chocolate Sauce: Drizzling some dark chocolate sauce over your cheesecake provides an indulgent contrast that chocolate lovers will adore.
- Crushed Nuts: Chopped pecans or walnuts introduce a crunchy texture, melding beautifully with the cheesecake's creamy filling and adding earthy notes.
- Ice Cream: Choose vanilla bean or salted caramel ice cream to echo the cheesecake’s flavors and create a decadent dessert duo.
- Mint Leaves: Garnish your plate with fresh mint; its bright, herbal notes bring a refreshing contrast and visual appeal, making every slice more intriguing.
Make Ahead Options
These Salted Caramel Cheesecake preparations are perfect for busy home cooks looking to save time! You can prepare the salted caramel sauce and the Biscoff cookie crust up to 24 hours in advance. Store the caramel in an airtight container in the refrigerator, ensuring it’s tightly sealed to maintain its sweetness and prevent drying out. The crust can be made and left at room temperature or covered and refrigerated until you’re ready to assemble. When it’s time to enjoy your cheesecake, simply mix the filling, combine with the chilled caramel, and bake. This simple prep will leave you with a magnificent dessert that tastes just as delicious as if made fresh.
How to Store and Freeze Salted Caramel Cheesecake
Fridge: Store covered in the refrigerator for up to 1 week. This will keep the cheesecake fresh and creamy, allowing you to savor each delightful slice.
Freezer: To freeze, wrap slices tightly in plastic wrap and aluminum foil, then place in an airtight container. You can enjoy the cheesecake for up to 3 months without losing flavor or texture.
Reheating: Thaw frozen slices in the refrigerator overnight before serving. For a warm treat, consider briefly warming in the oven at a low temperature, ensuring it stays moist.
Serving Tip: If you have leftover salted caramel sauce, store it separately in the fridge and drizzle it over your cheesecake just before serving for extra deliciousness!
Variations & Substitutions for SALTED CARAMEL CHEESECAKE
Feel free to explore these delicious twists that elevate your cheesecake experience and cater to your taste buds!
- Gluten-Free: Use gluten-free cookies like almond flour-based cookies to create a delightful crust without compromising on flavor.
- Dairy-Free: Substitute cream cheese and heavy cream with vegan cream cheese and coconut cream for a creamy texture without the dairy.
- Nutty Twist: Add crushed pecans or walnuts to the crust for a crunchy texture that pairs beautifully with the cheesecake and caramel.
- Spiced Flavor: Incorporate a dash of cinnamon or nutmeg into the crust or filling to kick up the warmth and complexity of your cheesecake.
- Caramel Swirl: Before baking, swirl extra caramel sauce into the cheesecake filling for a visually stunning and taste-bud-pleasing effect.
- Chocolate Lover's Delight: Fold in mini chocolate chips or cocoa powder into the cheesecake filling for a rich chocolate flavor that complements the salty caramel.
- Fruit Infusion: Top your cheesecake with a layer of fresh fruit, like raspberries or sliced strawberries, to add a tangy burst and a vibrant color contrast.
- Mini Cheesecakes: Make individual cheesecakes in muffin tins for a delightful, portion-controlled treat that's perfect for parties and gatherings.
Each variation brings a unique flair to your Salted Caramel Cheesecake. If you’re looking to further explore creative desserts, why not check out the alluring Burnt Basque Cheesecake for an adventurous twist? And if layers of strawberry and cream sound enticing, the Velvet Strawberry Cheesecake might be your next favorite! Enjoy the journey of flavors!
Salted Caramel Cheesecake Recipe FAQs
How do I select ripe ingredients for a Salted Caramel Cheesecake?
Absolutely! For the best results, use fresh, high-quality ingredients. Choose cream cheese that is properly softened (room temperature) to avoid lumps in your filling. When selecting eggs, look for ones with intact shells and a sell-by date that ensures freshness. Heavy cream should be as fresh as possible; check the expiration date, as it plays a crucial role in the texture and richness of both the cheesecake and caramel.
What is the best way to store Salted Caramel Cheesecake?
Very important! Store your cheesecake covered in the refrigerator for up to 1 week. For longer storage, it is best to freeze the cheesecake without the caramel topping. Wrap individual slices tightly in plastic wrap and aluminum foil before placing them in an airtight container. This method maintains its flavor and texture for up to 3 months.
Can I freeze my Salted Caramel Cheesecake?
Yes, you can absolutely freeze it! To freeze, first let the cheesecake cool completely. Then, wrap it tightly in plastic wrap and aluminum foil to protect it from freezer burn. Place the wrapped cheesecake in an airtight container. When you’re ready to enjoy it, thaw it in the refrigerator overnight for best results. If you’d like a warm treat, you can gently warm it in the oven at a low temperature for a few minutes.
How can I troubleshoot a cracked cheesecake?
Don't worry; it happens to the best of us! To prevent cracks, make sure to beat your cheesecake filling gently after adding the eggs and avoid overmixing. Additionally, it's important to cool the cheesecake slowly: after baking, leave it in the oven with the door ajar for about an hour. This gradual cooling step helps prevent sudden temperature changes that cause cracks.
Are there any dietary considerations for the Salted Caramel Cheesecake?
I often make adjustments for dietary preferences! If you have allergies, this cheesecake can be made gluten-free by using gluten-free cookies for the crust. Those with dairy intolerance can substitute cream cheese and heavy cream with non-dairy alternatives. Be sure to check all ingredients for allergens if you’re serving guests with specific dietary needs, especially considering eggs and dairy products are key components.
How long does homemade salted caramel last?
The homemade salted caramel sauce can be stored in a sealed container in the refrigerator for up to 2 weeks. Ensure it’s completely cooled before storing. If you want to keep it longer, you can freeze it in an airtight container for up to 3 months. Just thaw in the fridge overnight and give it a gentle stir before drizzling it over your cheesecake!
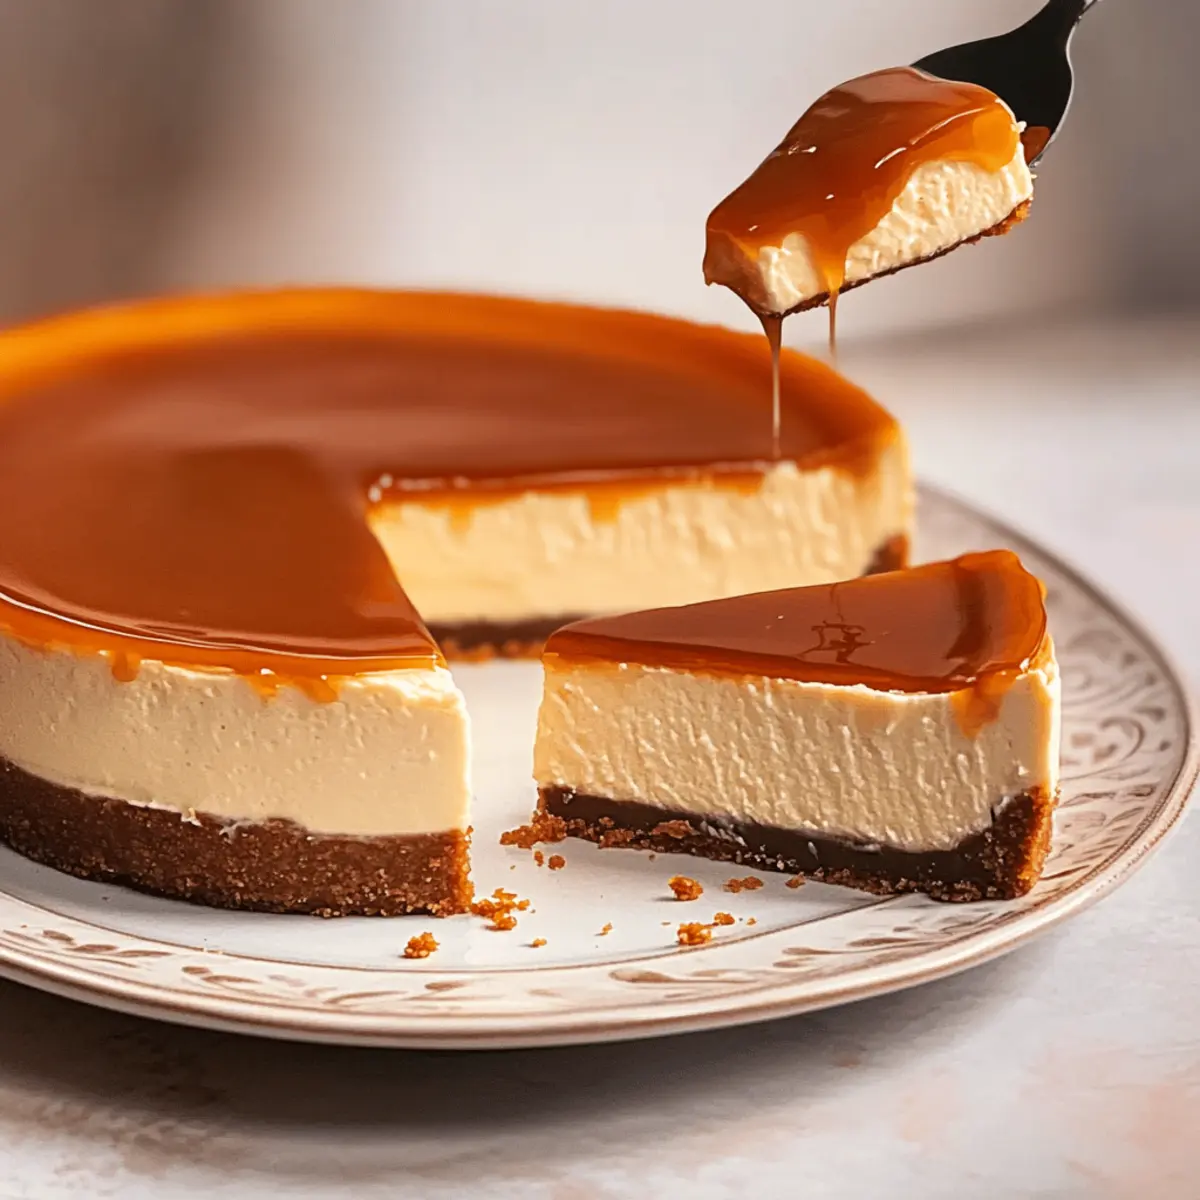
Irresistible Salted Caramel Cheesecake on a Biscoff Crust
Ingredients
Equipment
Method
- Prepare the Salted Caramel Sauce: In a medium saucepan over medium heat, melt the granulated sugar, stirring occasionally until it turns an amber color (5-7 minutes). Add the sliced butter, stir until combined, then gradually pour in warmed heavy cream, vanilla extract, and sea salt. Allow to cool.
- Make the Crust: Preheat oven to 350°F (175°C). Crush Biscoff cookies into fine crumbs, combine with melted butter, and press into the bottom of a springform pan. Bake for 10 minutes and set aside to cool.
- Prepare the Filling: In a mixing bowl, beat softened cream cheese until smooth, then gradually add granulated sugar and vanilla extract. Mix in eggs one at a time, then add heavy cream, sour cream, and cornstarch until combined.
- Combine and Bake: Gently fold in cooled salted caramel sauce into the cheesecake filling, then pour over the prepared crust. Bake for 60-70 minutes until the edges are set and the center jiggles slightly.
- Chill and Serve: Once cooled, refrigerate for at least 4 hours or overnight. Drizzle with remaining caramel sauce and sprinkle flaky sea salt before serving.


Leave a Reply