
As I walked through a local pumpkin patch, the scent of spiced seasonal treats wafted through the air, wrapping me in a warm embrace of nostalgia. Who could resist the allure of homemade goodies, especially when they remind us of our favorite café delights? That’s where these Simple Starbucks Pumpkin Scones come in, effortlessly blending the richness of fall with a hint of that beloved coffeehouse flair. Not only are they easy to whip up, but they're also an excellent way to elevate your breakfast game or indulge in a cozy afternoon snack. Crafted with canned pumpkin puree and packed with warm spices, they're perfect for sharing (or not!). So, will you join me in creating these delightful morsels that are destined to become your autumn staple?
Why are these pumpkin scones irresistible?
Baking Made Easy: You don’t need to be a pro to whip up these delightful scones; they're perfect for all skill levels!
Fall Flavors: Rich pumpkin and warm spices like cinnamon and nutmeg bring a cozy vibe straight from the oven.
Perfect for Anytime: Whether it’s breakfast or a sweet snack, these scones fit seamlessly into any part of your day.
Customizable Goodness: Feel free to add chocolate chips or nuts, or try a unique glaze for a twist on the classic.
Sharing is Caring: These scones are sure to impress family and friends, making them a great treat for gatherings or cozy weekends. You’ll find them a wonderful complement to your morning coffee or tea, just like those Starbucks Copycat Birthday treats you love!
Simple Starbucks Pumpkin Scones Ingredients
Discover how easy it is to create your own perfect pumpkin scones at home!
For the Scones
- All-Purpose Flour – Provides structure; for gluten-free options, use a suitable blend.
- Brown Sugar – Adds moisture and caramel notes; coconut sugar works well for a deeper flavor.
- White Sugar – Sweetens the dough; consider honey or maple syrup as alternatives, just adjust liquids.
- Ground Cinnamon – Infuses the warmth of fall; feel free to adjust according to your spice preference.
- Ground Nutmeg – Provides a fragrant, nutty warmth; a pinch goes a long way!
- Baking Powder – Essential for rise; make sure it’s fresh for best results.
- Baking Soda – Helps the scones rise; use the right amount to achieve a fluffy texture.
- Salt – Enhances all other flavors; kosher or sea salt is ideal.
- Unsalted Butter (cold, diced) – Creates flakiness; substitute with vegan butter for a dairy-free option.
- Pumpkin Puree (canned) – The star of our recipe; ensure it’s pure pumpkin for the best outcome.
- Cold Milk – Adds moisture; swap for almond or oat milk to keep it dairy-free.
- Cold Egg – Binds the ingredients; for a vegan version, use a flax egg instead.
- Vanilla Extract – Boosts sweetness; substitute with maple extract for a different twist.
For the Glaze
- Powdered Sugar – Provides sweetness and texture; consider a confectioner's sugar alternative if needed.
- Heavy Cream – Adds richness; coconut cream makes a lovely dairy-free swap.
- Pumpkin Pie Spice – Optional for extra flavor complexity in the glaze; adjust based on your taste.
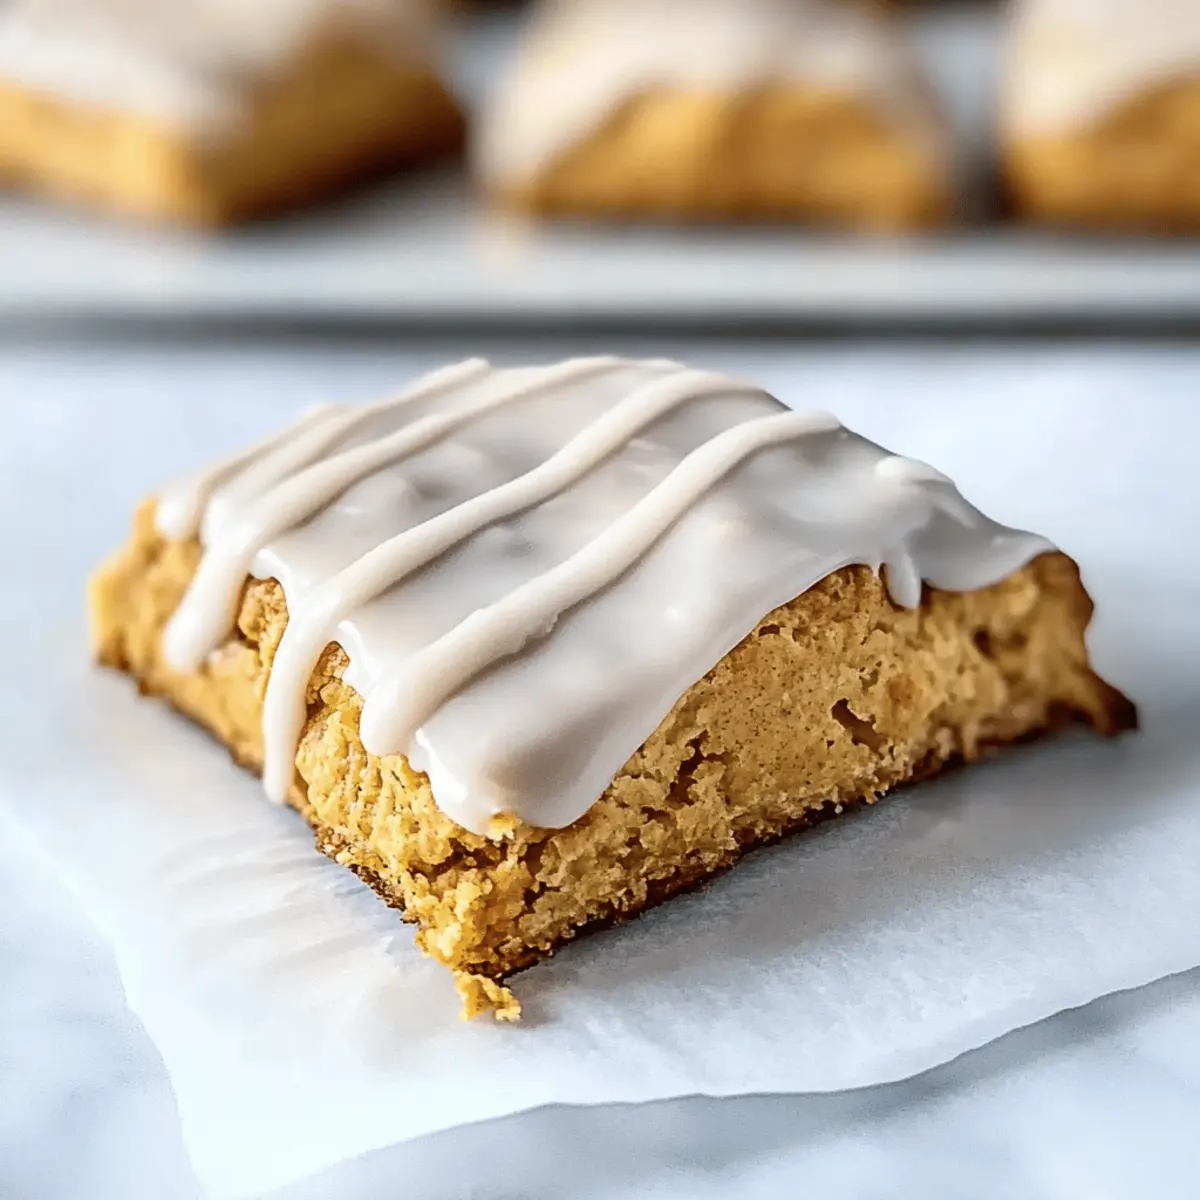
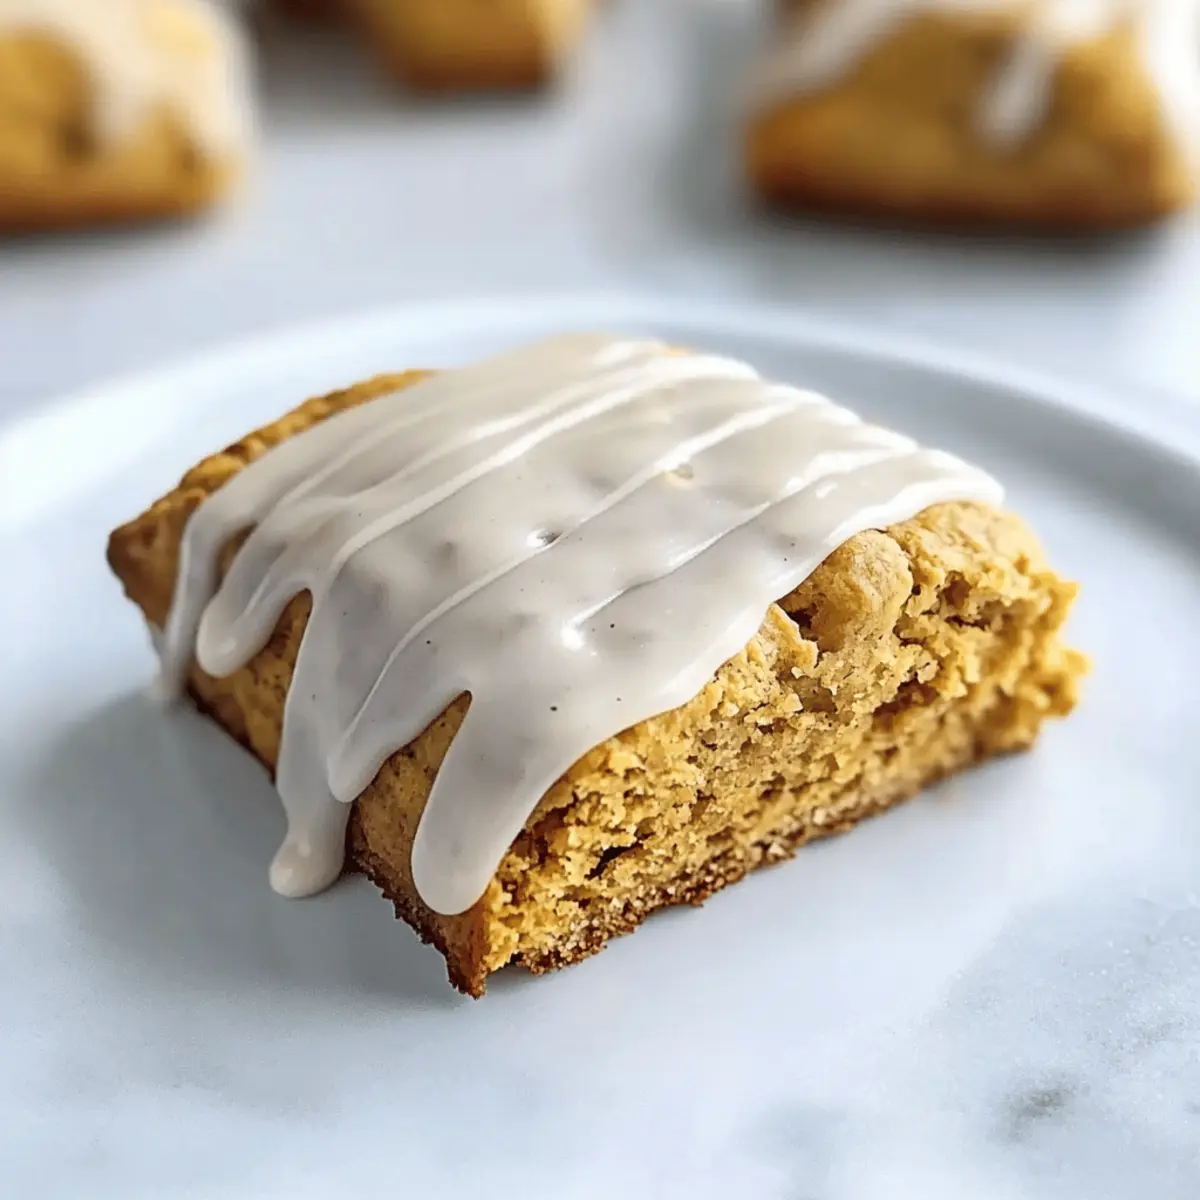
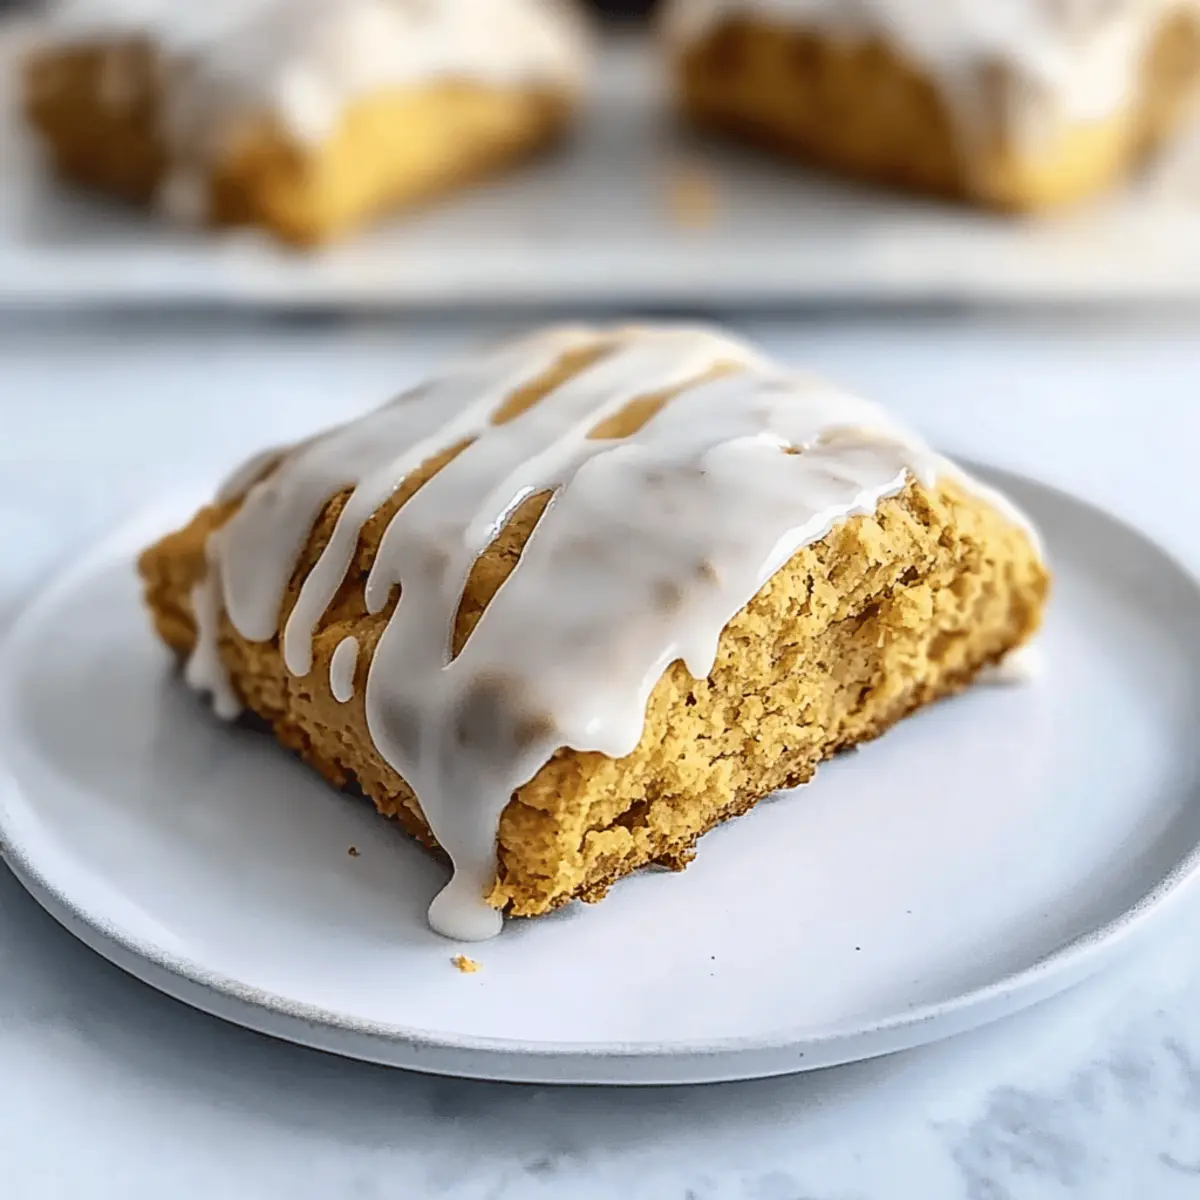
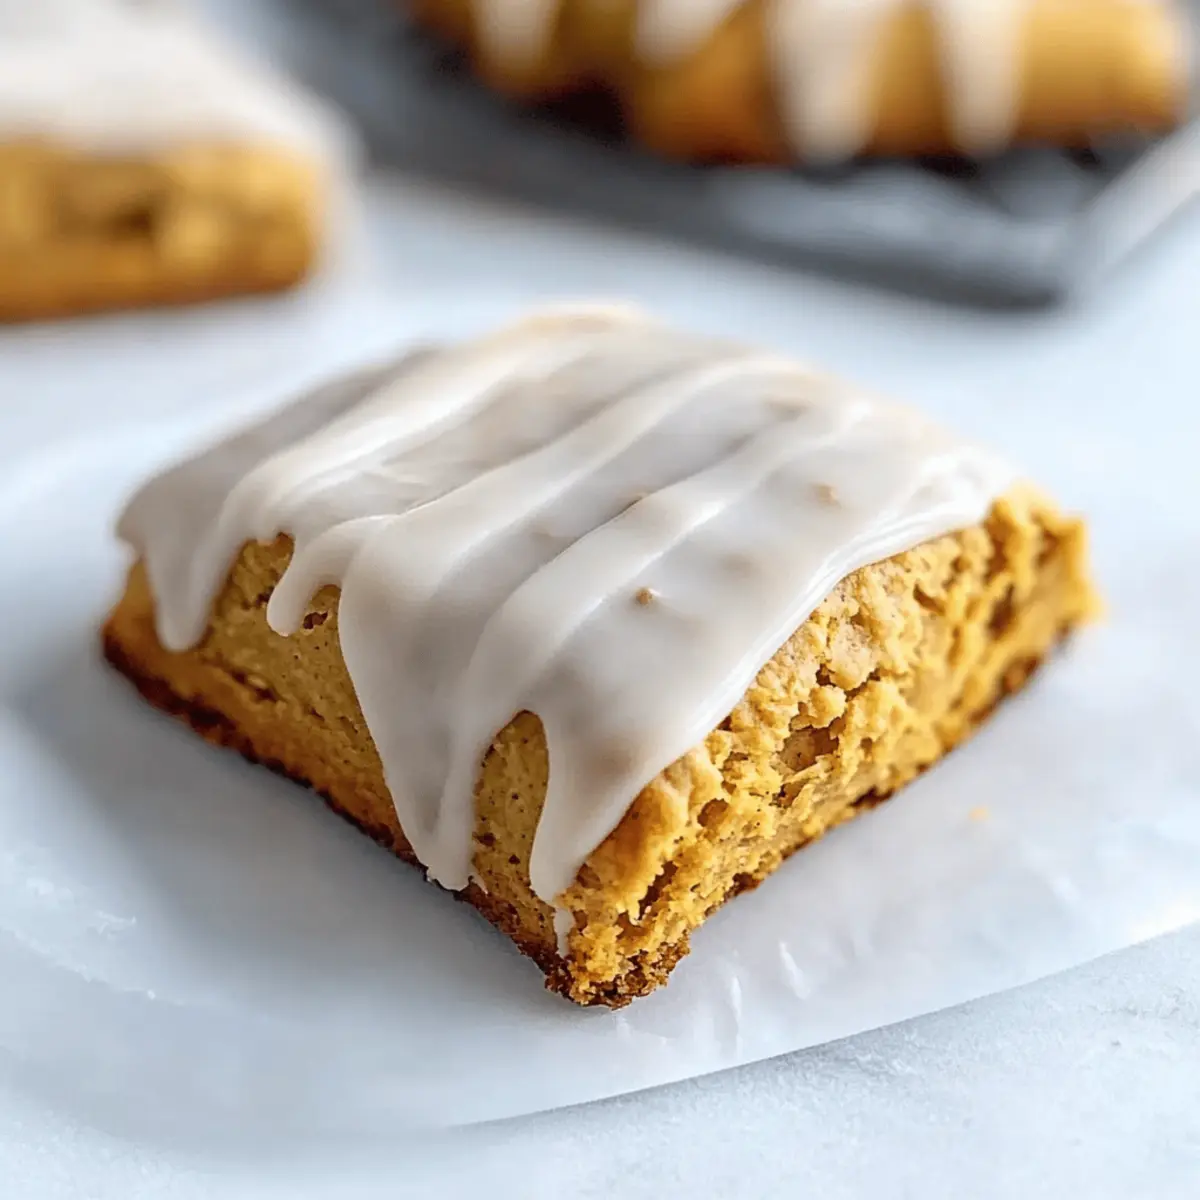
Enjoy these Simple Starbucks Pumpkin Scones as they embody the flavors of fall in every bite!
Step‑by‑Step Instructions for Simple Starbucks Pumpkin Scones
Step 1: Preheat the Oven and Prepare the Baking Sheet
Begin by preheating your oven to 400°F (200°C). While it heats, line a baking sheet with parchment paper to prevent sticking and ensure easy cleanup. The warm oven creates the perfect environment for the Simple Starbucks Pumpkin Scones to rise and bake evenly, giving them that delightful golden hue.
Step 2: Whisk Wet Ingredients
In a medium bowl, whisk together the pumpkin puree, cold milk, cold egg, and vanilla extract until smooth and well combined. This mixture will become the flavorful foundation of your scones. Once blended, feel free to chill the bowl in the refrigerator for a few minutes to maintain the temperature of the ingredients, which enhances the scone's texture.
Step 3: Combine Dry Ingredients
In a large bowl, mix the all-purpose flour, brown sugar, white sugar, ground cinnamon, ground nutmeg, baking powder, baking soda, and salt. Stir until thoroughly combined, ensuring that the spices and leavening agents are evenly distributed throughout the flour mixture. This step is crucial for achieving that perfect flavor balance in your Simple Starbucks Pumpkin Scones.
Step 4: Cut in the Butter
Next, add the cold, diced unsalted butter to the dry ingredients. Using a pastry cutter or your fingertips, work the butter into the flour mixture until it resembles coarse crumbs with some larger pea-sized pieces. This process is essential for creating a flaky texture, reminiscent of those delightful café scones.
Step 5: Mix Wet and Dry Ingredients
Gently fold the wet mixture into the dry ingredients using a spatula. Mix just until combined and the dough is slightly tacky. Avoid overmixing—the key to tender Simple Starbucks Pumpkin Scones is to keep the dough soft and light, so be gentle and stop as soon as you see no dry flour.
Step 6: Shape and Cut the Dough
Turn the scone dough out onto a lightly floured surface. Pat it into a rectangle about 1 inch thick. Use a sharp knife or a pizza cutter to cut the dough into squares or triangles, ensuring they maintain their shape. This is where you'll see those lovely pieces ready to bake!
Step 7: Bake the Scones
Transfer the shaped scones onto the prepared baking sheet, spacing them apart. Bake in the preheated oven for 17–18 minutes, or until they are lightly golden on top and firm to the touch. Keep an eye on them as they bake; they should puff up beautifully and create a warm, inviting aroma in your kitchen.
Step 8: Cool and Transfer
After baking, allow the scones to cool on the baking sheet for about 10 minutes. Once slightly cooled, gently transfer them to a wire rack to continue cooling completely. This step helps them maintain their shape and prevents them from becoming soggy.
Step 9: Prepare the Glaze
While the scones cool, whisk together powdered sugar and heavy cream in a small bowl until smooth. Adjust the consistency as needed by adding a little more cream or sugar. The glaze will add that sweet finishing touch to your Simple Starbucks Pumpkin Scones, enhancing their flavor.
Step 10: Glaze and Set
Once the scones have completely cooled, drizzle the prepared glaze over the top, allowing it to cascade down the sides. If you’d like, refrigerate any remaining spiced glaze for a fun decoration later. Let the glaze set before serving to ensure it stays beautifully affixed to each scone.
How to Store and Freeze Simple Starbucks Pumpkin Scones
Room Temperature: Store scones in an airtight container at room temperature for up to 3 days to keep them fresh and maintain their delicious texture.
Fridge: If you prefer, scones can be refrigerated for up to 5 days. Ensure they’re in a tightly sealed container to prevent drying out.
Freezer: For longer storage, freeze the scones before glazing. Place them in a freezer bag or airtight container and enjoy them within 3 months for the best flavor.
Reheating: To enjoy scones warm, reheat in an oven at 350°F (175°C) for about 5–10 minutes or microwave for about 15-20 seconds. The warmth rejuvenates the spices, making each bite delightful!
Make Ahead Options
These Simple Starbucks Pumpkin Scones are perfect for meal prep, allowing busy cooks to enjoy a cozy homemade treat without the last-minute rush! You can prepare the scone dough and refrigerate it for up to 24 hours before baking. Just shape the scones, wrap them tightly in plastic wrap, and store in the fridge. For even longer storage, freeze the unglazed scones instead for up to 3 months. When you're ready to bake, simply add a few extra minutes to the cooking time if they are still frozen. This way, you’ll achieve those delicious, bakery-quality scones whenever the craving strikes, just as delightful as fresh-out-of-the-oven!
What to Serve with Easy Starbucks Copycat Pumpkin Scones
Cozy up your fall mornings with delightful pairings that perfectly complement the warm flavors of these homemade pumpkin scones.
-
Creamy Mashed Potatoes: The rich, buttery texture provides a comforting contrast to the tender scones. A traditional side that adds heartiness to any meal.
-
Spiced Chai Tea: The warmth of chai with its aromatic spices mirrors the scones, creating a comforting beverage that's perfect for savoring in the cozy season.
-
Maple Bacon: The sweetness of maple and the savory, crispy bacon create a delightful balance. It’s an indulgent yet satisfying breakfast combo.
-
Apple Cinnamon Oatmeal: This warm, hearty dish echoes the flavors of fall. The creamy oats and sweet apples complement the spices in the scones beautifully.
-
Pumpkin Spice Latte: Enjoy that café experience right at home! This creamy, spiced beverage pairs exquisitely with the scones to elevate your autumn morning routine.
-
Roasted Brussels Sprouts: Their crispy texture and slight bitterness create a perfect counterpoint to the sweetness of the scones. A lovely side for your fall gatherings.
-
Chocolate Chip Cookies: For a sweet treat after your scones, indulge in classic chocolate chip cookies. Their gooey goodness brings a nostalgic element that everyone loves.
-
Warm Apple Crisp: The buttery, crumbly topping and tender apples make for a delicious dessert that echoes the pumpkin scones’ fall flavors.
-
Vanilla Ice Cream: A scoop of creamy vanilla adds a sweet finish to any meal, especially when enjoyed alongside a warm pumpkin scone.
Tips for the Best Simple Starbucks Pumpkin Scones
• Prep Ahead: Plan your baking by measuring and mixing dry ingredients the night before. It makes the process smoother when you're ready to create your Simple Starbucks Pumpkin Scones.
• Keep it Cold: Ensure your butter and liquids are cold just before mixing. This step is crucial for achieving the light, flaky texture we all love in scones.
• Gentle Touch: Be careful not to overmix the dough. The more you work it, the denser your scones will become. A light hand keeps them tender and airy!
• Perfectly Sized: When shaping your scones, try to keep them uniform in size for even baking. Variations in size can lead to inconsistent textures—some being overbaked while others remain doughy.
• Adjust the Glaze: If your glaze seems too runny, gradually add more powdered sugar. Start with small amounts to reach your desired thickness for a beautiful finish on your Simple Starbucks Pumpkin Scones.
• Bake Fresh or Freeze: Enjoy these scones fresh from the oven or freeze them before glazing. They can last up to three months in the freezer, allowing you to savor that fall flavor anytime!
Simple Starbucks Pumpkin Scones Variations
Feel free to get creative with these simple pumpkin scones, adding your personal touch for a delightful twist!
- Gluten-Free: Substitute all-purpose flour with a gluten-free blend to make these scones gluten-friendly. Enjoy the same comforting texture without the gluten!
- Sweetener Swap: Replace white sugar with maple syrup or honey for a more natural sweetness; just adjust your liquid ingredients accordingly. It adds a unique flavor profile that elevates the scones.
- Vegan Delight: Use vegan butter, almond or oat milk, and a flax egg to make these scones completely dairy-free and egg-free. Enjoy every bite while being mindful of dietary preferences!
- Fruit Boost: Try adding dried cranberries or raisins for a fruity twist; they provide a lovely chewy texture that complements the spices beautifully. Perfect for those who crave a little burst of sweetness!
- Chocolate Lovers: Incorporate chocolate chips directly into the dough for an indulgent treat. The chocolate melts into the scones, creating delicious pockets of sweetness.
- Nutty Crunch: Fold in chopped nuts, like walnuts or pecans, for added texture and a hearty bite. Their natural oils will enhance the flavor, making each scone a delightful experience!
- Spiced Glaze: Experiment with a spiced glaze by adding a pinch of cinnamon or nutmeg to the powdered sugar mixture. It’s a simple twist to harmonize with the warm flavors of the scones.
- Caffeine Kick: Add a splash of brewed coffee to the glaze for a mocha-inspired treat that pairs perfectly with your morning cup. It’ll give your pumpkin scones that extra pick-me-up!
Feel inspired to enhance these Simple Starbucks Pumpkin Scones further? You might enjoy serving them alongside a warming Pumpkin Spice Smoothie for a cozy fall breakfast or as a sweet ending to a meal featuring a rich Pasta Bake Pumpkin. Each variation is a delightful way to showcase your creativity in the kitchen!
Simple Starbucks Pumpkin Scones Recipe FAQs
How do I select the right pumpkin puree?
Absolutely! For the best flavor, go with a pure canned pumpkin puree without added spices or sugars. If you're feeling adventurous and have the time, consider making your own at home by roasting a pie pumpkin until tender, then mashing it until smooth. This will give your scones an extra fresh taste that’s hard to beat!
What’s the best way to store leftover scones?
Very! You can store your Simple Starbucks Pumpkin Scones in an airtight container at room temperature for up to 3 days. If you find yourself with more scones than you can eat, place them in the refrigerator for up to 5 days. Just ensure they're sealed tightly to keep them from drying out.
Can I freeze my scones?
Definitely! To freeze your scones, do so before glazing them. Place the cooled scones in a single layer on a baking sheet and freeze until solid. Then, transfer them to a freezer bag or an airtight container and store for up to 3 months. When you're ready to enjoy them, simply thaw overnight in the fridge and then reheat in the oven for that fresh-out-of-the-oven taste!
How can I troubleshoot dry or tough scones?
Oh no, that’s not what you want! If your scones end up dry or tough, it’s likely due to overmixing the dough or using too much flour. When combining wet and dry ingredients, mix gently until just combined. If your dough seems too dry, a tablespoon of milk added at a time can help. Remember, scone dough should be soft and a little tacky!
Can I make these scones dairy-free or gluten-free?
Absolutely! To make your Simple Starbucks Pumpkin Scones dairy-free, swap in vegan butter and use almond or oat milk in place of regular milk. For gluten-free options, use a gluten-free flour blend that has a 1-to-1 ratio for all-purpose flour. Your scones will still be delicious and full of that warm fall flavor. Enjoy the baking adventure!
Simple Starbucks Pumpkin Scones: Fall in Every Bite
Ingredients
Equipment
Method
- Preheat your oven to 400°F (200°C) and line a baking sheet with parchment paper.
- In a medium bowl, whisk together pumpkin puree, cold milk, cold egg, and vanilla extract until smooth.
- In a large bowl, mix flour, brown sugar, white sugar, cinnamon, nutmeg, baking powder, baking soda, and salt until combined.
- Cut in cold, diced butter into the dry mixture until it resembles coarse crumbs.
- Gently fold the wet mixture into the dry ingredients until just combined.
- Turn the dough out onto a floured surface, pat into a rectangle about 1 inch thick, and cut into squares or triangles.
- Bake in the preheated oven for 17–18 minutes or until lightly golden.
- Cool on the baking sheet for about 10 minutes, then transfer to a wire rack.
- Whisk together powdered sugar and heavy cream for the glaze.
- Drizzle the glaze over the cooled scones and let set before serving.

Leave a Reply