
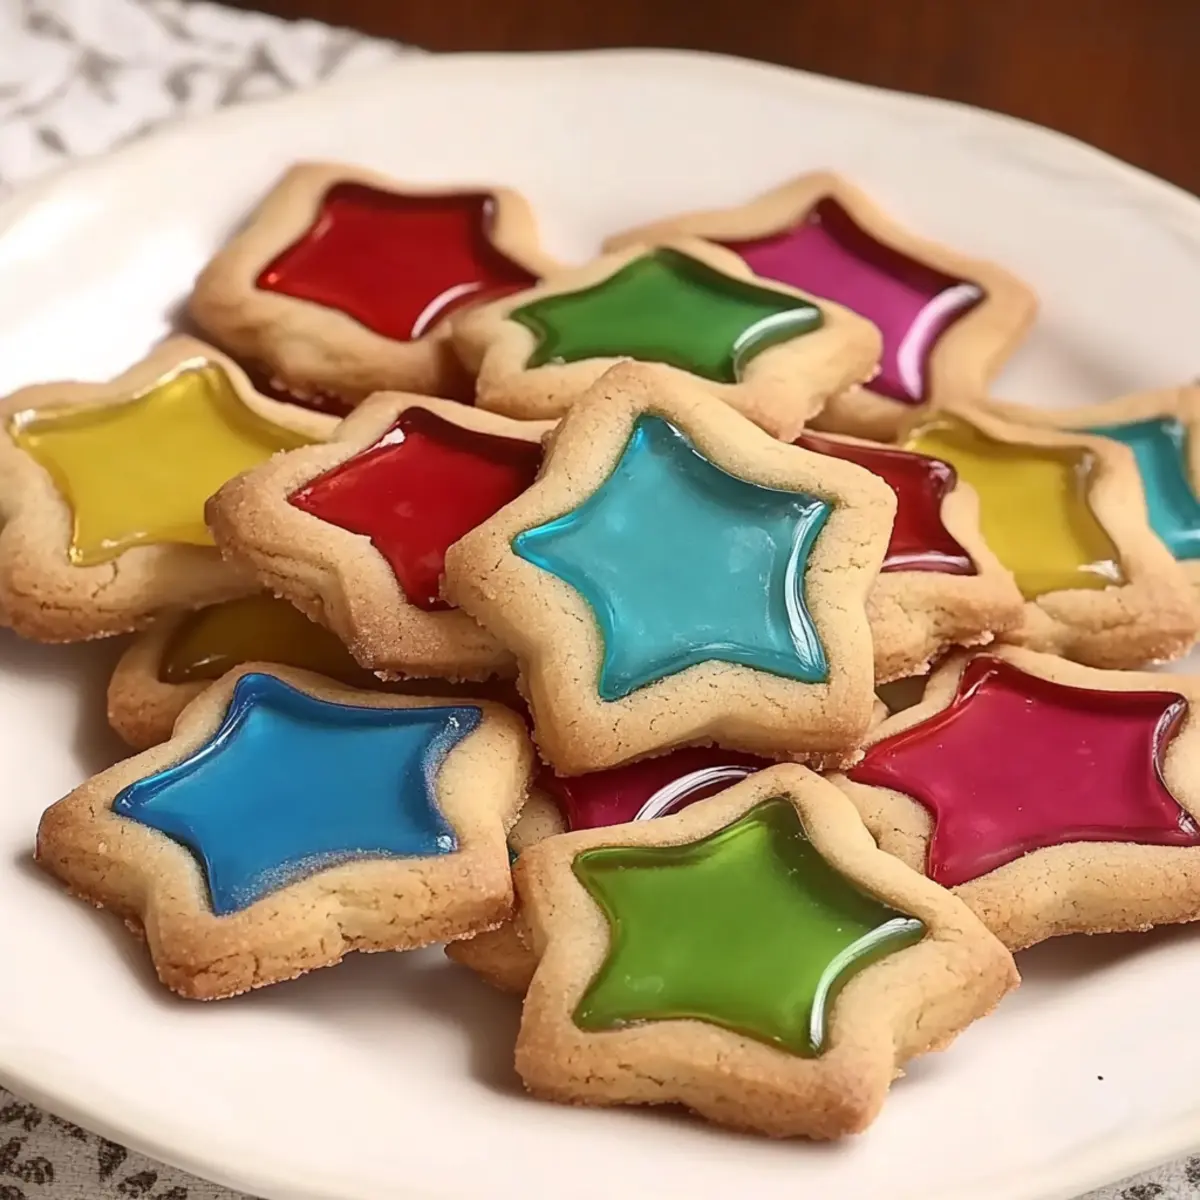
As I watched my son’s eyes light up with wonder, I couldn’t help but feel the magic of baking filling our kitchen. Introducing Stained Glass Cookies—the perfect recipe for adding a splash of color to your family’s festivities! These delightful cookies are not just visually stunning; they bring together the joy of creativity and deliciousness with their buttery base and vibrant, melted candy centers. What makes them truly special is their versatility; these cookies are a fantastic canvas for personalized shapes and colors, making them ideal for any occasion from holidays to birthday celebrations. Plus, you'll love how quickly these come together, allowing you to create a memorable treat without spending hours in the kitchen. Ready to make some sweet memories? Let’s dive into this colorful baking adventure!
Why are Stained Glass Cookies a Must-Try?
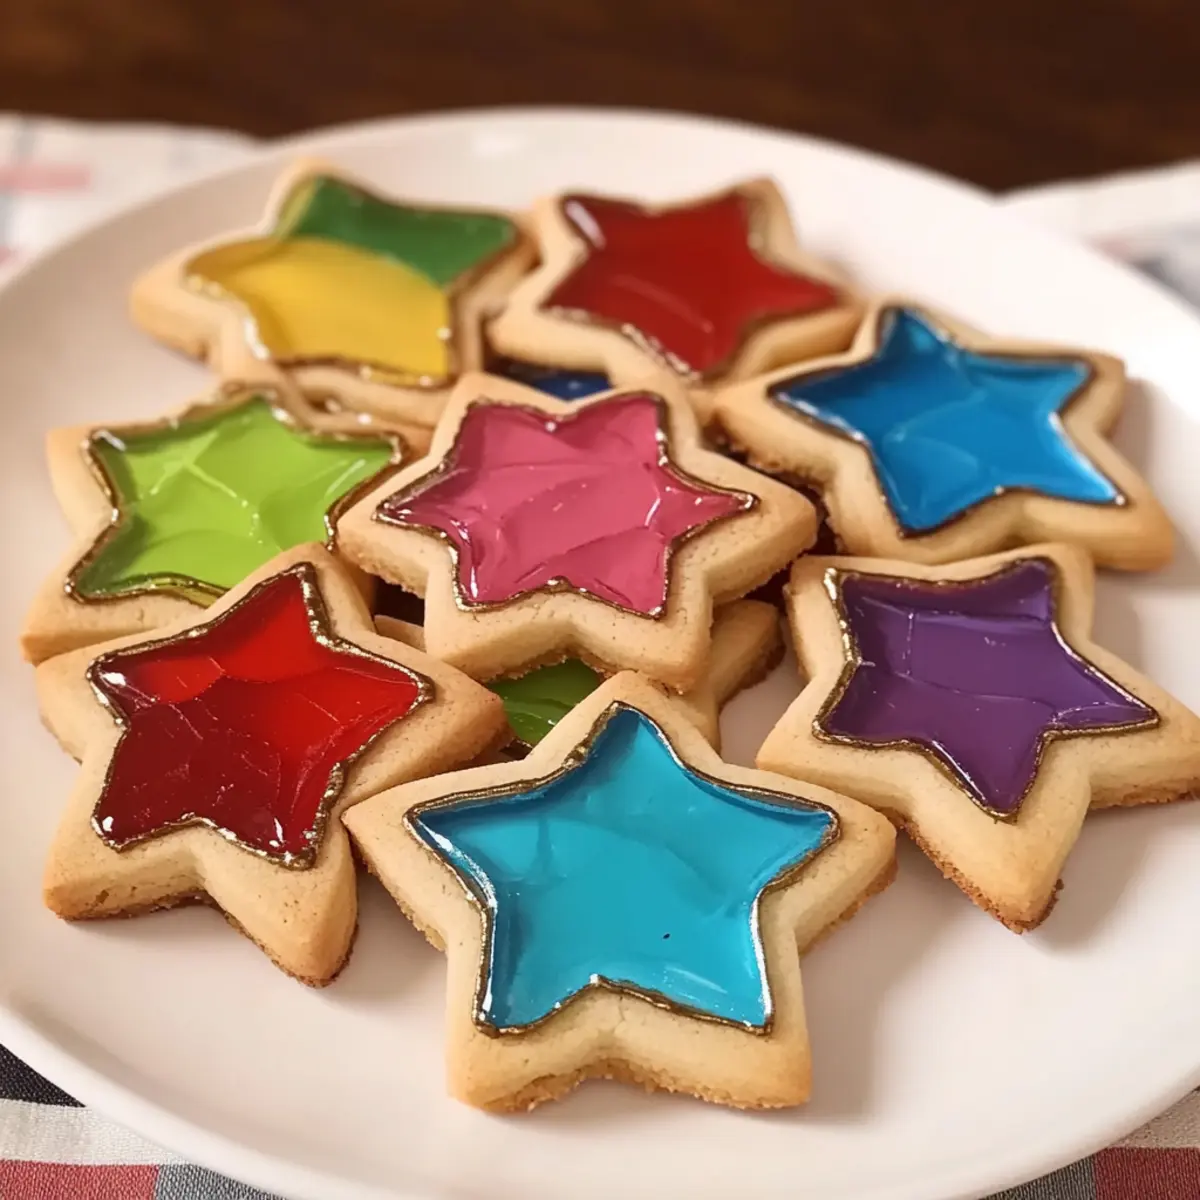
Visual Appeal: These cookies showcase a stunning stained glass effect, making them a showstopper at any gathering.
Creative Freedom: Enjoy the flexibility to customize shapes and colors to suit any holiday or theme.
Quick Preparation: With straightforward instructions, these cookies come together in no time, allowing you to whip up a batch even on busy days.
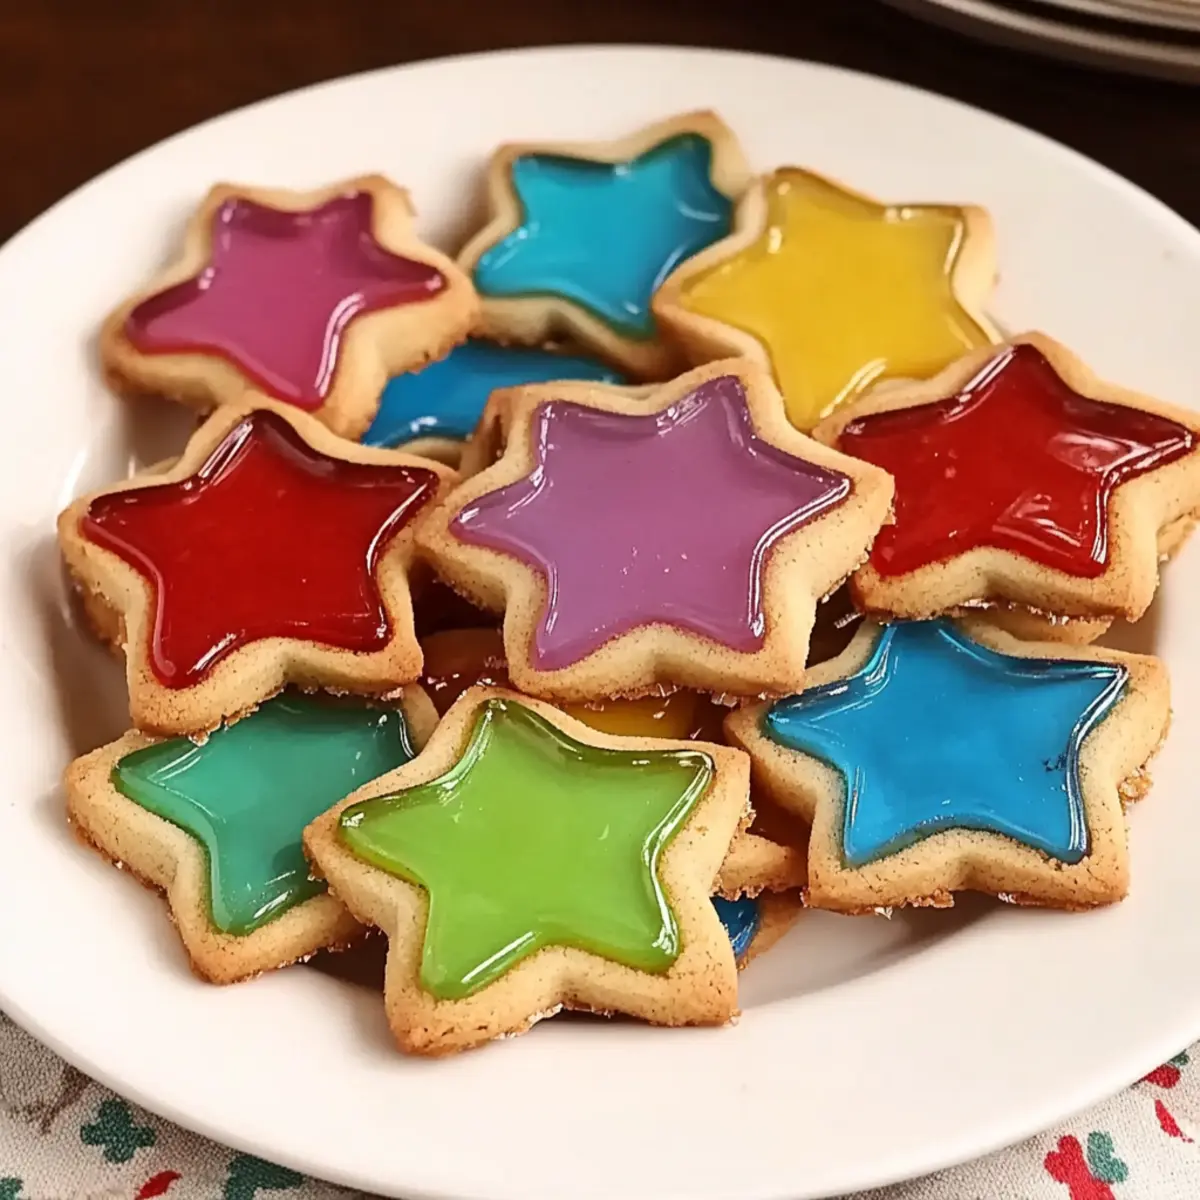
Crowd-Pleaser: Their buttery flavor paired with chewy candy centers makes them a hit with kids and adults alike!
Family Fun: Involve the little ones in baking and decorating, creating cherished memories together. Whether it’s a festive treat or a surprise for a loved one, these Colorful Stained Glass Cookies for Any Occasion are sure to brighten everyone's day!
Stained Glass Cookies Ingredients
• Let’s gather everything you need for these colorful delights!
For the Cookie Dough
- All-purpose flour – the foundation of the cookies that provides structure.
- Baking powder – helps create a light texture and allows the cookies to rise perfectly.
- Salt – enhances the sweetness and rounds out the overall flavor profile.
- Unsalted butter – provide rich moisture and flavor; ensure it's softened for easy mixing.
- Granulated sugar – adds sweetness and contributes to that delightful cookie texture.
- Egg – binds the ingredients together while adding moisture to the dough.
- Vanilla extract – gives a warm, classic flavor that perfectly complements the cookies.
- Almond extract (optional) – adds a subtle hint of nuttiness; feel free to omit or double the vanilla if preferred.
For the Stained Glass Effect
- Assorted hard candies – crushed to create the beautiful stained glass center; use a mixture of colors for visual appeal.
Feel the excitement in the air as you prepare to bake your Stained Glass Cookies!
Step‑by‑Step Instructions for Stained Glass Cookies
Step 1: Prepare Dough
In a large mixing bowl, whisk together 2 cups of all-purpose flour, 1 teaspoon of baking powder, and a pinch of salt. In a separate bowl, cream together 1 cup of softened unsalted butter and 1 cup of granulated sugar until light and fluffy, about 3 minutes. Beat in one egg and 2 teaspoons of vanilla extract until well blended. Gradually mix the dry ingredients into the wet ingredients until a dough forms.
Step 2: Chill
Divide the dough into two equal portions and flatten each into a disc about 1 inch thick. Wrap them tightly in plastic wrap and refrigerate for at least 1 hour, or until the dough is firm. This chilling step is crucial for easier rolling and cutting, ensuring clean, beautiful shapes for your Stained Glass Cookies.
Step 3: Roll and Cut
Preheat your oven to 350°F (175°C). On a lightly floured surface, roll out one disc of chilled dough to about ¼ inch thick. Using cookie cutters, cut out your favorite shapes, and for each cookie, use a smaller cutter to remove the center. Place the cookie shapes on a parchment-lined baking sheet, keeping them spaced apart for baking.
Step 4: Fill and Bake
Fill the center of each cookie with crushed assorted hard candies, ensuring not to overfill to prevent overflow during baking. Bake in the preheated oven for 8-10 minutes, until the edges of the cookies are lightly golden. Keep an eye on them, as the candy will melt beautifully to create the stained glass effect.
Step 5: Cool
Once baked, remove the baking sheet from the oven and let the cookies cool for a few minutes. Carefully transfer them to a wire rack to cool completely. This allows the melted candy centers to set perfectly, ensuring your Stained Glass Cookies have vibrant and beautiful “glass” centers ready to be enjoyed or decorated.

Make Ahead Options
These Stained Glass Cookies are a fantastic choice for meal prep enthusiasts! You can prepare the cookie dough up to 24 hours in advance by following the first two steps: mix the dough and chill it. Simply wrap the portions in plastic wrap and refrigerate them. This keeps the dough fresh and easy to work with when you're ready to bake. Additionally, you can roll and cut the cookies, placing them on a parchment-lined baking sheet, and refrigerate them for up to 3 days before baking. Just make sure to cover them loosely with plastic wrap to maintain quality. When ready to finish, simply fill with crushed hard candies and bake as directed for delightful, colorful treats that will save you time and effort!
Expert Tips for Stained Glass Cookies
-
Chill for Success: Always refrigerate the dough for at least an hour. This helps the cookies maintain their shape during baking and makes cutting easier.
-
Cookie Cutter Tricks: Ensure your cookie cutters are clean and lightly floured before cutting. This helps achieve clean edges and prevents the dough from sticking.
-
Balance Candy Filling: Use just the right amount of crushed hard candies in each cookie center. Overfilling can lead to mess and overflowing, creating a sticky situation.
-
Cooling Method: Let the cookies cool completely on the baking sheet for a few minutes before transferring them to a wire rack. This prevents breakage and helps the candies set nicely.
-
Design Variations: Don't hesitate to get creative! Experiment with different cookie shapes and colored candies to personalize your Stained Glass Cookies for any occasion.
What to Serve with Colorful Stained Glass Cookies?
These charming cookies are perfect companions for a vibrant and festive meal that delights the senses!
-
Hot Cocoa: The perfect sweet beverage to complement the sweetness of the cookies while warming your soul on chilly days.
-
Vanilla Ice Cream: A scoop of creamy vanilla will add a delightful contrast to the buttery texture of the cookies, creating a delicious dessert experience.
-
Fruit Salad: Fresh, colorful fruits bring a refreshing balance to the rich sweetness of the stained glass cookies, enhancing the overall presentation and flavor.
-
Cheese Platter: Include a mix of mild cheeses and nuts. The richness of the cheese pairs unexpectedly well with the cookies, elevating your dessert offering.
-
Holiday Punch: A fruity or spiced punch adds a festive touch, creating a fun pairing that enhances the cheerful nature of the colorful cookies.
-
Chocolate-Covered Strawberries: For a romantic touch, the sweetness and slight tartness of strawberries draped in chocolate add another layer of flavor that complements the cookies perfectly.
-
Mini Cupcakes: Small, colorful cupcakes in various flavors bring an element of whimsy and variety to your dessert table, making it more exciting for guests.
-
Coffee or Tea: A warm beverage like a smooth coffee or fragrant tea will balance the sweetness nicely, making them a delightful pairing for afternoon treats.
How to Store and Freeze Stained Glass Cookies
Room Temperature: Store your cooled Stained Glass Cookies in an airtight container at room temperature for up to 1 week to keep them fresh and delicious.
Refrigerator: If you prefer a firmer texture, you can store them in the fridge for up to 2 weeks, although this may slightly alter the candy's chewy consistency.
Freezer: For longer storage, freeze the cookies in a single layer on a baking sheet, then transfer to an airtight freezer bag for up to 3 months.
Dough Freezing: You can also freeze the cookie dough! Shape it into discs, wrap tightly in plastic wrap, and store in the freezer for up to 3 months. When ready to bake, thaw in the fridge overnight before rolling and cutting.
Stained Glass Cookies: Flavorful Variations
Feel free to add your personal touch to these delightful cookies and get creative with variations that will excite your taste buds!
-
Extract Swaps: Substitute lemon or peppermint extract for a refreshing twist that enhances the cookies’ flavor profile.
-
Seasonal Shapes: Use themed cookie cutters, like hearts for Valentine's Day or Christmas trees for the holidays, to make festive designs that brighten any occasion.
-
Colorful Candies: Experiment with different types of hard candies, such as Jolly Ranchers or Lifesavers, to achieve vibrant colors and unique flavors that surprise and delight. The more colorful, the better!
-
Nutty Additions: Add chopped nuts like walnuts or pecans to the dough for added crunch and richness, giving your cookies an enticing texture. Feel free to sprinkle some on top before baking for an excellent presentation.
-
Chocolate Drizzle: After cooling, drizzle melted chocolate over the cookies for an indulgent finish that adds a touch of elegance to your beautiful creations.
-
Spicy Kick: Add a pinch of cinnamon or nutmeg to the dough for a warm, spicy flavor that pairs wonderfully with the sweetness of the candies.
-
Gluten-Free Option: Substitute all-purpose flour with a 1:1 gluten-free baking blend to create a deliciously inclusive treat that everyone can enjoy.
-
Dairy-Free Alternative: Use coconut oil or vegan butter instead of dairy butter to keep these cookies plant-based without compromising on flavor.
Feel inspired? You can experiment with your creations, just like in my beloved Pineapple Cookies Tropical recipe! Every batch of Stained Glass Cookies is a chance to bring a little more color and cheer to your kitchen!
Stained Glass Cookies Recipe FAQs
What type of candies work best for the stained glass effect?
I absolutely recommend using clear or brightly colored hard candies like Jolly Ranchers orLife Savers. Ensure they are not too chewy, as you want them to melt beautifully in the oven to create that stunning stained glass appearance.
How should I store my Stained Glass Cookies?
To keep your cookies fresh, store them in an airtight container at room temperature for up to 1 week. If you'd like to preserve their texture, you can refrigerate them for up to 2 weeks. Just remember that storing them in the fridge may make the candy centers a bit chewier.
Can I freeze Stained Glass Cookies?
Yes, you can freeze the cookies! Place them in a single layer on a baking sheet until solid, then transfer to an airtight freezer bag. They keep well in the freezer for up to 3 months. When you're ready to enjoy them, just let them thaw at room temperature.
Is there a way to freeze the cookie dough?
Definitely! Shape the cookie dough into discs and wrap them tightly in plastic wrap before placing them in a freezer bag. You can freeze the dough for up to 3 months. When you're ready to bake, just thaw the dough in the fridge overnight before rolling and cutting the shapes.
What should I do if my cookies spread too much while baking?
If you notice that your cookies are spreading excessively, it may be due to the dough being too warm. Try chilling the dough for an extra 30 minutes before baking. Additionally, ensure the butter is softened, not melted, to help maintain cookie structure.
Are Stained Glass Cookies suitable for pets or those with allergies?
These cookies are not pet-friendly due to ingredients like sugar and butter, which can be harmful to them. For those with allergies, consider substituting ingredients: use gluten-free flour for the dough and use allergy-friendly candies. Always check labels to avoid cross-contamination.
Vibrant Stained Glass Cookies that Shine with Flavor
Ingredients
Equipment
Method
- In a large mixing bowl, whisk together flour, baking powder, and salt. In a separate bowl, cream butter and sugar until light and fluffy. Beat in egg and vanilla until blended. Gradually mix in dry ingredients until a dough forms.
- Divide the dough into two portions, flatten each into a disc, wrap in plastic, and refrigerate for at least 1 hour until firm.
- Preheat the oven to 350°F (175°C). Roll out one disc of dough to about ¼ inch thick. Cut out shapes and remove centers with smaller cutters. Place on a lined baking sheet.
- Fill each cookie center with crushed hard candies, ensuring not to overfill. Bake for 8-10 minutes until edges are golden.
- Let cookies cool on the baking sheet for a few minutes before transferring to a wire rack for complete cooling.


Leave a Reply