
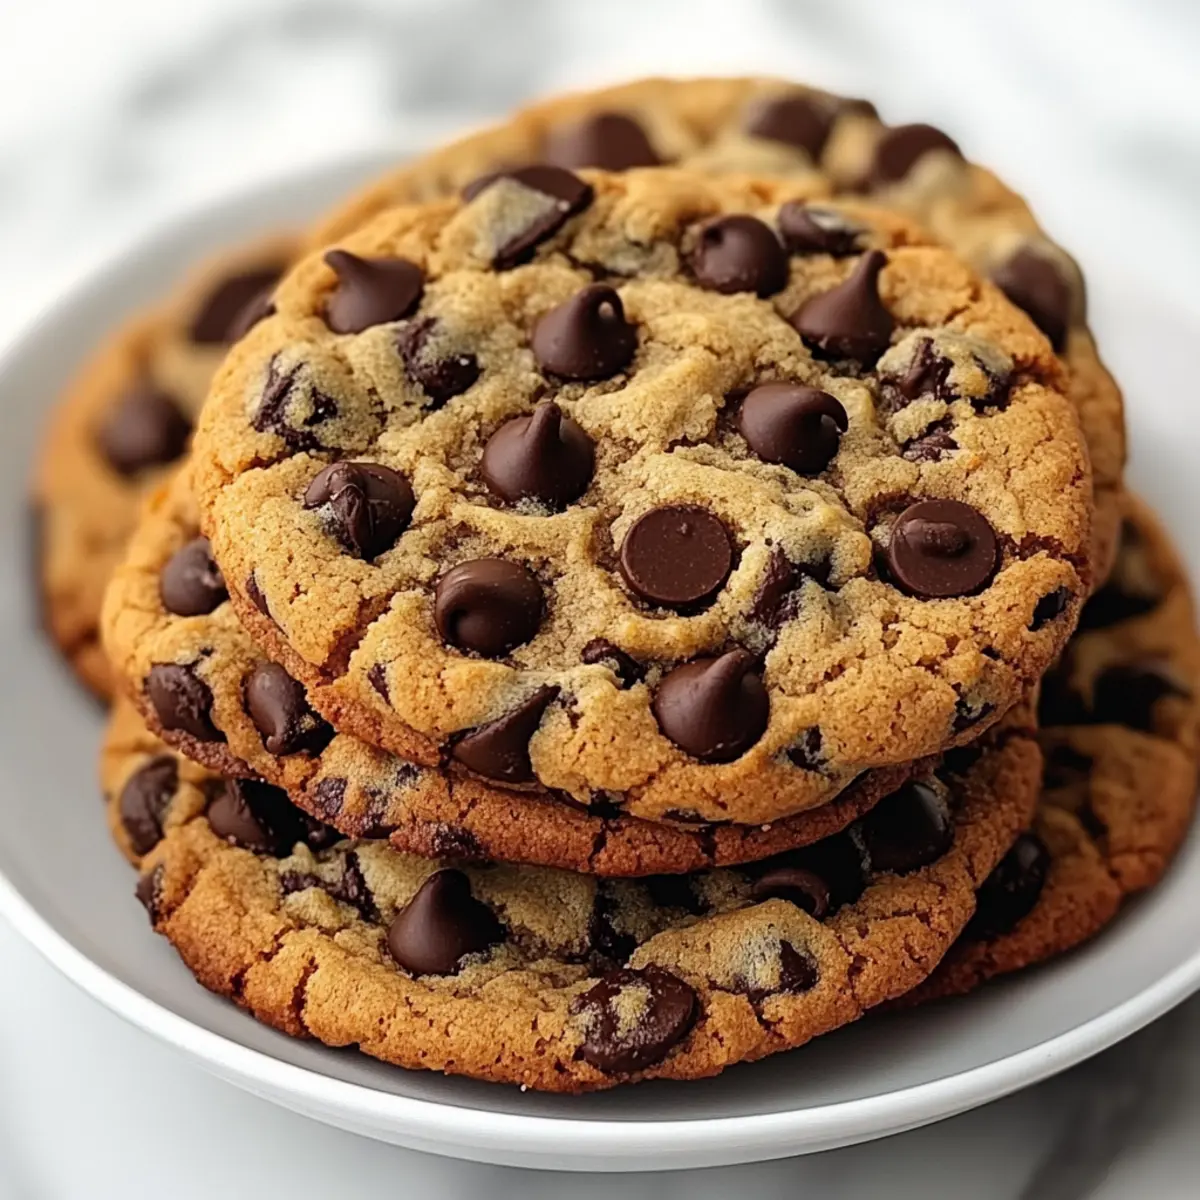
It was a rainy afternoon when I found myself rummaging through my grandmother's recipe box, and there it was—an old, handwritten note marked "Vintage Chocolate Chip Cookies." As the oven warmed, I remembered her kitchen filled with the tantalizing scent of melting chocolate and buttery goodness. This classic recipe features crisp edges and a soft, chewy center, making it the perfect comfort food for any occasion. What I love most about these vintage chocolate chip cookies is their simplicity: crafted from easy-to-find pantry staples, they're a quick treat that transforms the ordinary into something extraordinary. Whether you're looking to impress guests at a gathering or simply craving a taste of nostalgia, these cookies are your go-to solution. Curious about how to bake these delightful morsels? Let’s dive into the sweet memories together!
Why are these cookies so special?
Nostalgic Flavors: Each bite transports you back to childhood memories, evoking the warmth of home baking.
Classic Simplicity: With just pantry staples, creating these vintage chocolate chip cookies is both easy and satisfying.
Perfect Balance: Enjoy crisp edges paired with a soft, chewy center—the ultimate cookie texture!
Versatile Variations: Feel free to experiment by adding nuts or using dark chocolate chunks for a twist.
Crowd-Pleasing Treat: Perfect for gatherings or quiet evenings at home, these cookies are sure to impress everyone!
Basking in their deliciousness might just make you want to try other delightful options, like our White Chocolate Cookies or the indulgent Chocolate Cupcake Decadent.
Vintage Chocolate Chip Cookies Ingredients
• Get ready to bake a classic treat!
For the Cookie Dough
- Unsalted Butter – Provides rich flavor and moisture; substitute with margarine for a lighter option, but texture may differ.
- Brown Sugar – Adds sweetness and a hint of caramel flavor; packed for best results in your vintage chocolate chip cookies.
- Granulated Sugar – Balances sweetness and contributes to a delightful texture.
- Eggs – Help bind ingredients and add structure; room temperature eggs are preferred for better blending.
- Vanilla Extract – Enhances the rich flavor; can be substituted with almond extract for a different twist.
- All-Purpose Flour – Forms the base structure of the cookies; essential for that perfect cookie texture.
- Baking Soda – Acts as a leavening agent, ensuring the cookies rise beautifully.
- Salt – Balances the sweetness and enhances the overall flavor profile.
- Semi-Sweet Chocolate Chunks – Provides delicious melts of chocolate; feel free to substitute with dark or milk chocolate according to preference.
Step‑by‑Step Instructions for vintage chocolate chip cookies
Step 1: Preheat the Oven
Begin by preheating your oven to 350°F (175°C). While the oven heats, prepare your baking sheets by lining them with parchment paper, ensuring that your vintage chocolate chip cookies don’t stick. This initial step sets the stage for even baking and perfect cookie texture, so don’t rush it!
Step 2: Cream the Butter and Sugars
In a large mixing bowl, combine softened unsalted butter, packed brown sugar, and granulated sugar. Use an electric mixer to beat these ingredients together on medium speed until the mixture becomes light and fluffy, about 2-3 minutes. This is crucial for airy cookies, and the creamy consistency should invite you to take a taste!
Step 3: Incorporate the Wet Ingredients
Once the butter mixture is airy, add eggs one at a time, mixing well after each addition. Then, gently blend in the vanilla extract until fully incorporated. The wet ingredients play a vital role in the richness of your vintage chocolate chip cookies, ensuring they hold together beautifully and enhance the overall flavor.
Step 4: Whisk the Dry Ingredients
In a separate bowl, whisk together all-purpose flour, baking soda, and salt. This step ensures that the baking soda is evenly distributed, which is essential for consistent rising. Take a moment to appreciate the fragrant smell of the flour; it’s a comforting reminder of the cookies to come!
Step 5: Combine Wet and Dry Mixtures
Gradually introduce the dry ingredients into the wet mixture, stirring gently until just combined. Be careful not to overmix, as this can lead to tough cookies. Once you see no flour streaks, fold in the semi-sweet chocolate chunks with a spatula, allowing the chocolate to become well-distributed in your dough.
Step 6: Scoop and Bake
Using a tablespoon or cookie scoop, drop heaping spoonfuls of dough onto the prepared baking sheets, leaving ample space (about 2 inches) between each mound. Bake your vintage chocolate chip cookies in the preheated oven for 10-12 minutes, or until the edges appear golden while the centers remain soft and slightly underbaked—a sure sign of delicious chewiness!
Step 7: Cool the Cookies
Once baked, remove the sheets from the oven and allow the cookies to rest for about 5 minutes on the baking sheet. This gentle cooling period helps them firm up a bit before transferring them to a cooling rack. The warm aroma of your vintage chocolate chip cookies will fill your kitchen, inviting everyone to indulge!
Make Ahead Options
These Vintage Chocolate Chip Cookies are perfect for meal prep, allowing you to enjoy freshly baked goodness even on your busiest days! You can prepare the cookie dough up to 24 hours in advance. Simply mix the dough as instructed, then wrap it tightly in plastic wrap or store it in an airtight container in the refrigerator to maintain freshness. Alternatively, you can scoop the dough into balls and freeze them for up to 3 months. When you're ready to bake, just place the frozen dough on a lined baking sheet and add a couple of extra minutes to the baking time. Enjoy the satisfaction of homemade cookies with minimal effort whenever the craving hits!
What to Serve with Vintage Chocolate Chip Cookies
Pairing these delightful cookies with complementary flavors can elevate the experience into something truly memorable.
- Cold Milk: A classic pairing, cold milk enhances the rich chocolate flavors and provides a refreshing contrast to the warmth of the cookies.
- Vanilla Ice Cream: Scoop a generous helping of vanilla ice cream on top of a warm cookie for a delightful sundae experience that blends textures.
- Coffee or Espresso: The robust flavors of coffee make for a perfect dip, enhancing the chocolate while offering a cozy indulgence. Sip while enjoying those nostalgic bites.
- Fruit Salad: A fresh fruit salad adds a burst of brightness, balancing the sweetness of the cookies with natural acidity and refreshing textures.
- Chocolate Sauce: Drizzling warm chocolate sauce over a plate of cookies enhances their chocolatey goodness while adding an indulgent flair.
- Hot Cocoa: A steaming cup of hot cocoa creates a comforting winter treat, perfect for chilly evenings when you crave a touch of nostalgia.
- Nutty Ice Cream: If you’re feeling adventurous, a scoop of pistachio or hazelnut ice cream will introduce a new flavor dimension, creating a delicious contrast to the chocolate.
- Chai Tea: The warm spices of chai tea harmonize beautifully, offering a fragrant accompaniment that enhances the overall dessert experience.
- Caramel Sauce: A drizzle of salted caramel adds a sweet and salty contrast that elevates the statement of these vintage chocolate chip cookies to new heights.
How to Store and Freeze Vintage Chocolate Chip Cookies
Airtight Container: Store your vintage chocolate chip cookies in an airtight container at room temperature for up to 1 week to keep them fresh and chewy.
Freezer: For longer storage, freeze the baked cookies for up to 3 months. Ensure they’re wrapped tightly to prevent freezer burn, and layer with parchment paper if stacking.
Dough Freezing: You can also freeze the cookie dough in scooped portions for up to 3 months. When you're ready to bake, simply pop them in the oven straight from the freezer, adding a couple of extra minutes to the baking time.
Reheating: To revive slightly stale cookies, warm them in a microwave for 10-15 seconds or in a preheated oven at 300°F (150°C) for about 5 minutes for that fresh-baked taste.
Expert Tips for Vintage Chocolate Chip Cookies
- Chill Dough: For thicker cookies, chilling the dough for at least 30 minutes before baking helps prevent spreading.
- Quality Matters: Using high-quality chocolate chunks enhances the flavor and creates gooey centers in your vintage chocolate chip cookies.
- Watch the Bake Time: Aim for slightly underbaked centers as they continue to firm up while cooling, ensuring maximum chewiness.
- Beat Eggs Thoroughly: Properly beating eggs helps create an even texture. Don’t skip this step for perfect results!
- Customize Flavors: Don’t hesitate to incorporate chopped nuts or a sprinkle of sea salt for a delightful twist on your vintage chocolate chip cookies.
Vintage Chocolate Chip Cookies Variations
Feel free to play with these vintage chocolate chip cookies to match your taste and preferences, adding a delightful twist to the classic recipe!
- Dark Chocolate: Swap semi-sweet chocolate chunks for dark chocolate for a richer, more intense flavor.
- Nutty Addition: Stir in chopped walnuts or pecans for a delicious crunch that enhances the chewyness of your cookies.
- Cinnamon Twist: Add 1 teaspoon of cinnamon to the dry ingredients for warm, spiced undertones that bring comfort with every bite.
- Sea Salt Finish: Sprinkle a pinch of sea salt on top before baking for a delightful contrast to the sweetness.
- Almond Extract: Replace vanilla extract with almond extract for a slightly different flavor profile that’s sure to surprise you.
- Oatmeal Texture: Mix in a cup of rolled oats for added texture and a heartier cookie that’s perfect for breakfast too!
- Gluten-Free Option: Use a 1:1 gluten-free flour blend to make these cookies suitable for those with gluten sensitivities.
- Mix of Chocolates: Combine dark and milk chocolate chunks for a luxurious melting experience in every cookie bite.
These variations can elevate your baking experience, just as you would with our scrumptious Oatmeal Cookies Chewy or the delicious Pineapple Cookies Tropical. Enjoy diving into your cookie creativity!
Vintage Chocolate Chip Cookies Recipe FAQs
How do I select the right chocolate for vintage chocolate chip cookies?
Opt for high-quality semi-sweet or dark chocolate chunks, as they melt beautifully and deliver a rich flavor. I often recommend artisanal brands; the difference in taste is genuinely noticeable!
How should I store my vintage chocolate chip cookies?
Store your cookies in an airtight container at room temperature for up to a week. This method helps retain their chewiness and freshness. If you live in a warm climate, consider keeping them in the fridge to prevent melting.
Can I freeze vintage chocolate chip cookies?
Absolutely! You can freeze baked cookies for up to 3 months. Just wrap them tightly in plastic wrap or place them in a freezer-safe bag. When ready to enjoy, let them thaw at room temperature or warm them in the oven for a few minutes for that fresh-baked flavor.
What should I do if my cookie dough is too sticky?
If your cookie dough turns out excessively sticky, try chilling it in the fridge for about 30 minutes. This will make it easier to scoop and shape, ensuring perfectly round cookies. You may also add a little more flour, one tablespoon at a time, until you reach the desired consistency.
Are there any dietary considerations for pets or allergies with these cookies?
Yes! Keep in mind that chocolate is toxic to dogs and should be stored out of their reach. For allergies, ensure that all ingredients are checked—common allergens in this recipe include eggs and gluten from all-purpose flour.
Can I make the dough ahead of time?
Certainly! If you’d like to prepare your dough in advance, simply scoop it into balls and freeze them. You can keep the scooped dough in the freezer for up to 3 months. When you're ready to bake, just pop them in the oven straight from the freezer, adding a couple of extra minutes to the baking time for a delicious, fresh cookie experience!
Irresistible Vintage Chocolate Chip Cookies for Nostalgic Evenings
Ingredients
Equipment
Method
- Preheat your oven to 350°F (175°C) and line your baking sheets with parchment paper.
- In a large mixing bowl, cream together the unsalted butter, brown sugar, and granulated sugar until light and fluffy, about 2-3 minutes.
- Add eggs one at a time, mixing well after each addition, then blend in the vanilla extract.
- In a separate bowl, whisk together flour, baking soda, and salt.
- Slowly introduce the dry mixture to the wet mixture, stirring until just combined. Fold in the chocolate chunks with a spatula.
- Drop heaping spoonfuls of dough onto the prepared baking sheets, leaving space between each mound. Bake for 10-12 minutes until edges are golden and centers are soft.
- Allow cookies to rest on the baking sheet for about 5 minutes before transferring to a cooling rack.


Leave a Reply