
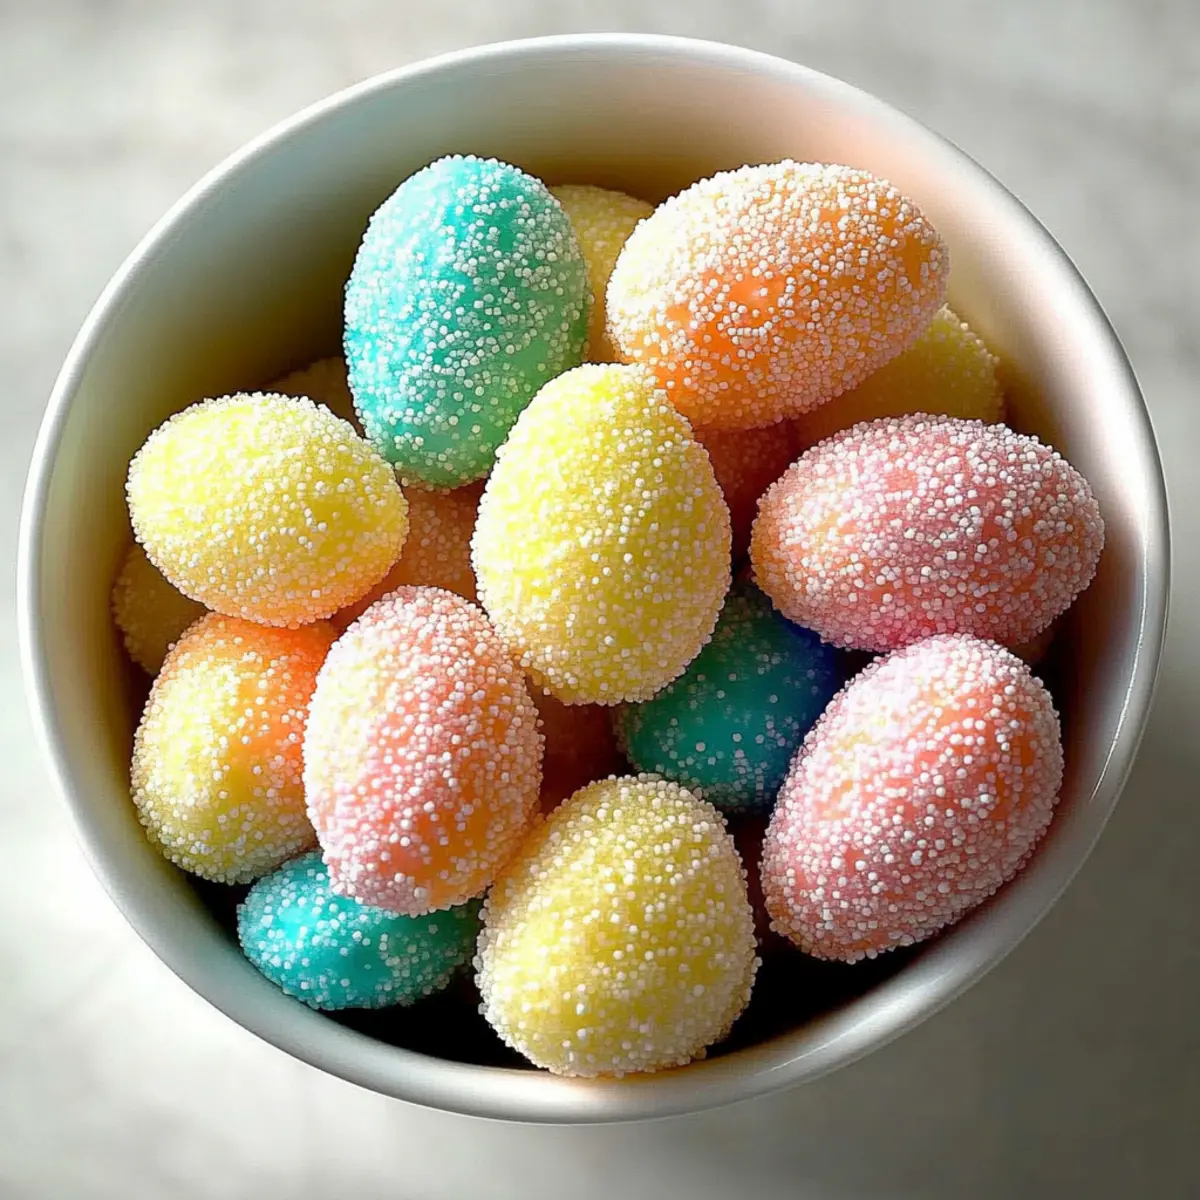
As I unwrapped the gleaming white baking chips, memories of childhood Easter hunts flooded my mind—colorful eggs hidden among blooming flowers and the sweet anticipation of chocolate treasures waiting to be discovered. That’s the spirit behind these Easy White Chocolate Easter Egg Candies, a delightful treat that perfectly encapsulates the joy of the holiday. They come together quickly, making them a fantastic way to bond with family while creating homemade Easter treats. Not only are they a breeze to whip up, but each creamy, vanilla-infused bite is finished with a playful crunch from colorful sprinkles. Are you ready to add a little sweetness to your Easter festivities? Let’s dive into this fun and festive recipe!
Why Make White Chocolate Easter Egg Candies?
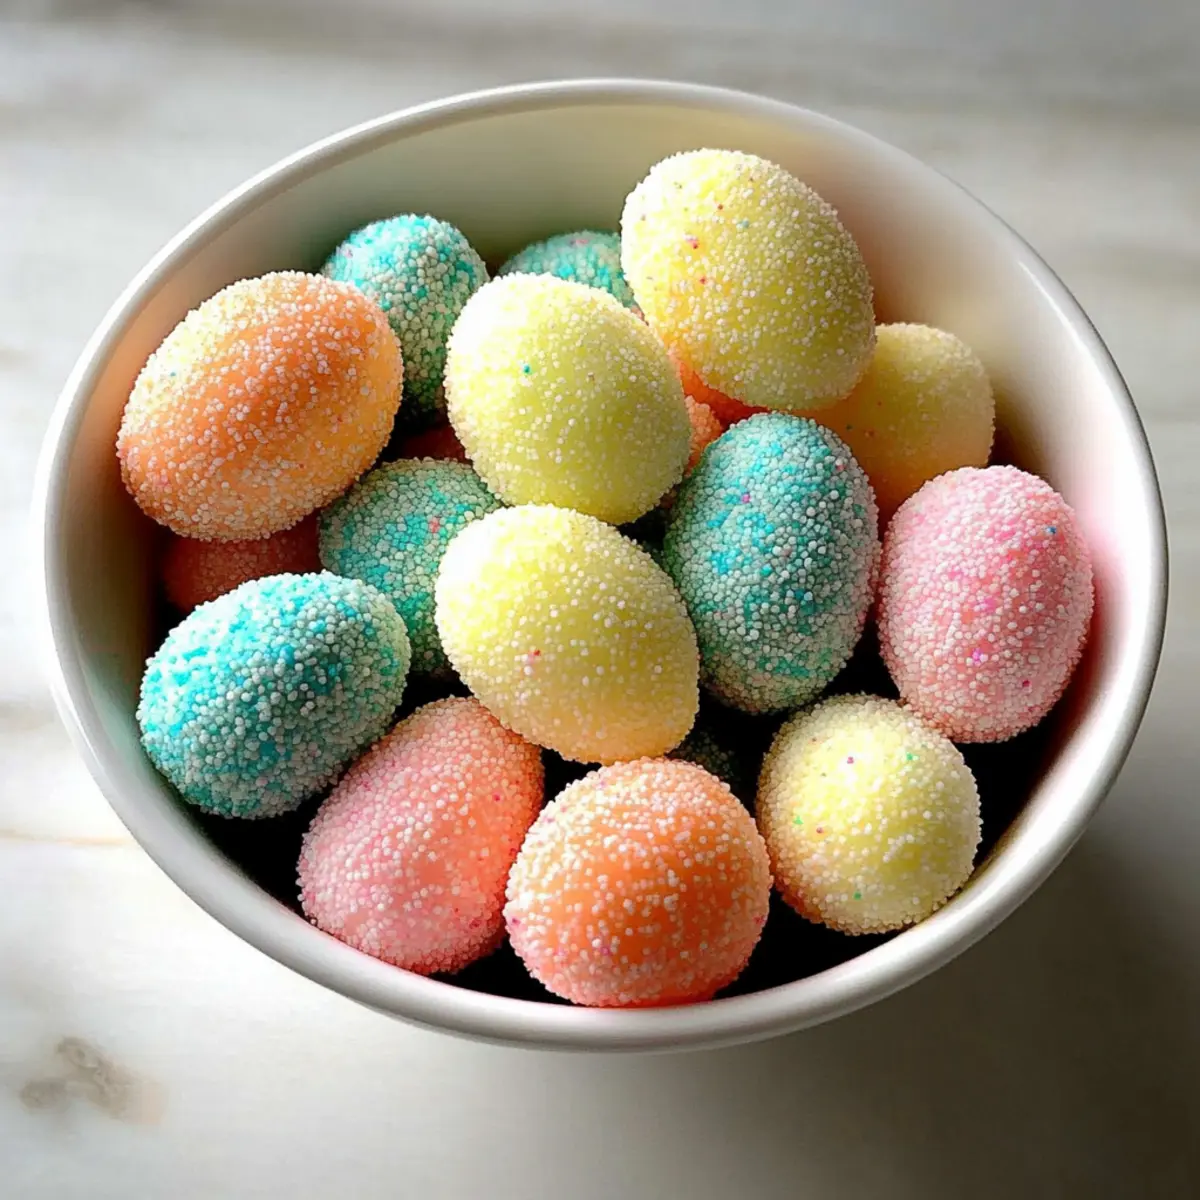
Delightful and easy to make, these White Chocolate Easter Egg Candies are perfect for all skill levels, transforming your kitchen into a joyful candy-making hub! Creamy texture combined with sweet vanilla flavor makes every bite irresistible. Fun for All: Involve the kids or friends for a festive time! Customizable toppings let you get creative—try adding colored sugar or sprinkles. Plus, they store well for your holiday gatherings or as sweet gifts. Want more delicious ideas? Check out these Breakfast Egg Muffins for that perfect morning start or indulge in Chocolate Zucchini Cake for dessert!
White Chocolate Easter Egg Candies
-
For the Candy Mixture
-
White baking chips – The primary ingredient that creates the sweet base, but you can also use chocolate chips for a twist!
-
Cream cheese – Adds a creamy texture; feel free to substitute with mascarpone for a different flavor profile.
-
Water – Helps achieve a smooth consistency for your candy mixture.
-
Vanilla extract – Enhances the flavor; can be replaced with almond extract for a nuttier delight.
-
For Coating
-
Colored sprinkles, colored sugar, or jimmies – These fun toppings not only add visual appeal but also a delightful crunch to each bite of the White Chocolate Easter Egg Candies!
Step‑by‑Step Instructions for White Chocolate Easter Egg Candies
Step 1: Melt the White Baking Chips
In a microwave-safe bowl, combine white baking chips and melt them in intervals of 30 seconds at 50% power, stirring in between. Continue until the chips are completely smooth and glossy, which should take about 2-3 minutes in total. This gentle melting method prevents burning while creating a luscious base for your White Chocolate Easter Egg Candies.
Step 2: Mix in Cream Cheese and Flavor
Once the white baking chips are melted, add cream cheese, water, and vanilla extract to the bowl. Using a spatula or a hand mixer, blend these ingredients together until the mixture is completely smooth and creamy, ensuring there are no lumps. This step will create the rich filling that makes your Easter egg candies so delightful.
Step 3: Chill the Mixture
Transfer the creamy mixture to the refrigerator and let it chill for about 1 hour. This chilling time is essential as it allows the mixture to firm up, making it easier to handle when shaping into eggs. Check occasionally to ensure it cools evenly without setting too hard.
Step 4: Shape the Eggs
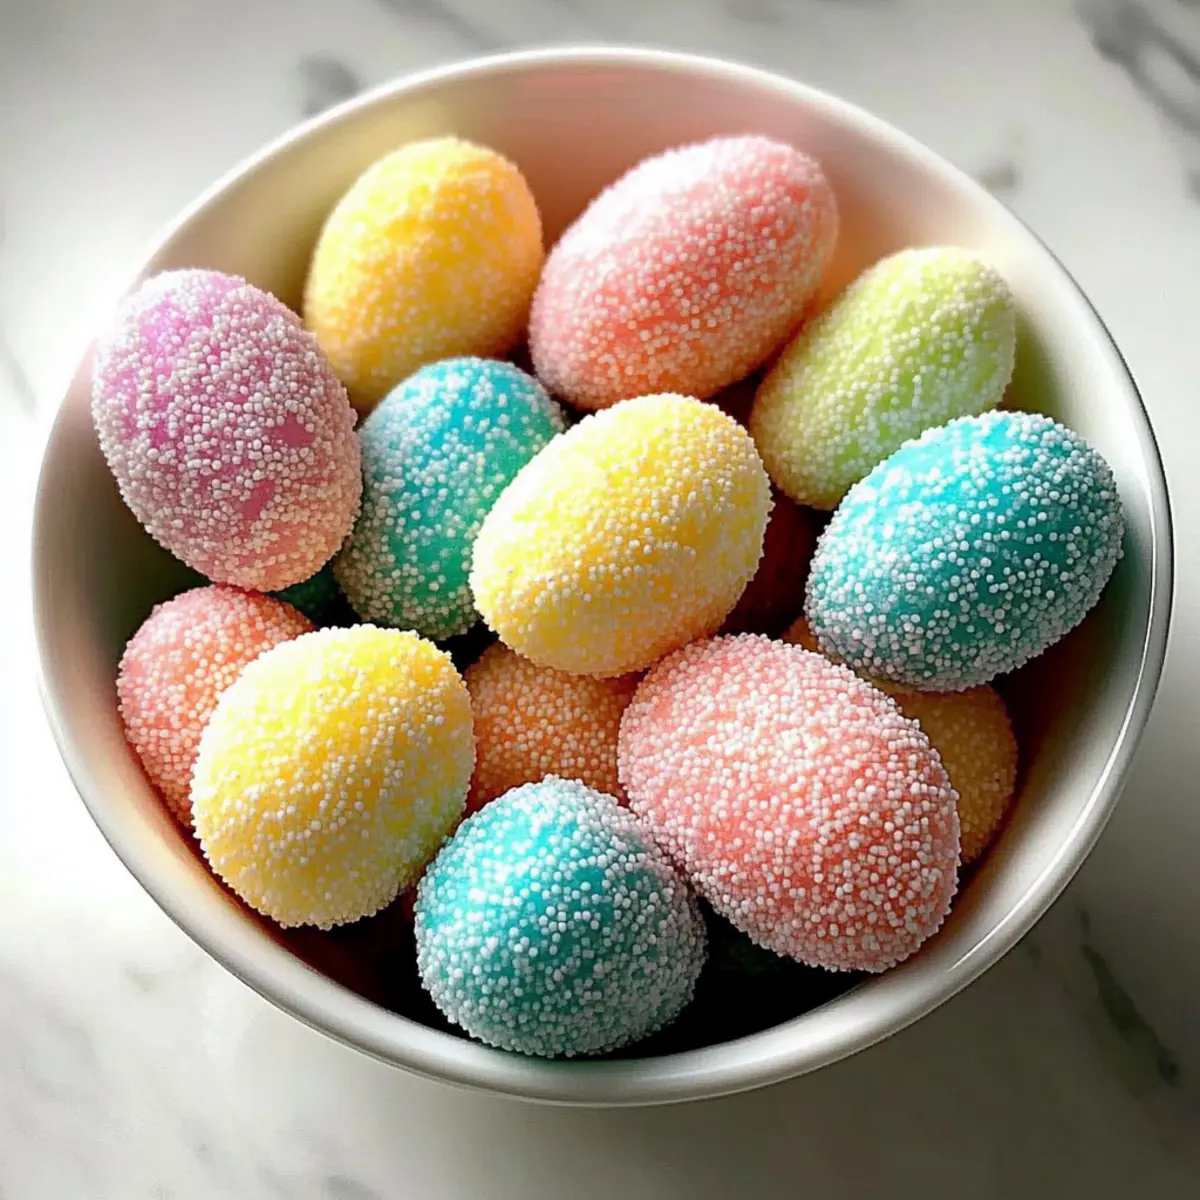
Once chilled, scoop the mixture with your hands or a small cookie scoop to form 1-¼ inch egg shapes. Firmly mold each scoop into an egg shape, ensuring it holds its form with no cracks. Place the shaped candies on a parchment-lined baking sheet as you work, preparing them for their vibrant finishing touch.
Step 5: Coat the Eggs
Pour colored sprinkles, colored sugar, or jimmies into a shallow dish. Roll each shaped egg in the sprinkles until fully coated, ensuring a fun and festive finish on all sides. The bright colors will not only make your White Chocolate Easter Egg Candies visually appealing but also add a delightful crunch with every bite.
Step 6: Store the Candies
Carefully transfer the finished candies into an airtight container, layering them with parchment paper if needed to prevent sticking. Store your White Chocolate Easter Egg Candies in the refrigerator to maintain their texture and flavor. They can be enjoyed for up to two weeks, making them a sweet treat for your Easter celebrations or a charming gift!
Make Ahead Options
These Easy White Chocolate Easter Egg Candies are perfect for meal prep, allowing you to enjoy more quality time with family during the holidays! You can prepare the candy mixture up to 24 hours in advance—simply follow the melting and mixing steps, then refrigerate the mixture until you're ready to shape it. If you want to make it even easier, shape the eggs up to 3 days beforehand and coat them just before serving to keep that delightful crunch intact. Make sure to store them in an airtight container in the fridge for optimal freshness. When ready to serve, finish by rolling the chilled eggs in your choice of colorful sprinkles and enjoy these festive treats that are just as delicious made ahead!
Expert Tips for White Chocolate Easter Egg Candies
-
Melt Slowly: Always melt the white baking chips at 50% power, stirring frequently, to avoid burning and achieve a smooth consistency.
-
Chill Enough: Don't rush the chilling process! Allow the mixture to chill adequately until firm but manageable; this is key for shaping perfect eggs.
-
Coating Variety: Get creative! Instead of just sprinkles, try using crushed nuts or edible glitter for unique flavor and texture variations on your White Chocolate Easter Egg Candies.
-
Storage Best Practices: Keep these candies in an airtight container in the refrigerator, ensuring freshness. They can last up to two weeks, perfect for sharing!
-
Avoid Cracking: When shaping, ensure the mixture isn’t too warm; a warm mixture can crack when forming, so monitor the temperature closely.
How to Store and Freeze White Chocolate Easter Egg Candies
Fridge: Store the candies in an airtight container in the refrigerator for up to two weeks. Layer them with parchment paper to prevent sticking.
Room Temperature: It's best to avoid leaving White Chocolate Easter Egg Candies out at room temperature for extended periods, as heat can cause them to soften and lose their shape.
Freezer: These candies can be frozen for up to three months! Ensure they are in a tightly sealed container to prevent freezer burn. Thaw them in the fridge before serving.
Reheating: There's no need to reheat these candies, as they are best enjoyed chilled. Just pull them from the fridge and enjoy the creamy texture and flavors!
White Chocolate Easter Egg Candies Variations
Feel free to get creative with these White Chocolate Easter Egg Candies; their customizable nature makes them even more delightful!
- Dairy-Free: Substitute white baking chips with dairy-free chocolate for a creamy alternative everyone can enjoy.
- Nutty Delight: Add a mix of chopped nuts like almonds or walnuts to the candy mixture for a satisfying crunch.
- Fruit Infusion: Incorporate finely chopped dried fruits such as cranberries or apricots for a burst of natural sweetness in each bite.
- Lemon Zest: Mix in a teaspoon of lemon zest to the candy mixture for a zesty, refreshing twist that enhances the vanilla notes.
- Spicy Twist: Consider adding a pinch of cayenne pepper to create a unique spicy-sweet flavor, perfect for the adventurous palate.
- Dark Chocolate Swap: For a richer taste, use dark chocolate instead of white chocolate, resulting in a more decadent candy experience.
- Flavor Extract Swap: Experiment with flavors like peppermint or orange extract instead of vanilla for a special seasonal treat.
- Chocolate Covered: After shaping the eggs, dip them in melted chocolate and then coat in sprinkles for an extra layer of deliciousness.
As you whip up a batch, why not pair these candies with some delightful Chocolate Cupcake Decadent or enjoy them alongside a beautifully moist Chocolate Zucchini Cake? There’s no shortage of sweet options to elevate your holiday gatherings!
What to Serve with White Chocolate Easter Egg Candies
Create a delightful Easter spread that celebrates the joy of the season with these easy-to-make treats.
- Fresh Fruit Salad: A medley of vibrant fruits adds a refreshing contrast to the rich sweetness of the candies, balancing flavors beautifully.
- Mini Carrot Cakes: These moist, spiced cakes echo the Easter theme and provide a satisfying bite alongside the sweet candies. With cream cheese frosting, they enhance the cozy holiday feel.
- Vanilla Ice Cream: A scoop of creamy vanilla ice cream offers a luxurious touch that pairs wonderfully with the sweet, creamy nature of the White Chocolate Easter Egg Candies.
- Chocolate-Dipped Strawberries: The tartness of fresh strawberries coated in chocolate complements the sweetness of the egg candies while adding an elegant flair.
- Almond Joy Cocktails: A fun, themed cocktail made with coconut rum and chocolate liqueur will keep the festive spirits high as you indulge in your Easter treats.
- Coconut Macaroons: These chewy delights bring an extra layer of sweetness and a lovely chewiness, creating a delightful contrast to the smooth candies.
- Easter Punch: Bright, fruity punch with citrus notes will complement the flavors in the candies, adding a deliciously refreshing sip between bites.
- Chocolate Mousse: Silky chocolate mousse provides a rich, velvety experience that pairs beautifully with the lighter texture of the candies, creating a perfect harmony of flavors.
White Chocolate Easter Egg Candies Recipe FAQs
What should I look for when selecting white baking chips?
You want to choose high-quality white baking chips for the best flavor and texture in your White Chocolate Easter Egg Candies. Look for chips made with cocoa butter, which tend to melt smoothly and have a richer taste. Avoid those with added fillers as they may not melt well.
How should I store the White Chocolate Easter Egg Candies?
Store your candies in an airtight container in the refrigerator for up to two weeks. It’s a good idea to layer them with parchment paper to prevent them from sticking together. If you notice dark spots or an odd texture, it’s best to discard them as they might be past their prime.
Can I freeze White Chocolate Easter Egg Candies?
Absolutely! These candies can be frozen for up to three months. To freeze, place them in a tightly sealed container, making sure they are separated by layers of parchment paper to avoid sticking. When ready to enjoy, thaw them in the refrigerator for a few hours before indulging.
What if the mixture is too soft to shape?
If your mixture seems too soft after chilling, don’t panic! Simply return it to the fridge for an additional 15-30 minutes to firm up further. For best results, ensure that the mixture is cooled sufficiently before attempting to shape the eggs, as a warm mixture can lead to misshapen candies.
Are there any allergenic ingredients in this recipe?
Yes, this recipe contains dairy due to the cream cheese and white baking chips. If you or someone you’re serving has lactose intolerance or a dairy allergy, consider using dairy-free white chocolate chips and a non-dairy cream cheese alternative. Always check the labels to ensure they meet dietary needs.
How can I customize the flavor of my White Chocolate Easter Egg Candies?
To switch things up, try adding different extracts to the cream cheese mixture. For example, almond or coconut extracts can impart unique flavors while a dash of citrus zest, like orange or lemon, brings a fresh twist. You can also fold in nuts or dried fruit for added texture before shaping!

Decadent White Chocolate Easter Egg Candies for Your Holiday Table
Ingredients
Equipment
Method
- Melt the white baking chips in a microwave-safe bowl in intervals of 30 seconds at 50% power, stirring in between, until smooth and glossy, about 2-3 minutes.
- Add cream cheese, water, and vanilla extract to melted chips; mix until smooth and creamy.
- Refrigerate the mixture for about 1 hour to firm up.
- Shape the mixture into 1-¼ inch egg shapes and place on a parchment-lined baking sheet.
- Roll each egg in colored sprinkles until fully coated.
- Store in an airtight container in the refrigerator for up to two weeks.


Leave a Reply