
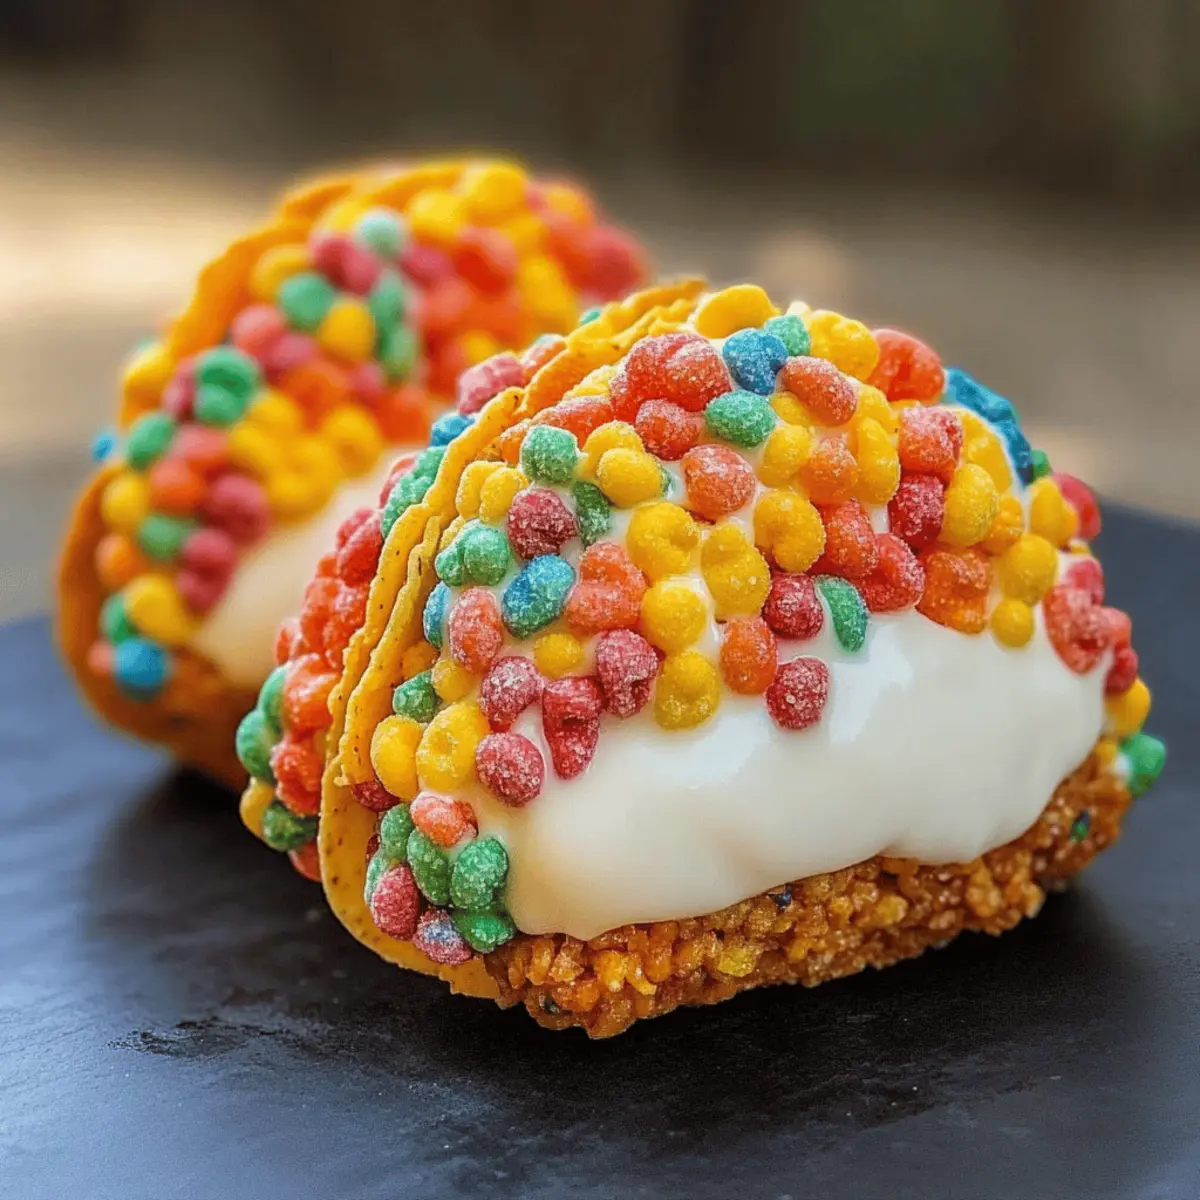
"Who says tacos are only for savory delights? I recently stumbled upon a whimsical twist that took my dessert game to a whole new level: Fruity Pebbles Cheesecake Tacos! These vibrant treats marry the joy of crunchy taco-shaped shells with a luscious, creamy cheesecake filling, turning every bite into a kaleidoscopic explosion of flavor and fun. Not only are they a hit for parties, but the quick prep and colorful presentation make them a crowd-pleaser for all ages. Whether you're whipping them up for a casual get-together or a festive celebration, these tacos bring a playful charm that reminds us to embrace our inner child. So, are you ready to assemble a dessert that’s not only delicious but also as delightful to look at as it is to eat?"

Why Are These Tacos So Unique?
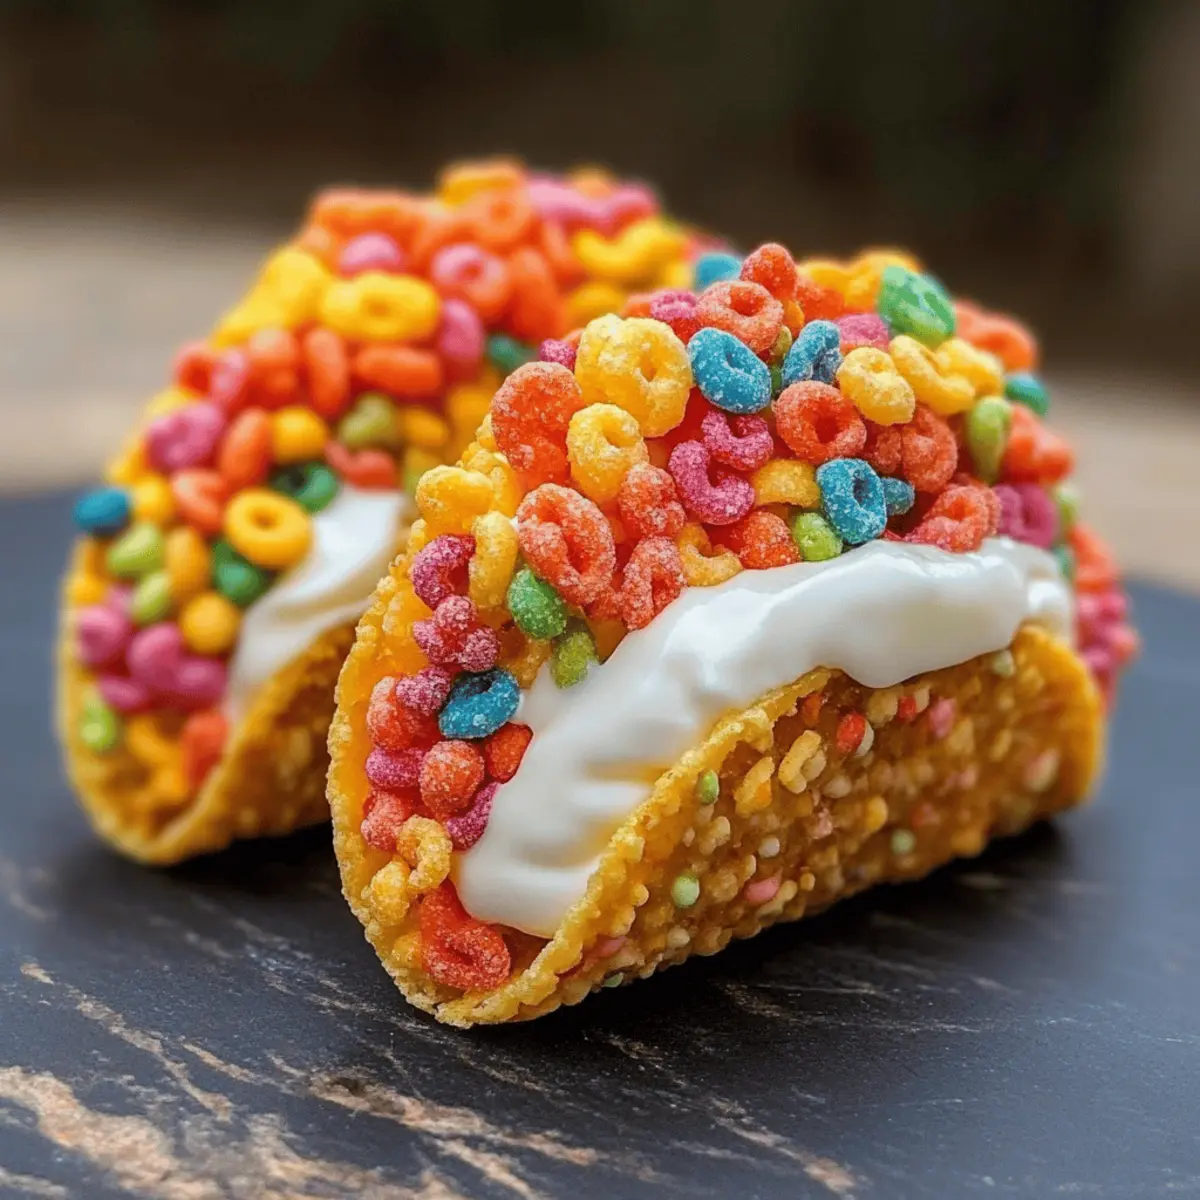
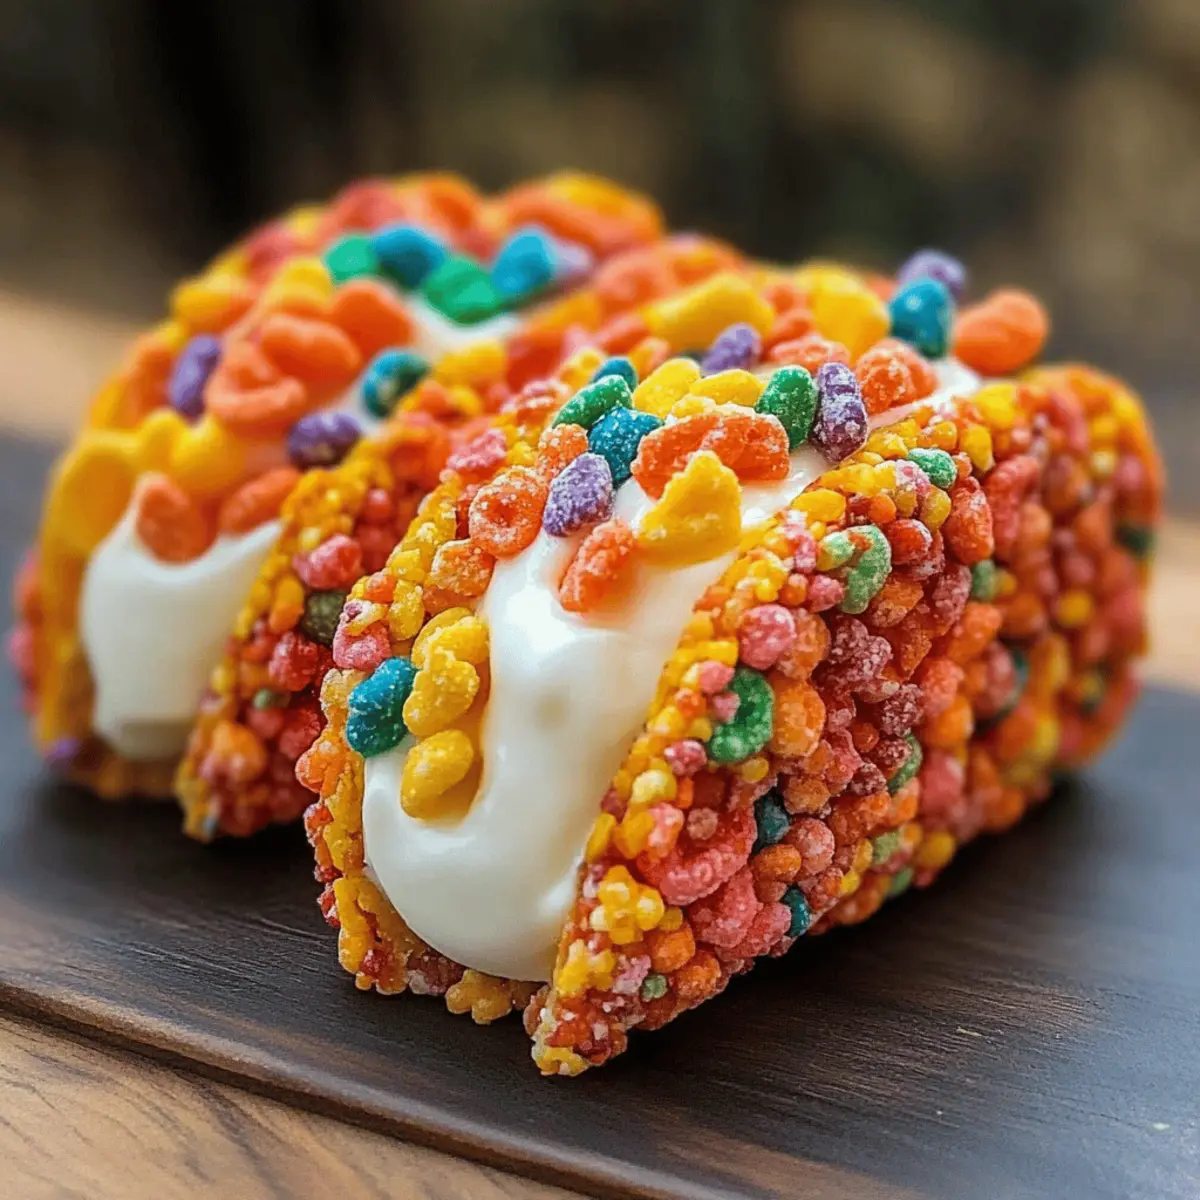
Colorful Presentation: The bright hues of Fruity Pebbles create a visually stunning dessert that's sure to captivate.
Playful Experience: Enjoy the fun of assembling your own cheesecake tacos, making it an interactive treat for family and friends.
Quick Preparation: With minimal prep time and easy steps, you can have a delightful dessert ready in no time!
Versatile Flavor: Feel free to switch up the cereal—try Cocoa Pebbles for a chocolatey delight or Cinnamon Toast Crunch for a warm twist!
Crowd-Pleasing Appeal: Perfect for all ages, these tacos transform any gathering with their fun shape and sweet, creamy filling. For another delightful dessert experience, be sure to check out Velvet Strawberry Cheesecake or the rich Burnt Basque Cheesecake!
Fruity Pebbles Cheesecake Tacos Ingredients
For the Taco Shells
- Fruity Cereal – Adds sweetness and crunch to form the taco shells; any colorful fruity cereal works perfectly.
- Unsalted Butter – Binds the cereal, providing richness; melt before mixing for an even distribution.
For the Cheesecake Filling
- Cream Cheese – The creamy base of the filling; make sure it's softened to room temperature for easy mixing.
- Powdered Sugar – Sweetens the cheesecake mixture; sift before use to avoid lumps for a smoother texture.
- Pure Vanilla Extract – Enhances the overall flavor of the filling, giving it that delightful cheesecake taste.
- Whipped Cream – Lightens the filling, providing a fluffy consistency; gently fold in to maintain volume.
For Garnish
- Additional Fruity Cereal – Adds extra crunch and visual appeal on top of your finished tacos; perfect to entice the eyes!
Now you have all the ingredients for your delightful Fruity Pebbles Cheesecake Tacos! Whether you savor them yourself or share with friends, these colorful treats are sure to bring smiles all around.
Step‑by‑Step Instructions for Fruity Pebbles Cheesecake Tacos
Step 1: Prepare Taco Shells
In a mixing bowl, combine the Fruity Pebbles with melted unsalted butter, ensuring they're well-coated. Firmly press this mixture into small taco-shaped molds or muffin tins to form the shells. Once shaped, chill the molds in the refrigerator for at least 30 minutes until set and feeling firm to the touch, creating a delightful crunchy base for the Fruity Pebbles Cheesecake Tacos.
Step 2: Make Cheesecake Filling
While the taco shells chill, prepare the cheesecake filling. In a large mixing bowl, beat softened cream cheese with an electric mixer until light and fluffy, about 2-3 minutes. Gradually add sifted powdered sugar and pure vanilla extract, mixing until you achieve a smooth and creamy texture. This forms the base for your decadent filling, ready to complement the crunchy taco shells.
Step 3: Incorporate Whipped Cream
Once the cream cheese mixture is smooth, gently fold in the whipped cream using a spatula. Do this carefully to maintain the lightness and fluffy consistency of the filling. You want the mixture to be well-combined yet airy, perfect for the captivating Fruity Pebbles Cheesecake Tacos. Ensure there are no lumps, allowing for a perfectly creamy filling.
Step 4: Assemble Tacos
Retrieve your chilled taco shells from the refrigerator and spoon a generous amount of the cheesecake filling into each shell. Be sure to fill them just to the top, showcasing the lovely creamy texture. For an extra burst of color and crunch, sprinkle additional Fruity Pebbles on top of the filled shells, creating a festive and inviting presentation.
Step 5: Serve
Your Fruity Pebbles Cheesecake Tacos are now ready to impress! Serve them immediately for the best texture, as the shells will remain crunchy. Alternatively, for a firmer dessert, you can chill the assembled tacos in the refrigerator for an additional 30 minutes before serving. This delightful treat is sure to be a hit at any gathering!
Make Ahead Options
These Fruity Pebbles Cheesecake Tacos are a fantastic option for meal prep, making your gatherings and busy weeknights a breeze! You can prepare the taco shells up to 2 days in advance; simply store them in an airtight container to maintain their crispiness. Meanwhile, the cheesecake filling can be made up to 24 hours ahead, refrigerating it until you're ready to assemble. Just before serving, fill the chilled taco shells with the cheesecake mixture and garnish with additional Fruity Pebbles for that eye-catching look. This way, you can enjoy delicious, stress-free desserts that are just as delightful as if they were freshly made!
Expert Tips for Fruity Pebbles Cheesecake Tacos
- Room Temperature Cream Cheese: Ensure the cream cheese is softened before mixing to achieve a smooth and creamy filling without lumps.
- Gentle Folding: Avoid overmixing when adding whipped cream; only fold gently to keep the filling light and airy for your Fruity Pebbles Cheesecake Tacos.
- Chill Tacos Carefully: Assemble the tacos no more than 4 hours before serving to prevent the shells from becoming soggy, ensuring that delightful crunch remains.
- Separation for Storage: Store the taco shells and cheesecake filling separately until you're ready to serve; this preserves the freshness and texture of both components.
- Experiment with Cereals: Feel free to substitute different flavored cereals for unique twists—each variation can create a new flavor experience!
Fruity Pebbles Cheesecake Tacos Variations
Feel free to let your creativity shine and modify these delightful tacos with your own twists and substitutions!
- Cocoa Twist: Substitute with Cocoa Pebbles for a rich, chocolatey flavor that adds a fun new dimension!
- Spiced Delight: Use Cinnamon Toast Crunch in place of fruity cereal for a warm, cozy taste that’s perfect for autumn.
- Adult Indulgence: Mix a tablespoon of orange liqueur into your cheesecake filling for a sophisticated touch, and garnish with zesty orange zest for an elevated flavor!
- Seasonal Cheer: Switch out cereals to match the seasons—pumpkin spice cereal for fall, or pastel cereals for a springtime treat!
- Nutty Crunch: Add finely chopped nuts or crushed granola into the filling for added texture and a delightful crunch.
- Dairy-Free Option: Use vegan cream cheese and coconut whipped cream for a delicious dairy-free alternative that everyone can enjoy.
- Extra Fruity: Top your tacos with fresh fruit slices like strawberries or berries for a burst of freshness that pairs beautifully with the creamy filling.
- Heat It Up: Spice things up by adding a pinch of chili powder or cayenne pepper to the cheesecake filling for a sweet-heat combo!
For even more delicious dessert ideas, check out my charming Scramble Breakfast Tacos or get inspired by the lovely Velvet Strawberry Cheesecake to take your dessert game to new heights!
How to Store and Freeze Fruity Pebbles Cheesecake Tacos
Airtight Container: Store the taco shells in an airtight container at room temperature for up to 2 days to maintain their crunch.
Fridge: Keep the cheesecake filling in the refrigerator for up to 24 hours, covered tightly to avoid drying out and preserve its creaminess.
Assembly Tip: For best texture, assemble the Fruity Pebbles Cheesecake Tacos just a few hours before serving; this helps keep the shells from becoming soggy.
Freezing: If needed, you can freeze filled tacos wrapped tightly in plastic wrap for up to 1 month. Thaw in the fridge overnight before serving.
What to Serve with Fruity Pebbles Cheesecake Tacos
Indulging in these colorful delights sets the stage for a playful dessert experience that inspires creativity and joy.
- Fresh Berries: The tartness of strawberries and blueberries contrasts beautifully with the sweet cheesecake, adding a refreshing touch.
- Whipped Cream: A dollop on the side enhances the creaminess and provides a luscious finish to each bite, inviting you for more.
- Chocolate Drizzle: A silky chocolate drizzle adds a touch of richness, enticing chocolate lovers and beautifully contrasting the vibrant colors.
A fun idea is to create a dessert bar! Set up a spread where guests can top their tacos with their favorites—like sprinkles, nuts, or even a drizzle of caramel.
- Citrus Sorbet: A scoop of citrus sorbet refreshes the palate between bites, making your dessert experience all the more delightful.
- Sparkling Lemonade: This bubbly drink adds brightness and effervescence, perfect for lively gatherings while balancing the sweetness of the tacos.
- Mini Fruit Skewers: Colorful fruit skewers can be a playful accompaniment, inviting guests to enjoy a medley of textures and flavors.
- Chocolate Milkshakes: A thick, creamy milkshake pairs well with the crunchy tacos, creating a dreamy, nostalgic combination for all ages.
Each of these pairings not only complements the Fruity Pebbles Cheesecake Tacos but also enriches your dessert table with personality and flair!
Fruity Pebbles Cheesecake Tacos Recipe FAQs
How do I choose the right cereal for the taco shells?
Absolutely! Opt for colorful, fruity cereals that are crunchy and sweet. Fruity Pebbles is a classic choice, but feel free to experiment with other fun cereals like Trix or even Cocoa Pebbles for a chocolatey version.
What’s the best way to store leftover cheesecake filling?
Very simple! Keep the cheesecake filling in an airtight container in the refrigerator for up to 24 hours. This will ensure it stays creamy and delicious, ready for last-minute taco assembly.
Can I freeze the Fruity Pebbles Cheesecake Tacos?
Yes, you can! If you want to save some tacos for later, wrap the assembled tacos tightly in plastic wrap and freeze them for up to 1 month. To enjoy them later, thaw in the refrigerator overnight before serving.
What should I do if my cheesecake filling is too runny?
If your filling is on the runny side, it could be due to not enough whipped cream being folded in or not using room temperature cream cheese. To salvage it, try adding a bit more whipped cream until it thickens. Make sure you fold it gently, so it remains airy.
Are these cheesecake tacos suitable for those with nut allergies?
Yes, absolutely! The ingredients in the Fruity Pebbles Cheesecake Tacos are nut-free as long as you choose a fruity cereal and whipped cream that are also nut-free. Always double-check the labels, just to be safe.
How long can I keep the taco shells before they get soggy?
It's best to store the cereal taco shells in an airtight container at room temperature for up to 2 days. Keeping them separate from the filling until you're ready to serve will help preserve their delightful crunch!
Fruity Pebbles Cheesecake Tacos: A Fun Twist on Dessert
Ingredients
Equipment
Method
- In a mixing bowl, combine the Fruity Pebbles with melted unsalted butter, ensuring they're well-coated. Firmly press this mixture into small taco-shaped molds or muffin tins to form the shells. Chill the molds in the refrigerator for at least 30 minutes until set.
- In a large mixing bowl, beat softened cream cheese with an electric mixer until light and fluffy, about 2-3 minutes. Gradually add sifted powdered sugar and pure vanilla extract, mixing until smooth.
- Gently fold in the whipped cream using a spatula to maintain the lightness and fluffy consistency of the filling.
- Retrieve your chilled taco shells and spoon a generous amount of the cheesecake filling into each shell. Sprinkle additional Fruity Pebbles on top.
- Serve immediately for the best texture or chill the assembled tacos for an additional 30 minutes before serving.


Leave a Reply