
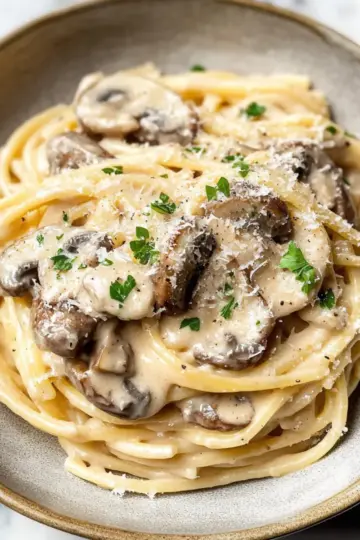
The kitchen was alive with the aroma of bubbling marinara, a scent that never fails to whisk me back to cherished family dinners. When it comes to comfort food, Cheese Manicotti stands out as my go-to dish. With its large, ridged pasta shells perfectly cradling a creamy ricotta filling, this recipe is as easy as it is delicious. In just a few simple steps, you can create a vegetarian favorite that's bound to impress your loved ones, turning any weeknight into a cozy celebration. Plus, the leftovers are just as delightful, making it a perfect make-ahead option for busy days. So, are you ready to dive into a plate of cheesy goodness? Let's get cooking!
Why is Manicotti a Family Favorite?
Comforting: Cheese Manicotti is the ultimate comfort food, wrapping you in a cozy embrace with every bite. Effortless to prepare, this recipe allows even novice cooks to impress their family without stressing over complicated steps. Versatile options abound, whether you opt for classic cheese or explore variations like Meaty or Vegetable Manicotti. Delicious leftovers make it an excellent choice for meal prep, ensuring you savor the cheesy goodness all week long. Plus, it pairs wonderfully with a crisp side salad or warm garlic bread for an elevated dining experience!
Manicotti Ingredients
• Discover the essential components for crafting delicious manicotti.
For the Filling
- Ricotta cheese – Provides creaminess and is the base of the filling; you can swap it for cottage cheese for a lighter alternative.
- Onion – Adds flavor to the filling; shallots can be used for a milder taste.
- Egg – Binds the filling ingredients together; for a vegan option, try using a flax egg.
- Fresh parsley – Offers a fresh herb flavor; basil or spinach can make a lovely variation.
- Pepper & salt – Enhance overall flavor; opting for sea salt can improve taste.
- Mozzarella cheese – Melts beautifully atop the manicotti; provolone can substitute for a slightly different flavor.
- Parmesan cheese – Adds a sharp, umami flavor; you can use nutty Pecorino instead for a twist.
For the Sauce
- Marinara sauce – Forms the flavorful base for baking; store-bought is perfectly acceptable!
- Water – Used to moisten the sauce; no direct substitutions needed.
For the Pasta
- Manicotti shells – The vessel for the filling; jumbo shells make a good alternative if you desire a different texture.
Step‑by‑Step Instructions for Cheese Manicotti
Step 1: Preheat the Oven
Begin by preheating your oven to 350°F (175°C). This ensures a perfectly baked Cheese Manicotti with a golden cheese topping. While the oven warms, gather your ingredients and equipment, including a mixing bowl, a baking dish, and a spatula for easy mixing.
Step 2: Prepare the Cheese Filling
In a large mixing bowl, combine ricotta cheese, finely chopped onion, a beaten egg, fresh parsley, and a sprinkle of salt and pepper. Stir in ½ cup each of mozzarella and Parmesan cheese until the mixture is creamy and well-blended. This rich filling will bring delightful flavor to your manicotti.
Step 3: Mix the Marinara Sauce
In another bowl, pour in your marinara sauce and add a splash of water, stirring to combine. This will create a smooth sauce that helps the manicotti shells cook evenly. Spread ¾ cup of this sauce evenly across the bottom of a 13x9-inch baking dish that you've lightly sprayed with cooking spray.
Step 4: Stuff the Manicotti Shells
Carefully stuff each uncooked manicotti shell with the ricotta mixture using a spoon or a pastry bag for easier handling. Place the filled shells in a single layer over the sauce in your baking dish. Ensure they are snug but not overcrowded, allowing them to bake perfectly.
Step 5: Add Remaining Sauce
Once all the manicotti shells are in place, pour the remaining marinara sauce generously over them, ensuring each shell is covered. This will help the pasta stay moist during baking and infuse it with rich flavor.
Step 6: Bake Covered
Cover the baking dish tightly with aluminum foil to trap the steam inside. Bake the Cheese Manicotti in the preheated oven for 50 minutes, or until the shells are tender. The cheese should form a deliciously creamy layer as it starts to meld with the sauce.
Step 7: Add Toppings and Final Bake
After 50 minutes, carefully remove the foil and sprinkle the remaining mozzarella and Parmesan cheese over the top of the manicotti. Return the dish to the oven and bake uncovered for an additional 10-15 minutes. Watch closely as the cheese melts and becomes bubbly and slightly golden.
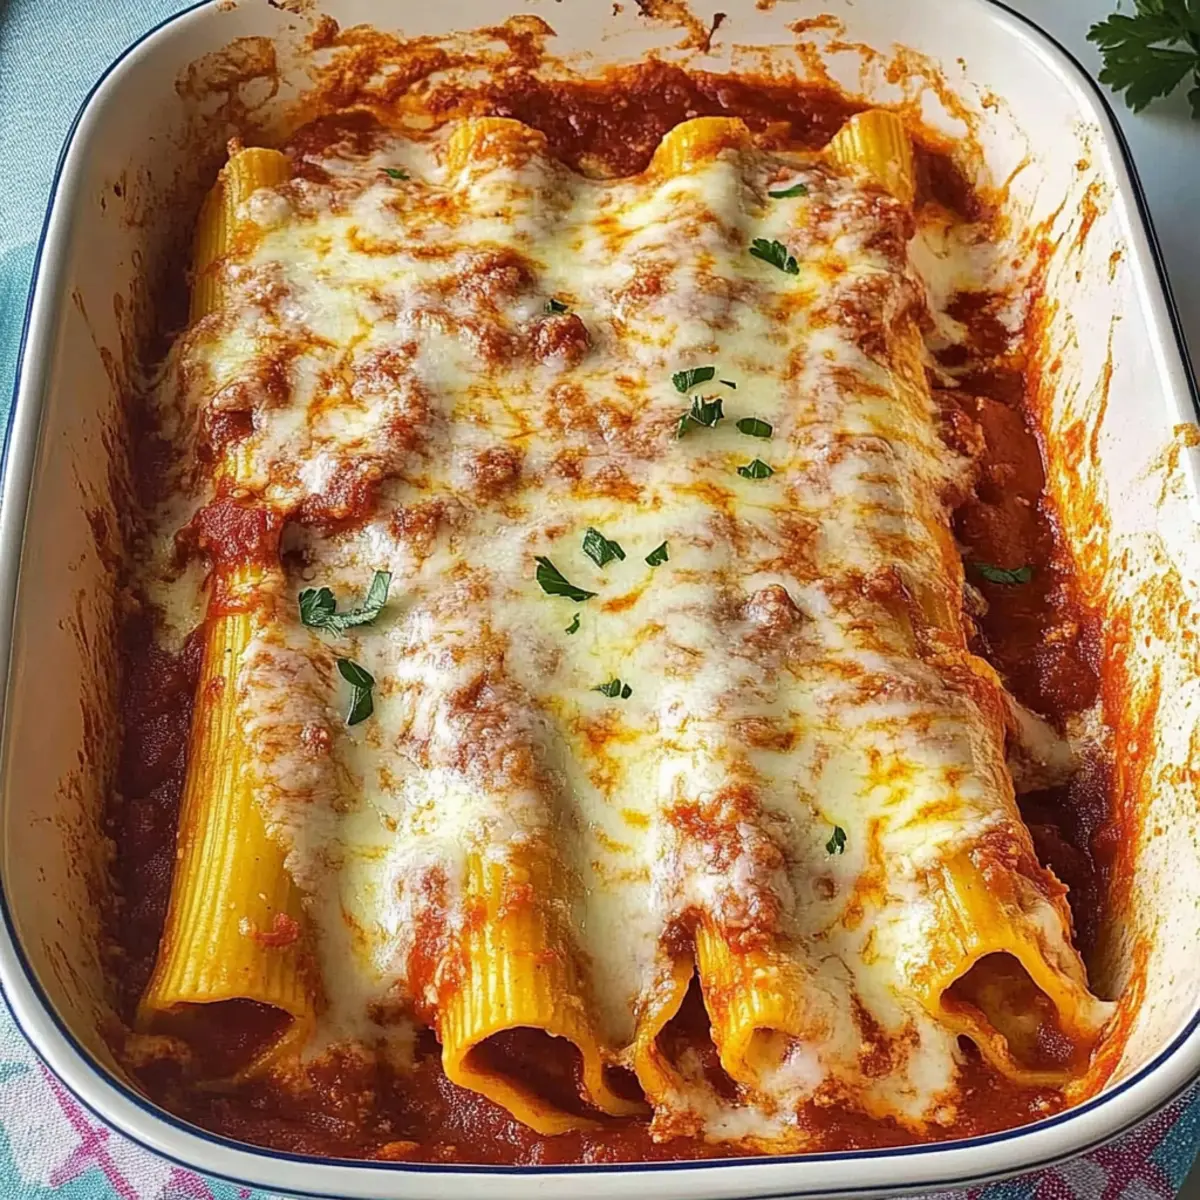
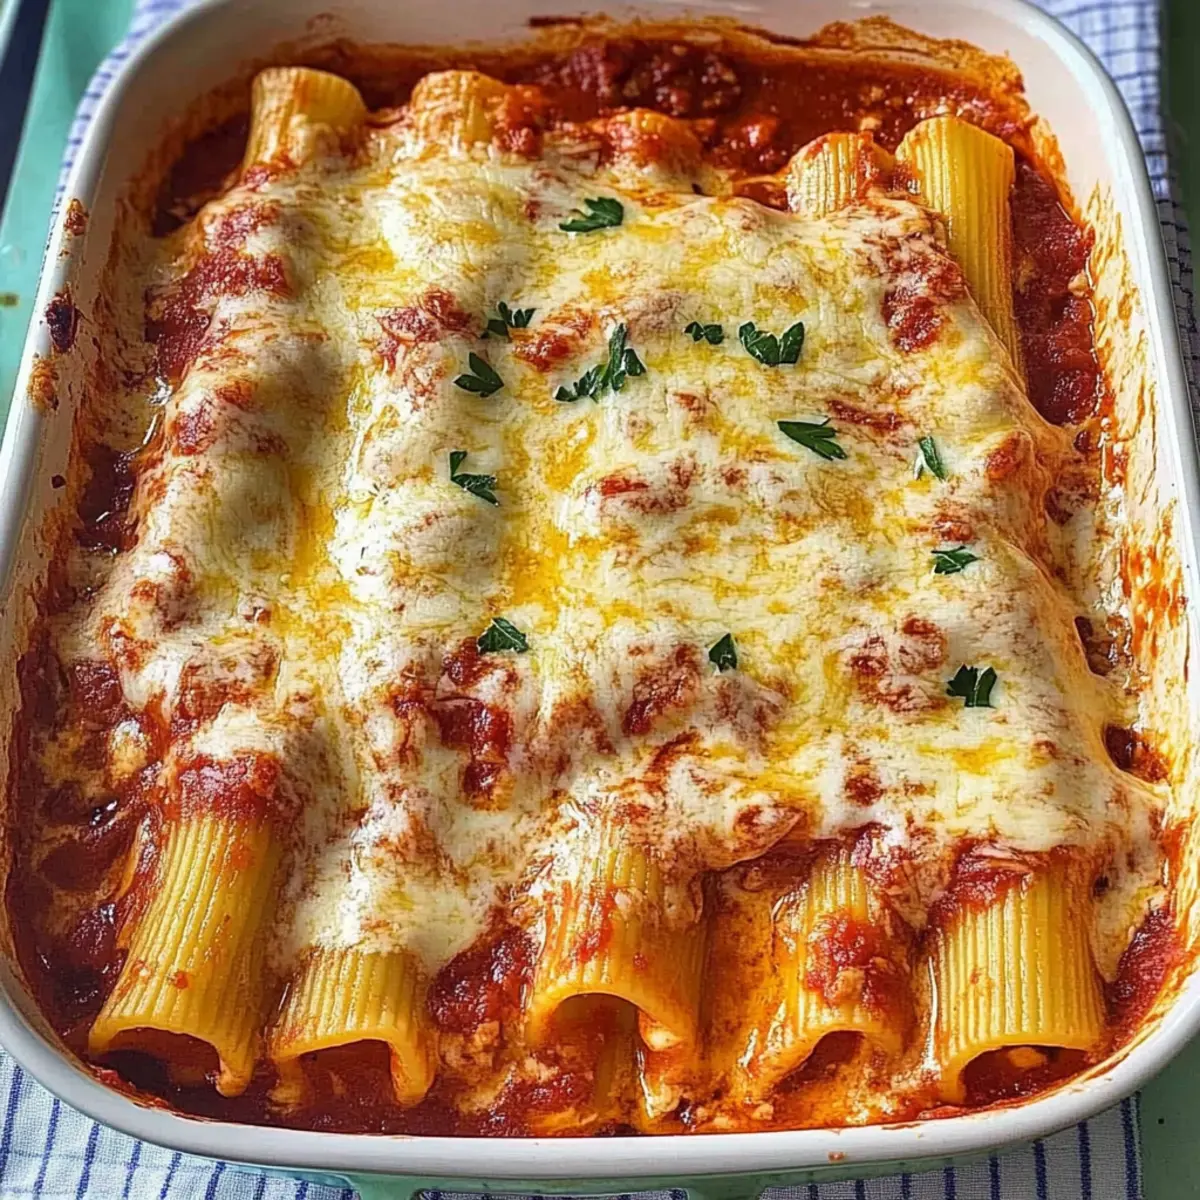
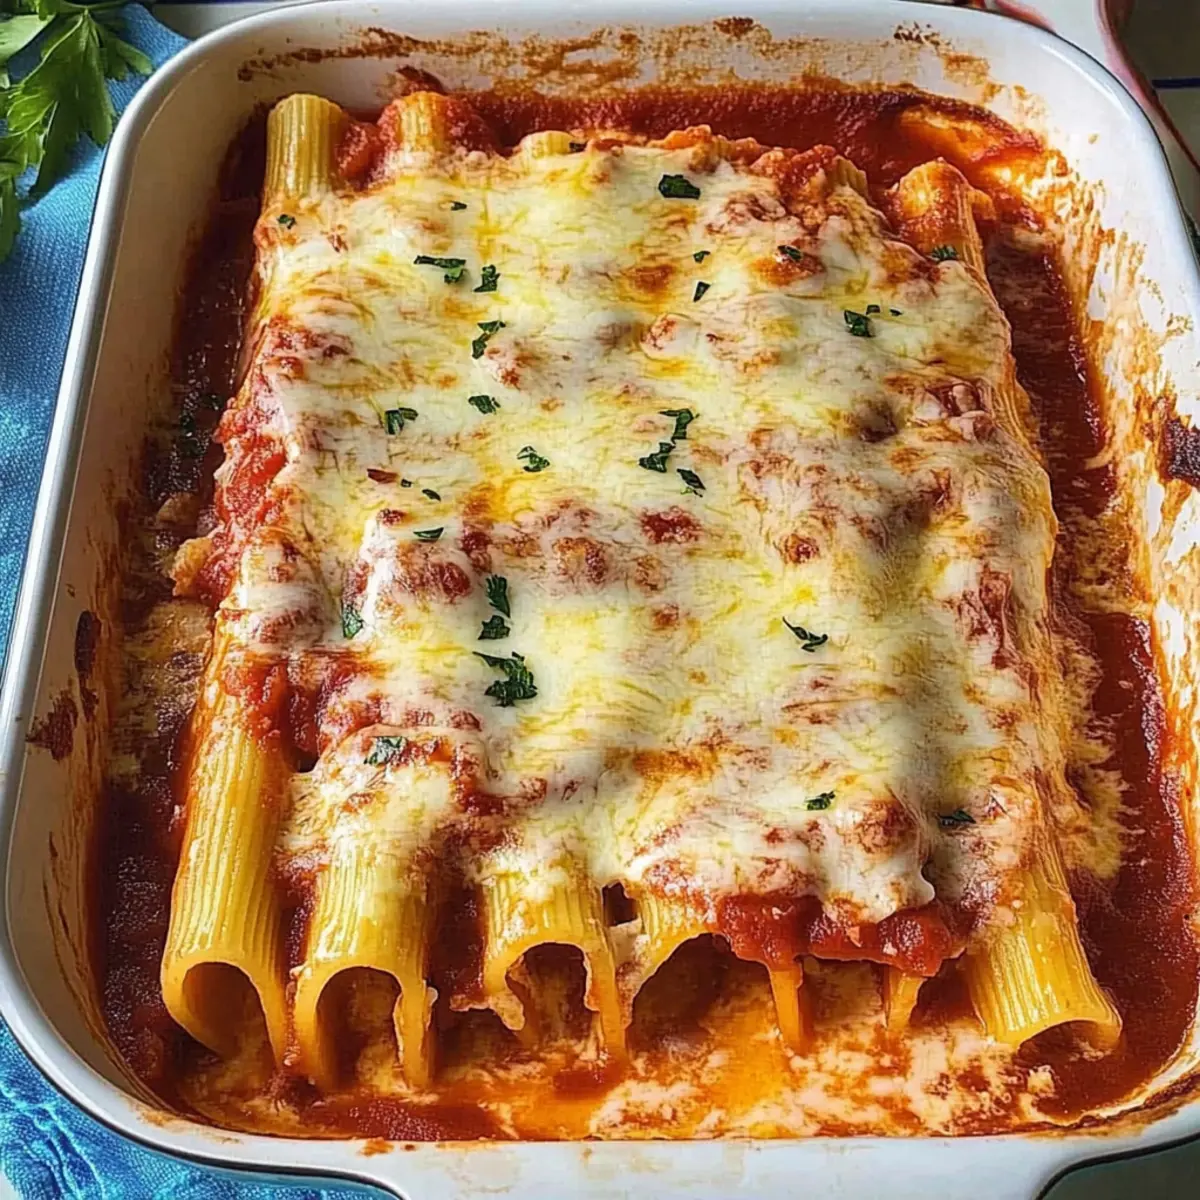
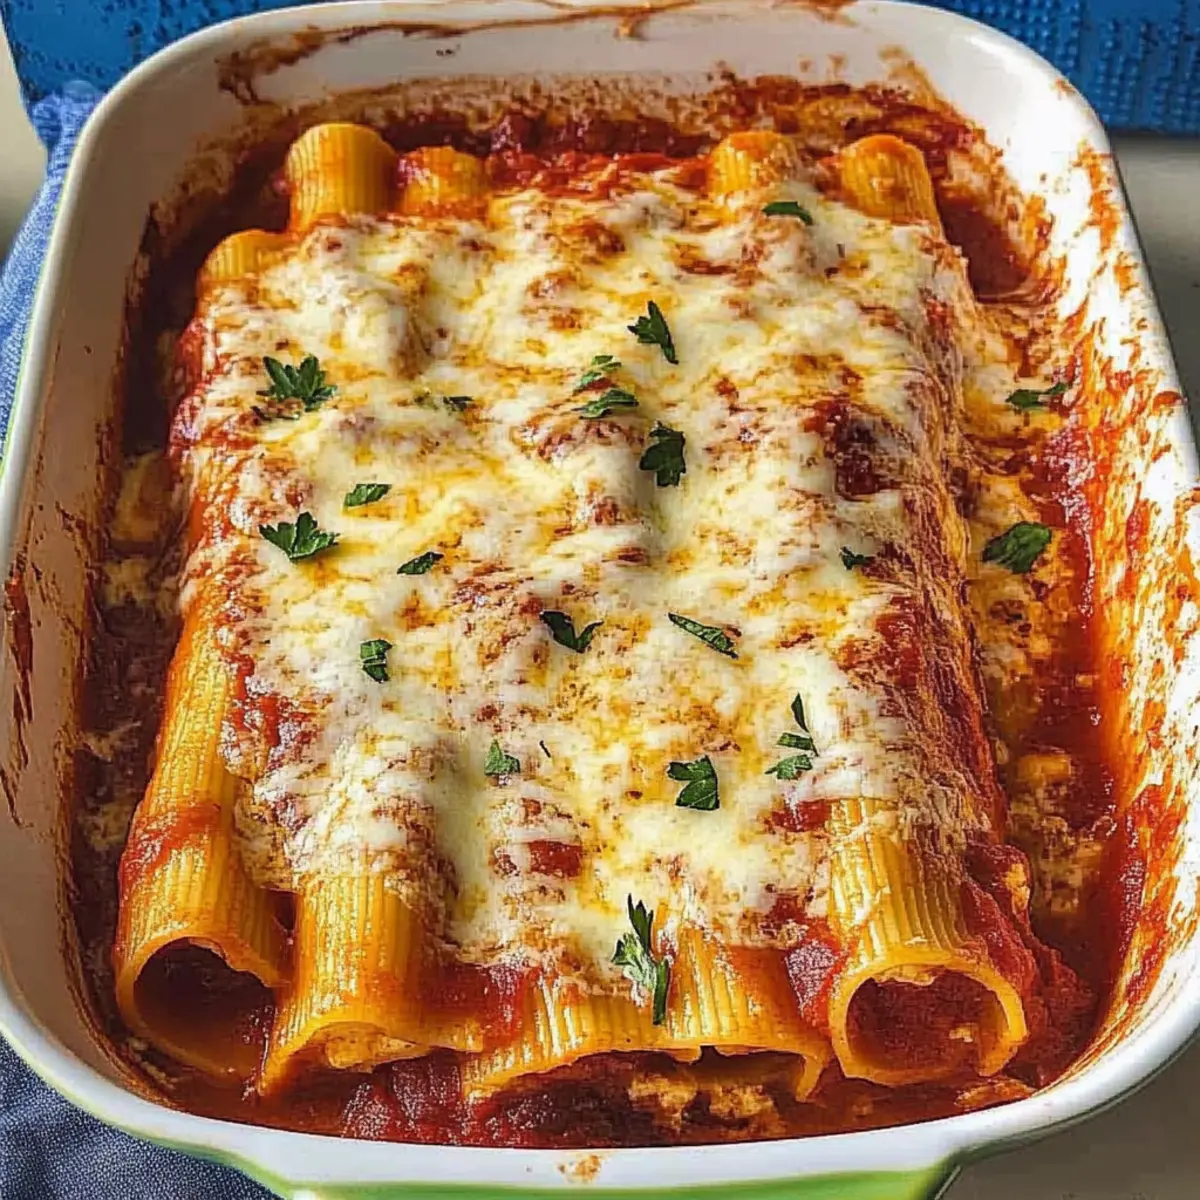
Step 8: Garnish and Serve
Once your manicotti is beautifully golden and bubbling, take it out of the oven and let it rest for a few minutes. Optional: sprinkle fresh parsley on top for a pop of color before serving. Enjoy your warm Cheese Manicotti with a side salad or garlic bread!
What to Serve with Cheese Manicotti
Transform your delightful Cheese Manicotti into a full meal that satisfies every palate with irresistible pairings.
- Garlic Bread: The buttery crunch of warm garlic bread beautifully complements the creamy filling, perfect for sopping up every drop of marinara.
- Caesar Salad: Crisp romaine and tangy dressing add a refreshing contrast to the warm, cheesy dish. The crunch of croutons enhances the overall texture, making every bite enjoyable.
- Roasted Vegetables: Seasoned carrots and zucchini provide earthy flavors and colorful variety to your plate, balancing out the richness of the manicotti.
- Steamed Broccoli: Lightly steamed, vibrant green broccoli offers a nutritious and crunchy side. It’s a wonderful way to sneak in some greens while keeping your meal comforting.
- Italian Antipasto Platter: A spread of olives, cheeses, and cured meats can elevate the meal's ambiance, offering a taste of Italy even before the main course begins.
- Red Wine: A medium-bodied red wine, like Chianti, effortlessly enhances the flavors of the marinara sauce, creating a beautifully satisfying dining experience.
- Tiramisu: End your meal with a slice of this classic Italian dessert. The coffee and cocoa flavors provide a sweet finish that contrasts perfectly with the savory dish.
Expert Tips for Perfect Manicotti
- Check Doneness: Avoid overcooking the manicotti shells while baking; they should be tender but not falling apart. Check periodically for the perfect texture.
- Effortless Stuffing: For easy filling, use a pastry bag or a zip-top bag with the corner snipped off. This keeps your hands clean and speeds up the process.
- Make Ahead: If you're short on time, assemble the Cheese Manicotti ahead of time and refrigerate it for up to three days. Allow it to sit at room temperature for 30 minutes before baking.
- Flavor Boost: Experiment with adding herbs or spices to your ricotta mixture, such as garlic powder or Italian seasoning, to enhance the flavor profile of your classic manicotti.
- Oven Variations: Every oven is different, so keep an eye on the cheese as it bakes. If the top isn't browning, you can broil it for a minute or two to finish.
Manicotti Variations & Substitutions
Feel free to modify this Cheese Manicotti recipe to make it truly your own and suit your taste buds.
- Meaty Manicotti: Stir in cooked ground beef or sausage to the ricotta filling for a heartier dish. This adds wonderful savory notes that elevate the flavors.
- Vegetable Manicotti: Mix in sautéed spinach, bell peppers, or mushrooms into the cheese mixture for added nutrition and a burst of color. You'll create a delightful medley of textures and flavors!
- Dairy-Free: Replace ricotta and mozzarella with cashew cheese or tofu for a creamy plant-based filling. This way, you can still enjoy the comfort of manicotti without dairy.
- Spicy Manicotti: Add red pepper flakes or diced jalapeños to the filling for a kick of heat. Spicy variations introduce exciting flavors that wake up the taste buds!
- Alfredo Manicotti: Swap out marinara sauce for creamy alfredo sauce to transform the dish into a decadent experience. You might even pair it with garlic bread for an Italian feast.
- Pesto Manicotti: Incorporate pesto into the ricotta filling or drizzle over the top for a fresh, herby twist. The vibrant green adds not only taste but also a stunning presentation.
- Nut-Based: For a unique flavor, use almond or walnut flour instead of breadcrumbs for a gluten-free option. This variation can introduce a lovely nuttiness to the dish!
- Stuffed Jumbo Shells: If you can’t find manicotti shells, opt for jumbo pasta shells instead. They hold the filling beautifully, making it a fun alternative without sacrificing flavor.
No matter how you decide to customize your manicotti, remember that the joy of home-cooked meals is all about making them your own!
How to Store and Freeze Manicotti
Fridge: Store leftover Cheese Manicotti in an airtight container for up to 5 days. Make sure it is completely cooled before sealing to prevent moisture buildup.
Freezer: Freeze manicotti for up to 2 months. Layer the shells in a freezer-safe dish separated by parchment paper to prevent sticking.
Reheating: Thaw overnight in the refrigerator, then reheat in a 350°F oven for about 25-30 minutes until heated through. Cover with foil to ensure it doesn’t dry out.
Make-Ahead: Assemble the dish ahead of time and refrigerate for up to 3 days before baking. Allow it to sit at room temperature for 30 minutes before popping it in the oven.
Make Ahead Options
These Cheese Manicotti are perfect for meal prep enthusiasts looking to simplify busy weeknight dinners! You can assemble the entire dish up to 3 days in advance; just keep it covered in the refrigerator to maintain its freshness. To do this, prepare the filling and stuff the manicotti shells, placing them in the baking dish with sauce as directed. On the day you plan to serve, allow the manicotti to sit at room temperature for 30 minutes before baking to ensure even cooking. Then, simply cover with foil and bake at 350°F for about 50 minutes, removing the foil at the end to let the cheese bubble beautifully. This way, you’ll have a restaurant-quality dish ready with minimal effort!
Cheese Manicotti Recipe FAQs
What kind of ricotta cheese should I use?
I recommend using whole milk ricotta for a creamier, richer filling. However, if you're looking for a lighter alternative, cottage cheese can be a great substitute. Just blend it slightly for a smoother texture!
How long can I store leftover Cheese Manicotti in the fridge?
Leftover Cheese Manicotti can be stored in an airtight container in the refrigerator for up to 5 days. Make sure it is fully cooled before sealing to avoid any moisture buildup that can affect texture.
Can I freeze Cheese Manicotti?
Absolutely! You can freeze Cheese Manicotti for up to 2 months. To do this, layer the stuffed shells in a freezer-safe dish, separating them with parchment paper to prevent sticking. When ready to enjoy, thaw overnight in the fridge and reheat at 350°F for about 25-30 minutes.
What if my stuffing is too runny?
If your ricotta mixture is too runny, add a little more cheese to thicken it up. You can also mix in breadcrumbs, which can help absorb excess moisture while still keeping the filling deliciously creamy.
Can I make Cheese Manicotti in advance?
Yes! You can assemble your Cheese Manicotti ahead of time and keep it covered in the refrigerator for up to 3 days. Before baking, make sure to let it sit at room temperature for 30 minutes. This makes it convenient for busy weeknights!
Are there any dietary considerations for this dish?
Yes! If you're cooking for someone with allergies, ensure to check for gluten in the manicotti shells and dairy in the cheese used. For a vegan version, substitute ricotta with a tofu blend mixed with nutritional yeast, and use a flax egg in place of traditional eggs.
Irresistible Manicotti: Your New Favorite Comfort Dish
Ingredients
Equipment
Method
- Preheat your oven to 350°F (175°C).
- In a large mixing bowl, combine ricotta cheese, finely chopped onion, a beaten egg, fresh parsley, and a sprinkle of salt and pepper. Stir in ½ cup each of mozzarella and Parmesan cheese until the mixture is creamy.
- In another bowl, pour in your marinara sauce and add a splash of water, stirring to combine. Spread ¾ cup of this sauce evenly across the bottom of a 13x9-inch baking dish that you've lightly sprayed with cooking spray.
- Carefully stuff each uncooked manicotti shell with the ricotta mixture. Place the filled shells in a single layer over the sauce in your baking dish.
- Once all the manicotti shells are in place, pour the remaining marinara sauce generously over them.
- Cover the baking dish tightly with aluminum foil and bake for 50 minutes.
- After 50 minutes, carefully remove the foil and sprinkle the remaining mozzarella and Parmesan cheese over the top. Return the dish to the oven and bake uncovered for an additional 10-15 minutes.
- Once your manicotti is beautifully golden and bubbling, take it out of the oven and let it rest for a few minutes before serving.


Leave a Reply