
As I stood in my kitchen, the enticing aroma of freshly baked goods filled the air, transforming my home into a warm embrace of sweetness. The stars of the show? Turtle Scones, a delightful mix of rich chocolate, crunchy pecans, and a luxurious caramel glaze that leaves you wanting more. These scones are not just any treat; they're perfect for those cozy mornings or elegant afternoon teas where homemade touches shine. Plus, they come together in a snap, making them ideal for both seasoned bakers and new enthusiasts. So, whether you're looking to impress guests or simply indulge yourself, these Turtle Scones promise to elevate any gathering. What special occasion will you celebrate with these delightful bites?
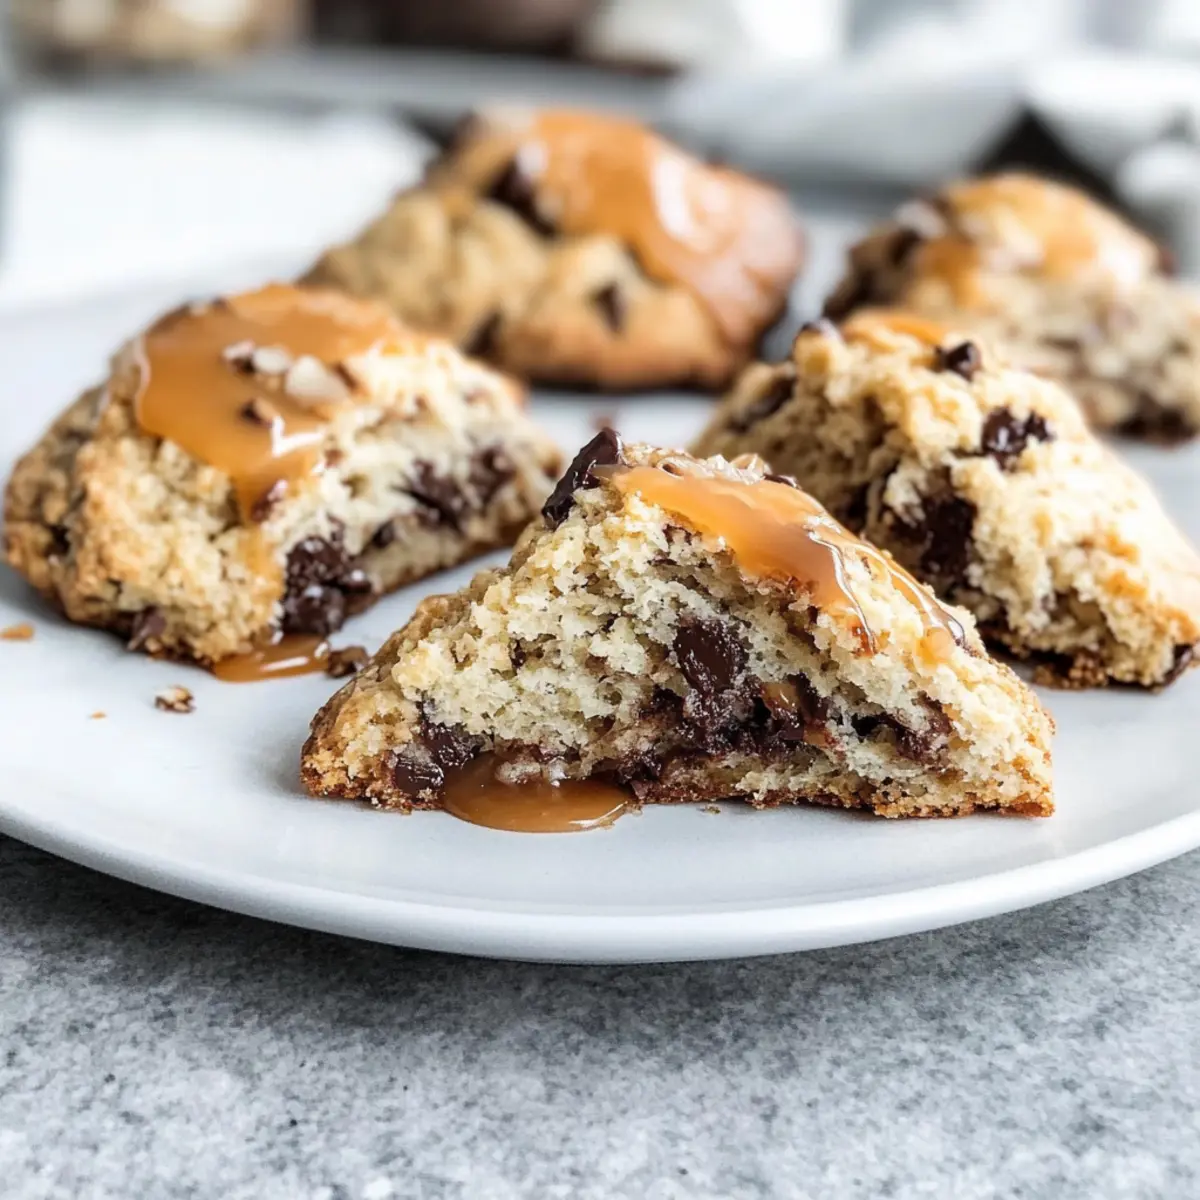
Why are Turtle Scones a must-try?
Decadence in Every Bite: These Turtle Scones are not just baked goods; they are indulgent treats that merge the beloved flavors of chocolate and caramel.
Quick and Easy: With minimal effort, you can whip up a batch that’s perfect for brunch or an afternoon snack.
Versatile Topping Options: Feel free to drizzle that luscious caramel glaze or have fun experimenting with different chocolates from dark to white.
Crowd-Pleasing Appeal: Whether it's a casual family breakfast or a fancy tea party, these scones are sure to impress.
Joy of Homemade: Each bite delivers the satisfaction of baking from scratch, providing a comforting experience that fast food simply can’t match. Enjoy with a cup of coffee or tea for the complete indulgence!
Turtle Scones Ingredients
For the Scone Base
• All-Purpose Flour – Provides structure and body to the Turtle Scones; feel free to swap with a gluten-free blend for a gluten-free option.
• Granulated Sugar – Adds the perfect touch of sweetness; no substitutions necessary for this classic flavor.
• Baking Soda – Essential for rising; make sure it’s fresh for optimal fluffiness.
• Baking Powder – Works alongside baking soda for that ideal scone lift; replace only with a similar agent if needed.
• Salt – Enhances flavor; using kosher salt can give a milder taste.
• Cold Butter – Creates that delightful flakiness; vegan butter can replace it for a dairy-free treat.
For the Flavor Boosters
• Pecans – Add a crunchy and nutty texture; walnuts are a good substitute, or omit entirely for a nut-free version.
• Chocolate Chips – Deliver gooey, sweet pockets; consider dark chocolate or carob chips for varied flavors.
• Vanilla Extract – Amplifies the overall flavor; almond extract can be an interesting substitution if you’d like.
• Buttermilk – Imparts moisture and a pleasant tang; regular milk with a splash of lemon juice works as an alternative.
For the Caramel Glaze
• Butter – A base for that rich glaze; it’s essential for flavor and texture.
• Brown Sugar – Adds sweetness and depth; don’t skip this for an authentic caramel taste.
• Salt – Just a pinch enhances the overall flavor of the glaze.
• Heavy Cream – Creates a luscious texture; substitute with coconut cream for a dairy-free version.
Craft your Turtle Scones with love, and let the irresistible combination of flavors turn any moment into a special occasion!
Step‑by‑Step Instructions for Turtle Scones
Step 1: Preheat the Oven
Begin by preheating your oven to 425°F (220°C). While the oven warms up, line a baking sheet with parchment paper to prevent the Turtle Scones from sticking. This will ensure a golden, beautifully baked bottom, ready to catch all that delightful caramel glaze later.
Step 2: Mix Dry Ingredients
In a large mixing bowl, whisk together 2 cups of all-purpose flour, ¼ cup of granulated sugar, 1 teaspoon of baking soda, 1 tablespoon of baking powder, and ½ teaspoon of salt until well combined. The dry mixture should be light and airy, creating a perfect base for your Turtle Scones.
Step 3: Incorporate Cold Butter
Add ½ cup of cold, cubed butter to the dry ingredients. Using your fingers or a pastry cutter, work the butter into the flour mixture until it resembles coarse crumbs, with some pea-sized pieces visible. This step is crucial for achieving that flaky texture in your Turtle Scones.
Step 4: Add Nuts and Chocolate
Fold in 1 cup of chopped pecans and ½ cup of chocolate chips into the crumbly mixture, ensuring they are evenly distributed. The combination of nutty pecans and gooey chocolate will bring rich flavor and delightful texture to each scone.
Step 5: Create the Dough
Make a well in the center of the mixture and pour in 1 teaspoon of vanilla extract and about 1 cup of buttermilk. Stir gently until the mixture just comes together. Add more buttermilk gradually if necessary to form a soft dough, being careful not to over-mix for tender Turtle Scones.
Step 6: Shape the Scones
Transfer the dough to a lightly floured surface. Pat it into a circle approximately 1.5 inches thick. Using a sharp knife or a bench scraper, cut the dough into 8 to 10 triangles; they should look invitingly rustic and ready for baking.
Step 7: Bake to Perfection
Place the scones on the prepared baking sheet, spacing them apart. Bake in your preheated oven for 10 to 12 minutes, or until they’re lightly browned and a toothpick comes out clean. The warm aroma will fill your kitchen as they rise to fluffy perfection.
Step 8: Prepare the Caramel Glaze
While the scones cool, make the caramel glaze by combining ¼ cup of butter, ½ cup of brown sugar, and a pinch of salt in a saucepan over medium heat. Whisk constantly until smooth; bring to a gentle boil then remove from heat and stir in ¼ cup of heavy cream until thick and luscious.
Step 9: Glaze Your Scones
Once the Turtle Scones have cooled slightly, dip the tops into the warm caramel glaze or drizzle it generously on top. Allow the glaze to set for a few minutes, transforming your delicious scones into an indulgent treat that's both visually stunning and irresistible to eat.
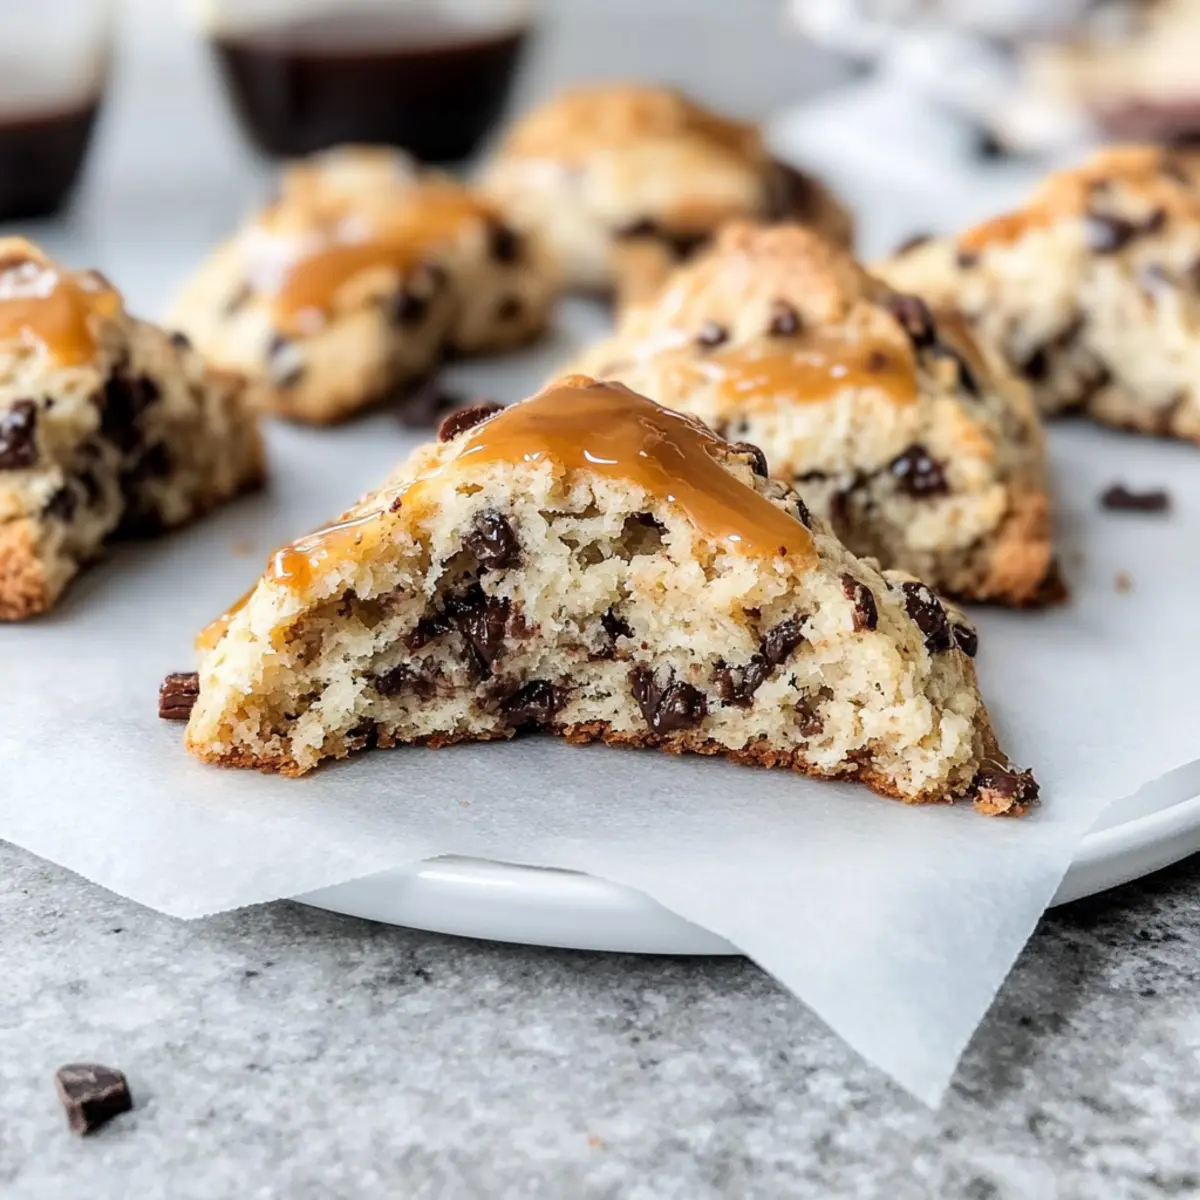
Expert Tips for Turtle Scones
-
Fresh Ingredients: Always use fresh baking soda and baking powder. Old leavening agents can prevent your Turtle Scones from rising properly, leaving you with dense scones.
-
Cold Butter is Key: Make sure your butter is cold when you mix it into the flour. This ensures that your scones turn out flaky and tender, not tough and chewy.
-
Don’t Overwork the Dough: Handle your dough gently and avoid over-kneading. This maintains the light texture that makes Turtle Scones so delightful.
-
Customize Wisely: Feel free to experiment with different types of nuts and chocolate, but be wary of too many substitutions as they can alter the scone’s structure.
-
Watch the Baking Time: Ovens vary, so keep an eye on your scones as they bake. They should be golden brown and slightly firm to the touch for the best results.
Make Ahead Options
These Turtle Scones are perfect for meal prep enthusiasts looking to save time during busy mornings! You can prepare the scone dough up to 24 hours in advance by mixing all the dry ingredients and incorporating the cold butter; just keep it covered in the fridge. When you're ready to bake, simply add in the buttermilk, nuts, and chocolate chips, and proceed to shape and bake as directed. Additionally, you can make the caramel glaze up to 3 days ahead and store it in an airtight container in the refrigerator, reheating gently before drizzling over the scones. This way, you’ll enjoy delicious, homemade Turtle Scones with minimal effort, all while maintaining their delightful texture and flavor!
How to Store and Freeze Turtle Scones
Room Temperature: Store cooled Turtle Scones in an airtight container for up to 3 days to maintain their freshness and flavor.
Fridge: For longer storage, keep the scones in the refrigerator for up to a week, ensuring they are well-wrapped to avoid drying out.
Freezer: Freeze uneaten Turtle Scones by placing them in a freezer-safe container or bag for up to 3 months. Thaw at room temperature before enjoying.
Reheating: For the best texture, reheat frozen Turtle Scones in the oven at 350°F (175°C) for about 10 minutes, allowing the chocolate to melt slightly again.
Turtle Scones Variations & Substitutions
Create your own version of these delightful Turtle Scones by adding your personal twist!
- Gluten-Free: Substitute all-purpose flour with a gluten-free blend to enjoy a fluffy treat while keeping it gluten-free.
- Dairy-Free: Use a vegan butter alternative and coconut cream for the caramel glaze to make it completely dairy-free.
- Nut-Free: Omit pecans and replace them with sunflower seeds for a crunchy texture without nuts.
- Chocolate Lovers: Experiment with a mix of chocolate types; use dark, white, or even butterscotch chips for a flavor explosion.
- Fruit Addition: Toss in some dried fruits like cherries or cranberries to infuse a burst of brightness and tartness.
- Add Spices: For an added warmth, sprinkle in cinnamon or nutmeg to the dry ingredients before mixing. This adds a cozy undertone to every bite.
- Savory Twist: Swap out chocolate chips for cheese and herbs to create a savory scone. Try mixing in cheddar cheese and some chives for a delightful twist—perfect for a brunch spread!
Feel free to explore these variations! They add so much character, just like how a cozy kitchen welcomes the unique recipes we all cherish. For even more baking inspiration, check our guide on Secrets to Perfect Scones or try adding flavor boosts to your scones from our Infusion Ideas. Enjoy the journey of creating your ideal Turtle Scones!
What to Serve with Decadent Turtle Scones?
Transform your breakfast or afternoon gathering into a delightful feast with these perfect pairings!
-
Fresh Fruit Salad:
A vibrant mix of seasonal fruits brings a refreshing contrast to the rich flavors of the scones. The juicy sweetness balances the indulgence beautifully. -
Crisp Bacon or Sausage:
Savory breakfast meats add a satisfying crunch and richness, making every bite of scone feel even more fulfilling. Pairing the sweetness of the scones with these salty flavors will delight your palate. -
Fluffy Scrambled Eggs:
Light and airy, scrambled eggs provide a soft texture that harmonizes with the scones. The creaminess complements the chocolate, enriching each mouthful. -
Herbal Tea:
Imagine sipping a warm cup of herbal tea while enjoying turtle scones. The soothing flavors enhance the treat without overpowering it, creating a cozy atmosphere. -
Rich Coffee:
A bold coffee makes for an energizing pairing with your Turtle Scones, as the bitterness beautifully contrasts with the sweetness. Together, they create a delightful morning ritual. -
Chocolate Drizzle:
For a chocolate lover’s dream, add extra drizzles of melted chocolate on top. This accentuates the chocolate chips in the scones and amps up the decadent experience, making it purely irresistible. -
Vanilla Ice Cream:
Serve warm scones with a scoop of vanilla ice cream for a delightful dessert twist. The combination of warm, fluffy scones with cold, creamy ice cream is an indulgent treat you won't forget!
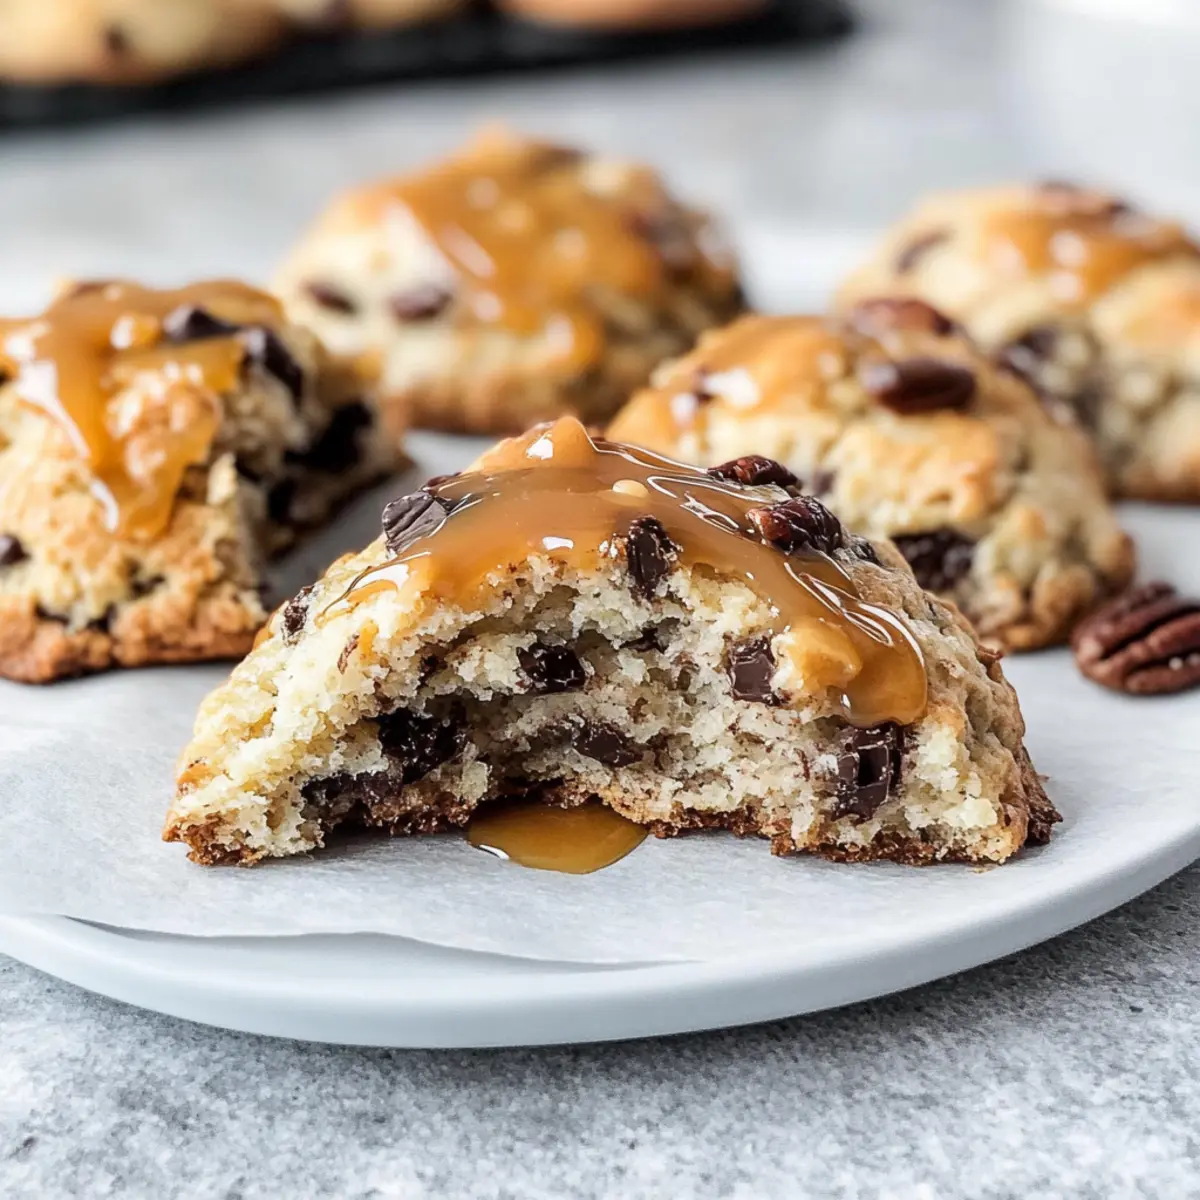
Turtle Scones Recipe FAQs
How do I choose ripe ingredients for Turtle Scones?
Absolutely! When selecting ingredients like pecans, look for nuts that are plump and free from dark spots or rancid odors. For butter, ensure it’s cold and firm, as this will achieve that flaky texture in the scones. Always check your baking soda and baking powder for freshness by testing them in warm water; they should fizz immediately if they’re good to use!
How should I store my Turtle Scones to keep them fresh?
Very simply! Store cooled Turtle Scones in an airtight container at room temperature for up to 3 days. If you live in a humid environment, you may want to refrigerate them, where they can last up to a week. Just wrap them well to prevent them from drying out – nobody wants a stale scone!
Can I freeze Turtle Scones, and how do I do that?
Absolutely! To freeze your Turtle Scones, let them cool completely, then place them in a single layer in a freezer-safe container or bag. They can be frozen for up to 3 months. For reheating, simply thaw them at room temperature for a couple of hours and then warm them in the oven at 350°F (175°C) for about 10 minutes, bringing back that fresh-baked taste.
What if my scone dough is too dry or too wet?
Good question! If your dough feels too dry and crumbly, it's likely you need to incorporate a little more buttermilk, adding it by the tablespoon until it comes together. On the other hand, if it's too wet and sticky, sprinkle in a bit more flour, one tablespoon at a time, until the texture is manageable. The goal is to have a dough that's soft but not overly sticky.
Are Turtle Scones safe for pets or those with allergies?
Definitely something to be aware of! While Turtle Scones are a delightful treat for humans, they are not safe for pets, especially due to the chocolate, which can be harmful to dogs and cats. Additionally, if you're accommodating allergies, consider using gluten-free flour for those with gluten sensitivities and ensure the nuts and chocolate don’t contain allergens before serving to loved ones.
How do I avoid common mistakes while making Turtle Scones?
Very important to get right! To avoid dense scones, be cautious not to over-knead the dough; it should just come together. Also, check that your leavening agents (baking powder and soda) are fresh for a good rise. Lastly, bake them until they are lightly browned and firm to the touch—monitoring is key because every oven is slightly different. Enjoy those scones right out of the oven!
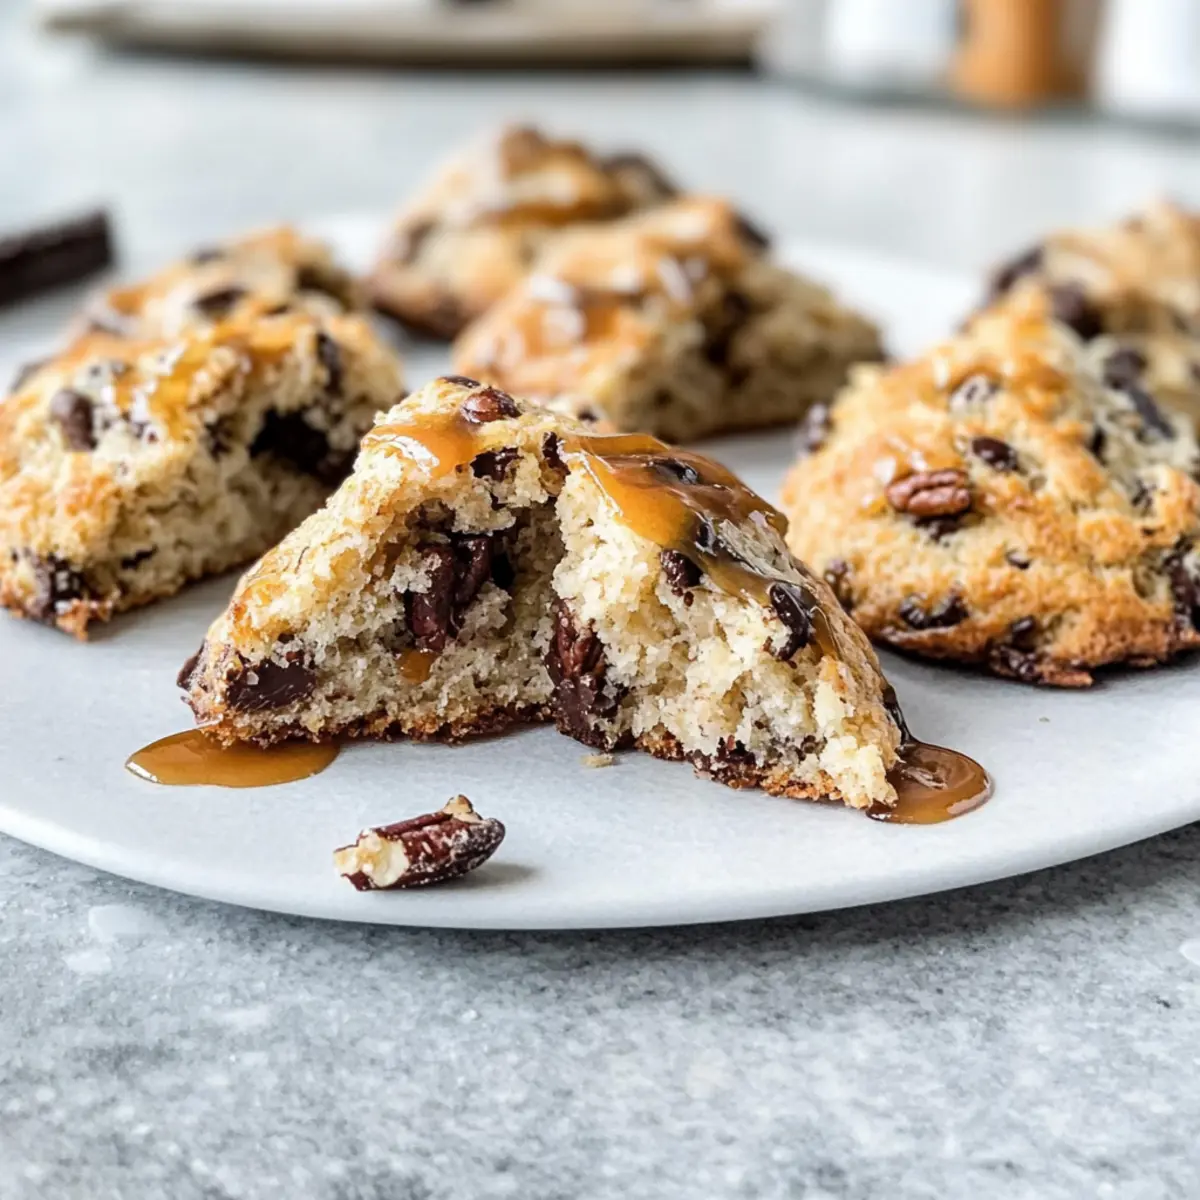
Irresistible Turtle Scones with Caramel Bliss
Ingredients
Equipment
Method
- Preheat your oven to 425°F (220°C) and line a baking sheet with parchment paper.
- In a large mixing bowl, whisk together the dry ingredients until well combined.
- Add the cold butter and work it into the flour mixture until it resembles coarse crumbs.
- Fold in pecans and chocolate chips until evenly distributed.
- Make a well in the center and pour in vanilla extract and buttermilk, then stir gently to form a dough.
- Transfer the dough to a floured surface and shape it into a circle about 1.5 inches thick, cut into triangles.
- Bake for 10 to 12 minutes, or until lightly browned and a toothpick comes out clean.
- While cooling, make the caramel glaze by whisking butter, brown sugar, and salt until smooth, then stir in heavy cream.
- Dip or drizzle the glaze over the scones, allowing it to set before serving.
Leave a Reply