
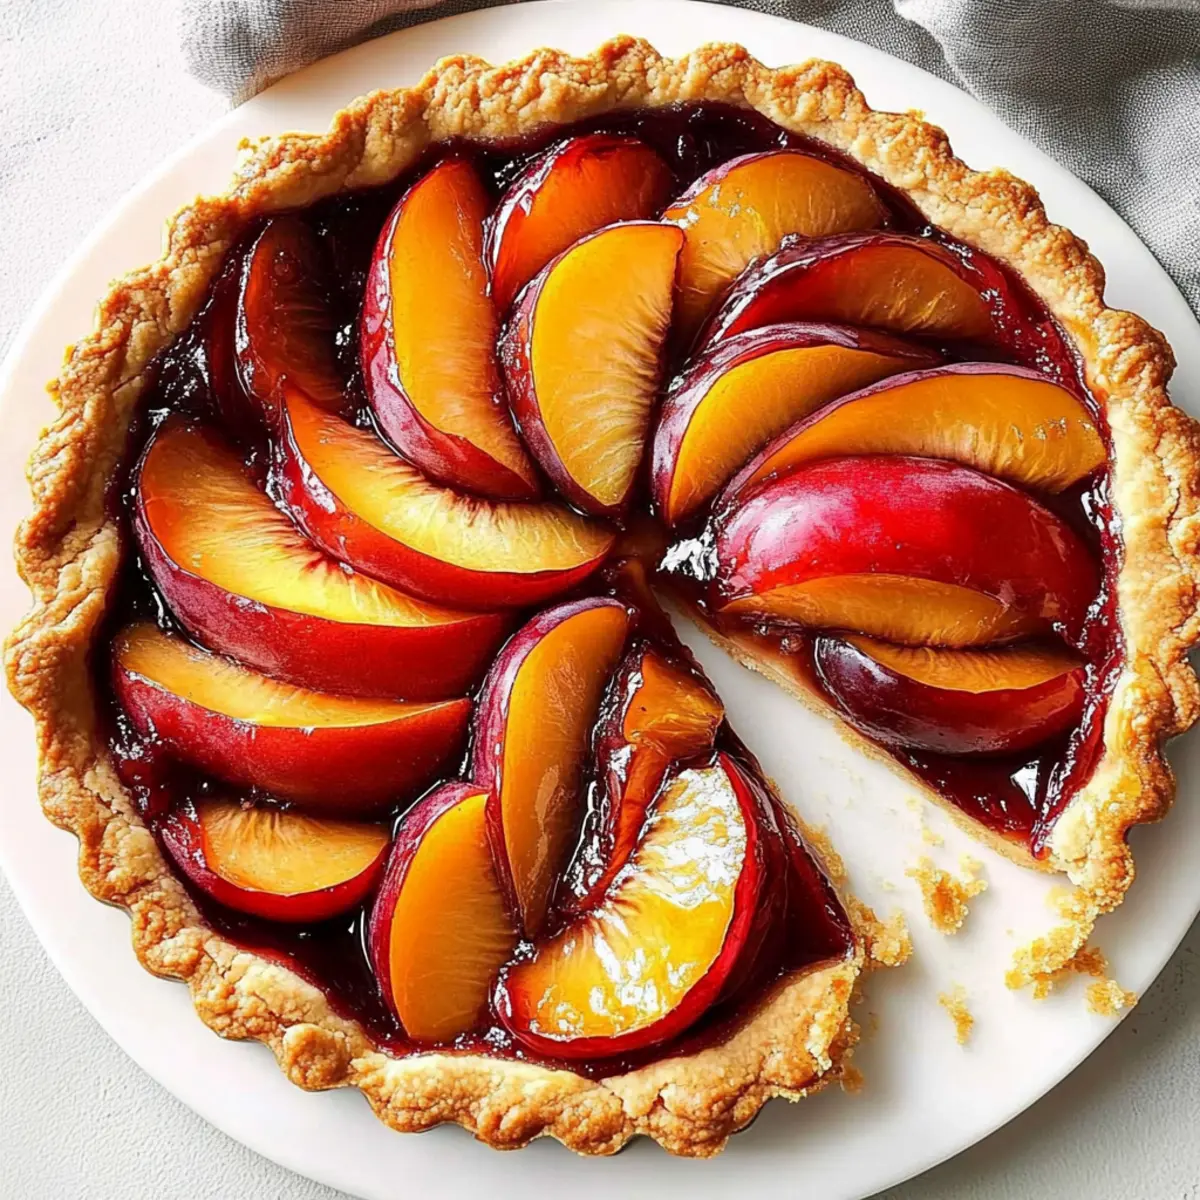
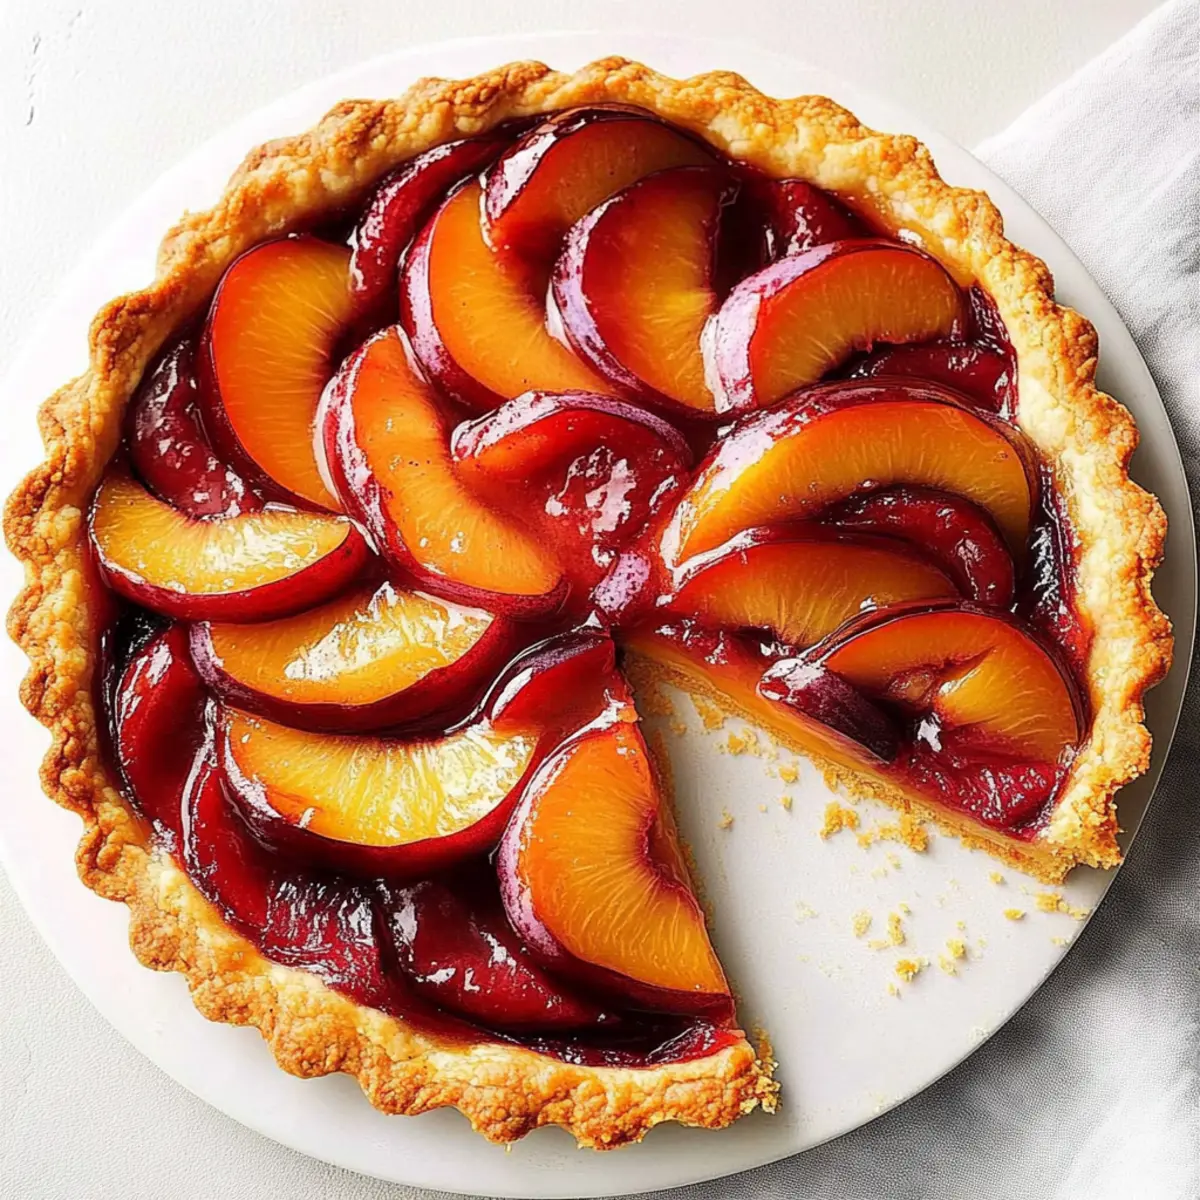
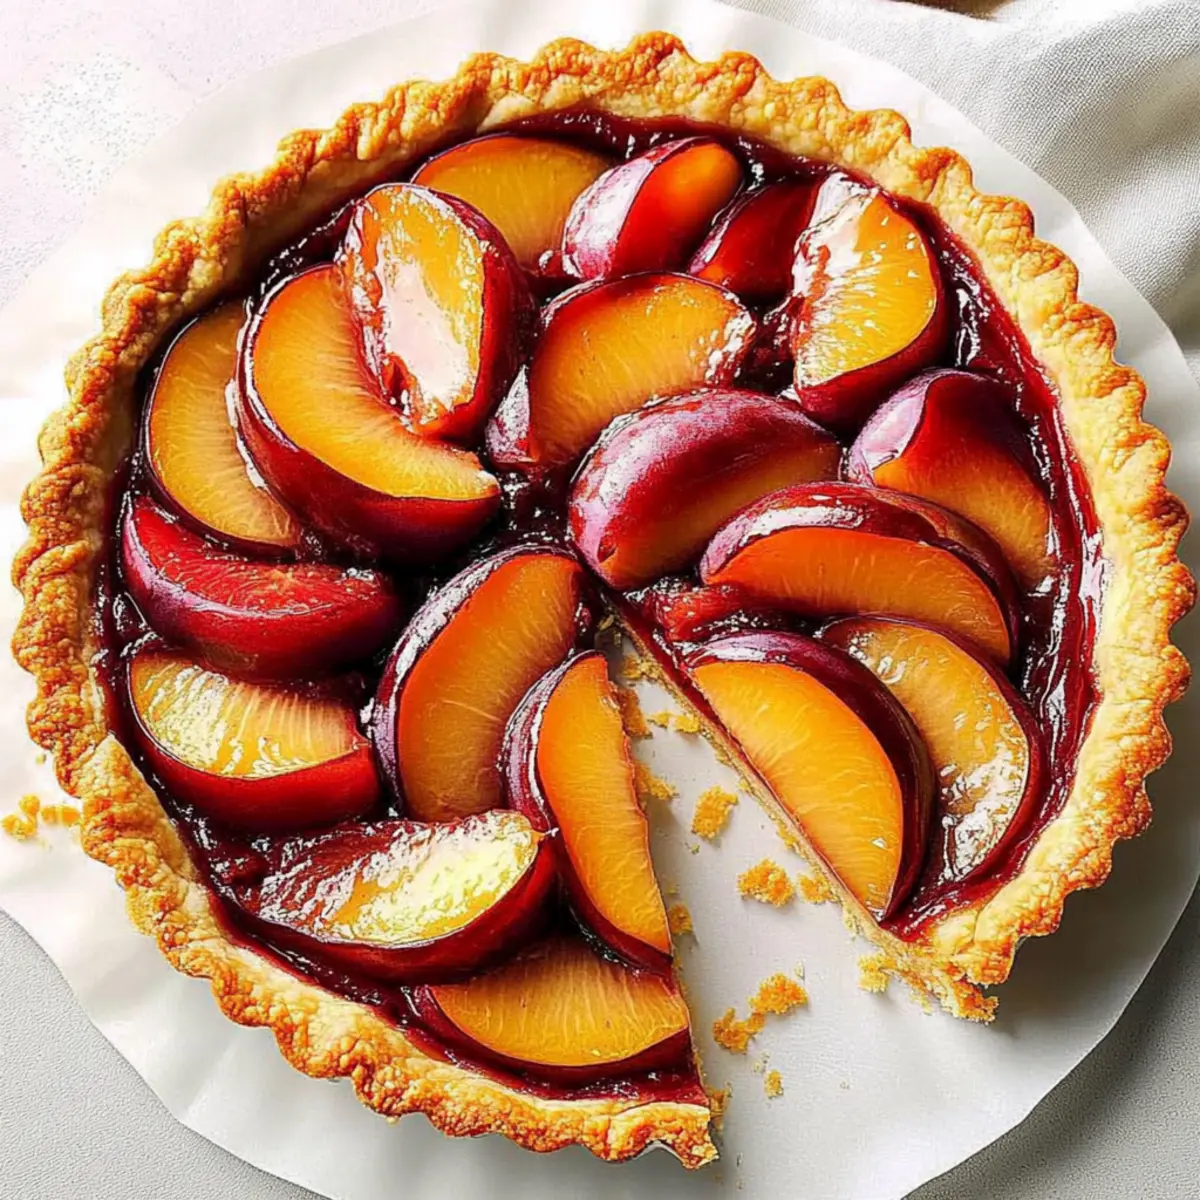
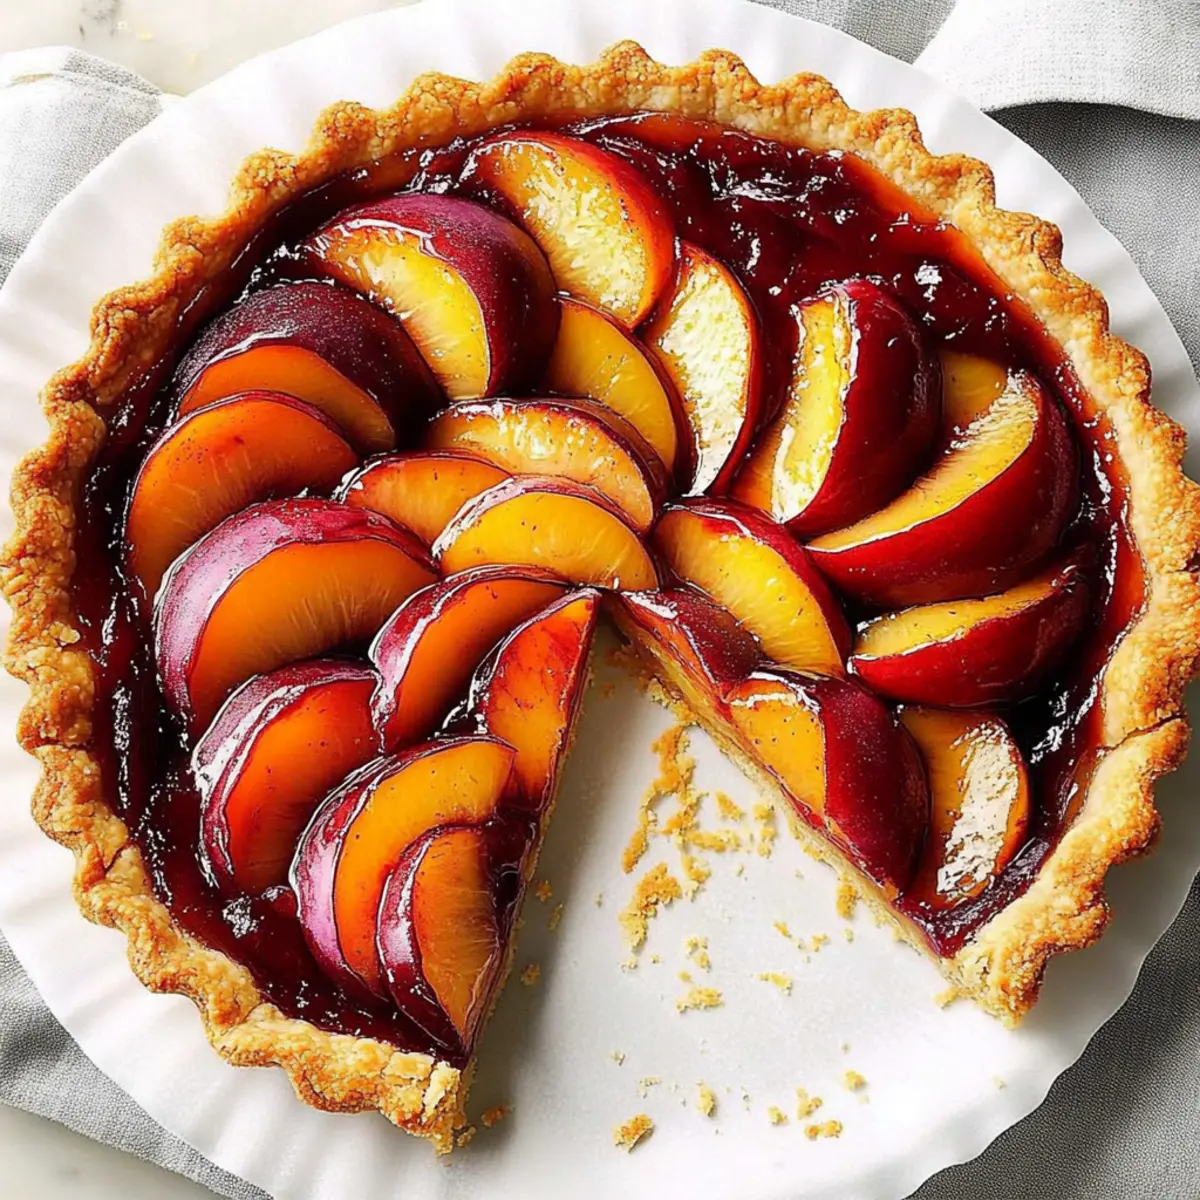
Once the first bite of summer’s sweet bounty crosses your lips, you’ll want to keep that feeling alive in your kitchen. Enter the Ginger Plum Tart—a sensational blend of juicy, ripe plums and the warm, zesty kick of ginger nestled in a flaky crust. This easy, quick dessert is ready in just 35 minutes, making it perfect for those spontaneous summer gatherings where everyone is craving something homemade without the fuss. Not only does this tart bring a fresh twist to classic flavors, but it also gives you the chance to impress guests, no matter your baking skills. You might be surprised by how simple it is to create something that looks like a culinary masterpiece! Ready to whip up a slice of summer in your home? Let’s dive into this delightful recipe!
Why is the Ginger Plum Tart a must-try?
Simplicity is key: This tart comes together in just 35 minutes, making it a quick fix for any sweet craving.
Flavor explosion: The juicy plums and zingy ginger create a perfectly balanced taste that dances on your palate.
Versatile delight: You can easily swap plums for seasonal fruits like cherries or apples to match your preferences.
Crowd-pleaser: This elegant dessert will wow family and friends, ensuring you'll be the star of your next gathering.
Effortless baking: Even novice bakers can achieve impressive results without stress—perfect for those who find joy in homemade dishes.
Serve warm with a dollop of whipped cream or vanilla ice cream for that extra touch!
Ginger Plum Tart Ingredients
For the Crust
- Refrigerated Pie Crust – Choose a quality brand for an effortlessly flaky base that holds the delicious filling.
For the Filling
- Fresh Plums – 3-½ cups sliced, about 10 medium; their natural sweetness paired with ginger creates a delightful flavor.
- Coarse Sugar (3 tablespoons + 1 teaspoon) – Sweetens the filling and enhances the crust's crunch; substitute with regular granulated sugar if needed.
- Cornstarch (1 tablespoon) – Thickens the plum juices, preventing a soggy bottom—a key to a perfect Ginger Plum Tart.
- Crystallized Ginger (2 teaspoons, finely chopped) – Adds a spicy warmth that complements the sweet plums; ground ginger can work if you're in a pinch.
For the Glaze
- Egg White (1 large) – Used for brushing the crust, lending a glossy golden finish to your beautiful tart.
- Water (1 tablespoon) – Mix with the egg white to create the perfect glaze for an eye-catching look.
Now you're set to create a delicious Ginger Plum Tart that will leave everyone craving more!
Step‑by‑Step Instructions for Ginger Plum Tart
Step 1: Preheat the Oven
Begin by preheating your oven to 400°F (200°C). This essential step ensures the oven is hot enough for baking your Ginger Plum Tart, creating that beautifully crisp crust we all love. While the oven heats up, gather your ingredients and necessary equipment, like a clean surface and a rolling pin.
Step 2: Prepare the Pie Crust
On a clean surface, carefully unroll the refrigerated pie crust and roll it into a 12-inch circle. This ensures an even cooking surface for your tart. Once rolled, gently transfer the crust to a parchment-lined baking sheet, allowing it to sit while you prepare the filling. Look for any cracks and press them together to ensure a sturdy base.
Step 3: Mix the Filling
In a large bowl, combine the sliced fresh plums, 3 tablespoons of coarse sugar, and cornstarch. Gently mix the ingredients until the plums are evenly coated. The sugar will enhance their sweetness, while the cornstarch will thicken any juices released during baking, preventing a soggy tart. Set this flavorful filling aside to let the flavors meld.
Step 4: Assemble the Tart
Now, arrange the plum mixture on the prepared crust, leaving a 2-inch border around the edges for folding. This step is where the Ginger Plum Tart starts to take shape! After arranging the plums, sprinkle the finely chopped crystallized ginger evenly over the top, adding that delightful zesty warmth to the filling.
Step 5: Fold the Crust
Carefully fold the edges of the crust over the fruit, creating pleats as you go. This technique not only looks beautiful but also helps contain the filling, ensuring a perfect bake. If you’d like, you can slightly pinch the pleats together to secure them more firmly, creating a lovely handcrafted appearance.
Step 6: Brush with Egg Wash
In a small bowl, beat the egg white with water until well combined. Use a pastry brush to apply this mixture over the folded crust, which will give your Ginger Plum Tart a glossy, golden finish as it bakes. For an extra touch of sweetness and texture, sprinkle the remaining teaspoon of coarse sugar over the crust before baking.
Step 7: Bake the Tart
Place the baking sheet in the preheated oven and bake the tart for 20-25 minutes. Keep an eye on it, watching for the crust to turn a lovely golden brown and the juices from the plums to bubble up. This is when the warm and inviting aroma of your Ginger Plum Tart will fill your kitchen, making it hard to resist.
Step 8: Cool and Serve
Once baked, remove the tart from the oven and allow it to cool on a wire rack for at least 10 minutes. This cooling period lets the filling set up perfectly. Serve your Ginger Plum Tart warm or at room temperature, perhaps with a dollop of whipped cream or a scoop of vanilla ice cream for an indulgent touch.
Storage Tips for Ginger Plum Tart
Fridge: Store leftovers in an airtight container in the refrigerator for up to 2 days to maintain freshness. Ensure it's completely cooled before sealing to prevent moisture buildup.
Freezer: If you want to freeze extra tart, wrap it tightly in plastic wrap and then with aluminum foil. It can last for up to 2 months in the freezer—thaw overnight in the fridge before serving.
Reheating: To reheat, place slices in a preheated oven at 350°F (175°C) for about 10-15 minutes until warmed through. This keeps the crust flaky and delicious.
Make-Ahead: Prepare the Ginger Plum Tart in advance up to the baking stage. Simply cover and refrigerate until you're ready to bake, making it a convenient dessert for gatherings.
What to Serve with Ginger Plum Tart
There’s nothing quite like the sweetness of fresh plums to elevate your summer dessert experience—let's explore delightful companions for this delicious tart.
-
Creamy Whipped Cream: A dollop of freshly whipped cream adds a light and airy contrast to the tart's flavors, making each bite more indulgent. It’s the perfect finishing touch that elevates this dessert to new heights.
-
Vanilla Ice Cream: This classic pairing melts beautifully atop the warm tangy tart, creating a delightful fusion of temperature and flavor that’s simply irresistible.
-
Garden Salad: A light, refreshing salad made with mixed greens, cucumbers, and a hint of citrus balances the rich flavors of the tart, providing a fresh pop amidst the sweetness.
-
Sparkling Water: For a light, non-alcoholic option, pair your tart with chilled sparkling water with a twist of lemon—it refreshes the palate between bites while complementing the tart’s sweetness.
-
Sauvignon Blanc: A chilled glass of this crisp, fruity wine harmonizes beautifully with the plum and ginger notes, enhancing the dessert's overall flavor profile during any gathering.
-
Dark Chocolate Shavings: Sprinkle shaved dark chocolate on top for an added layer of richness that perfectly balances the sweetness and spice of the ginger plum tart.
-
Fruit Compote: A side of homemade compote, such as raspberry or blueberry, adds an extra layer of fruity goodness that elevates every slice of the Ginger Plum Tart.
-
Almond Biscotti: Crunchy almond biscotti makes for a lovely accompaniment, providing a satisfying texture that contrasts with the softness of the tart.
-
Coffee or Espresso: End your meal with a strong cup of coffee or espresso to cut through the sweetness of the dessert, offering a perfect bitter-sweet pairing.
Ginger Plum Tart Variations to Explore
Feel free to put your own spin on this delightful Ginger Plum Tart to suit your taste preferences and pantry staples!
-
Seasonal Fruit Swap: Swap out plums for peaches or nectarines for a different fruity twist. Each fruit brings its unique sweetness, enhancing the tart’s flavors beautifully.
-
Dairy-Free Delight: Use a dairy-free butter alternative in the crust for a fully dairy-free Ginger Plum Tart without sacrificing that flaky texture.
-
Nutty Crunch: Add a handful of chopped walnuts or pecans to the filling for an unexpected crunch that elevates both flavor and texture. The nutty bits contrast beautifully with the juicy plums.
-
Spicy Kick: Sprinkle in a pinch of cayenne pepper or red pepper flakes for an exciting heat element that plays wonderfully with the sweetness of the plums.
-
Herb Infusion: Consider incorporating fresh basil or mint into the filling. This unexpected herb twist can add a refreshing layer of complexity to the tart.
-
Gluten-Free Option: Use a gluten-free pie crust to make this delicious tart suitable for your gluten-sensitive friends, ensuring everyone can enjoy a slice.
-
Classic Vanilla: Enhance the filling with a splash of pure vanilla extract. This subtle addition rounds out the flavor profile and brings a lovely aroma to the tart.
-
Citrus Zing: Grate a touch of lemon or orange zest into the filling for a bright, zesty accent that complements the ginger and plums nicely.
Remember, the kitchen is your canvas! For more inspiration, you might want to check out other quick desserts or summer fruit recipes such as Peach Galette or Mixed Berry Crumble. Let your creativity shine!
Expert Tips for Ginger Plum Tart
- Ripe Plums: Ensure your plums are fully ripe for maximum sweetness. If they’re tart, feel free to adjust the sugar to achieve the perfect balance.
- Even Rolling: Roll out the dough evenly to prevent uneven cooking. This helps create that beautiful, golden crust everyone loves in a Ginger Plum Tart.
- Pleats Technique: When folding the crust over the filling, create pleats for both aesthetics and stability. This prevents the filling from spilling out during baking.
- Egg Wash Perfection: Brushing the crust with the egg white mixture not only gives a glossy finish but also adds flavor. Don't skip this step!
- Serving Warm: For the best flavor and texture experience, serve your tart warm with whipped cream or vanilla ice cream—truly heavenly!
Make Ahead Options
These Ginger Plum Tart preparations are perfect for busy home cooks looking to save time! You can prepare the entire tart up to 24 hours in advance by assembling it without baking, covering it with plastic wrap, and refrigerating to maintain freshness. To prevent the crust from getting soggy, ensure the plums are not overly ripe or juicy. When you’re ready to serve, simply brush the assembled tart with egg wash, sprinkle sugar on top, and bake it directly from the fridge for 20-25 minutes. This way, you’ll have a delightful, oven-fresh Ginger Plum Tart that’s just as delicious and perfect for any occasion!
Ginger Plum Tart Recipe FAQs
How do I choose the best plums for the Ginger Plum Tart?
Absolutely! Look for plums that are slightly soft to the touch and have a vibrant color. Ripe plums should yield slightly when gently squeezed. Avoid any with dark spots or visible bruising, as these can indicate overripeness. Remember, a good plum will be sweet and juicy, ensuring your tart is delicious!
How should I store the leftover Ginger Plum Tart?
For optimal freshness, store leftover Ginger Plum Tart in an airtight container in the refrigerator for up to 2 days. Make sure to let the tart cool completely before sealing it up to prevent moisture from making the crust soggy. If you find you have leftover slices, this method keeps them delightful for your next craving!
Can I freeze the Ginger Plum Tart?
Absolutely! To freeze your Ginger Plum Tart, wrap it tightly in plastic wrap, followed by aluminum foil to protect against freezer burn. It can safely be frozen for up to 2 months. When you're ready to enjoy it again, thaw it overnight in the refrigerator. For the best results, reheat slices in a preheated oven at 350°F (175°C) for about 10-15 minutes before serving!
What should I do if my tart crust turns out soggy?
If your crust ends up soggy, it could be due to excess juice from the plums. To avoid this in the future, always mix the plums with cornstarch, as it helps absorb excess moisture. Additionally, make sure to bake the tart until golden brown, as the heat will help evaporate any extra juices. If you encounter this problem after baking, placing the tart back in the oven on a low heat for a few minutes can help.
Is this Ginger Plum Tart suitable for people with food allergies?
While the Ginger Plum Tart recipe is generally safe for many diets, be mindful of participants who might have allergies. The crust contains gluten, so consider using a gluten-free pie crust for anyone with gluten sensitivities. If someone has egg allergies, you might experiment with a dairy-free glaze; however, results may vary. Always double-check ingredient labels to ensure they're allergy-friendly!
Can I make the Ginger Plum Tart ahead of time?
Very! You can prepare the tart up to the baking stage and then cover it and refrigerate it for a few hours or overnight. This makes it perfect for gatherings, as you can have everything set and ready to pop into the oven right before your guests arrive. Just remember to add a few extra minutes to the baking time if it's coming directly from the fridge!
Irresistible Ginger Plum Tart for Effortless Summer Indulgence
Ingredients
Equipment
Method
- Preheat your oven to 400°F (200°C).
- On a clean surface, unroll the refrigerated pie crust and roll it into a 12-inch circle.
- Transfer the crust to a parchment-lined baking sheet and let it sit.
- In a large bowl, combine the sliced plums, 3 tablespoons of coarse sugar, and cornstarch. Gently mix until coated.
- Arrange the plum mixture on the prepared crust, leaving a 2-inch border around the edges.
- Fold the edges of the crust over the fruit, creating pleats as you go.
- Beat the egg white with water and brush over the folded crust, then sprinkle with the remaining teaspoon of sugar.
- Bake the tart for 20-25 minutes, watching for a golden brown crust.
- Allow the tart to cool on a wire rack for at least 10 minutes before serving.


Leave a Reply