
As I was wandering through the vibrant colors of spring at my local farmer’s market, I couldn’t resist picking up a bundle of fresh asparagus. Its bright green hue promised the perfect addition to my latest culinary adventure: Cheesy Asparagus Tarts. This easy, elegant appetizer pairs buttery, flaky puff pastry with a creamy cheese filling, all accented by a hint of Dijon mustard and roasted asparagus. Whether you’re hosting a brunch for friends or just treating yourself to a delightful light dinner, these tarts come together in just 30 minutes. You’ll not only impress your taste buds but also enjoy a wholesome, homemade dish that’s both satisfying and visually stunning. Ready to dive into this delightful recipe that will make any occasion special? Let's get started!
Why are these tarts a must-try?
Effortless Preparation: These Cheesy Asparagus Tarts require minimal cooking skills, making them perfect for any home chef. You’ll find the streamlined process allows you to whip up a stunning appetizer in just 30 minutes.
Flavor Fusion: The harmonious blend of creamy cheese and roasted asparagus delivers a delightful taste experience, enhanced by a hint of Dijon mustard.
Versatile Options: Feel free to customize the tarts with different cheeses and seasonal vegetables to suit your preferences. Swap in Gruyère or add sweet cherry tomatoes for a unique twist!
Elegant Presentation: With their golden, flaky pastry and vibrant asparagus, these tarts are sure to impress guests and elevate your dining table.
For more cheesy goodness, check out our Cheesy Chicken Spaghetti and Cheesy Garlic Chicken recipes that make the most of simple ingredients.
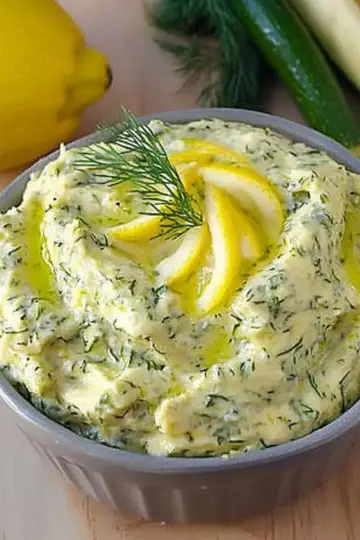
Cheesy Asparagus Tarts Ingredients
For the Tart Base
• Olive Oil – adds richness and helps in roasting the asparagus.
• Puff Pastry (1 sheet, about 8.5 ounces, thawed) – provides the flaky base; store-bought for your convenience.
For the Filling
• Cream Cheese (¼ cup, softened) – creates the creamy filling; full-fat can be used for a richer taste.
• Dijon Mustard (1 teaspoon) – adds a slight tang to balance the richness of the cheese.
• Provolone Cheese (3 slices) – melts nicely, providing a mild flavor; alternatives include Gruyère or Gouda.
For the Asparagus
• Fresh Asparagus (1 pound) – the star of the tart; choose firm, bright green spears and trim the woody ends.
• Salt (⅛ teaspoon) – enhances flavors of the veggies.
• Lemon Juice (½ lemon, about 1½ tablespoons) – adds brightness and acidity to the dish.
This combination makes for the perfect Cheesy Asparagus Tarts, ready to impress your guests or elevate a cozy dinner at home!
Step‑by‑Step Instructions for Cheesy Asparagus Tarts
Step 1: Preheat the Oven
Begin by preheating your oven to 425°F (220°C). While it warms up, prepare two rimmed baking sheets by lining them with parchment paper. This will prevent the tarts from sticking and make cleanup a breeze.
Step 2: Roast the Asparagus
Drizzle a tablespoon of olive oil on one lined baking sheet. Arrange the trimmed asparagus in a single layer and sprinkle generously with salt. Roast in the preheated oven for about 5 minutes until the asparagus becomes bright green and slightly tender, then remove from the oven and set aside.
Step 3: Prepare the Puff Pastry
On a clean surface, carefully unfold the thawed puff pastry sheet. Using a sharp knife, cut the pastry into 6 even rectangles, each measuring approximately 4 by 6 inches. Make sure the puff pastry is at room temperature to prevent cracking as you work.
Step 4: Score the Pastry
Transfer the pastry rectangles to the second prepared baking sheet. With a sharp knife, lightly score a ½-inch border around each rectangle without cutting all the way through. This will create a lovely edge that rises beautifully when baked.
Step 5: Make the Filling
In a mixing bowl, combine the softened cream cheese with the Dijon mustard, stirring until the mixture is smooth and creamy. Once blended, spread this mixture evenly within the scored borders of each pastry rectangle, ensuring not to cover the raised edges.
Step 6: Add Cheese and Asparagus
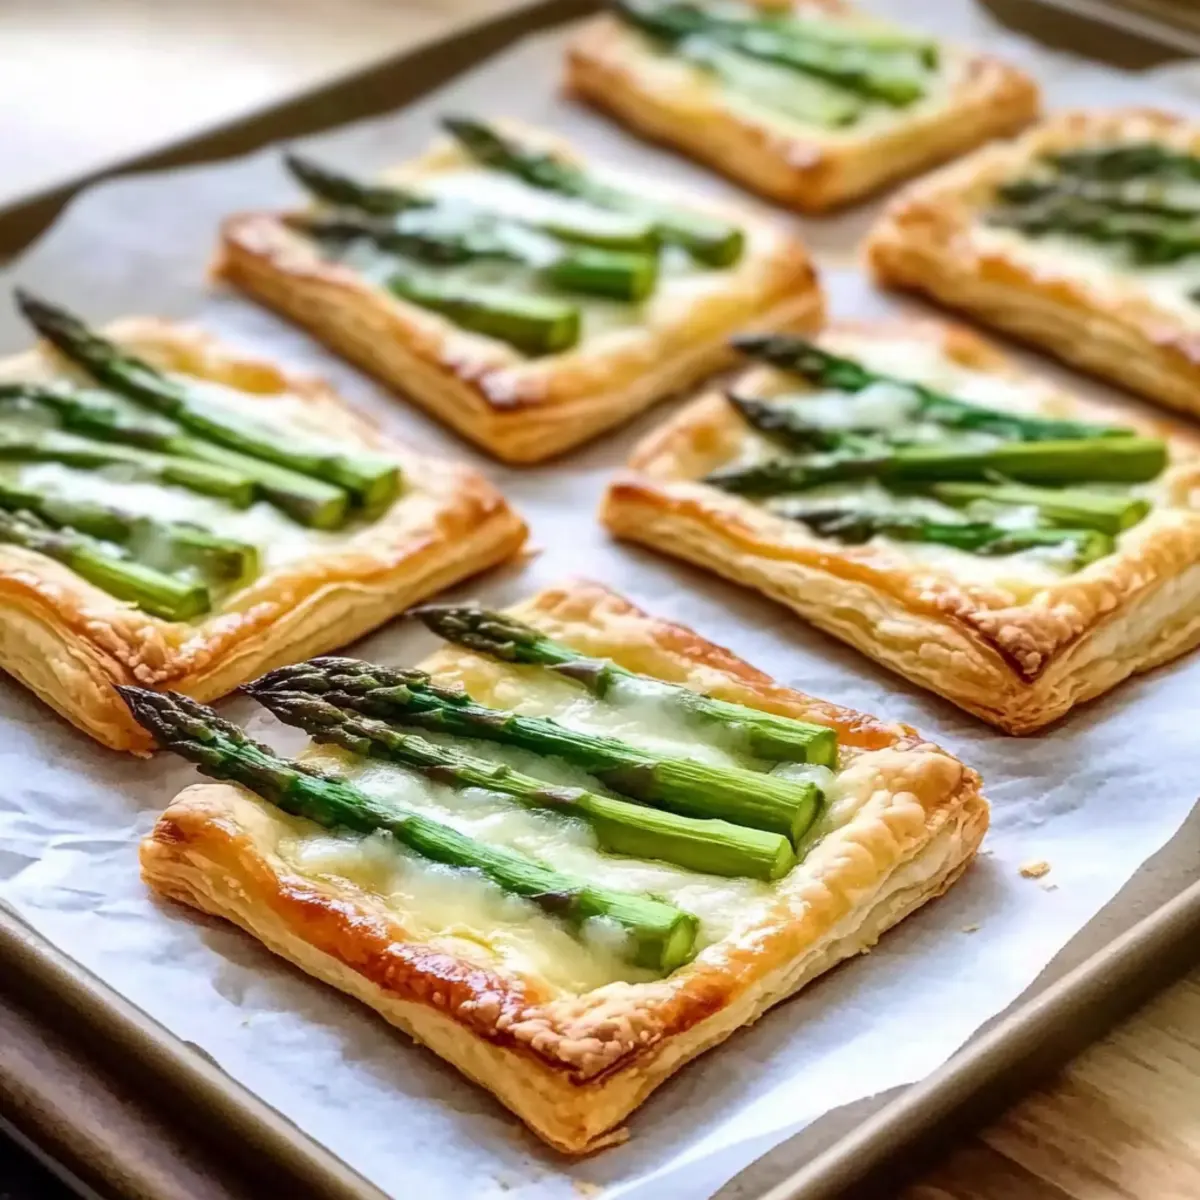
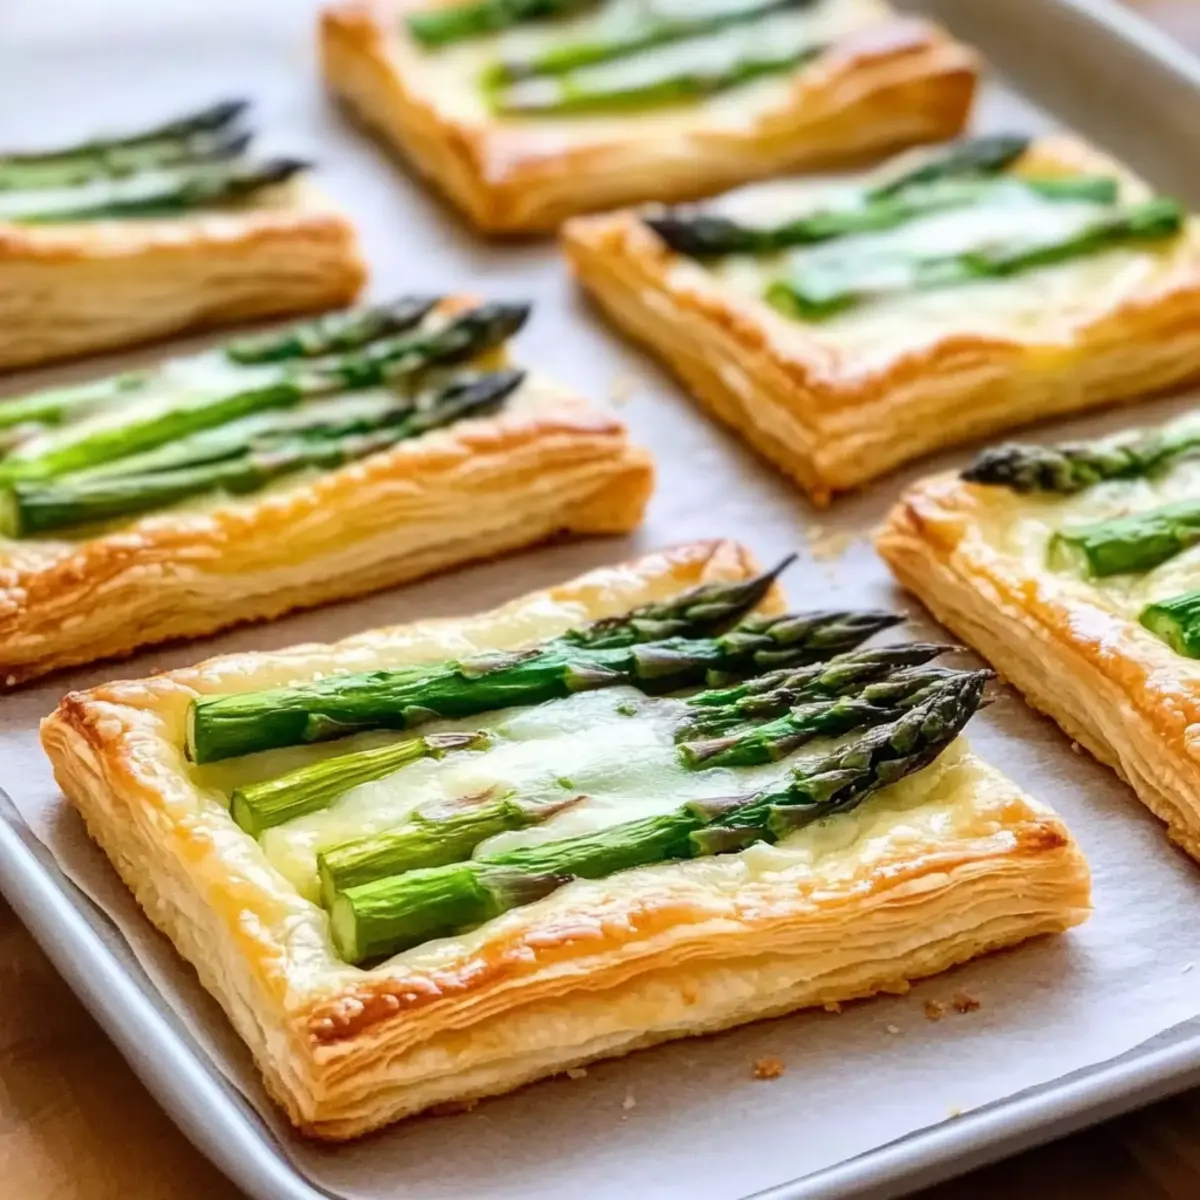
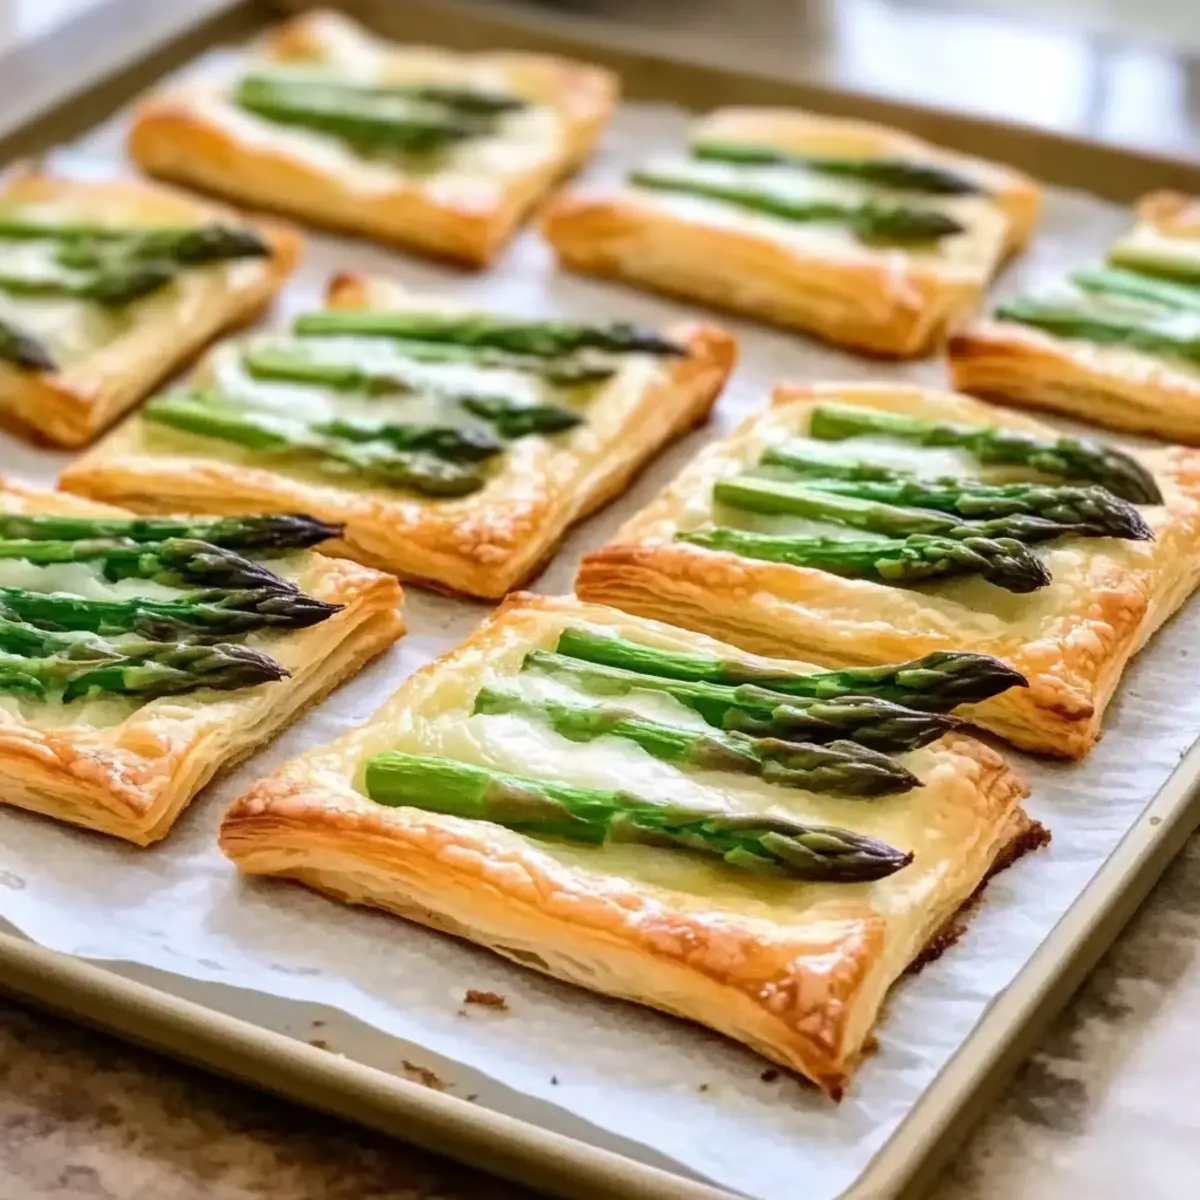
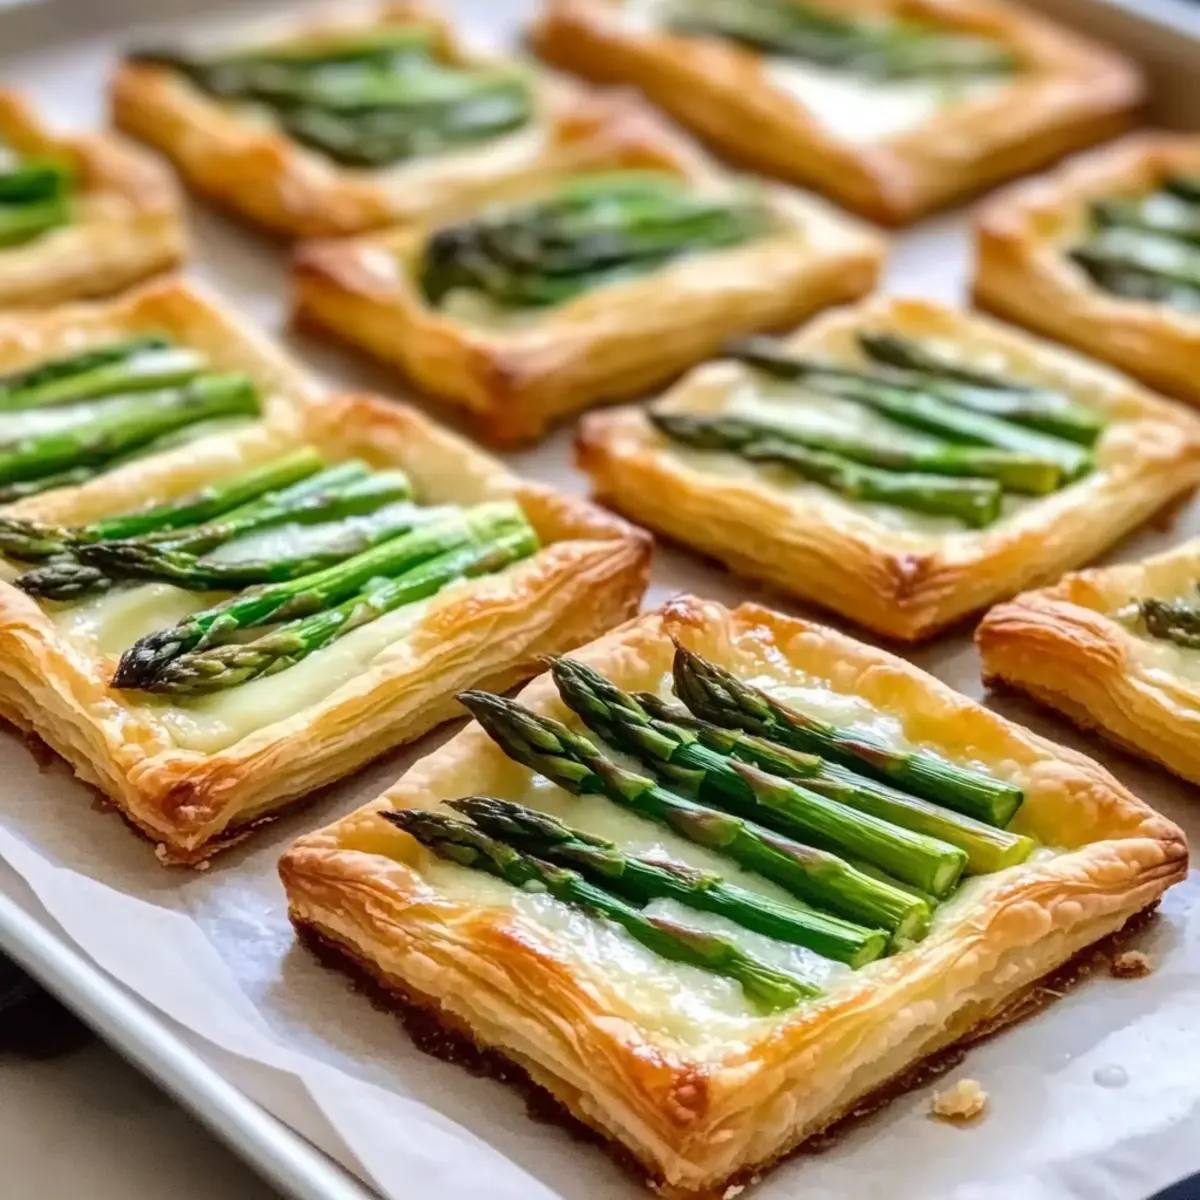
Top each spread with half a slice of provolone cheese, allowing it to melt perfectly during baking. Next, arrange 2 to 3 roasted asparagus spears on each tart, artfully placed on top of the cheese filling for a delightful presentation.
Step 7: Bake the Tarts
Slide the baking sheet into the oven and bake for 10 to 12 minutes. Keep a close eye on them as they cook; you're looking for a golden, flaky pastry with bubbly cheese that is just starting to brown.
Step 8: Finish and Serve
Once baked, carefully remove the tarts from the oven. Drizzle fresh lemon juice over them for a zesty finish. Allow the Cheesy Asparagus Tarts to cool slightly before serving warm, perfect for your next gathering or quiet dinner at home.
What to Serve with Cheesy Asparagus Tarts
These delightful bites are perfect for creating a beautiful and satisfying meal that dances on your palate.
-
Simple Green Salad: A crisp salad with mixed greens and a light vinaigrette contrast the richness of the tarts, adding freshness to your plate. Toss in some cherry tomatoes for a pop of color!
-
Herbed Couscous: Fluffy couscous infused with fresh herbs complements the savory tarts and enhances the dish's overall elegance. The light texture balances the creamy filling perfectly.
-
Roasted Baby Potatoes: Golden, sautéed baby potatoes seasoned with garlic and rosemary offer a satisfying crunch and earthy flavor that complements the tarts beautifully.
-
Garlic Butter Asparagus: For a playful twist, serve additional asparagus tossed in garlic butter. It echoes the flavors of the tarts while adding a delightful textural contrast.
-
Sparkling Wine: A glass of dry sparkling wine elevates the meal, cutting through the creamy cheese with its effervescence. Enjoy it chilled for a refreshing pairing.
-
Lemon Sorbet: End on a sweet note with a light lemon sorbet, cleansing your palate with its zesty notes that pair beautifully with the dish's flavors.
-
Fruit Platter: Fresh seasonal fruits provide a lovely, colorful finish! Cherries, strawberries, or citrus fruits will cleanse the palate while offering a visually stunning end to your meal.
Cheesy Asparagus Tarts Variations & Substitutions
Feel free to make these Cheesy Asparagus Tarts your own with exciting twists and substitutions; your taste buds will thank you!
- Cheese Swap: Substitute provolone with Gruyère, fontina, or Gouda for a unique flavor experience. Each cheese adds its personality to this delightful tart.
- Veggie Boost: Add seasonal vegetables like cherry tomatoes or bell peppers to mix up the filling. The vibrant colors will make it even more appealing!
- Whole-Grain Mustard: For a different flavor profile, use whole-grain mustard instead of Dijon. It adds texture and a rustic taste that enhances the overall dish.
- Herb Infusion: Fold in fresh herbs like thyme or chives into the cream cheese mix to elevate the flavors of the tarts. Fresh herbs bring a spring-like freshness that’s irresistible.
- Cream Alternative: For a lighter option, consider using ricotta or cottage cheese instead of cream cheese. This swap still delivers creaminess with a different twist on flavor.
- Puff Pastry Alternative: Try using phyllo pastry for a different texture; it results in a flakier tart that’s both light and crispy. However, this will require slightly different handling.
- Add Heat: Spice things up by sprinkling in some red pepper flakes before baking! A little heat can make the tarts pop with flavor.
- Garnish Option: Top with grated lemon zest or fresh arugula before serving for a bright finishing touch that enhances both presentation and taste.
For more cheesy goodness, be sure to explore our recipes like Cheesy Beef Potato or Cheesy Chicken Spaghetti—you won’t be disappointed!
How to Store and Freeze Cheesy Asparagus Tarts
Fridge: Store any leftover Cheesy Asparagus Tarts in an airtight container in the fridge for up to 2-3 days. They are best enjoyed fresh but can still be reheated.
Freezer: If you want to prepare ahead, freeze the baked tarts individually on a baking sheet, then transfer them to a freezer-safe bag or container for up to 2 months.
Reheating: To reheat, simply bake from frozen at 375°F (190°C) for about 15-20 minutes, or until heated through and the pastry is crisp.
Room Temperature: If serving fresh, allow these tarts to cool slightly and enjoy them warm for the best flavor and texture!
Make Ahead Options
These Cheesy Asparagus Tarts are perfect for busy home cooks looking to save time during meal prep! You can prepare the puff pastry rectangles and the creamy filling up to 24 hours in advance—just store them separately in the refrigerator. Roast the asparagus ahead of time as well, refrigerating it for up to 3 days. When you're ready to enjoy your tarts, simply assemble them by spreading the filling on the pastry, topping it with asparagus, and baking as directed. This way, you'll have all the delicious flavors and flaky textures, perfectly preserved and just as delightful as when freshly made!
Expert Tips for Cheesy Asparagus Tarts
Pre-Roasting Asparagus: Ensure to roast the asparagus briefly to reduce moisture. This helps achieve maximum caramelization and prevents soggy tarts.
Thaw Puff Pastry: Fully thaw the puff pastry at room temperature to prevent cracking. Cold pastry can lead to uneven baking and texture issues.
Don’t Overload Tarts: Keep toppings light for the best puff and texture. Too many ingredients can weigh the pastry down and make it soggy.
Experiment with Cheeses: Explore different cheeses for your Cheesy Asparagus Tarts. Gruyère, fontina, or Gouda can each add unique flavors!
Serve Fresh: While leftovers can be stored, these tarts are best enjoyed fresh. Expect the pastry to soften over time—aim to eat them warm!
Cheesy Asparagus Tarts Recipe FAQs
How do I select the best asparagus for this recipe?
Absolutely! When choosing asparagus, look for firm, bright green spears without any dark spots or wilted tips. The fresher the asparagus, the more vibrant your Cheesy Asparagus Tarts will be!
How should I store leftover Cheesy Asparagus Tarts?
Very good question! Store leftover tarts in an airtight container in the fridge for up to 2-3 days. Though they’re best enjoyed fresh, you can still reheat them when cravings strike!
Can I freeze Cheesy Asparagus Tarts? How?
Yes, you can! To freeze, bake the tarts and allow them to cool completely. Next, individually wrap each tart in plastic wrap, then place them in a freezer-safe bag or container. They will keep for up to 2 months.
When you're ready to eat, simply bake from frozen at 375°F (190°C) for about 15-20 minutes until heated through and the pastry is crispy again.
What if my puff pastry cracks while handling?
No worries! If you notice any cracks, simply patch them up with a little water and press the edges back together. Ensuring the puff pastry is completely thawed will minimize cracking, so aim to work with it at room temperature.
Are there any dietary considerations for this recipe?
Definitely! For those with dietary restrictions, feel free to substitute cream cheese with a dairy-free alternative, and check that the puff pastry is free from any animal products if serving to vegans. Always check cheese labels for allergens, as some may contain added ingredients.
Cheesy Asparagus Tarts: An Effortless Spring Delight
Ingredients
Equipment
Method
- Preheat your oven to 425°F (220°C) and prepare two rimmed baking sheets lined with parchment paper.
- Drizzle a tablespoon of olive oil on one baking sheet, arrange the asparagus in a single layer, sprinkle with salt, and roast for about 5 minutes.
- On a clean surface, unfold the thawed puff pastry and cut it into 6 even rectangles, each about 4 by 6 inches.
- Transfer the pastry rectangles to the second baking sheet and lightly score a ½-inch border around each without cutting through.
- In a mixing bowl, combine softened cream cheese with Dijon mustard. Spread this mixture within the scored borders of each pastry rectangle.
- Top with half a slice of provolone cheese on each and arrange 2 to 3 roasted asparagus spears on top for presentation.
- Bake for 10 to 12 minutes, looking for a golden, flaky pastry with bubbling cheese.
- Once baked, drizzle fresh lemon juice over the tarts and allow them to cool slightly before serving warm.


Leave a Reply