
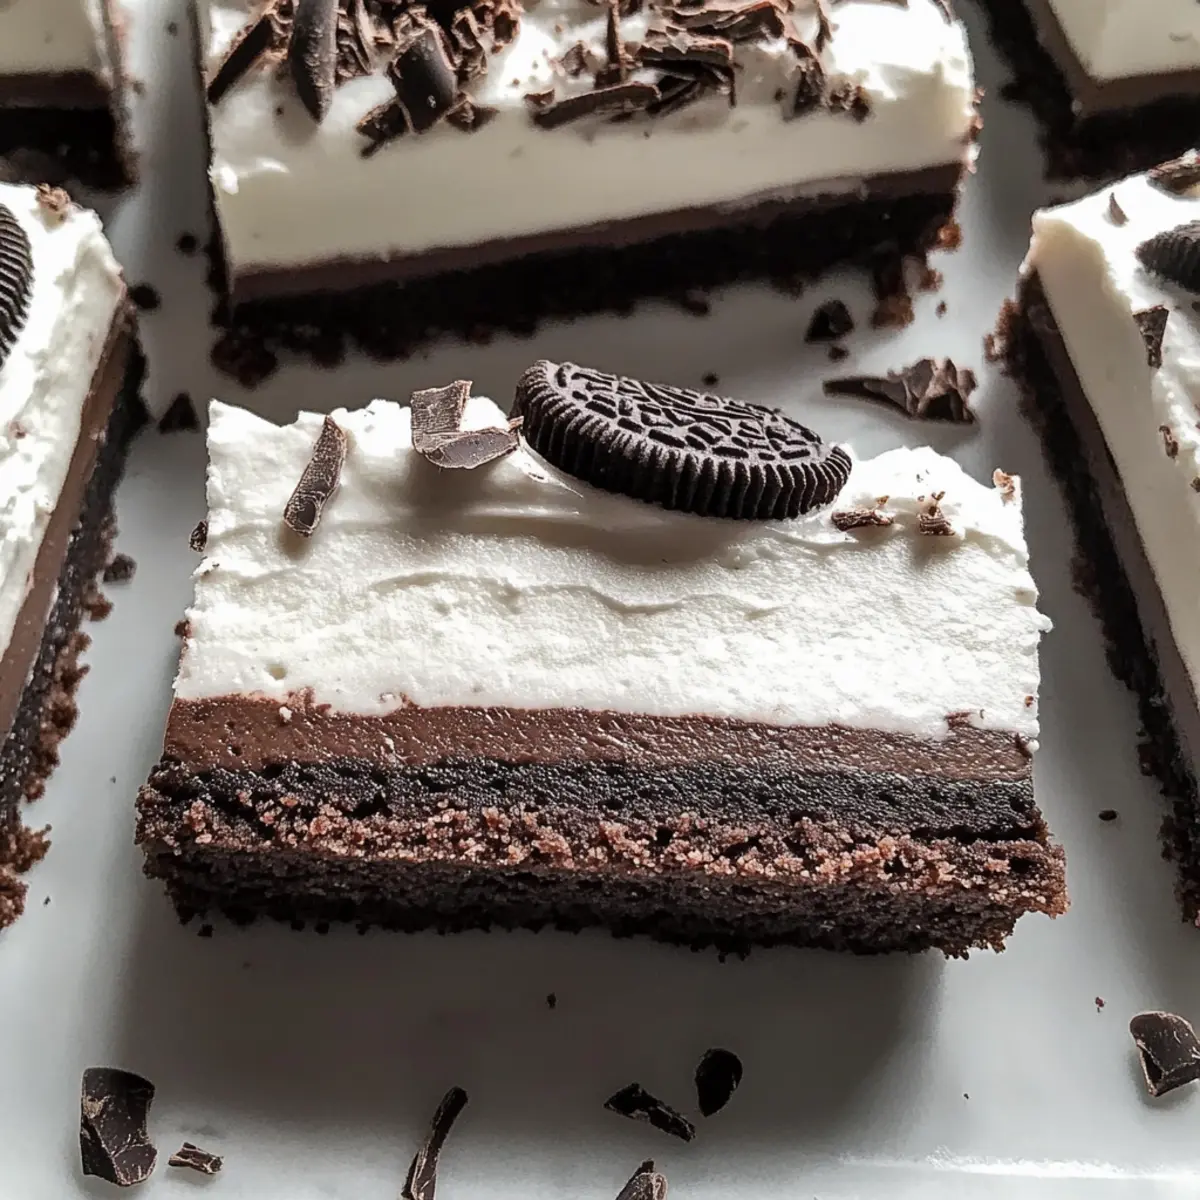
The moment I took my first bite, I was transported to dessert paradise. These Chocolate Cream Pie Bars combine a crunchy Oreo crust with a velvety chocolate filling that feels like a warm hug on a plate. Best of all, they come together without any baking, making this no-bake dessert a total game-changer for those busy weeknights or spontaneous gatherings. You can impress your friends and family without spending hours sweating in the kitchen! Plus, with the option to use gluten-free Oreos, there’s no need for anyone to miss out on this indulgent delight. Are you ready to dive into a world of chocolatey goodness?
Why are these Chocolate Cream Pie Bars irresistible?
Effortless Preparation: You won't believe how simple these bars are to whip up! With no baking required, you can create this stunning dessert in no time.
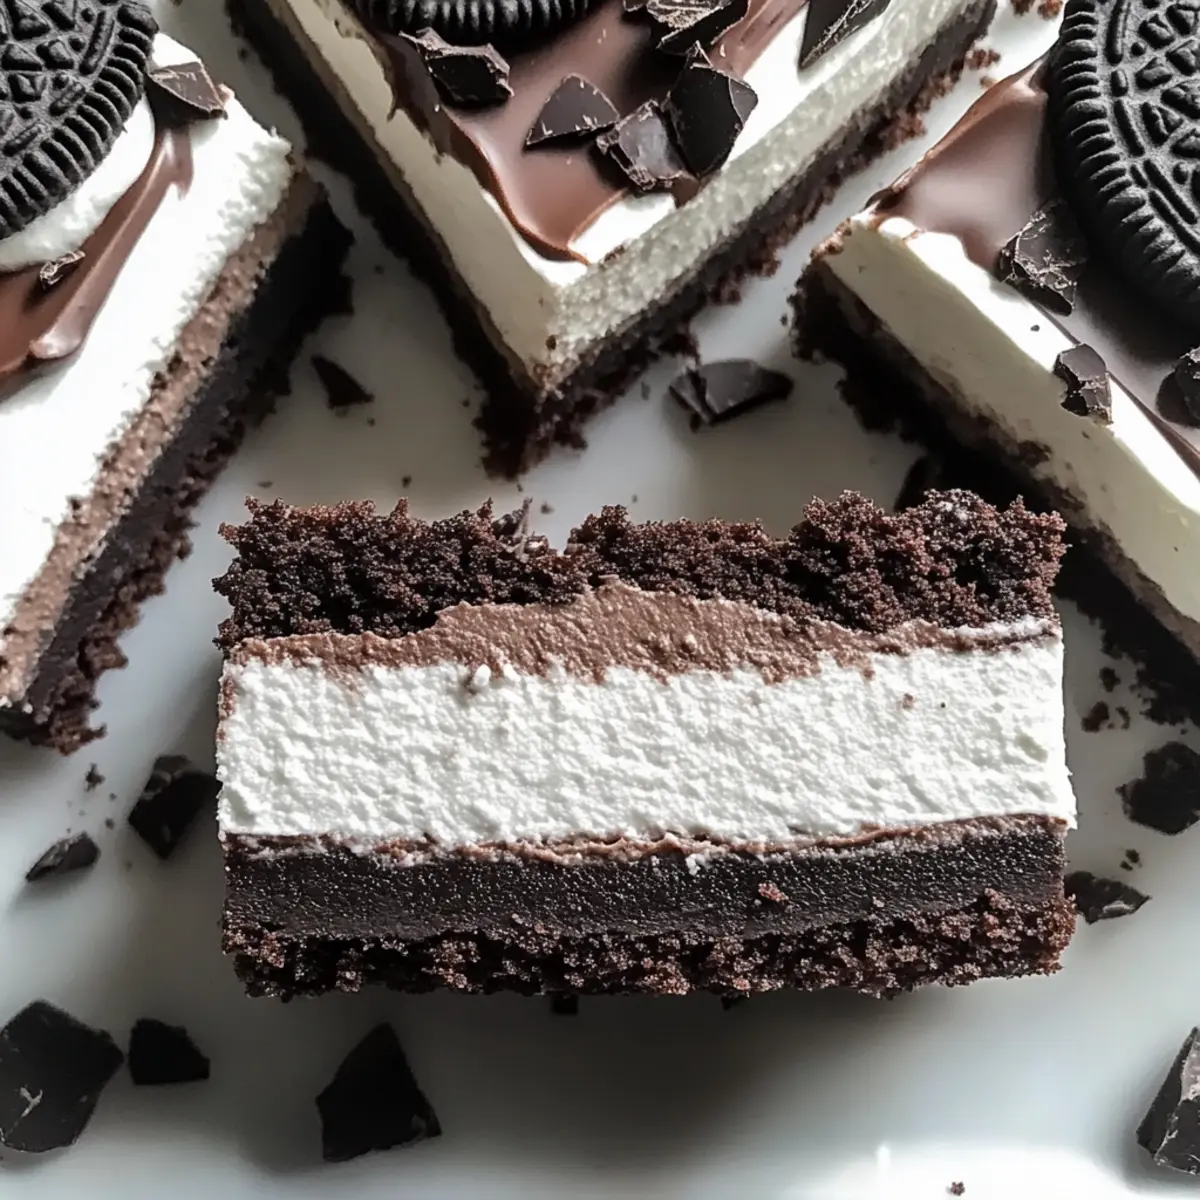
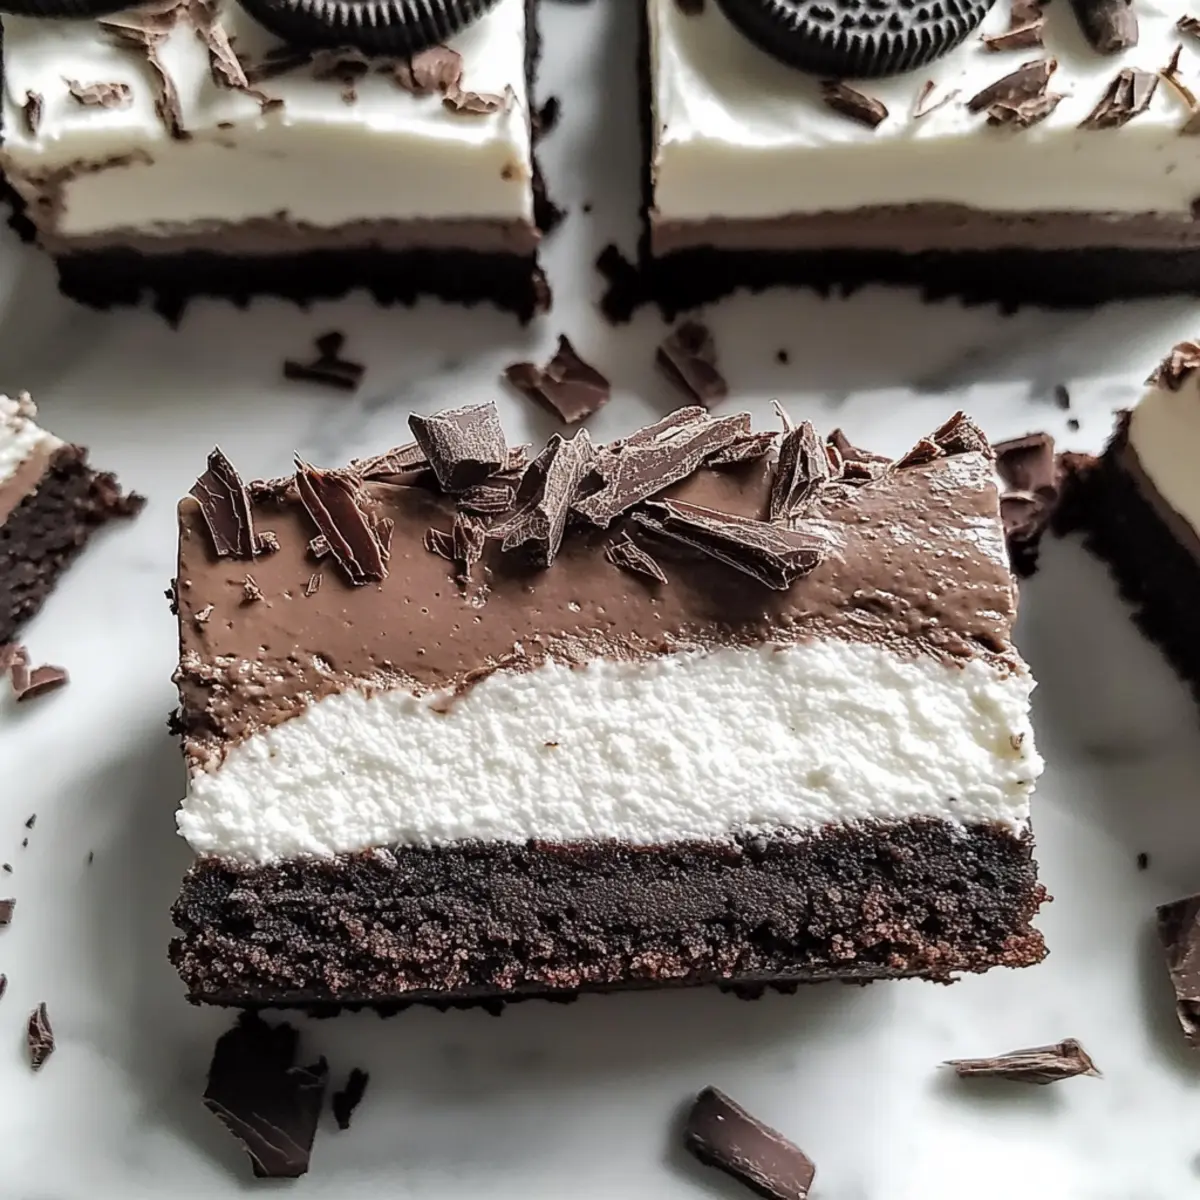
Decadent Layers: The combination of the crunchy Oreo crust and the creamy chocolate filling makes every bite a delightful experience that will have your taste buds dancing.
Versatile Option: Whether you're hosting a get-together or just needing a sweet indulgence, these bars cater to everyone, including those looking for a gluten-free treat.
Make-Ahead Magic: Perfect for busy lifestyles, these Chocolate Cream Pie Bars can be made ahead and stored in the fridge, allowing you to focus on enjoying the moment with friends and family.
Crowd-Pleaser: With their rich flavor and stunning presentation, you’ll be a hit at any gathering. Pair them with fresh berries or a scoop of ice cream for an all-star dessert experience!
Chocolate Cream Pie Bars Ingredients
-
For the Crust
• Oreo Cookie Crumbs – Provides a crispy base for the crust; substitute with gluten-free Oreos for a gluten-free version.
• Unsalted Butter (5 tbsp) – Binds the cookie crumbs together for a solid crust; use vegan butter for a dairy-free option. -
For the Filling
• Heavy Whipping Cream (1 cup) – Adds richness and is used for the whipped topping; dairy alternatives can be used for a non-dairy option.
• Semi-Sweet Chocolate Chips (5 oz) – Key ingredient for chocolate flavor; use high-quality brands for better taste, dark chocolate can be a rich substitute.
• Full-Fat Cream Cheese (6 oz) – Adds creaminess; swap for Neufchâtel cheese for a lighter option.
• Powdered Sugar (1 ½ cups) – Sweetens the filling; can be reduced for less sweetness or substituted with a sugar alternative.
• Unsweetened Cocoa Powder (⅓ cup) – Enhances chocolate flavor; try Dutch-processed cocoa for a milder taste.
• Vanilla Extract (2 tsp) – Adds depth of flavor; ensure it’s pure for the best taste.
• Salt (½ tsp) – Balances sweetness and flavors. -
For Topping
• Additional Heavy Cream – For topping, whipped to a soft peak for a delightful finish.
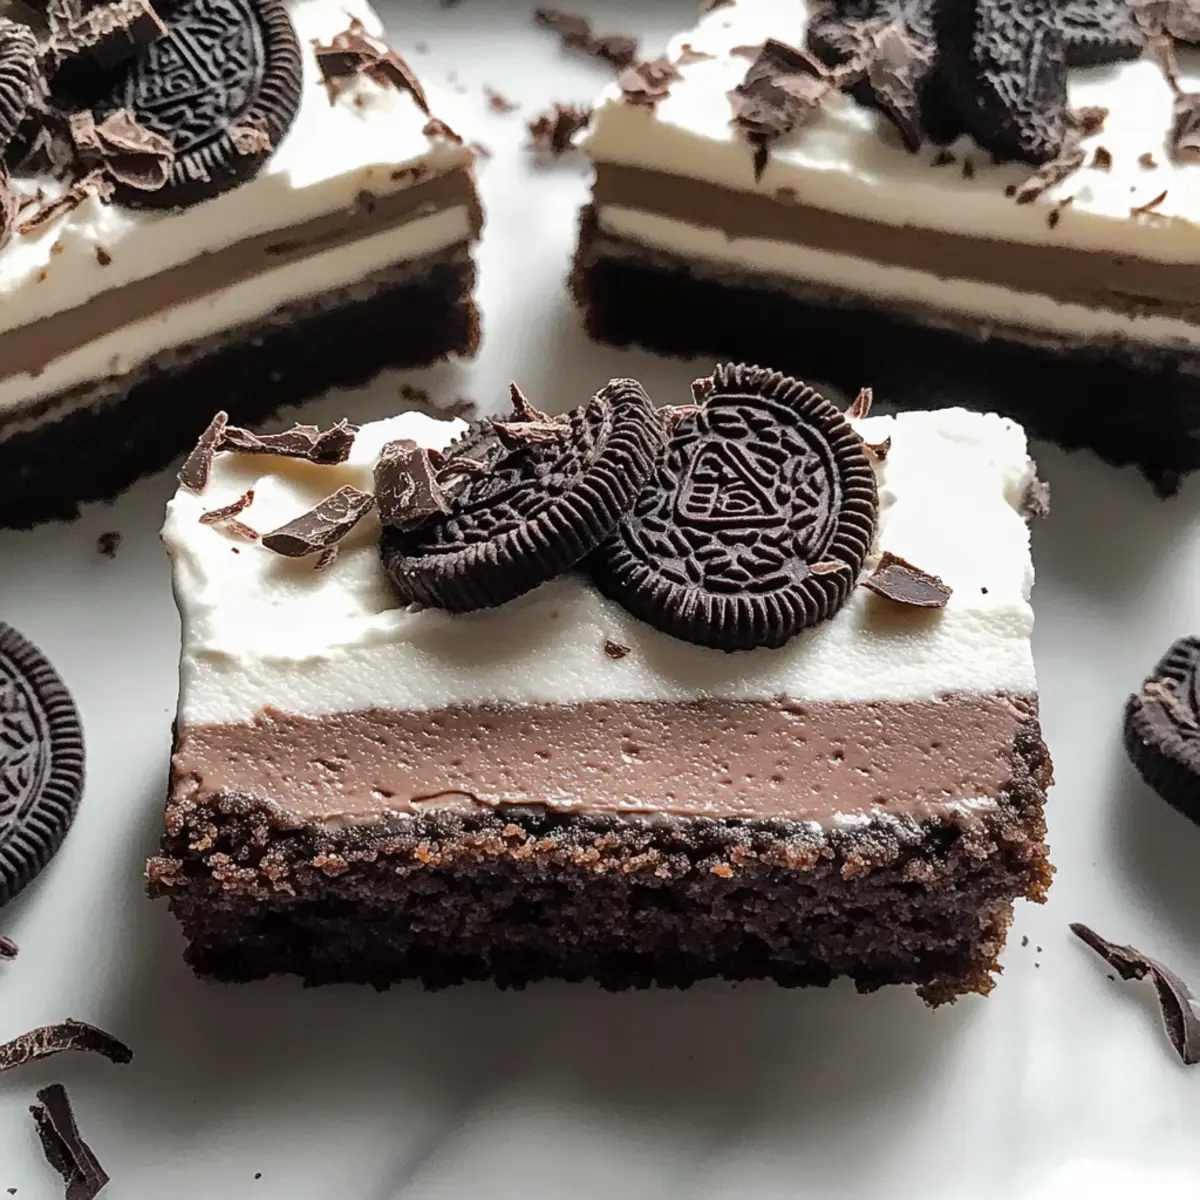
• Chocolate Shavings – A beautiful garnish that enhances presentation and makes these Chocolate Cream Pie Bars even more tempting!
Step‑by‑Step Instructions for Chocolate Cream Pie Bars
Step 1: Preheat and Prepare
Preheat your oven to 350°F (175°C) and line an 8x8 inch baking pan with parchment paper. This will help you easily lift out the bars later. Ensure the edges are covered for a smooth finish and set aside as you prepare the crust for the Chocolate Cream Pie Bars.
Step 2: Make the Crust
In a food processor, pulse the Oreo cookies into fine crumbs. In a mixing bowl, combine these crumbs with melted butter until the mixture resembles wet sand. Press the mixture firmly into the bottom of the prepared pan. Bake for 10 minutes until set, then remove from the oven and let cool completely.
Step 3: Whip the Cream
Using a stand mixer fitted with a whisk attachment, whip the heavy cream on medium speed. Gradually add the powdered sugar, increasing speed until firm peaks form. This should take about 4-5 minutes. Once whipped, cover and chill in the refrigerator while you prepare the chocolate filling for your bars.
Step 4: Melt Chocolate
In a double boiler over simmering water, melt the semi-sweet chocolate chips with the remaining butter, stirring until smooth and glossy, which should take about 5 minutes. Once melted, remove from heat and let it cool for about 10 minutes to avoid melting the cream cheese in the next step.
Step 5: Prepare the Filling
In a large mixing bowl, beat the cream cheese until smooth, ensuring there are no lumps. Gradually add the powdered sugar, cocoa powder, vanilla extract, and salt. Once fully combined, slowly fold in the cooled chocolate mixture until everything is well-integrated and creamy, setting the stage for the filling of your Chocolate Cream Pie Bars.
Step 6: Combine Whipped Cream and Filling
Gently fold half of the whipped cream into the chocolate mixture, being careful not to deflate the air. Once incorporated, fold in the remaining whipped cream until the filling is light and fluffy. This technique ensures your Chocolate Cream Pie Bars have a rich yet airy texture.
Step 7: Assemble the Bars
Spoon and spread the chocolate filling evenly over the cooled Oreo crust. Use a spatula to smooth the top for an even finish. This layered assembly not only looks appealing but also ensures every bite of your Chocolate Cream Pie Bars is filled with creamy goodness.
Step 8: Chill to Set
Cover the pan with plastic wrap and refrigerate for at least 3 hours, or preferably overnight. This chilling process helps the bars set beautifully, making them easy to slice and serve. You'll smell the rich chocolate aroma as the flavors meld together during this waiting period.
Step 9: Add Topping
Before slicing, whip additional heavy cream in a bowl until soft peaks form. Spread this whipped cream topping evenly over the chilled bars, creating a luscious layer. Sprinkle chocolate shavings on top for an added touch of elegance, making your Chocolate Cream Pie Bars even more enticing.
Step 10: Slice and Serve
Once set, lift the bars out of the pan using the parchment paper overhang and transfer to a cutting board. Use a hot, damp knife for clean cuts, slicing into desired portions. Serve cold and watch as your family and friends delight in every bite of these decadent Chocolate Cream Pie Bars.
Chocolate Cream Pie Bars Variations
Get ready to personalize this delightful treat and make it even more fabulous with these fun twists!
-
Gluten-Free: Use gluten-free Oreos to ensure everyone can enjoy these mouthwatering bars without compromise. It’s an easy swap that everyone will appreciate!
-
Dairy-Free: Switch to coconut cream and vegan butter for a completely dairy-free version. The creamy coconut adds a delightful twist to the filling!
-
Graham Cracker Crust: For a classic take, replace the Oreo crust with crushed graham crackers. It brings a different flavor that pairs beautifully with the chocolate.
-
Espresso Infusion: Add a teaspoon of espresso powder to the filling for a rich mocha flavor. This creates an exciting depth that coffee lovers will adore!
-
Nutty Surprise: Fold in chopped walnuts or pecans into the filling for a delightful crunch. It’s an unexpected texture twist that adds great flavor too!
-
Chocolate Variety: Feel free to experiment with different kinds of chocolate—dark, semi-sweet, or even white chocolate. Each option will give these bars a unique spin that’s worth exploring.
-
Fruit Layering: Layer fresh raspberries or strawberries on top of the chocolate filling before adding the whipped cream. This fruity pop balances the richness beautifully!
Be sure to check out some wonderful options like Peach Crumble Bars or indulge in Pecan Pie Dump for more delicious dessert ideas!
What to Serve with Chocolate Cream Pie Bars
These luscious dessert bars are perfect for sharing and can be enhanced with delightful pairings that create a full experience.
-
Fresh Berries: Juicy strawberries or raspberries add a refreshing contrast to the rich chocolate, balancing flavors beautifully. Their natural acidity brightens each bite!
-
Whipped Cream: A dollop of extra whipped cream elevates the indulgence factor, allowing the creamy texture to shine alongside the bars' rich filling.
-
Vanilla Ice Cream: A scoop of vanilla ice cream melts deliciously against the chill of the bars, making each bite a creamy chocolate dream come true.
-
Chocolate Ganache: Drizzling warm chocolate ganache over the bars deepens the chocolate flavor, creating an irresistible dessert experience for true chocolate aficionados.
-
Mint Leaves: Fresh mint sprigs serve as a vibrant garnish, providing a refreshing burst of flavor that complements the richness of the bars.
-
Coffee or Espresso: A cup of coffee or a shot of espresso elevates the dessert experience, heightening the chocolate flavor while providing an energizing contrast.
-
Hazelnut Praline: Crushed hazelnut praline adds a delightful crunch, offering a nutty contrast that enhances the creamy bars without overwhelming their taste.
Indulge in these suggestions to create a memorable dessert experience that will leave everyone asking for more!
Make Ahead Options
These Chocolate Cream Pie Bars are ideal for busy home cooks looking to streamline meal prep! You can prepare the crust and filling up to 24 hours in advance. Start by making the Oreo crust and letting it cool completely before adding the chocolate filling. After assembly, cover the bars tightly with plastic wrap and refrigerate them for up to 3 days. This chilling helps the flavors meld and keeps them just as delicious. When you're ready to serve, simply whip the cream for the topping, spread it on, and garnish with chocolate shavings. With these make-ahead tips, you’ll put less stress on your schedule while still delighting everyone with a delectable dessert!
Storage Tips for Chocolate Cream Pie Bars
-
Fridge: Store your Chocolate Cream Pie Bars in an airtight container in the fridge for up to 4 days. This keeps them fresh and delicious for whenever you crave a sweet treat.
-
Freezer: For longer storage, freeze the bars in an airtight container for up to 2 months. Make sure to separate layers with parchment paper to prevent sticking.
-
Thawing: When ready to enjoy, thaw the frozen Chocolate Cream Pie Bars gradually in the refrigerator for several hours or overnight for the best texture.
-
Reheating: These bars are best served cold, but if desired, you can let them sit at room temperature for 10-15 minutes to soften slightly before slicing.
Expert Tips for Chocolate Cream Pie Bars
-
Ingredient Quality: Use high-quality chocolate chips to enhance the flavor of your Chocolate Cream Pie Bars; it makes a noticeable difference!
-
Cooling Time: Ensure the crust is completely cooled before adding the filling to prevent it from becoming soggy and maintain a crispy texture.
-
Gentle Folding: When mixing in the whipped cream, fold gently to keep the mixture airy. Overmixing can lead to a dense filling rather than the light texture you want.
-
Proper Chilling: Allow ample time for the bars to chill and set. Refrigerating overnight results in better texture and flavor melding.
-
Slicing Tip: Use a hot knife for clean cuts. Dip the knife in hot water, wipe it dry, and then slice through for perfectly presented bars.
Chocolate Cream Pie Bars Recipe FAQs
How do I choose the right Oreo cookies for the crust?
Absolutely! For the crust, you can use regular Oreo cookies, which offer a classic chocolate flavor. If you’re looking for a gluten-free option, I recommend using gluten-free Oreos. Just ensure the packaging clearly states gluten-free to avoid any cross-contamination.
What’s the best way to store leftovers?
Very! To keep your Chocolate Cream Pie Bars fresh, store them in an airtight container in the refrigerator for up to 4 days. If you have leftovers, you can still enjoy them without sacrificing quality while they are chilled!
Can I freeze Chocolate Cream Pie Bars?
Yes, indeed! To freeze, slice the bars as desired, then wrap them individually in plastic wrap, followed by aluminum foil, or place them in an airtight freezer-safe container. They can be frozen for up to 2 months. When you're ready to indulge, simply thaw them in the refrigerator overnight before serving.
What should I do if my whipped cream doesn’t form stiff peaks?
If you find your whipped cream isn’t reaching stiff peaks, make sure your heavy cream and mixing bowl are chilled before whipping, as warmth can prevent proper thickening. If it’s still not thickening, you can try adding a bit more powdered sugar or even a tablespoon of cream cheese to stabilize it. Start on medium speed and gradually increase to high to incorporate air effectively!
Can my pets enjoy these Chocolate Cream Pie Bars?
Unfortunately, no. While these bars are delightful for humans, some ingredients like chocolate and cream cheese can be harmful to pets. It’s best to keep your Chocolate Cream Pie Bars away from furry friends and treat them to pet-safe snacks instead.
Is it possible to make substitutions for dietary restrictions?
Certainly! If you’re looking to make the bars dairy-free, you can swap heavy whipping cream with coconut cream and use vegan butter for the crust. For sugar alternatives, consider using monk fruit sweetener or erythritol in place of powdered sugar if you're watching your sugar intake. Make sure to test for sweetness and adjust based on your taste preferences!
Decadent Chocolate Cream Pie Bars That Everyone Will Love
Ingredients
Equipment
Method
- Preheat your oven to 350°F (175°C) and line an 8x8 inch baking pan with parchment paper.
- In a food processor, pulse the Oreo cookies into fine crumbs. In a mixing bowl, combine these crumbs with melted butter until the mixture resembles wet sand.
- Press the mixture into the bottom of the prepared pan and bake for 10 minutes until set; then cool completely.
- Using a stand mixer, whip the heavy cream on medium speed, gradually adding powdered sugar until firm peaks form.
- In a double boiler, melt the semi-sweet chocolate chips with remaining butter until smooth.
- In a large bowl, beat the cream cheese until smooth. Add powdered sugar, cocoa powder, vanilla extract, and salt.
- Fold in the cooled chocolate mixture until well-integrated.
- Fold half of the whipped cream into the chocolate mixture, and then fold in the remaining whipped cream.
- Spread the chocolate filling over the cooled Oreo crust and smooth the top with a spatula.
- Cover and refrigerate for at least 3 hours or overnight.
- Whip additional cream until soft peaks form and spread over the chilled bars, then top with chocolate shavings.
- Lift the bars out using parchment paper, cut into portions with a hot, damp knife, and serve cold.


Leave a Reply