
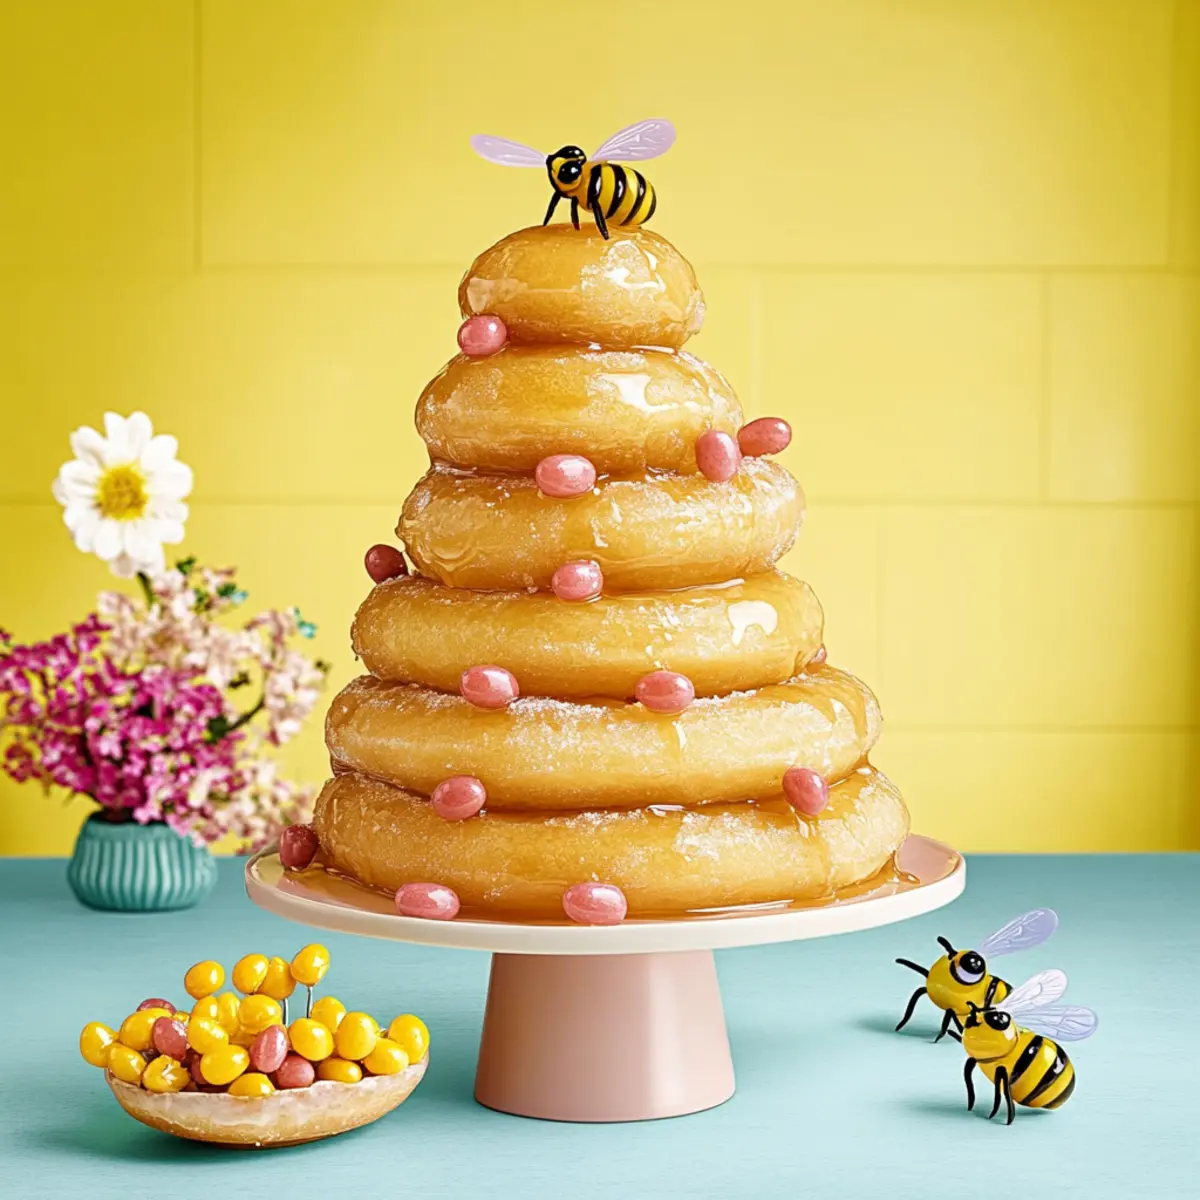
The other day, while watching a nature documentary, I was captivated by the way bees work tirelessly to create something so sweet—honey. Inspired by their labor of love, I decided to bring a touch of whimsy into my kitchen with what I now proudly call my Glazed Honey Doughnut Beehive. This festive dessert is not only a visual delight but also embodies the perfect blend of fluffy texture and a glossy glaze that will have your guests buzzing with joy. Whether for a birthday, holiday gathering, or just because, these adorable doughnuts are a crowd-pleaser and can be made quickly, leaving you more time to savor sweet moments with loved ones. Ready to dive into this delightful beehive creation and whip up some sugary magic?
Why Are These Doughnuts So Special?
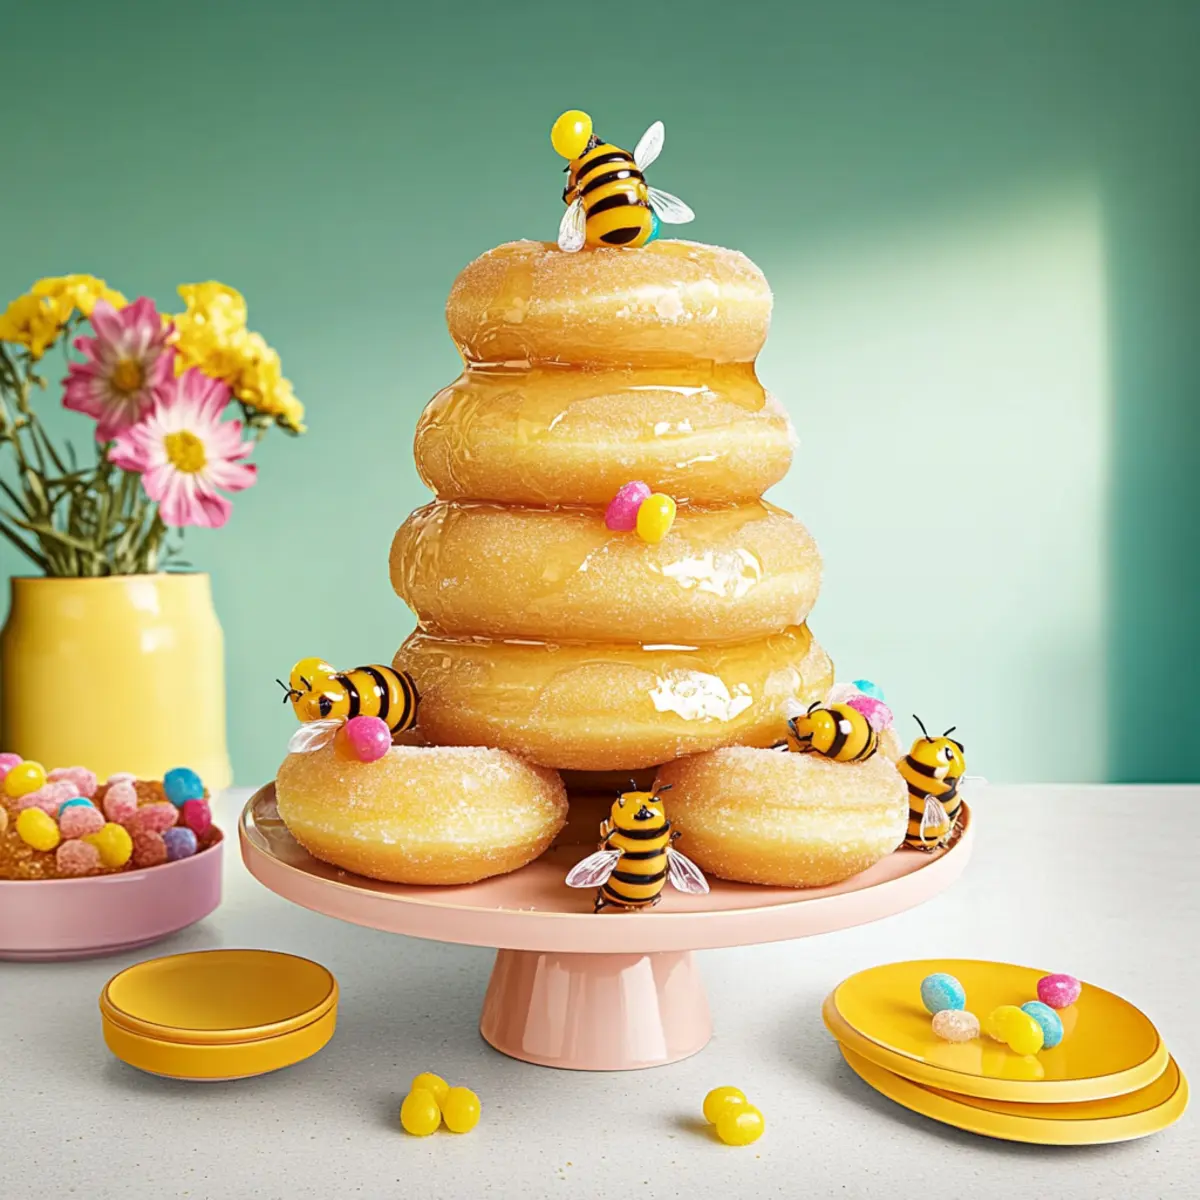
Irresistible charm: The beautiful beehive design, complete with jelly bean bees, makes these doughnuts a standout centerpiece for any occasion.
Fluffy perfection: Each bite offers a light, airy texture, paired with a subtle sweetness from the honey glaze.
Quick and easy: This recipe comes together seamlessly, allowing you to whip up a batch in no time—perfect for impromptu gatherings or sweet cravings.
Versatile flavors: Feel free to play with spices or fillings, like a fruit jam surprise, to tailor them to your taste. Pair them with a delicious cup of coffee, or serve alongside something fun like Roasted Sweet Honey for a delightful dessert spread.
Happy moments: These doughnuts not only taste great but also spark joy and creativity in the kitchen, making it a shared experience that everyone will love.
Glazed Honey Doughnut Beehive Ingredients
• Get ready to create this sweet sensation!
For the Doughnuts
- All-Purpose Flour – Provides structure and texture to the doughnuts; gluten-free flour works as a great substitute.
- Granulated Sugar – Sweetens and elevates flavor; brown sugar adds a richer taste if preferred.
- Baking Powder – A leavening agent essential for that perfect rise; make sure it’s fresh!
- Salt – Balances sweetness and enhances flavor.
- Whole Milk – Adds moisture and richness; non-dairy alternatives can be used for a lactose-free option.
- Eggs – Act as a binder for texture and richness; flax eggs or applesauce can be used for a vegan twist.
- Butter – Infuses flavor and moisture; coconut oil works well for a dairy-free version.
- Honey – Adds a delightful floral sweetness; swap with maple syrup for a different flavor profile.
For the Glaze
- Powdered Sugar – Forms the glossy sweet coating; mix with water or honey for varying sweetness levels.
- Water – Needed to achieve the right glaze consistency; adjust as necessary for desired thickness.
Get your ingredients ready and let’s get this adorable Glazed Honey Doughnut Beehive on the table!
Step‑by‑Step Instructions for Glazed Honey Doughnut Beehive
Step 1: Combine Dry Ingredients
In a large mixing bowl, whisk together 2 cups of all-purpose flour, ½ cup of granulated sugar, 1 tablespoon of baking powder, and ½ teaspoon of salt until well blended. This step is crucial for ensuring that your doughnuts rise beautifully, creating that light texture. Set the bowl aside and prepare your wet ingredients for the next step.
Step 2: Mix Wet Ingredients
In a separate bowl, whisk together ¾ cup of whole milk, 2 large eggs, ½ cup of melted butter, and ½ cup of honey until fully combined. The mixture should appear smooth and frothy. This union of wet ingredients brings moisture and richness to your Glazed Honey Doughnut Beehive. Gradually pour this mixture into the dry ingredients, stirring gently until just combined to avoid overmixing.
Step 3: Prepare the Dough
Transfer the dough onto a floured surface, and lightly knead it for about 30 seconds to form a cohesive dough. Use a rolling pin to roll the dough out to about ¾ inch thickness, ensuring it's not too thin, or your doughnuts won’t hold their shape. Use a doughnut cutter or two round cookie cutters to cut out doughnut shapes, and manage any scraps by re-rolling them to create additional doughnuts.
Step 4: Fry the Doughnuts
Heat vegetable oil in a deep fryer or heavy skillet to 350°F (175°C); using a thermometer will help maintain this temperature for perfect frying. Carefully lower the doughnuts into the hot oil, cooking them for about 2-3 minutes on each side until they are a beautiful golden brown. Monitor them closely to ensure even cooking, and work in batches to avoid overcrowding the fryer.
Step 5: Cool and Glaze
Once fried, use a slotted spoon to remove the doughnuts and place them on a wire rack to cool for a few minutes. While they are still warm but not hot, prepare your glaze by mixing 1 cup of powdered sugar with 2-3 tablespoons of water until smooth. Dip the top half of each doughnut into the glaze, allowing any excess to drip back into the bowl for a beautifully shiny finish.
Step 6: Decorate Your Beehive
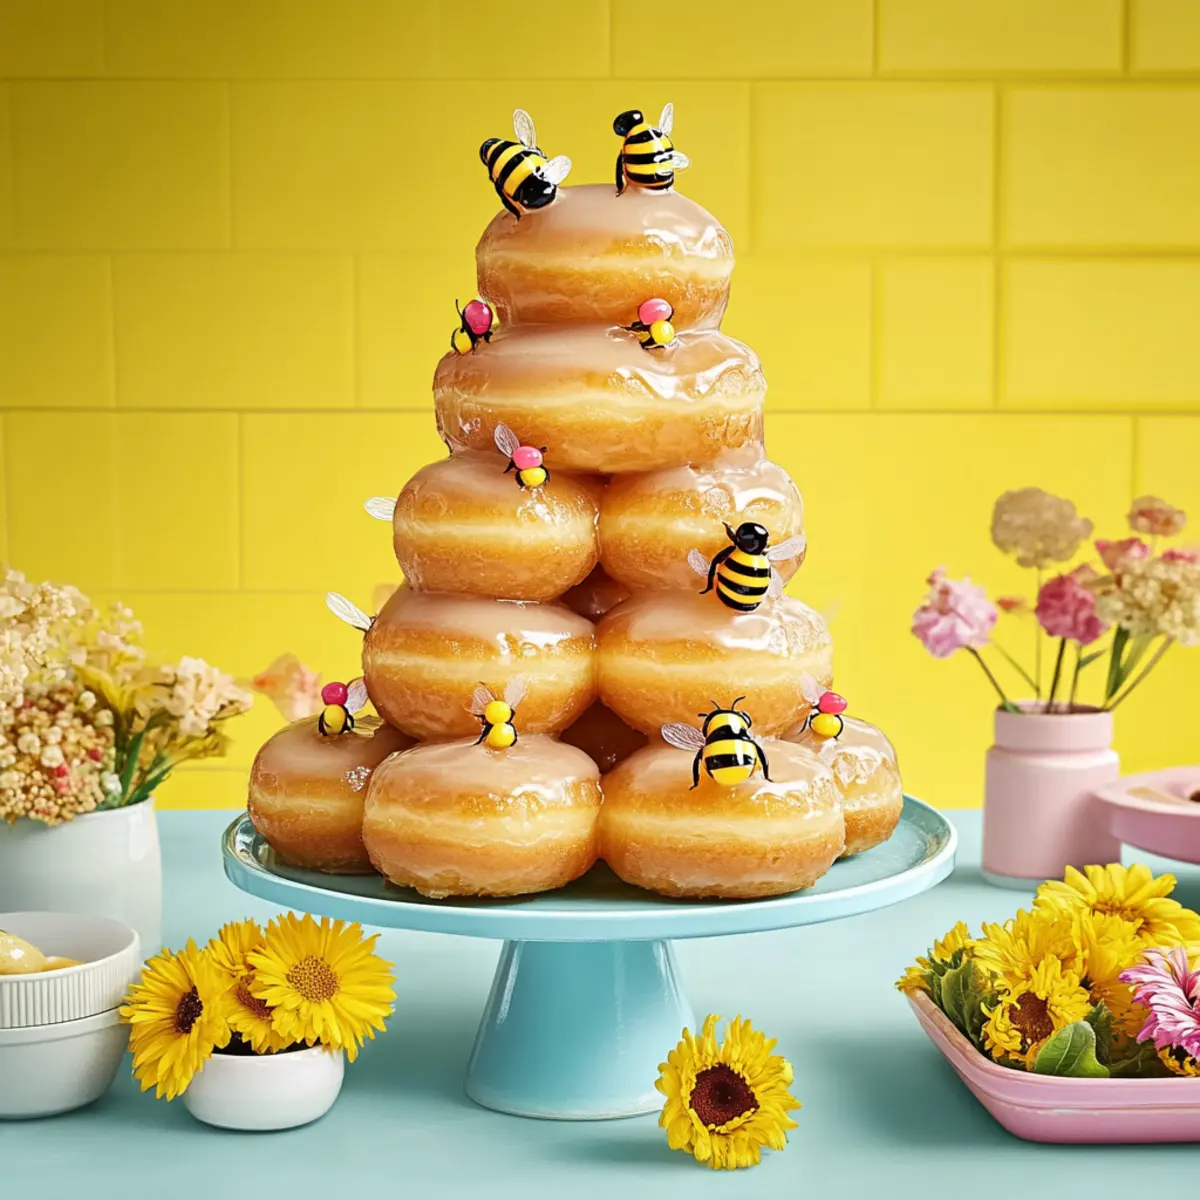
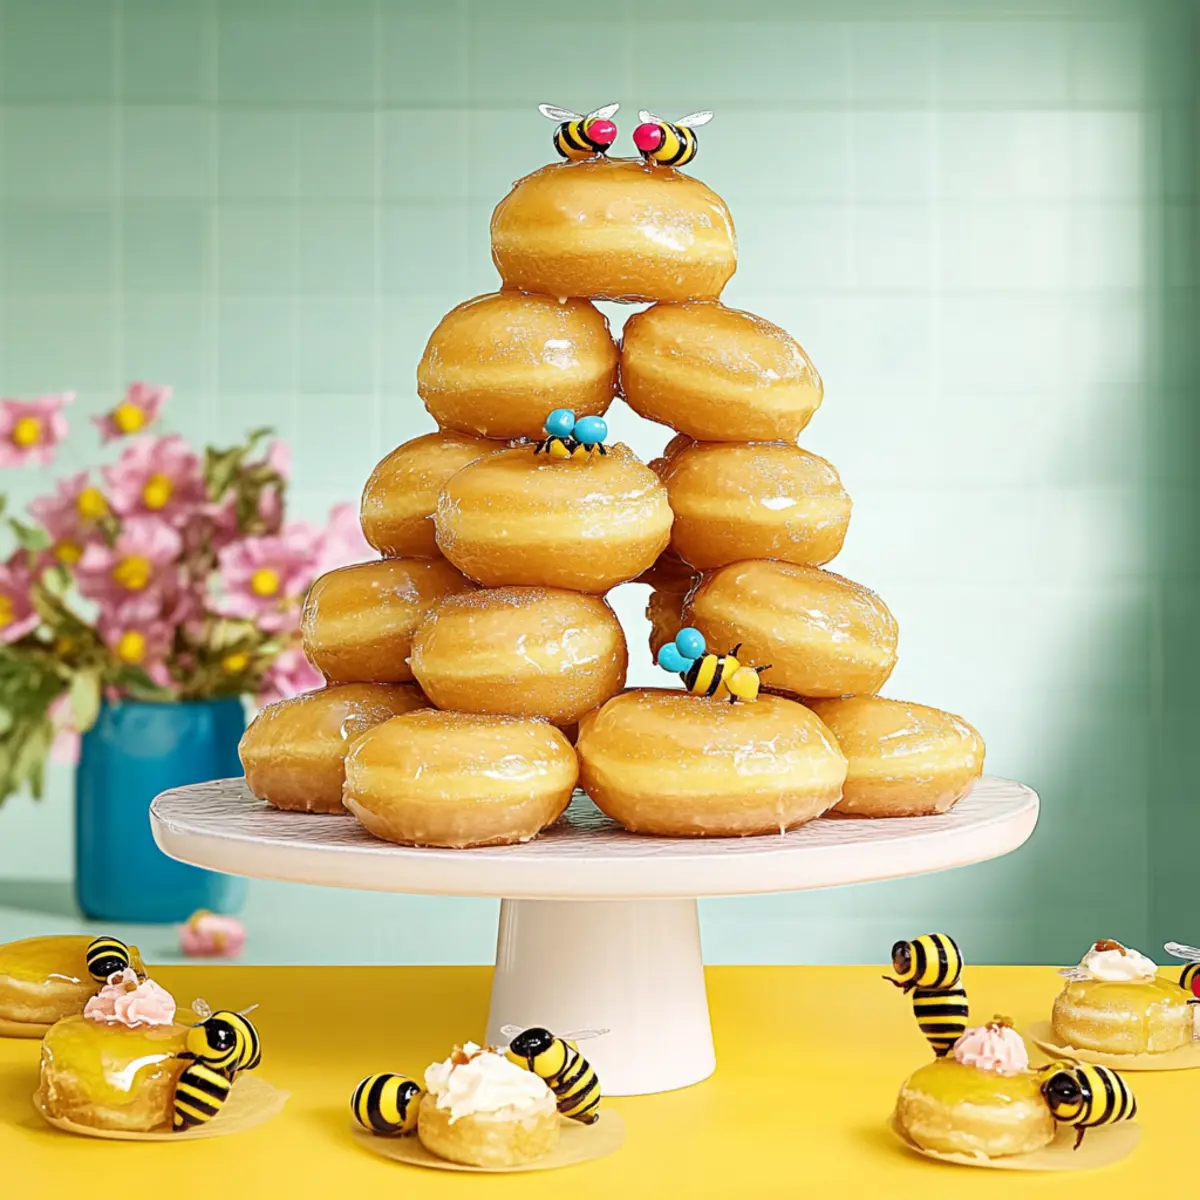
After glazing, let the doughnuts sit for a moment for the glaze to set slightly. Get creative with your decorations! Add colorful jelly bean bees and edible decorations to enhance the whimsical beehive aesthetic. Place the finished doughnuts on a decorative platter, showcasing their charm and inviting your friends and family to enjoy this delightful Glazed Honey Doughnut Beehive.
Storage Tips for Glazed Honey Doughnut Beehive
Room Temperature: Place the doughnuts in an airtight container at room temperature for up to 2 days to keep them fresh and soft. Avoid exposure to heat or direct sunlight.
Freezer: For longer storage, freeze the doughnuts in a single layer on a baking sheet until firm, then transfer them to a freezer-safe bag. They can last up to 1 month in the freezer.
Reheating: To enjoy the doughnuts warm, reheat them in the oven at 350°F for about 5-10 minutes, allowing the glaze to return to its glossy state. This helps retain the delightful texture of the Glazed Honey Doughnut Beehive.
Expert Tips for Glazed Honey Doughnut Beehive
-
Temperature Matters: Ensure your oil is at 350°F for perfect frying. Too cool, and the doughnuts absorb excess oil, becoming greasy.
-
Don’t Overmix: Mix your wet and dry ingredients until just combined. Overmixing can lead to tough doughnuts instead of the desired fluffy texture.
-
Monitor Cooking Time: Fry in small batches, about 2-3 minutes per side. Watch closely to ensure they don't overcook or burn.
-
Glam Up the Glaze: To achieve a beautiful shine, dip the warm doughnuts into the glaze while they’re still warm, allowing them to soak in that sweet goodness.
-
Creative Decorations: Have fun with different toppings! Consider adding edible glitter or sprinkles for a festive touch or switching up jelly bean colors to match your celebration theme.
Experience the sweetness of your Glazed Honey Doughnut Beehive and let your creativity shine!
What to Serve with Glazed Honey Doughnut Beehive
Imagine delighting your guests with a harmonious blend of flavors and textures to accompany your charming doughnut creation!
- Rich Hot Chocolate: A cozy cup of hot chocolate complements the sweetness and adds a warm, comforting element.
- Fresh Berries: The tartness of mixed berries brightens the dish, providing a refreshing contrast to the sugary doughnuts.
- Creamy Vanilla Ice Cream: This indulgent pairing adds a creamy texture that balances the doughnut's crunch and enhances its sweetness.
- Spiced Chai Latte: Enjoy a warm, aromatic drink with hints of spice to elevate the festive vibes of your delightful beehive.
- Whipped Cream: A dollop of freshly whipped cream can add a fluffy, light texture, perfect for balancing the glazed sweetness.
- Mini Fruit Salad: Combine seasonal fruits for a refreshing, colorful side that brings freshness and a burst of flavor.
- Cinnamon Sugar Duster: Simply sprinkle cinnamon sugar over your doughnuts for an extra layer of sweetness and a delightful aroma.
- Caramel Sauce Dip: Serve warm caramel sauce on the side for an indulgent experience that your guests will love!
- Sparkling Lemonade: This fizzy drink cuts through the sweetness and adds a fun, zesty lift to the dessert table.
These pairings will elevate your Glazed Honey Doughnut Beehive, creating a sweet experience that everyone will cherish!
Glazed Honey Doughnut Beehive Variations
Feel free to let your imagination run wild with these adorable doughnuts, enhancing their flavors and textures for even more delightful creations!
- Gluten-Free: Substitute all-purpose flour with a gluten-free blend to cater to dietary needs without compromising taste.
- Brown Sugar: Use brown sugar instead of granulated sugar for a deeper, caramel-like sweetness that pairs wonderfully with honey.
- Spiced Delight: Add 1 teaspoon of cinnamon or nutmeg to the dry ingredients for an extra warm and cozy flavor. The spices will dance on your palate!
- Fruit-Filled: Incorporate a sweet fruit jam filling inside the doughnuts for a delightful surprise in every bite. Think raspberry or apricot jam for a burst of fruity goodness.
- Dairy-Free: Replace whole milk with almond or oat milk and butter with coconut oil, keeping the essence of sweetness intact. These options still deliver that moist, tender bite.
- Coconut Topping: Sprinkle shredded coconut on top of the glaze for a tropical twist that complements the honey beautifully. It's like a mini vacation with every bite!
- Sprinkle Surprise: Top with colorful sprinkles for a fun and festive flair—perfect for birthday parties or celebrations!
- Maple Variation: For a unique twist, use maple syrup in place of honey for the glaze, adding a different layer of sweetness that’s oh-so-satisfying. Pair this with a cozy cup of Roasted Sweet Honey for a delightful treat!
Whichever way you choose to customize your Glazed Honey Doughnut Beehive, know that each variation is sure to bring joy and sweetness to your table!
Make Ahead Options
These Glazed Honey Doughnut Beehives are perfect for meal prep enthusiasts looking to save time during busy celebrations! You can prepare the dough up to 24 hours in advance by mixing the dry and wet ingredients separately, then refrigerating the dough overnight. Just be sure to wrap it tightly in plastic wrap to maintain freshness. On the day you plan to serve, simply roll out the dough, cut into shapes, and fry them fresh. For the glaze, you can mix the ingredients and store it in the fridge for up to 3 days. When you’re ready to finish, dip the warm doughnuts in glaze to achieve that signature shine and decorate with jelly bean bees for an adorable presentation—guaranteeing they’ll be just as delicious and cute as when freshly made!
Glazed Honey Doughnut Beehive Recipe FAQs
How do I choose ripe ingredients for my Glazed Honey Doughnut Beehive?
For this doughnut recipe, ingredient selection is relatively simple. Ensure your eggs are fresh, as they serve as a binder and add richness to the dough. When using honey, opt for a high-quality, raw honey for the best flavor—the floral notes will really shine through. If you're opting for milk alternatives, make sure the non-dairy milk is unsweetened to maintain the sweetness balance in the doughnuts.
What is the best way to store leftover doughnuts?
To keep your Glazed Honey Doughnut Beehive fresh, store them in an airtight container at room temperature for up to 2 days. Make sure they are completely cool before sealing to avoid moisture build-up. For longer storage, you can freeze them by placing the doughnuts in a single layer on a baking sheet until firm, then transferring them to a freezer-safe bag, where they can last for up to 1 month. Just remember to reheat them in the oven when you're ready to indulge again!
Can I freeze my Glazed Honey Doughnut Beehive?
Absolutely! Freezing is a great way to enjoy your doughnuts later. After they are cooled, place the doughnuts in a single layer on a baking sheet and freeze until solid. Then, transfer them to a labeled freezer-safe bag or container. They will stay fresh for up to 1 month. When ready to enjoy, reheat from frozen in the oven at 350°F for about 5-10 minutes to restore that delightful glaze.
What should I do if my doughnuts are too greasy after frying?
If your doughnuts end up oily, it might mean your frying oil wasn't hot enough. To prevent this, ensure your oil reaches 350°F (175°C) before adding your doughnuts. Use a thermometer for accuracy and fry in batches to avoid overcrowding. If you do make greasy doughnuts, simply place them on a paper towel immediately after removing them from the oil; this can help absorb some excess oil.
Are these doughnuts vegan-friendly?
Yes! To make the Glazed Honey Doughnut Beehive vegan, substitute the eggs with flax eggs (mix one tablespoon of ground flaxseed with three tablespoons of water and let it sit for 5 minutes) or applesauce (¼ cup per egg). You can also replace the honey with maple syrup for a plant-based sweetener. Simply follow the original recipe using these substitutes, and you’ll have delicious vegan doughnuts to enjoy!
Glazed Honey Doughnut Beehive: A Festive Sweet Delight
Ingredients
Equipment
Method
- Combine Dry Ingredients: In a large mixing bowl, whisk together flour, sugar, baking powder, and salt until well blended.
- Mix Wet Ingredients: In a separate bowl, whisk together milk, eggs, melted butter, and honey until fully combined.
- Prepare the Dough: Transfer the dough to a floured surface, lightly knead for 30 seconds, and roll out to ¾ inch thickness.
- Fry the Doughnuts: Heat oil to 350°F, fry doughnuts for 2-3 minutes on each side until golden brown.
- Cool and Glaze: Remove doughnuts to a wire rack, mix powdered sugar with water, and dip the top half into the glaze.
- Decorate Your Beehive: Add jelly bean bees and edible decorations to enhance the whimsical beehive aesthetic.


Leave a Reply