
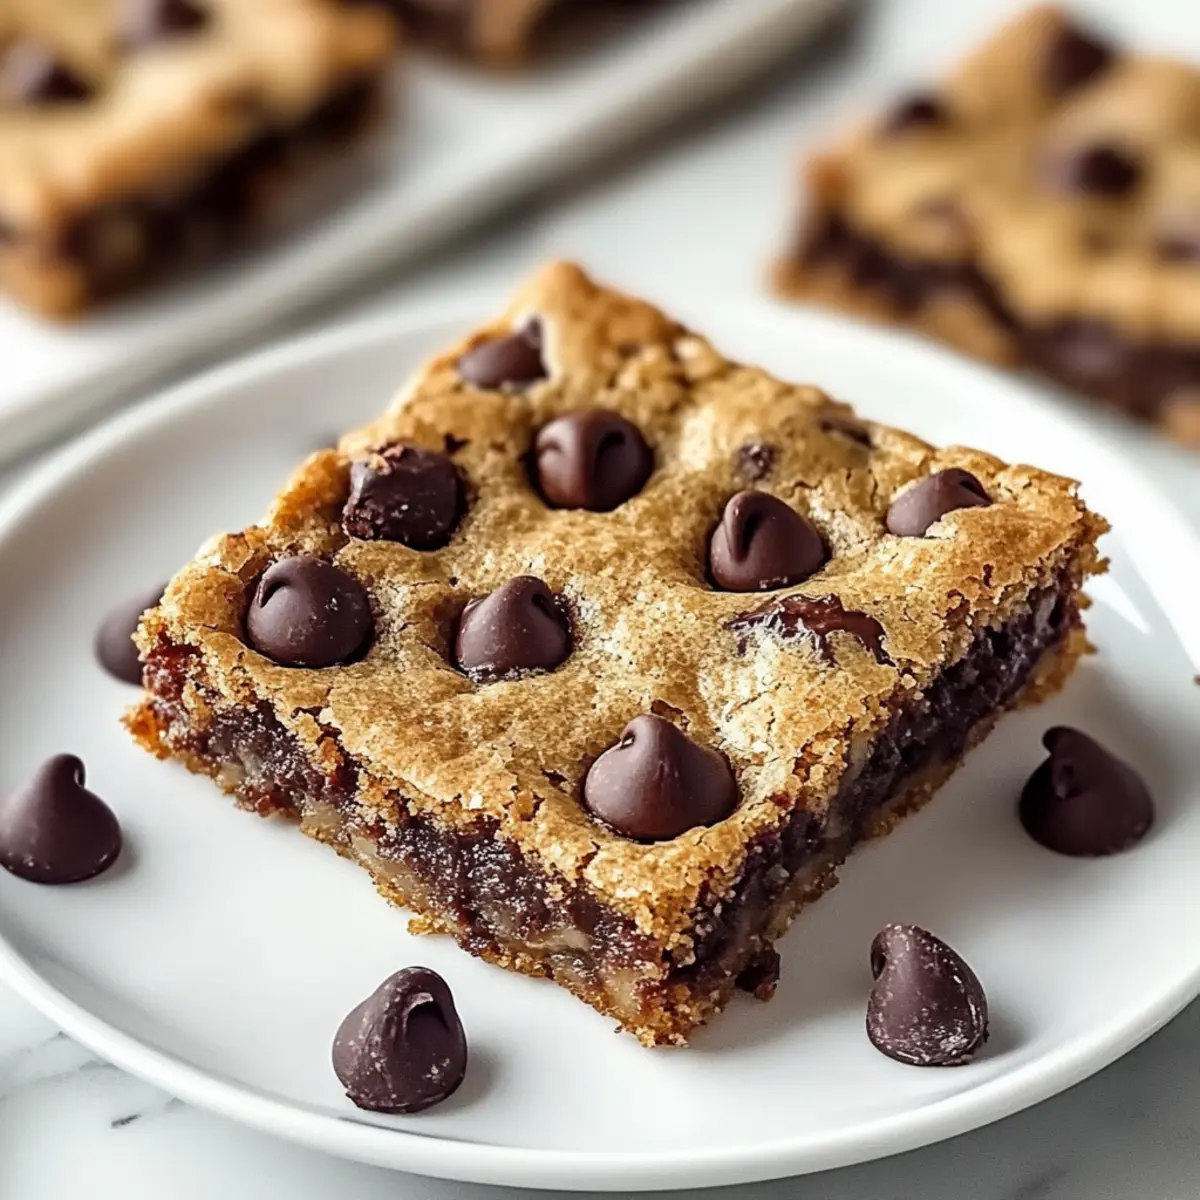
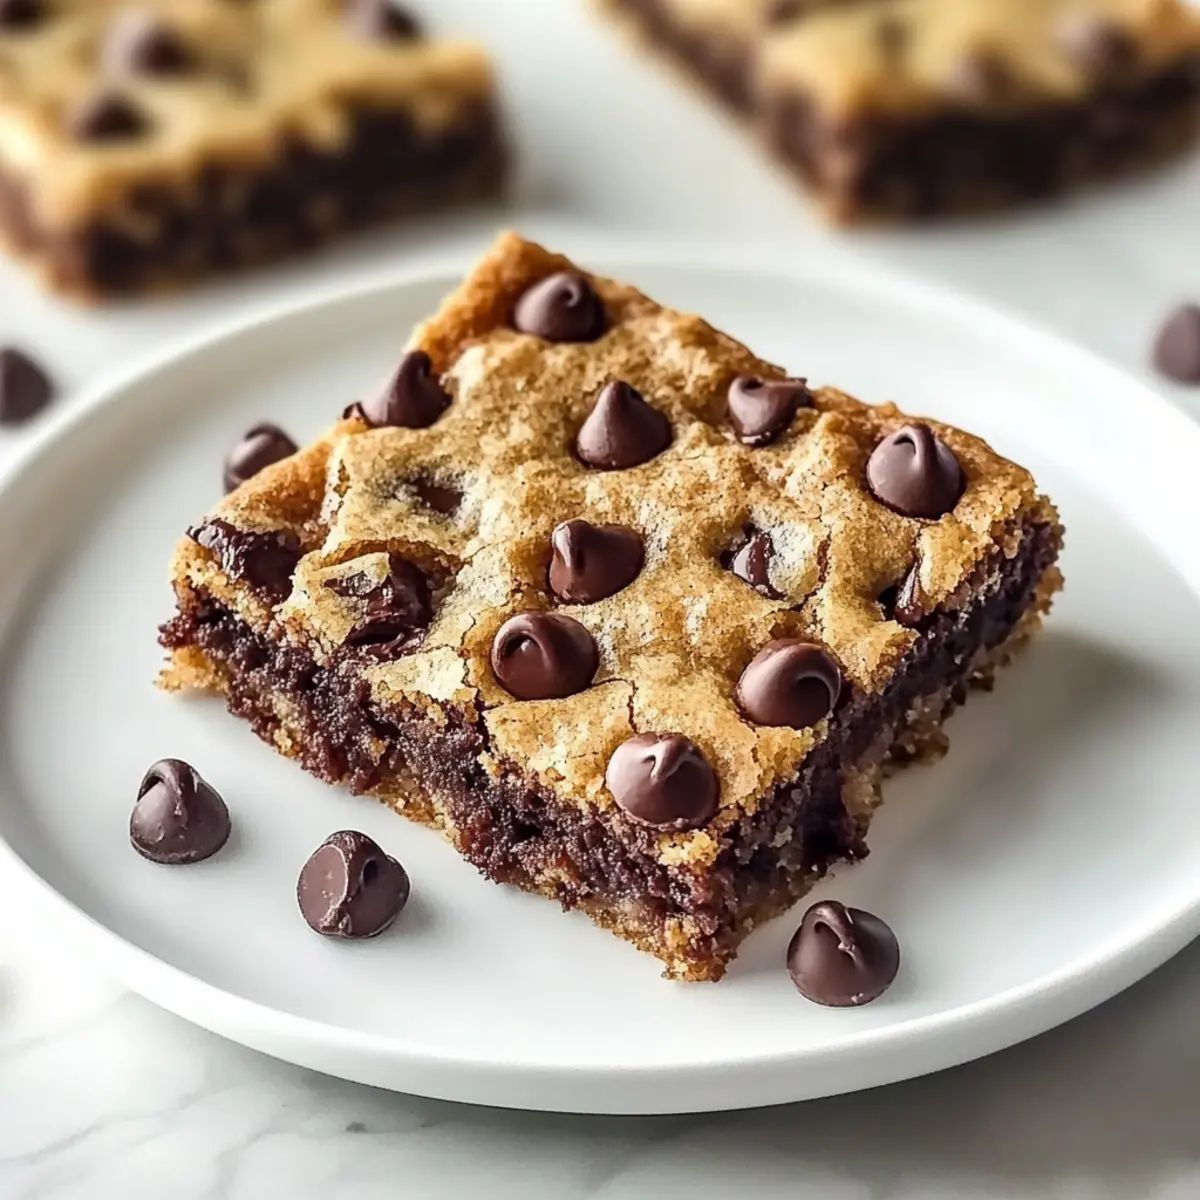
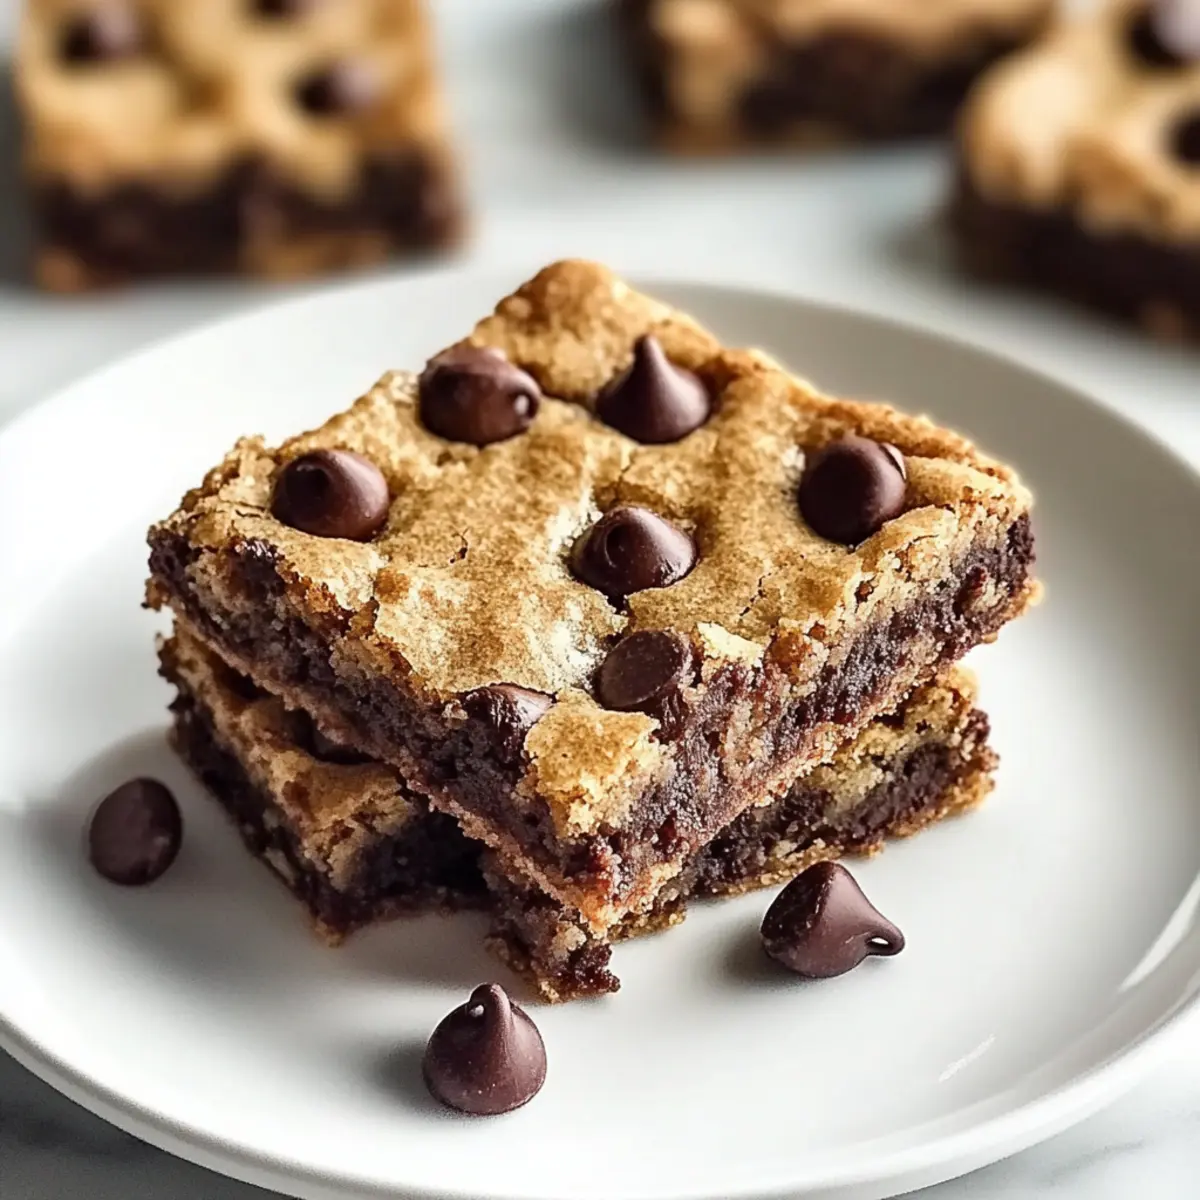
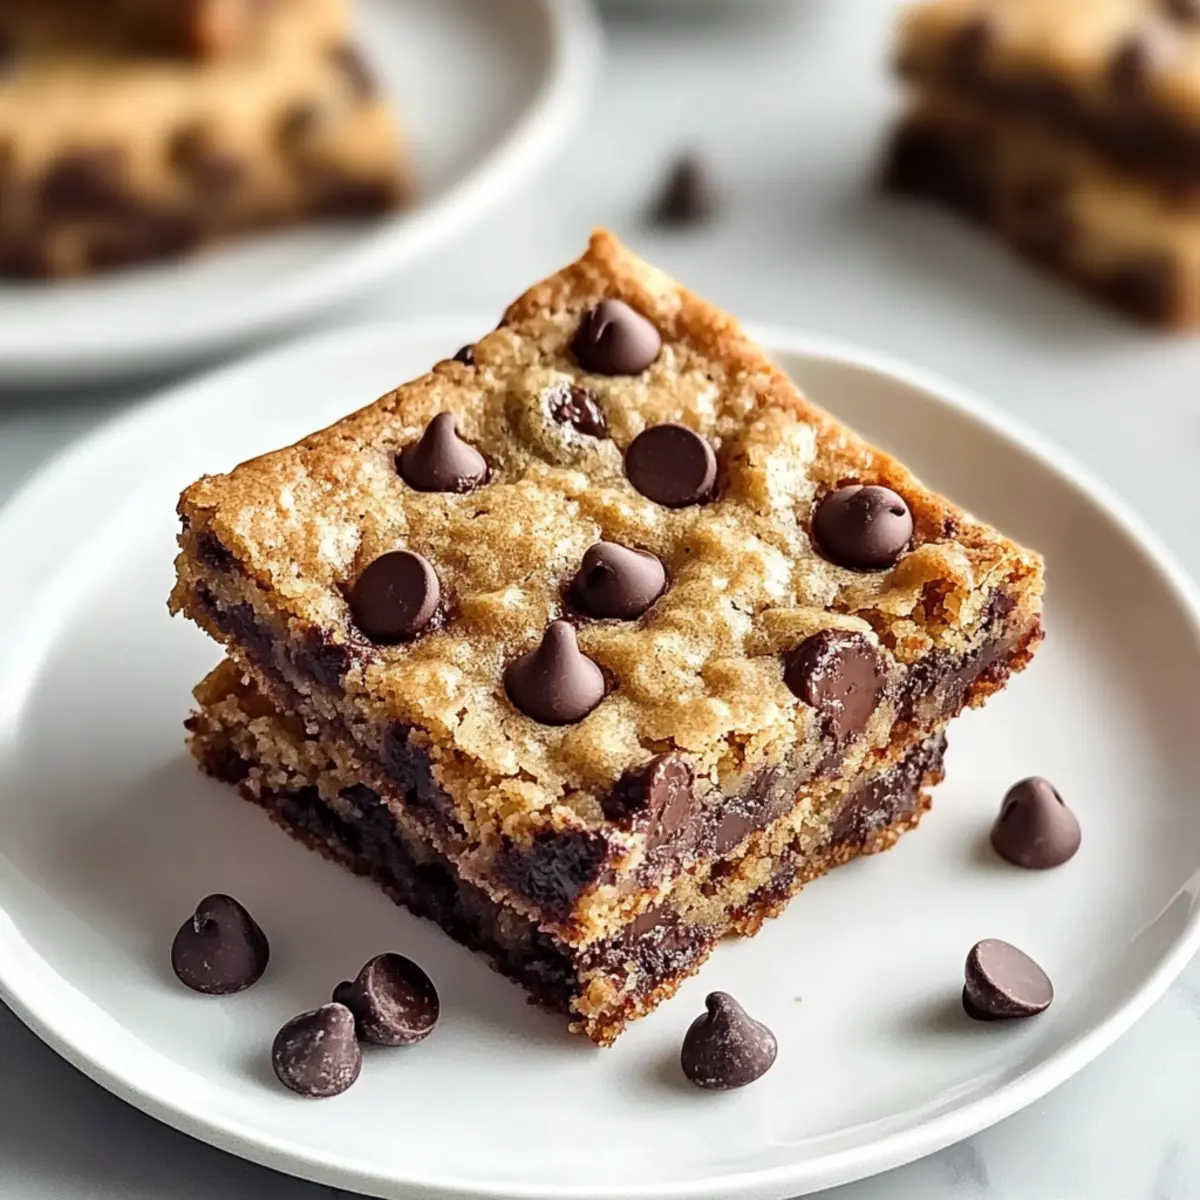
Under the warm glow of a kitchen light, the aroma of melting chocolate and sweet butter wafts through the air, instantly transporting me back to my childhood. There’s something undeniably comforting about indulging in homemade treats, and my Chocolate Chip Pan Chewies elevate that experience to a whole new level. This quick and easy dessert is a true crowd-pleaser, perfect for any gathering or simply to satisfy a sudden sweet tooth. With a crispy top and fudgy center, these chewy bites of heaven combine accessible ingredients and a simple method, making them an irresistible addition to your recipe collection. Plus, they're versatile enough to adapt for gluten-free diets, ensuring everyone can join in on the delight. So, are you ready to whip up a pan of these delicious chewies and share the nostalgic bliss? Let’s get started!
Why Are Chocolate Chip Pan Chewies Irresistible?
Quick and Easy: The recipe requires minimal effort, making delicious desserts achievable even on busy days.
Crowd-Pleasing Delight: With their crispy top and gooey center, these treats will have everyone coming back for seconds!
Versatile Options: You can customize flavors with nuts, spices, or even make them gluten-free, leading to endless possibilities.
Nostalgic Comfort: Each bite is a reminder of childhood joy and homemade goodness, which is sure to bring smiles all around.
Perfect Pairing: Serve warm with ice cream for an unforgettable dessert experience. For an equally delightful treat, don’t miss out on my Chocolate Zucchini Cake or Sheet Pan Honey Buffalo Chicken.
Chocolate Chip Pan Chewies Ingredients
For the Batter
– Unsalted Butter – Provides moisture and richness. Substitution: Coconut oil for dairy-free version.
– Dark Brown Sugar – Adds sweetness and chewiness. Note: Swap with light brown sugar for a milder flavor.
– Granulated White Sugar – Balances sweetness. No substitutions necessary.
– Eggs – Ensures binding and moisture. Tip: Use room temperature eggs for better emulsification.
– Egg Yolk – Essential for added richness and structure. Omit if making a vegan version.
– Pure Vanilla Extract – Elevates flavor depth. Substitution: Almond extract for a different flavor profile.
– All-Purpose Flour – Provides structure. Substitution: 1:1 gluten-free flour blend for gluten-free options.
– Baking Soda – Crucial for texture and rise. Ensure it’s fresh for best results.
– Fine Sea Salt – Balances sweetness. Note: Can add a pinch more if desired.
For the Chocolate
– Semi-Sweet Chocolate Chips – Opt for high-quality chocolate for best flavor. Substitute: Dark or white chocolate chips for variation.
– Flaky Sea Salt – For topping to enhance flavor. Optional: Replace with kosher salt.
Step‑by‑Step Instructions for Chocolate Chip Pan Chewies
Step 1: Preheat and Prepare
Preheat your oven to 325°F (165°C) and line a 9x13 metal pan with parchment paper. Allow the paper to overhang on the sides—this will help you easily lift the finished Chocolate Chip Pan Chewies out of the pan once they cool. A properly prepared pan is key for achieving that crispy edge you desire!
Step 2: Melt the Butter
In a medium saucepan, melt 1 cup of unsalted butter over low heat until fully liquefied. Once melted, remove the saucepan from heat and let the butter cool slightly for about 5 minutes. Cooling it is crucial to ensure it doesn’t cook the eggs when mixed, leading to a perfect blend of flavors in your pan chewies.
Step 3: Mix Butter and Sugars
Pour the cooled melted butter into a mixing bowl and add 1 cup of dark brown sugar and ½ cup of granulated white sugar. Whisk the mixture vigorously for about 1-2 minutes until it resembles wet sand. This step is vital for achieving that chewy texture characteristic of delicious Chocolate Chip Pan Chewies.
Step 4: Add Eggs and Vanilla
Next, incorporate 2 room temperature eggs and 1 teaspoon of pure vanilla extract into the sugar mixture. Whisk the ingredients together until lightened in color and well combined, which should take about 2 minutes. This air-infusion will lead to a wonderfully fluffy texture when baked, balancing the crisp and fudgy elements in your dessert.
Step 5: Combine Dry Ingredients
Carefully fold in 1 ½ cups of all-purpose flour, ½ teaspoon of baking soda, and ½ teaspoon of fine sea salt into the wet mixture. Gently stir with a spatula until just combined—be cautious not to overmix. This step is important to retain the tenderness of your Chocolate Chip Pan Chewies while ensuring all the ingredients are evenly blended.
Step 6: Add Chocolate Chips
Now it’s time to add 2 cups of semi-sweet chocolate chips to your batter. Gently fold the chocolate chips into the mixture, ensuring they’re evenly distributed but don’t overwork the batter. The chocolate chips will melt beautifully, creating delectable gooey pockets throughout your chewy dessert.
Step 7: Bake the Batter
Spread the batter evenly into the prepared pan, smoothing it with a spatula. Place the pan in the preheated oven and bake for 25 minutes, or until the edges are a deep bronze and the center is slightly puffed. You'll notice a delicious aroma wafting through your kitchen as they bake—be ready for temptation!
Step 8: Salt the Chewies
Once baked, immediately sprinkle the surface of the hot pan chewies with flaky sea salt to enhance their flavor. The contrast of sweet and salty will elevate your Chocolate Chip Pan Chewies to the next level. Let them cool in the pan for a few minutes before transferring them to a wire rack.
Step 9: Cool and Slice
Allow the Chocolate Chip Pan Chewies to cool on the wire rack for at least 30 minutes. This helps them set fully, making it easier to slice into squares. As you wait, you’ll be captivated by the delightful aroma—trust me, the wait will be worth it when you get to enjoy these delicious treats!
What to Serve with Crispy Chocolate Chip Pan Chewies
Indulging in the warm, sweet aroma of these delightful treats opens the door to a world of delicious pairings that will elevate your dessert experience.
-
Vanilla Ice Cream: The classic combination adds a creamy contrast to the chewy texture, creating a delightful melt-in-your-mouth sensation. Picture a warm square topped with a scoop of vanilla ice cream, slowly melting down the sides—pure bliss!
-
Espresso or Coffee: A rich cup of espresso balances the sweetness of the chewies, enhancing their chocolatey flavor. The caffeine kick paired with dessert is a perfect combination for an afternoon pick-me-up.
-
Fresh Berries: A side of blueberries or raspberries offers a burst of acidity, cutting through the sweetness for a refreshing balance. The vibrant colors also make your plate pop, bringing joy to every bite.
-
Whipped Cream: A dollop of lightly sweetened whipped cream adds a luxurious touch that nicely complements the rich chewies. It’s the final touch that makes each bite feel special and indulgent.
-
Chocolate Drizzle: For true chocoholics, a drizzle of melted chocolate takes the pan chewies to new heights. It enhances their richness and makes them even more decadent—perfect for a show-stopping dessert.
-
Caramel Sauce: Drizzling warm caramel adds a sweet and buttery dimension that pairs beautifully with the fudgy center. This combination creates a delightful contrast of flavors that will leave everyone craving more.
-
Milk or Nut Milk: A refreshing glass of milk complements the sweetness, washing down each gooey bite. Experiment with almond or oat milk for a twist, offering a nutty flavor that contrasts beautifully with the rich chocolate.
How to Store and Freeze Chocolate Chip Pan Chewies
Airtight Container: Store your Chocolate Chip Pan Chewies in an airtight container at room temperature for up to 4 days to maintain their delicious texture and flavor.
Refrigeration: If you want to extend their life, refrigerate the chewies for up to 5 days. Just ensure they're sealed tight to prevent drying out.
Freezing: For longer storage, freeze the Chocolate Chip Pan Chewies for up to 3 months. Place them in a freezer-safe container or wrap them tightly in plastic wrap.
Thawing: When ready to enjoy, thaw them at room temperature for a few hours or briefly warm them in the microwave for a delightful treat!
Make Ahead Options
These Chocolate Chip Pan Chewies are perfect for meal prep enthusiasts! You can mix the batter up to 24 hours in advance and store it in an airtight container in the refrigerator. This method helps maintain the chewy texture and rich flavor. Alternatively, you can bake the pan chewies ahead and store them at room temperature for up to 4 days in an airtight container; just be sure to let them cool completely first to keep that perfect crisp top. When ready to serve, simply enjoy them at room temperature or warm them slightly in the oven for a delightful, fresh-out-of-the-oven experience! This way, you'll always have a delicious treat ready to go for any occasion.
Expert Tips for Chocolate Chip Pan Chewies
-
Pan Selection: Use a heavy-duty aluminum pan for even baking; glass pans can lead to uneven results.
-
Flour Measurement: Always measure flour with a digital scale for accuracy—aim for 270 grams for best results.
-
Gentle Mixing: Avoid overmixing after adding dry ingredients to keep your Chocolate Chip Pan Chewies tender and soft.
-
Check Doneness: Look for golden-brown edges with a slight jiggle in the center to ensure they are perfectly baked.
-
Topping Ideas: Experiment with toppings like chopped nuts or a sprinkle of sea salt for added texture and flavor variations.
Chocolate Chip Pan Chewies Variations
Feel free to let your creativity shine as you customize these delightful Chocolate Chip Pan Chewies for your tastes and dietary needs!
-
Nutty Crunch: Add ½ cup chopped walnuts or pecans for texture. The nuttiness adds a pleasant contrast to the gooey chocolate goodness, creating an irresistible combination.
-
Spicy Kick: Incorporate a pinch of cayenne pepper for an intriguing flavor twist. This unexpected heat can elevate the flavors and surprise your taste buds delightfully!
-
Coconut Twist: Replace half the chocolate chips with unsweetened shredded coconut. This addition brings a tropical flair, enhancing the chewiness while complementing the sweetness.
-
Fruit Fusion: Mix in 1 cup of dried fruits like cranberries or cherries for added sweetness and a chewy texture. They provide a delightful burst of flavor that balances the richness of the chocolate.
-
S’mores Style: Introduce mini marshmallows and graham cracker crumbs for a nostalgic twist. The melted marshmallows perfectly mimic the joy of traditional s'mores, making each bite unforgettable.
-
Gluten-Free: Use a 1:1 gluten-free flour blend in place of all-purpose flour. Everyone deserves a little indulgence, and this swap ensures that gluten-sensitive friends can join the fun!
For more tempting treats to satisfy your sweet tooth, don’t forget to explore my Chocolate Zucchini Cake or the delightful Pistachio White Chocolate Cookies. Enjoy creating your delicious masterpiece!
Crispy Chocolate Chip Pan Chewies Recipe FAQs
How do I select the right chocolate chips for my Pan Chewies?
Absolutely! Opt for high-quality semi-sweet chocolate chips for the best flavor. If you're looking to switch it up, consider using dark chocolate for a richer taste or even white chocolate for a sweeter twist. The type of chocolate you choose can significantly affect the overall flavor of your Chocolate Chip Pan Chewies!
What is the best way to store my Chocolate Chip Pan Chewies?
To maintain their delightful texture, store your Chocolate Chip Pan Chewies in an airtight container at room temperature for up to 4 days. If you want to prolong their freshness, you can refrigerate them for up to 5 days—just make sure they’re tightly sealed to prevent drying out.
Can I freeze my Chocolate Chip Pan Chewies?
Absolutely! You can freeze your Chocolate Chip Pan Chewies for up to 3 months. To do this, place them in a freezer-safe container or wrap them tightly in plastic wrap. For the best results, avoid stacking them to prevent sticking. When you're ready to relish them again, thaw at room temperature or warm briefly in the microwave!
What should I do if my Pan Chewies turn out too dry?
If your Chocolate Chip Pan Chewies are too dry, it could be due to overbaking or too much flour. Always check the doneness by looking for golden-brown edges and a slight jiggle in the center. To prevent dryness, consider using a digital scale for accurate flour measurements and follow the mixing instructions carefully to keep your batter tender.
Are there any dietary considerations for Chocolate Chip Pan Chewies?
Yes, for those with dietary restrictions, you can easily make gluten-free Chocolate Chip Pan Chewies by swapping the all-purpose flour with a 1:1 gluten-free flour blend. Additionally, you can try substituting coconut oil for unsalted butter to accommodate dairy-free diets. If you’re making them vegan, simply omit the egg yolk and use a flax egg as a binder!
Crispy Chocolate Chip Pan Chewies for Sweet Indulgence
Ingredients
Equipment
Method
- Preheat your oven to 325°F (165°C) and line a 9x13 metal pan with parchment paper, allowing it to overhang on the sides.
- Melt 1 cup of unsalted butter over low heat until fully liquefied, then let cool for about 5 minutes.
- Pour melted butter into a mixing bowl and add 1 cup of dark brown sugar and ½ cup of granulated white sugar. Whisk for 1-2 minutes until it resembles wet sand.
- Incorporate 2 room temperature eggs and 1 teaspoon of pure vanilla extract into the sugar mixture and whisk until lightened in color.
- Fold in 1 ½ cups of all-purpose flour, ½ teaspoon of baking soda, and ½ teaspoon of fine sea salt into the mixture.
- Add 2 cups of semi-sweet chocolate chips to the batter and gently fold until evenly distributed.
- Spread the batter into the prepared pan and bake for 25 minutes, or until edges are deep bronze and center is slightly puffed.
- Sprinkle flaky sea salt on top while they are still hot, then let cool for a few minutes before transferring to a wire rack.
- Let cool for at least 30 minutes before slicing into squares.


Leave a Reply