
There's something magical about the first taste of a homemade pickle. When I whip up a batch of Easy Refrigerator Dill Pickles, I’m reminded of summer picnics filled with laughter and sun-kissed afternoons. This quick and simple recipe transforms fresh cucumbers into crunchy, tangy delights, ready to enjoy in just 24 hours with no canning fuss. Not only are these refrigerator dill pickles an effortless way to elevate your meals, but they are also gluten-free and vegan, making them a guilt-free snack or a zesty addition to any dish. As you explore the vibrant flavors of dill, garlic, and a hint of sweetness, you'll be inspired to experiment with various vegetables and spice levels. Ready to take a crunchy dive into your own pickling adventure? Let’s get started!
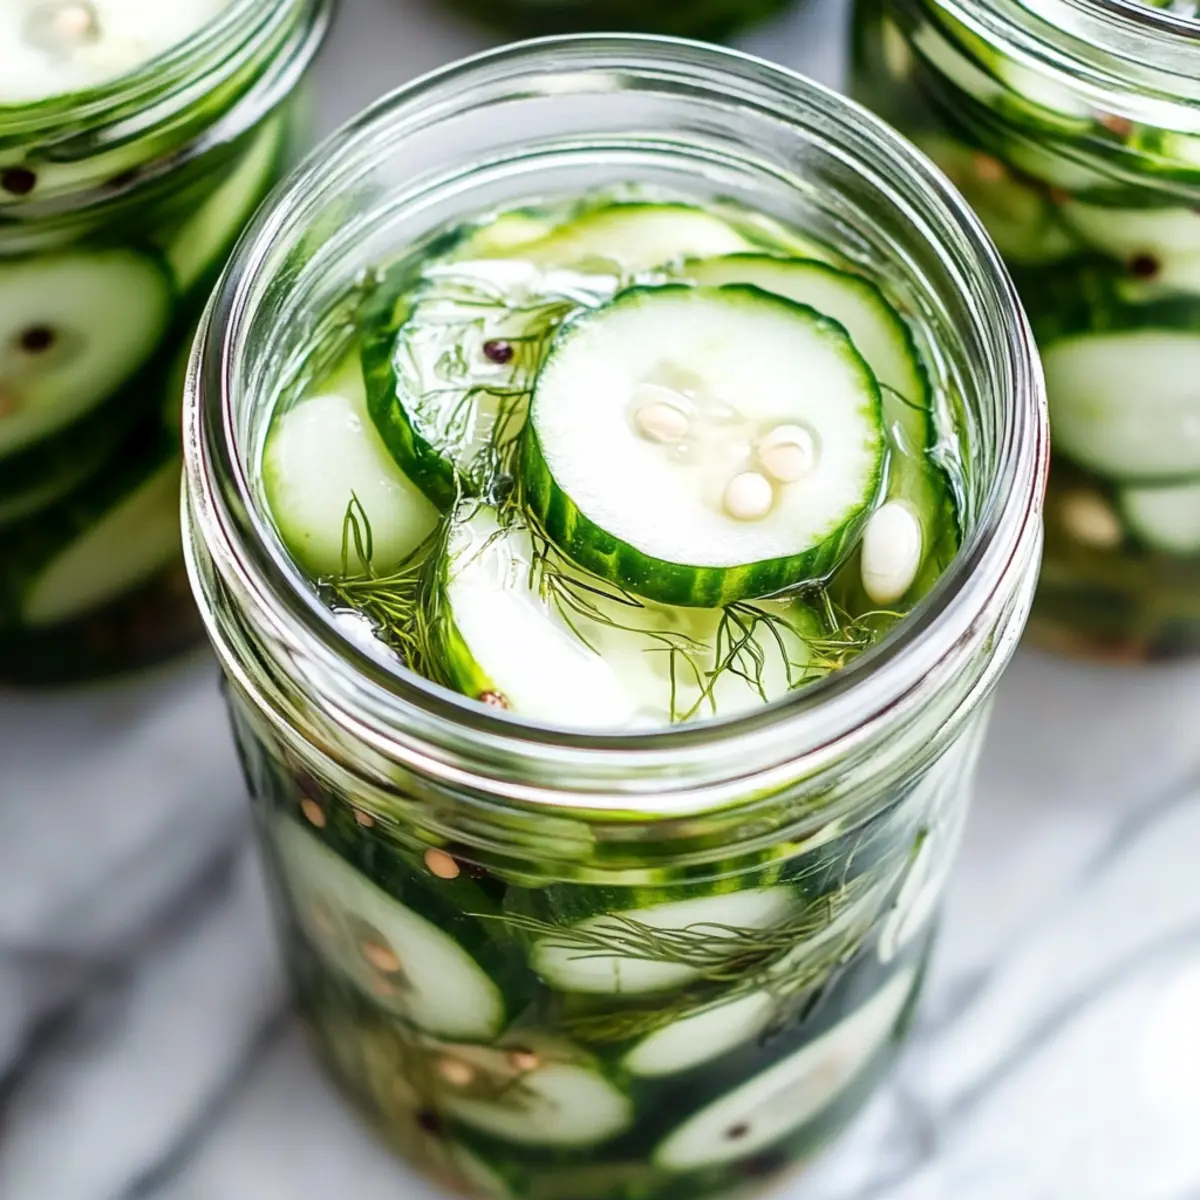
Why Make Refrigerator Dill Pickles?
Quick, effortless preparation: With just a few simple steps, you can have these tangy pickles ready in no time. No canning is required, making it a hassle-free option for busy cooks!
Versatile flavors: Experiment with spices and other vegetables for a personalized twist. Try adding fresh jalapeños for heat or substituting sugar with honey for a unique sweetness.
Healthy snack: At only 46 calories per serving, these crispy delights are perfect for guilt-free munching, fitting seamlessly into gluten-free and vegan diets.
Crowd-pleaser: Serve them alongside sandwiches, burgers, or on a charcuterie board to impress your guests with refreshing crunch and vibrant flavor.
Make ahead: Prepare these pickles a week in advance for gatherings. The flavors deepen over time, making them an ideal prep-ahead snack!
Refrigerator Dill Pickle Ingredients
• Quick and simple essentials!
For the Brine
• White Vinegar – Provides the necessary acidity; swap for apple cider vinegar for a milder taste.
• Water – Dilutes the vinegar to create a balanced brine.
• White Sugar – Optional sweetener to cut through acidity; substitute with honey for a delightful twist.
• Salt – Essential for flavor and preservation; use kosher or sea salt to avoid cloudy brine.
For the Pickles
• Pickling Cucumbers – Small and crisp, they soak up the brine perfectly; avoid waxed varieties for best results.
• Onion – Adds a touch of sweetness; red or white onions work well.
• Fresh Dill – Offers that classic dill flavor; feel free to use dried dill in a pinch.
• Garlic – Smashed cloves enhance the aromatic depth of flavor.
For the Seasoning
• Whole Black Peppercorns – Gives a subtle peppery flavor that complements the pickles.
• Whole Mustard Seed – Optional for extra complexity; ground mustard can be used as a substitute if necessary.
These delicious refrigerator dill pickles are ready to enhance your meals in just 24 hours!
Step‑by‑Step Instructions for Easy Refrigerator Dill Pickles
Step 1: Prepare the Brine
In a medium saucepan, combine 1 cup of white vinegar and 1 cup of water, then bring the mixture to a boil over medium-high heat. Once boiling, carefully add ¼ cup of white sugar and 2 tablespoons of salt, stirring until dissolved. Remove the brine from the heat and allow it to cool to room temperature, which will take about 15-20 minutes.
Step 2: Pack the Jars
While the brine cools, take clean quart-size mason jars and start packing them with sliced pickling cucumbers and onions, leaving about 1 inch of headspace at the top. Add smashed garlic cloves, fresh dill sprigs, whole black peppercorns, and optional mustard seeds for added flavor. Ensure the vegetables are tightly packed but not squished.
Step 3: Add the Brine
Once the brine has cooled completely, carefully pour it over the packed vegetables in the jars, ensuring that all pieces are fully submerged. Leave about ½ inch of headspace from the top of the jars to allow for expansion. Check to make sure there are no air bubbles; if necessary, tap the jar gently on the counter.
Step 4: Seal and Refrigerate
Secure the lids on the jars tightly, ensuring a proper seal. Place the jars in the refrigerator and let them chill for at least 24 hours to allow the flavors to develop. For even better results, wait 2-3 days before indulging, as the dill pickles will become more flavorful and tangy over time.
Step 5: Enjoy Your Pickles
After waiting patiently, your Easy Refrigerator Dill Pickles are ready to enjoy! Use them to enhance sandwiches, burgers, or as a fresh snack anytime. These flavorful delights can be kept in the fridge for up to 90 days, ensuring you always have a crunchy, tangy treat on hand.
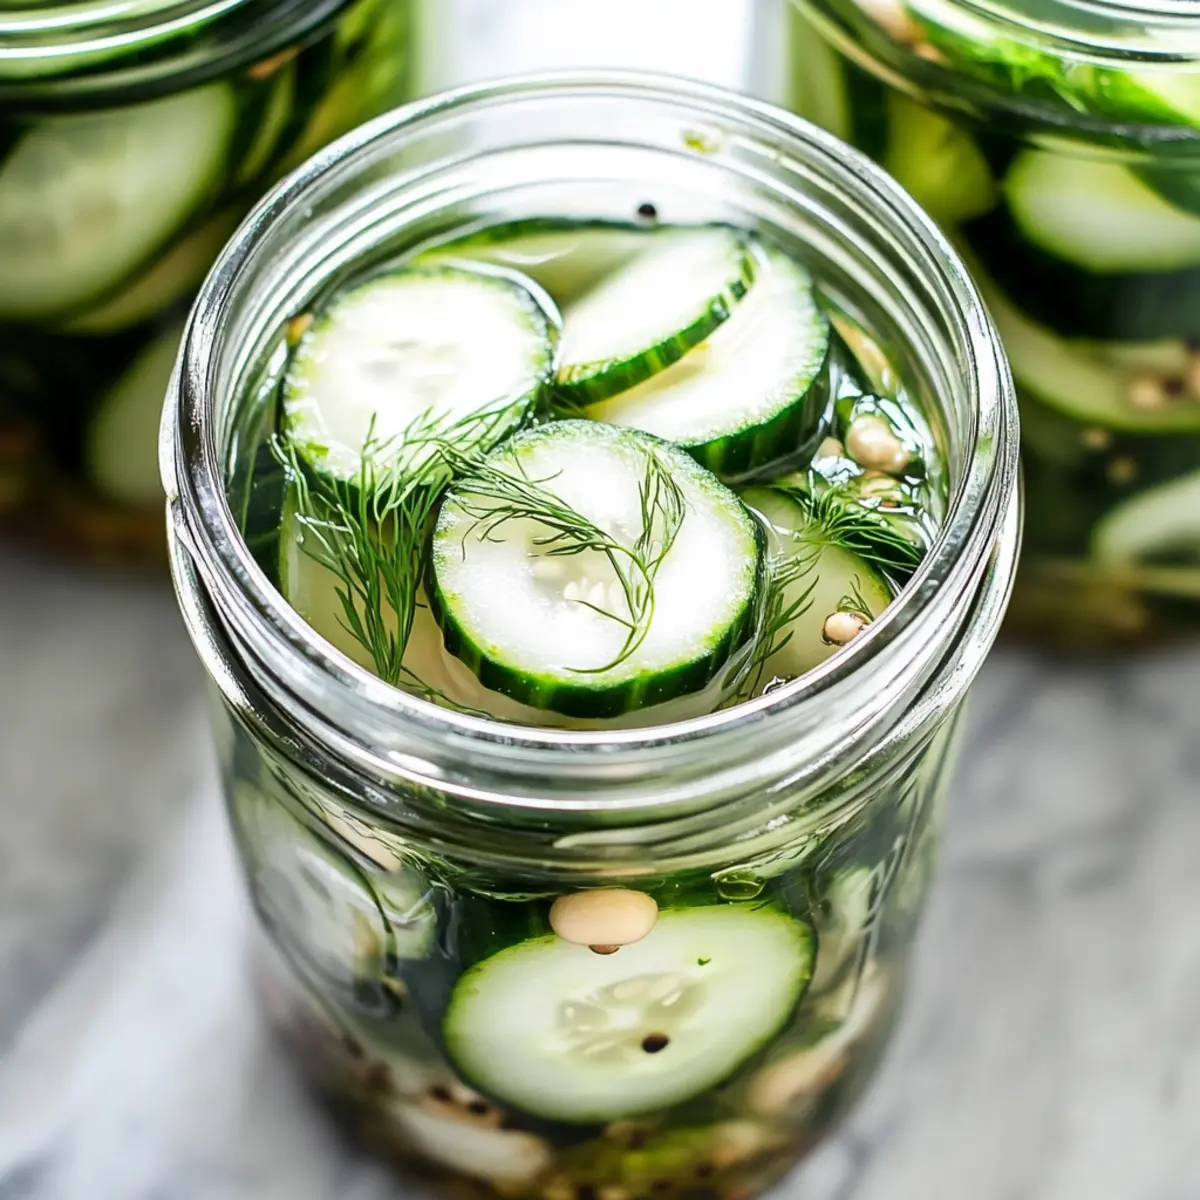
Refrigerator Dill Pickles Variations
Feel free to experiment with these delightful variations to make this recipe truly your own!
-
Heat Boost: Add sliced jalapeños for a spicy kick, perfect for those who love a little warmth in their pickles.
-
Sweetness Twist: Substitute white sugar with honey or maple syrup to create a nuanced sweetness that balances the acidity beautifully.
-
Vegetable Medley: Include other vegetables like shredded carrots, sliced bell peppers, or even radishes for a colorful and flavor-packed pickle assortment.
-
Herb Infusion: Mix in fresh herbs such as tarragon or thyme along with the dill for a fragrant twist that elevates the flavor profile.
-
Citrusy Zing: Add a few slices of lemon or lime to the brine for a fresh, zesty twist that brightens every bite and pairs wonderfully with rich dishes.
-
Flavorful Ferment: If you enjoy a more robust flavor, try incorporating a teaspoon of chili flakes or coriander seed for an aromatic touch.
-
Vegan Upgrade: For a deeper umami flavor, add a splash of soy sauce or tamari to the brine, enhancing simplicity without any animal products.
-
Storage Tips: Don’t forget to refer to our guide on how to store and freeze refrigerator dill pickles for maximizing freshness, ensuring you enjoy every crisp bite!
Exploring these variations lets you personalize your pickle experience while indulging in a healthy, homemade treat!
Make Ahead Options
These Easy Refrigerator Dill Pickles are perfect for busy home cooks looking to streamline meal prep! You can prepare the brine and pack the jars with the cucumbers and spices up to 3 days in advance. Simply make the brine and let it cool before pouring it over the tightly packed vegetables. It's crucial to refrigerate the pickles right away to maintain their crispness and freshness. When you're ready to enjoy, just allow them to pickle for a minimum of 24 hours, though waiting 2-3 days will intensify their flavor. This way, you can whip up a batch in advance, ensuring you have delicious, homemade pickles on hand without any last-minute hassle!
What to Serve with Easy Refrigerator Dill Pickles
Nothing adds a crunchy, tangy kick to your meals quite like these vibrant pickles, perfect for brightening everyday dishes.
-
Fresh Garden Salad: The crispness of fresh vegetables paired with a tangy vinaigrette complements the bold flavors of the pickles beautifully. Toss in some seasonal produce for added color and nutrition.
-
Grilled Cheese Sandwich: The gooey, warm cheese with its crispy bread makes for a comforting meal. A bite of the pickle offers contrast, elevating each mouthful with its refreshing zing.
-
Pulled Pork Tacos: Flavorful and juicy pulled pork is enhanced by the cool crunch of refrigerator dill pickles, providing a delightful balance of textures and flavors in every bite. The pickles add an essential brightness that cuts through the richness of the pork.
-
Charcuterie Board: Arrange your pickles alongside cured meats and a variety of cheeses. Their tangy flavor cuts through the richness, making for a perfect party starter or casual snack.
-
Potato Salad: Refresh your classic potato salad by mixing in diced pickles. The added crunch and zip bring a whole new level to this familiar favorite, inviting each forkful to burst with flavor.
-
Sweet Tea: Sip on a glass of homemade sweet tea, its sweetness beautifully offsetting the tangy notes of the refrigerator dill pickles. This combo captures the essence of summer gatherings and laid-back days.
Expert Tips for Refrigerator Dill Pickles
-
Jar Prep: Use clean, sterilized jars to prolong freshness. Unclean jars can introduce bacteria, affecting the quality and safety of your refrigerator dill pickles.
-
Slice Smart: Cut cucumbers into thin chips for quicker brine absorption. Spears may take longer to pickle fully, so opt for thin slices for best flavor.
-
Brine Balance: Always measure your ingredients precisely to maintain a perfect balance of acidity and flavor in your brine for the refrigerator dill pickles.
-
Taste Testing: If you're unsure about sweetness, start with less sugar and gradually adjust to your preference, allowing the dill flavor to shine.
-
Storage Secrets: Keep your pickles refrigerated and make sure they’re sealed properly. These can last up to 90 days if stored correctly!
How to Store and Freeze Refrigerator Dill Pickles
Fridge: Keep your refrigerator dill pickles in a sealed jar in the fridge, where they will stay fresh for up to 90 days. Always check for any signs of spoilage before enjoying.
Make-Ahead: You can prepare these pickles up to a week in advance. As they sit, their flavors will deepen, making them even more delightful as a snack or side dish.
Serving: When serving your pickles, always use a clean utensil to avoid introducing bacteria, which can compromise their freshness.
Freezing: While refrigerator dill pickles are best enjoyed fresh, you can freeze the brine separately to use later. However, the cucumbers may lose their crunch after thawing, so enjoy them fresh for the ultimate texture!
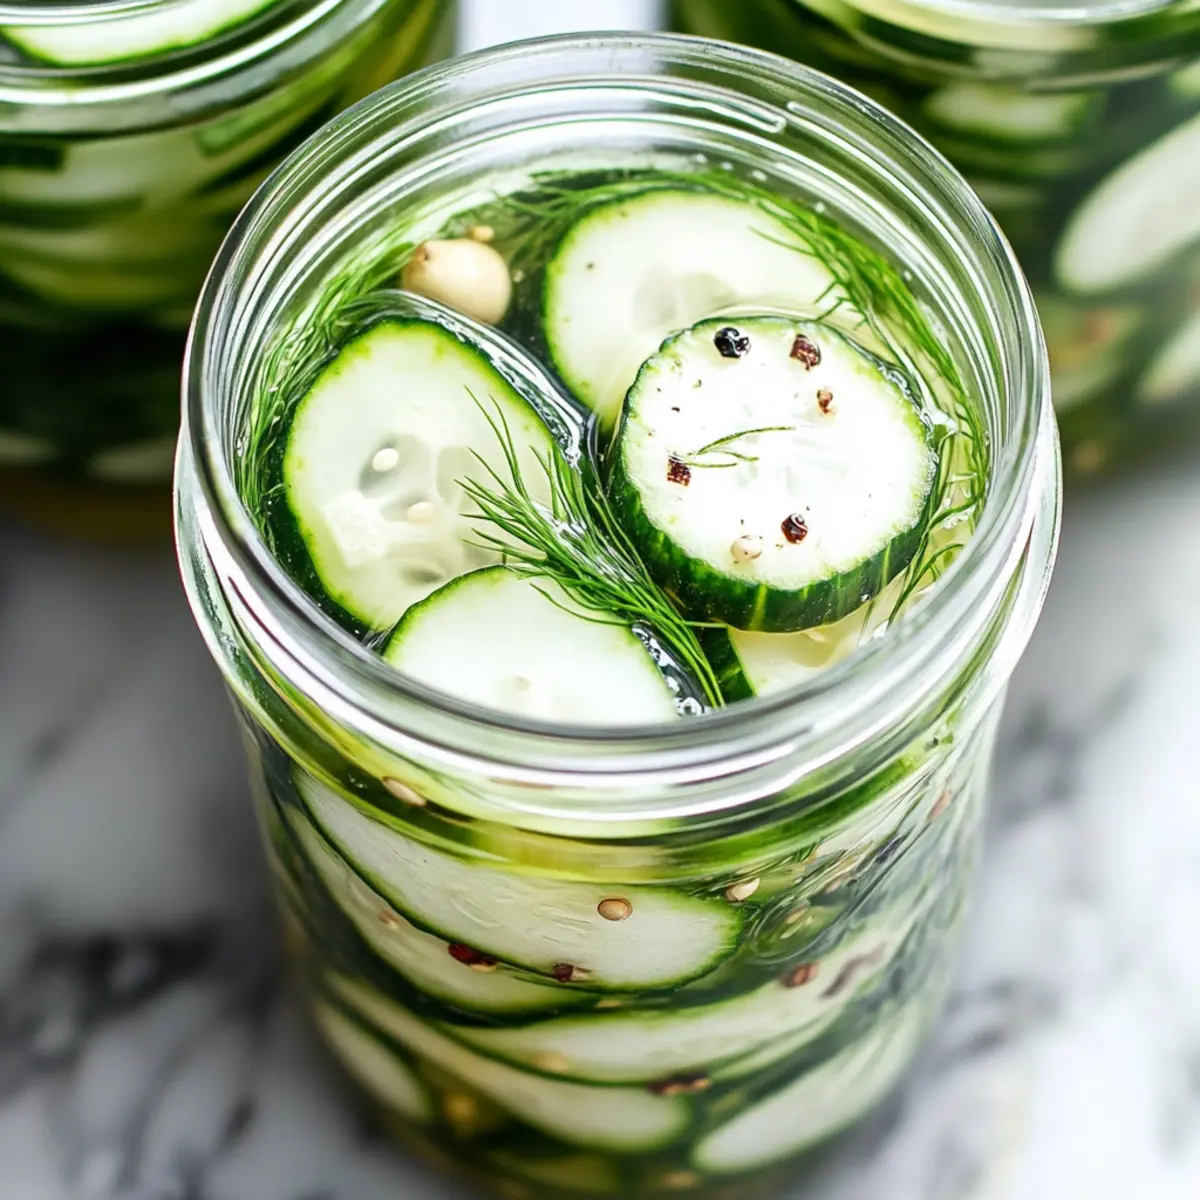
Refrigerator Dill Pickles Recipe FAQs
What cucumbers are best for pickling?
For the best results with your refrigerator dill pickles, use pickling cucumbers, which are small, crisp, and perfect for absorbing brine. Persian and English cucumbers can also be used, but make sure to avoid waxed cucumbers, as the wax can affect the brine's flavor and absorption.
How long can I store refrigerator dill pickles?
You can keep your refrigerator dill pickles in the fridge for up to 90 days, as long as they're properly sealed in a clean jar. Always check for any signs of spoilage, such as an off smell or discoloration, before enjoying to ensure they’re fresh and safe to eat.
Can I freeze refrigerator dill pickles?
While freezing refrigerator dill pickles is possible, it's not the ideal method for preserving their crunch. If you want to freeze them, it's best to freeze the brine separately and use fresh cucumbers later. However, keep in mind that once thawed, cucumbers often lose their crispy texture, so it's best to enjoy them fresh instead!
What can I do if my pickles are too salty or too sweet?
Absolutely! Adjusting the flavor of your refrigerator dill pickles is easy. If they're too salty, try adding a splash of water to the brine next time. For too much sweetness, reduce the sugar incrementally in future batches to suit your taste. Remember to take note of how much you adjust, so you can achieve that perfect balance next time!
Are refrigerator dill pickles safe for people with dietary restrictions?
Yes! Refrigerator dill pickles are a fantastic option for those with dietary restrictions as they are gluten-free and vegan. Just ensure that any additional ingredients you add, such as spices or sweeteners, also meet your dietary needs. If you’re concerned about allergies, always check labels for possible cross-contaminants.
How can I enhance the flavors of my refrigerator dill pickles?
The more the merrier! Feel free to experiment with additional flavorings like crushed red pepper flakes for a spicy kick, or add carrots, green beans, or even sliced radishes alongside your cucumbers for a vibrant and flavorful variety. Mixing up the spices like coriander seed or dill weed can add a delightful twist as well!
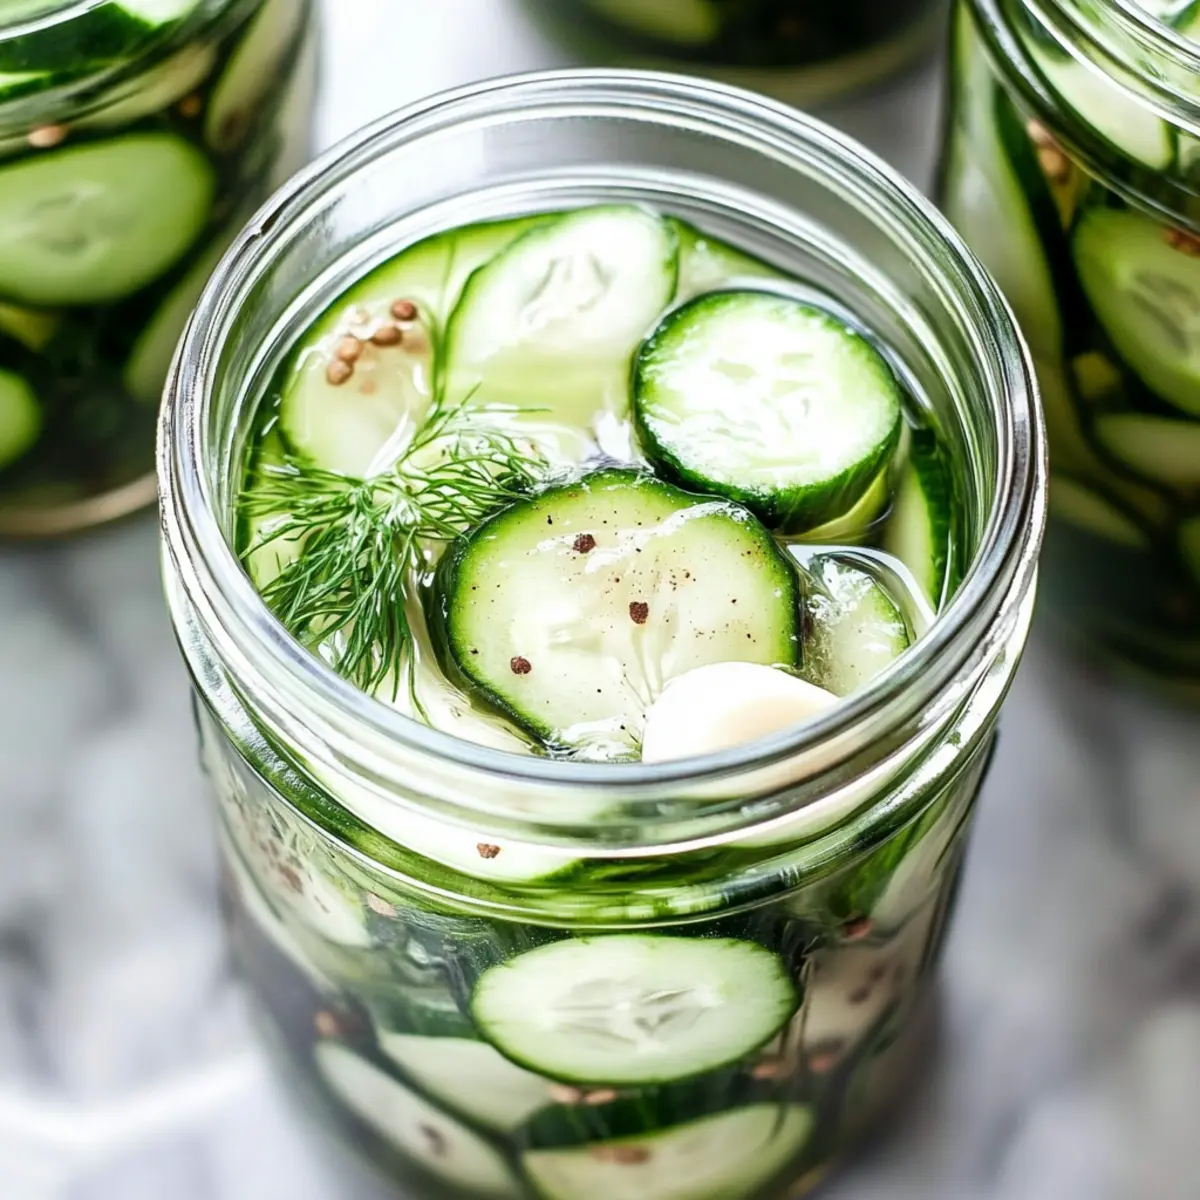
Crispy Refrigerator Dill Pickles You Can Make in a Day
Ingredients
Equipment
Method
- In a medium saucepan, combine 1 cup of white vinegar and 1 cup of water, then bring the mixture to a boil over medium-high heat.
- Once boiling, carefully add ¼ cup of white sugar and 2 tablespoons of salt, stirring until dissolved.
- Remove the brine from the heat and allow it to cool to room temperature, which will take about 15-20 minutes.
- While the brine cools, take clean quart-size mason jars and start packing them with sliced pickling cucumbers and onions, leaving about 1 inch of headspace at the top.
- Add smashed garlic cloves, fresh dill sprigs, whole black peppercorns, and optional mustard seeds for added flavor.
- Once the brine has cooled completely, carefully pour it over the packed vegetables in the jars, ensuring that all pieces are fully submerged.
- Secure the lids on the jars tightly, ensuring a proper seal. Place the jars in the refrigerator and let them chill for at least 24 hours.
- After waiting patiently, your Easy Refrigerator Dill Pickles are ready to enjoy!


Leave a Reply