
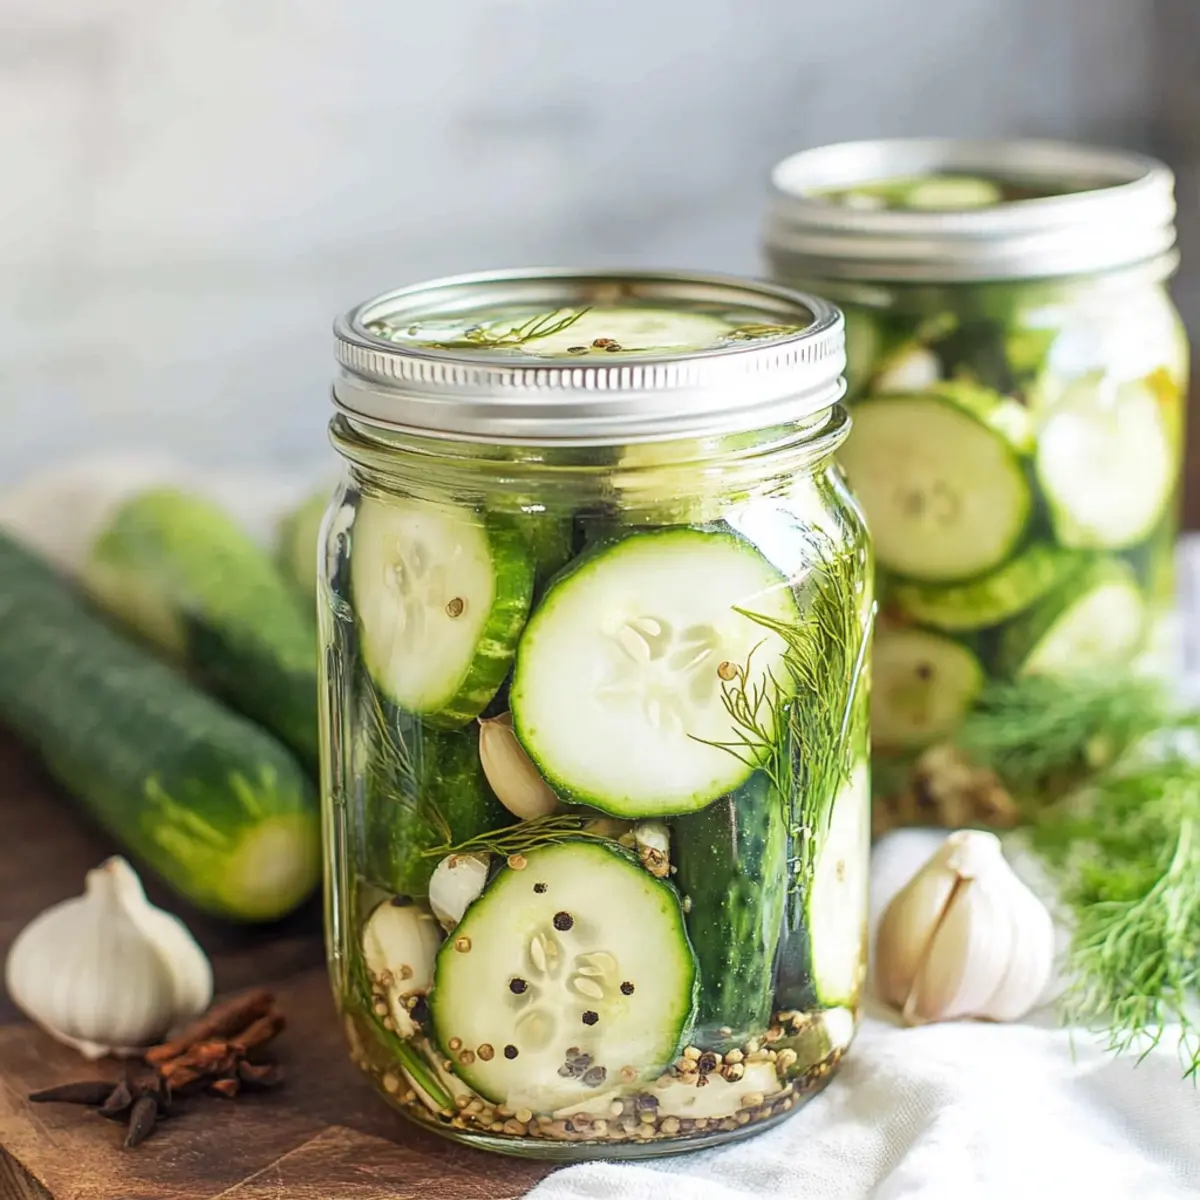
As I stood in my kitchen, the scent of garlic began to dance around me, instantly transforming my space into a cozy haven. There’s something special about making homemade pickles, especially when they’re as simple and delicious as these Garlic Dill Pickles. This easy refrigerator pickle recipe not only provides a satisfying crunch but also brings a bright, tangy flavor to your meals. With just a handful of fresh ingredients, you can create a snack that’s perfect for picnics, barbecues, or munching straight from the jar. Plus, they require minimal prep time, making them an effortless addition to your culinary repertoire. Are you ready to take a flavorful dip into the world of pickling? Let’s dive in!
Why Try Garlic Dill Pickles?
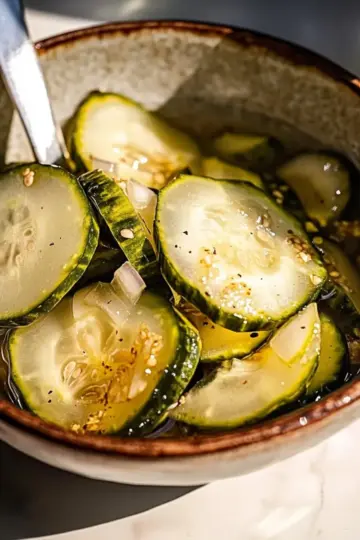
Fresh, Crunchy Flavor: These homemade Garlic Dill Pickles pack a delightful crunch with every bite. The bright, zesty flavor elevates your meals and snacks, whether alongside sandwiches or on charcuterie boards.
Quick and Simple: With just a handful of ingredients and minimal prep, you can whip up these pickles in no time, making meal prep a breeze.
Versatile Snack: Perfect for summer picnics or just munching straight from the jar, these pickles are a crowd-pleaser that everyone will love.
Long-lasting: Stored in the fridge, these pickles can last up to six weeks, making them a great make-ahead option for gatherings or family meals.
Experiment and Customize: Feel free to add your favorite spices or vegetables to personalize the flavor. Try pairing these with Garlic Butter Steak for a winning combo!
Garlic Dill Pickles Ingredients
For the Brine
- Water – This is the base for the brine and can be replaced with flavored stock for extra depth.
- White Vinegar – It provides acidity for flavor and preservation; you can use white wine vinegar as a substitution if desired.
- Pickling Salt – This enhances the flavor and is essential for the pickling process; avoid regular salt as it may cloud the brine.
For the Flavor
- Pickling Spice Blend – Adds complexity and flavor; remember to use 2 teaspoon per pint jar for a well-rounded taste.
- Garlic Cloves – These infuse a robust garlic flavor into the pickles; for a stronger taste, use 3 cloves per jar.
- Fresh Dill – This aromatic herb adds delightful notes; use 2-3 sprigs per jar for optimal freshness.
- Bay Leaf – Enhances flavor and aroma; include 1 per jar for a subtle yet effective background note.
For the Pickles
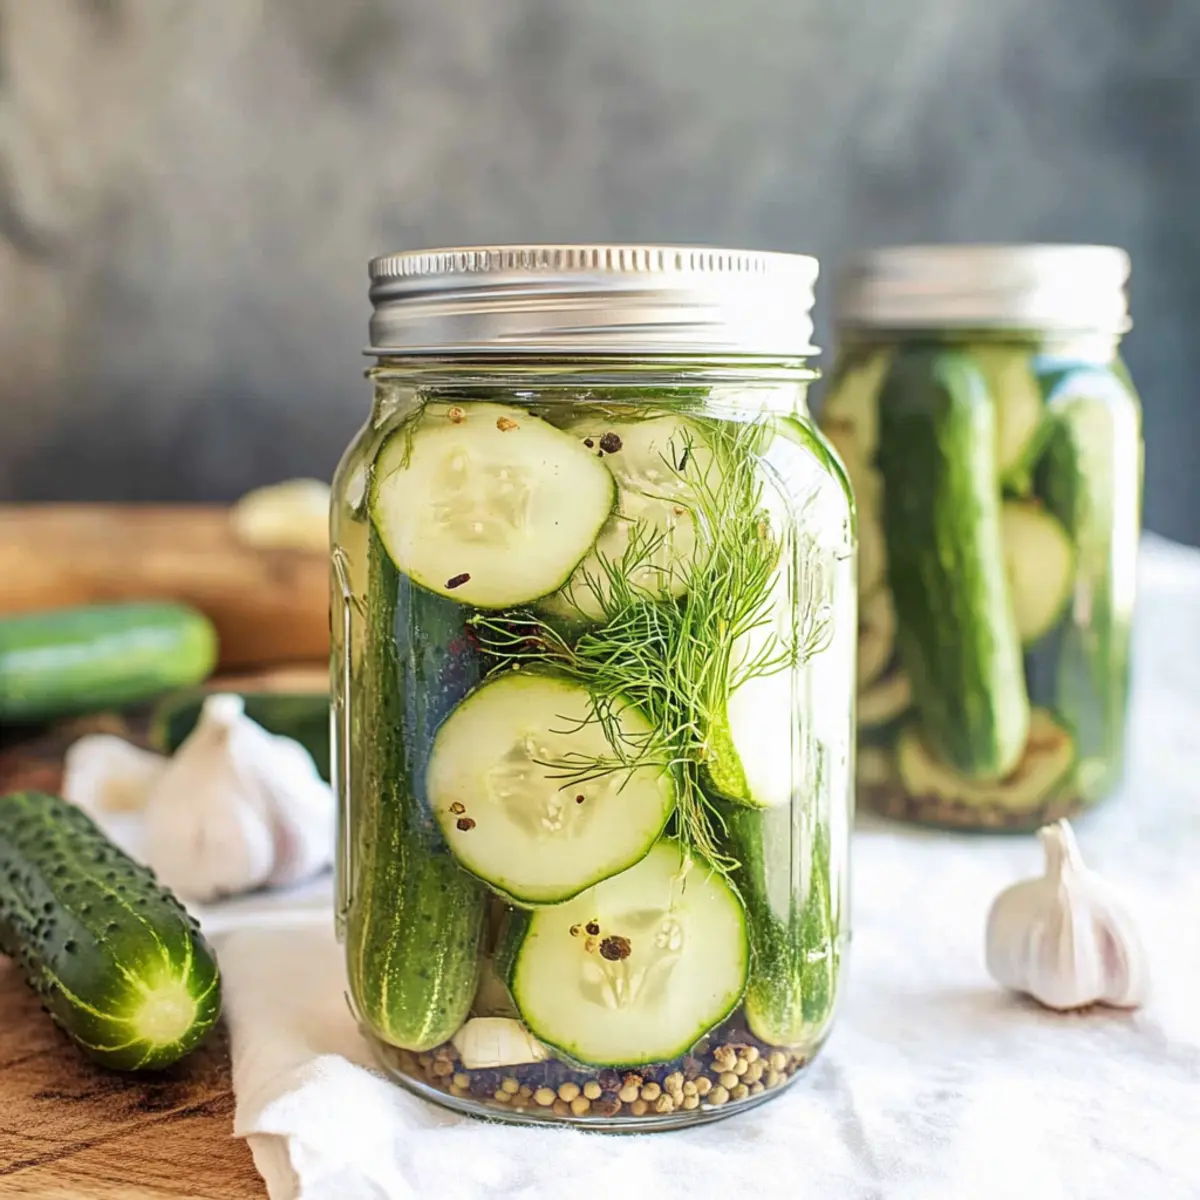
- Pickling Cucumbers – The main component providing crunch; use 10-12 small cucumbers, sliced or whole based on your preference.
Crafting these garlic dill pickles not only brings vibrant flavor to your meals but also adds a wonderful homemade touch to any gathering. Enjoy this simple, yet satisfying recipe!
Step‑by‑Step Instructions for Garlic Dill Pickles
Step 1: Prepare the Brine
In a medium saucepan, combine water, white vinegar, and pickling salt. Place the saucepan over medium heat and bring the mixture to a gentle boil. Stir continuously for 3–5 minutes, or until the salt has completely dissolved. Once dissolved, remove it from heat and allow the brine to cool for about 8-10 minutes.
Step 2: Pack the Jars
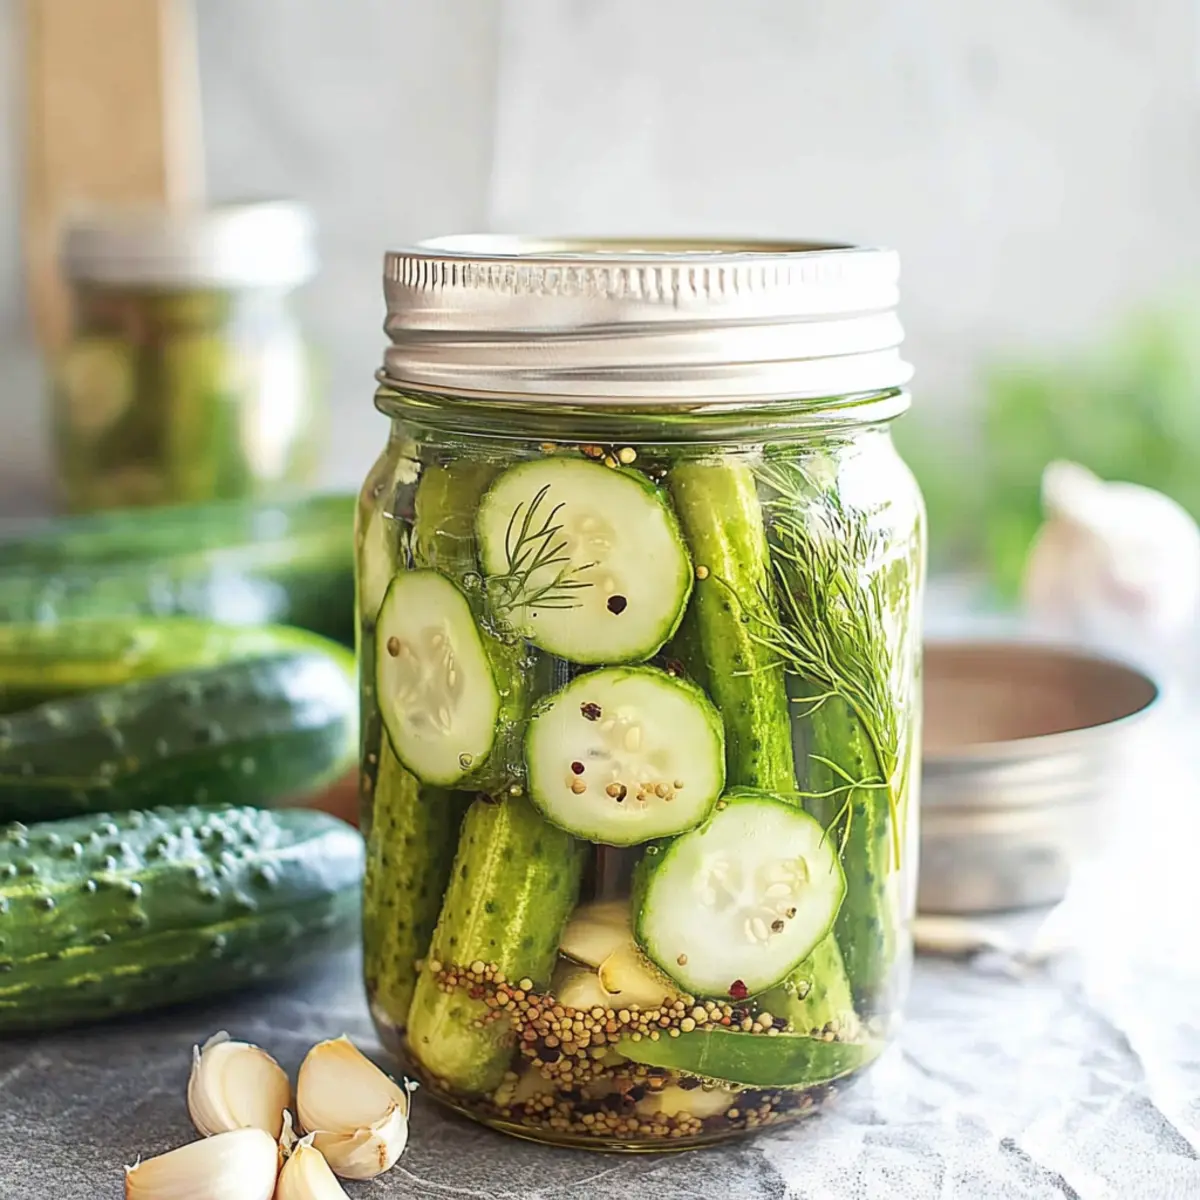
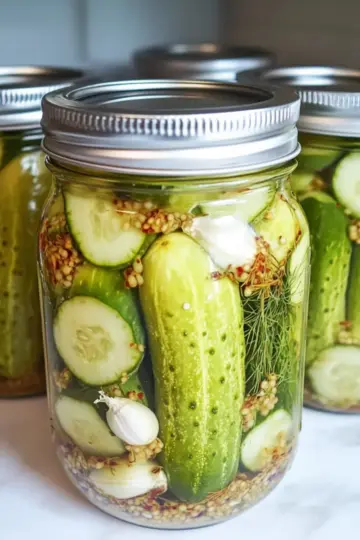
While the brine is cooling, take your wide-mouth pint jars and place 2 teaspoons of the pickling spice blend in each jar. Next, add 3 garlic cloves into each jar, followed by your pickling cucumbers—these can be whole or sliced, depending on your preference. Pack the cucumbers tightly but gently to make the most of your Garlic Dill Pickles.
Step 3: Add Fresh Herbs
With your jars filled with cucumbers, now it's time to introduce some freshness. Carefully insert 2–3 sprigs of fresh dill down the sides of each jar, followed by a bay leaf. This will infuse a lovely aroma and flavor into your pickles while they cure, ensuring your Garlic Dill Pickles are deliciously zesty.
Step 4: Pour the Brine
Once the brine has cooled completely, it's time to bring everything together. Pour the brine over the packed cucumbers in each jar, leaving about ¼ inch of headspace at the top to allow for expansion. Make sure all the cucumbers are submerged in the brine for optimal flavor infusion.
Step 5: Seal and Refrigerate
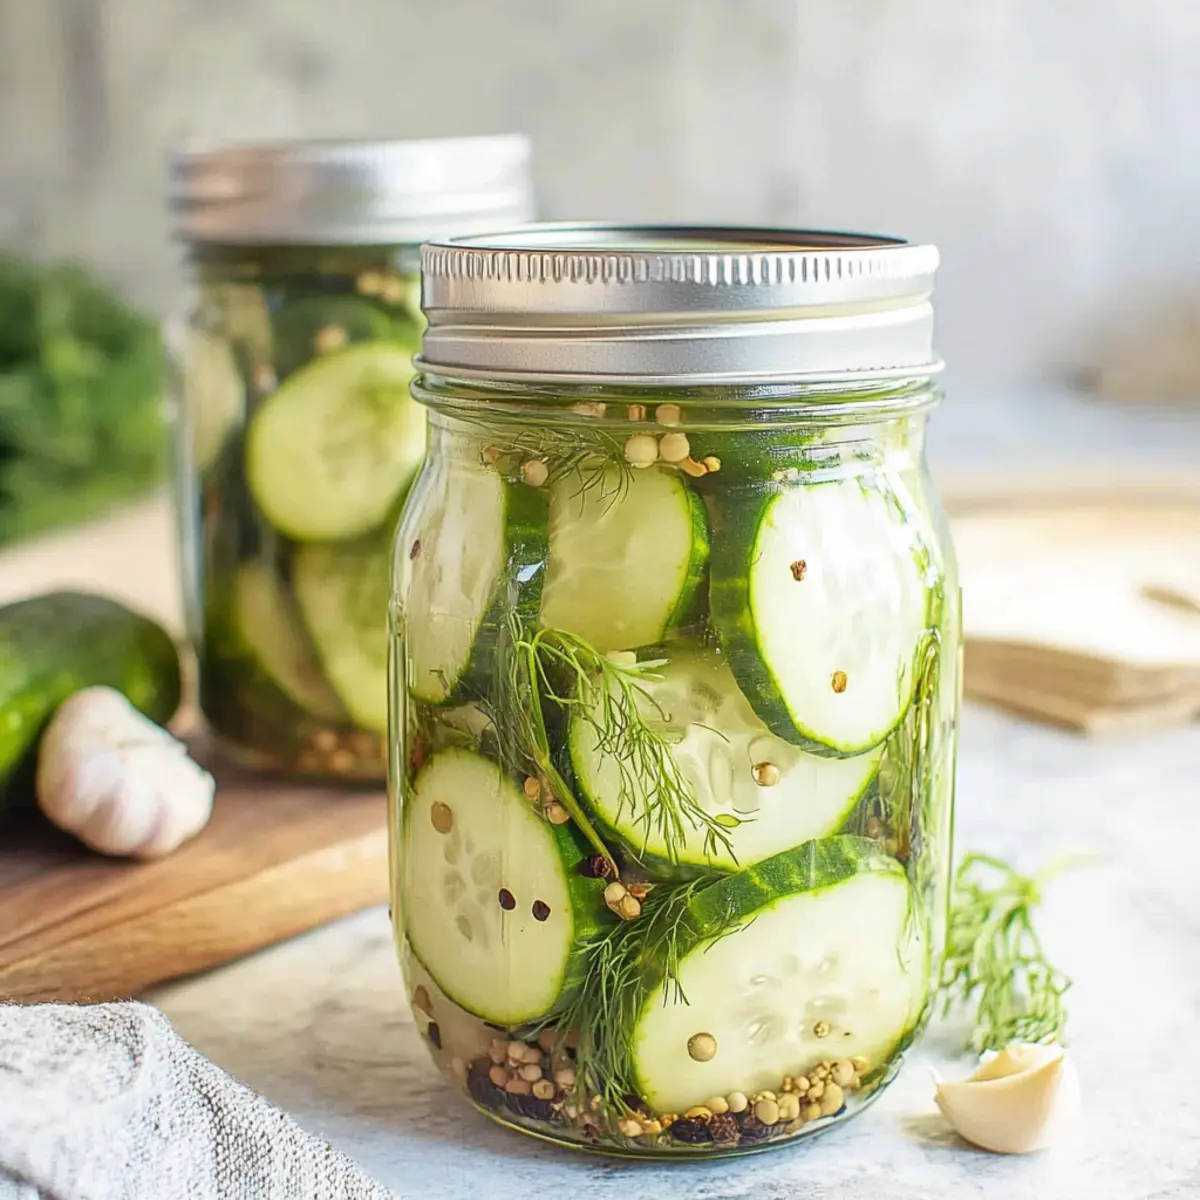
After pouring in the brine, securely seal each jar with its lid. Place the jars in the refrigerator promptly to cool and allow them to cure. For the best flavor, let your Garlic Dill Pickles sit for at least 2-3 days before enjoying them, although they can be stored in the fridge for up to 4–6 weeks.
How to Store and Freeze Garlic Dill Pickles
Fridge: Store your Garlic Dill Pickles in the refrigerator for up to 4-6 weeks, ensuring the jars are tightly sealed to maintain their fresh crunch and flavor.
Airtight Containers: If you want to keep your pickles for longer, transfer them to airtight containers, which can help preserve their deliciousness and prevent spoilage.
Refrigerator Method: For best results, allow the pickles to cure for at least 2-3 days before tasting, as this helps to enhance the tangy flavor you crave.
Freezing: Freezing is not recommended for Garlic Dill Pickles, as this can compromise their crunchy texture. Stick to refrigeration for optimal enjoyment!
Make Ahead Options
These Garlic Dill Pickles are a fantastic choice for busy home cooks looking to save time! You can prepare the brine up to 24 hours ahead, allowing the flavors to meld beautifully. Just boil the water, vinegar, and pickling salt together, let it cool, and store it in the refrigerator until you're ready to pack your jars. The cucumbers can also be sliced and prepped, ready to go. When it's time to serve, simply pack the cucumbers into the jars, add your spices and herbs, pour over the brine, and seal. With a curing time of 2-3 days, you'll have deliciously crisp Garlic Dill Pickles, perfect for enhancing meals and snacks without the last-minute rush!
What to Serve with Garlic Dill Pickles?
Creating the perfect meal is all about those delightful pairings that elevate the experience and bring everything together.
-
Creamy Potato Salad: This classic side adds a rich, smooth texture that contrasts beautifully with the crunchy pickles.
-
Grilled Burgers: Juicy, savory burgers benefit from the bright tanginess of garlic dill pickles, cutting through the richness.
-
Charcuterie Board: Variety is key! Combine meats, cheeses, and fruit with your pickles for a colorful, inviting spread that entertains the senses.
-
Pulled Pork Sandwiches: The pickles provide a crisp contrast to the tender, smoky meat, balancing flavors in every bite.
-
Cold Pasta Salad: The zesty flavors of garlic dill pickles will brighten up a pasta dish, making it refreshing and satisfying.
-
Baked Chicken Wings: The tangy crunch of the pickles is the perfect companion to savory wings, enhancing the overall flavor.
-
Crispy Tacos: Add a few slices of pickles to your tacos for an unexpected twist that adds zing to every mouthful.
-
Soda or Sparkling Water: Refreshing drinks help cleanse your palate, complementing the pickled brightness with each sip.
Expert Tips for Garlic Dill Pickles
Ensure Brine Cool: Let the brine cool completely before pouring over cucumbers to prevent overcooking and maintaining crunch.
Use Fresh Ingredients: Fresh cucumbers and herbs yield the best flavor; avoid wilted produce for truly delightful Garlic Dill Pickles.
Don't Skip the Salt: Use pickling salt for optimal results; regular salt can cloud your brine and affect the pickling process.
Tight Packing: Pack the cucumbers snugly in jars but don’t overstuff; this ensures even brine distribution for delicious flavor.
Taste Before Storing: Always taste the packed mixture before sealing; adjust garlic or spice levels to suit your personal preferences.
Garlic Dill Pickles Variations & Substitutions
Feel free to get creative with your Garlic Dill Pickles and add some delightful twists to this classic recipe!
-
Dairy-Free Swap: Replace garlic cloves with roasted garlic for a milder, sweeter flavor that still packs a punch. Each jar will taste uniquely delicious!
-
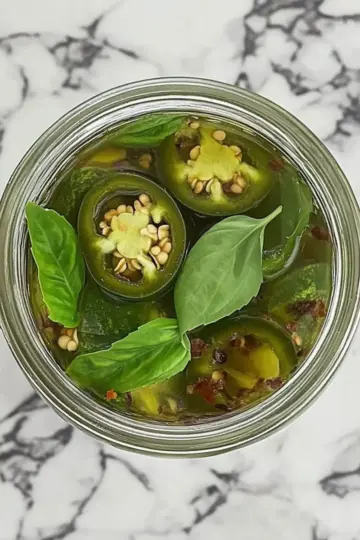
Herb Medley: Exchange fresh dill with tarragon or thyme for a fragrant flavor twist. This alteration adds an unexpected depth to your pickles, elevating your taste experience.
-
Add Heat: Include a few sliced jalapeños or crushed red pepper flakes for a spicy kick. It will transform your pickles into a bold snack that’s sure to excite!
-
Vegetarian-Friendly: Swap out pickling cucumbers for zucchini or carrots for crunchier, colorful alternatives. These vegetable variations offer a fun way to mix up flavors and textures!
-
Sweet-and-Sour: Add a tablespoon of sugar to the brine for a touch of sweetness, balancing the tanginess while creating a deliciously different pickle. You’ll adore the sweet aftertaste that lingers!
-
Fermentation Twist: Leave out the vinegar and let the cucumbers ferment in a saltwater brine for a probiotic-rich alternative. This method provides a tangy flavor while also offering health benefits.
-
Make It a Salad: Use pickling spice to dress vegetables like green beans or radishes instead of cucumbers. You’ll create a bright, crunchy salad that pairs beautifully with meals.
For a more garlic-infused treat, try serving these zingy pickles alongside Cheesy Garlic Chicken or as a crunchy contrast to Old Bay Garlic. Explore endless possibilities with these Garlic Dill Pickles!
Garlic Dill Pickles Recipe FAQs
What type of cucumbers should I use?
For the best results, use pickling cucumbers, which are smaller and firmer than regular cucumbers. They have a thick skin and a crisp texture, making them perfect for picking. You can choose to slice them or leave them whole based on your preference!
How should I store my Garlic Dill Pickles?
Store your Garlic Dill Pickles in the refrigerator for up to 4-6 weeks. Make sure the jars are tightly sealed to keep them crispy and flavorful. If you want to extend their freshness, consider transferring them to airtight containers to further prevent spoilage!
Can I freeze Garlic Dill Pickles?
Freezing is not recommended for Garlic Dill Pickles, as it can ruin their crunchy texture. Instead, keep them in the refrigerator to enjoy their delightful crispness and tangy flavor. Stick to refrigeration for the best delectable experience!
What if my pickles are too soft?
If your pickles turn out too soft, it could be due to a few reasons, such as using overripe cucumbers or not maintaining the right pickling salt ratio. To troubleshoot, ensure you're using firm, fresh cucumbers and the correct type of salt. Always try to pack the cucumbers tightly but gently in the jars to avoid damage while they cure.
Can I adjust the garlic or spice levels in the recipe?
Absolutely! One of the joys of making your own Garlic Dill Pickles is the ability to customize them to your taste. Before sealing the jars, take a moment to taste the brine and adjust the garlic or spices to your liking. Add more garlic cloves or spices for a bolder flavor, or try different herbs if you’d like to get creative!
How long do I need to wait before eating my pickles?
While you can technically enjoy your Garlic Dill Pickles after just one day of curing, waiting for at least 2-3 days will significantly enhance their flavor and overall crunch. The longer they sit, the more the flavors meld together, creating that perfect balance of zesty goodness!
Garlic Dill Pickles: Crunchy, Zesty Homemade Delights
Ingredients
Equipment
Method
- In a medium saucepan, combine water, white vinegar, and pickling salt. Place over medium heat and bring to a gentle boil, stirring until the salt dissolves. Remove from heat and let cool for 8-10 minutes.
- While the brine cools, place 2 teaspoons of pickling spice in each wide-mouth pint jar. Add 3 garlic cloves to each jar, followed by the pickling cucumbers. Pack tightly but gently.
- Insert 2-3 sprigs of fresh dill and 1 bay leaf into each jar to infuse flavor.
- Pour the cooled brine over the packed cucumbers in each jar, leaving ¼ inch of headspace.
- Seal each jar and refrigerate immediately. Let sit for at least 2-3 days for the best flavor.
Leave a Reply