
As I was drizzling a flavorful concoction over my homemade pizza one night, a warm wave of spice and richness enveloped my senses. That’s when I realized how transformative a simple infusion can be. This Chili Spiced Homemade Olive Oil takes just minutes to prepare and will elevate all of your meals, making it the perfect companion for pizza, roasted veggies, or even as a zesty dip for crusty bread. But it’s not just about flavor; this tasty oil also offers health benefits like heart health and improved circulation, thanks to the rich properties of olive oil and a hint of chili heat. So, are you ready to add a gourmet touch to your cooking routine? Let’s dive into this delicious recipe!
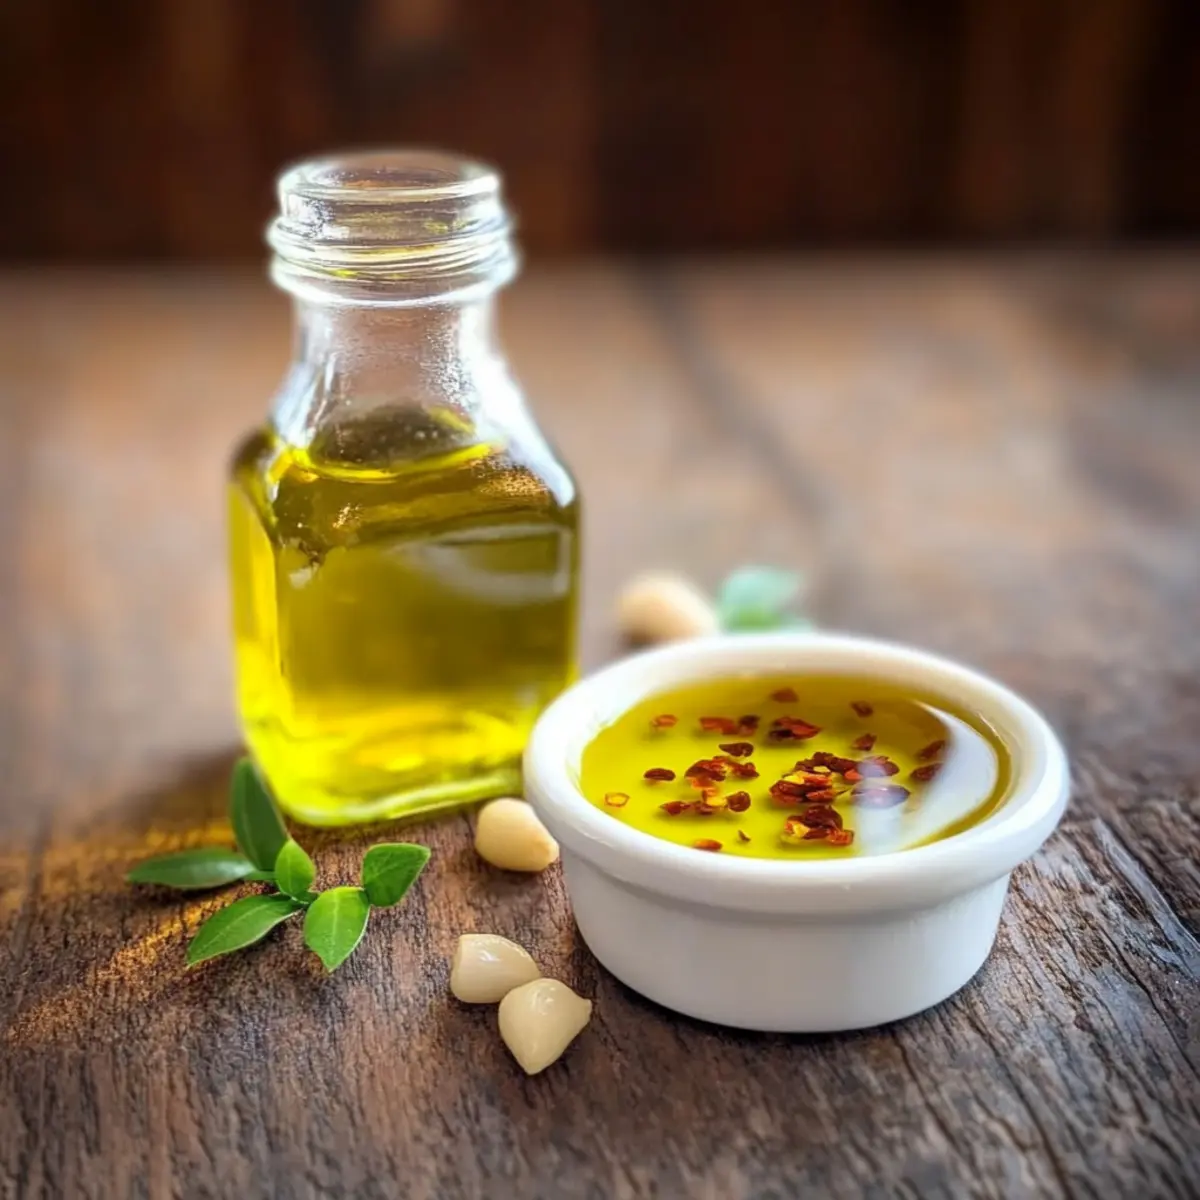
Why Is This Spicy Olive Oil Special?
Versatile Addition: This chili spiced homemade olive oil can elevate any dish, from pasta to grilled meats, doubling as a dip for fresh bread.
Health Benefits: Packed with heart-healthy fats, this oil not only enhances flavor but also supports wellness with its anti-inflammatory properties.
Customizable Spice Level: Adjust the chili flakes to create your own heat masterpiece, catering to every palate!
Easy to Make: With just a few ingredients and minimal prep, you can craft this gourmet oil in minutes.
Delicious Gift Idea: Present it in a lovely bottle for friends or foodies; it makes a thoughtful homemade gift.
For more ways to spice up your meals, check out my Pickle Brine Essentials for creative condiment ideas!
Chili Spiced Homemade Olive Oil Ingredients
For the Infusion
• Olive Oil – Use cold-pressed extra virgin olive oil for the richest flavor and best quality.
• Chili Flakes – The key player for that wonderful heat; use more or less depending on your spice preference.
• Garlic Granules – They add a savory essence; consider fresh garlic for an extra punch.
• Salt – Enhances the overall taste; opt for sea salt or kosher salt for texture and flavor.
For a little extra flair, consider infusing additional herbs or spices as you experiment with your chili spiced homemade olive oil. Enjoy the creative journey!
Step‑by‑Step Instructions for Chili Spiced Homemade Olive Oil
Step 1: Combine Ingredients
In a pint jar, add approximately 2 tablespoons of chili flakes, 1 tablespoon of garlic granules, and 1 teaspoon of salt. This mixture will serve as the flavor foundation of your chili spiced homemade olive oil. Stir the dry ingredients thoroughly with a small spoon to distribute them evenly, ensuring that the garlic granules break apart for an even infusion.
Step 2: Add Olive Oil
Pour high-quality, cold-pressed extra virgin olive oil into the jar, filling it to the top while leaving a small space (about an inch) at the top. This gap allows for expansion and mixing of flavors. As you fill the jar, watch for the vibrant colors and flecks of your chili flakes and garlic granules invitingly settling below the golden olive oil.
Step 3: Mix Well
Tightly seal the jar with its lid and shake vigorously for about 30 seconds to ensure all the ingredients are well combined. You should see the oil turn slightly more colorful with the chili flakes and garlic granules suspended throughout. This initial shake is crucial for melding the flavors of your chili spiced homemade olive oil right from the start.
Step 4: Infuse Flavors
Place the jar in a cool, dark area of your kitchen, allowing it to infuse for at least two weeks. During this time, occasionally shake the jar each day to further enhance the infusion process. You'll notice the oil’s color intensifying as the ingredients blend harmoniously, creating a rich and aromatic mixture.
Step 5: Taste Test
After two weeks, unscrew the lid and carefully taste a small amount of the infused oil. If you seek more heat, consider adding another teaspoon of chili flakes and shaking again. If it’s too spicy, simply add a little extra olive oil to mellow the spice down, ensuring the perfect balance for your palate.
Step 6: Store and Serve
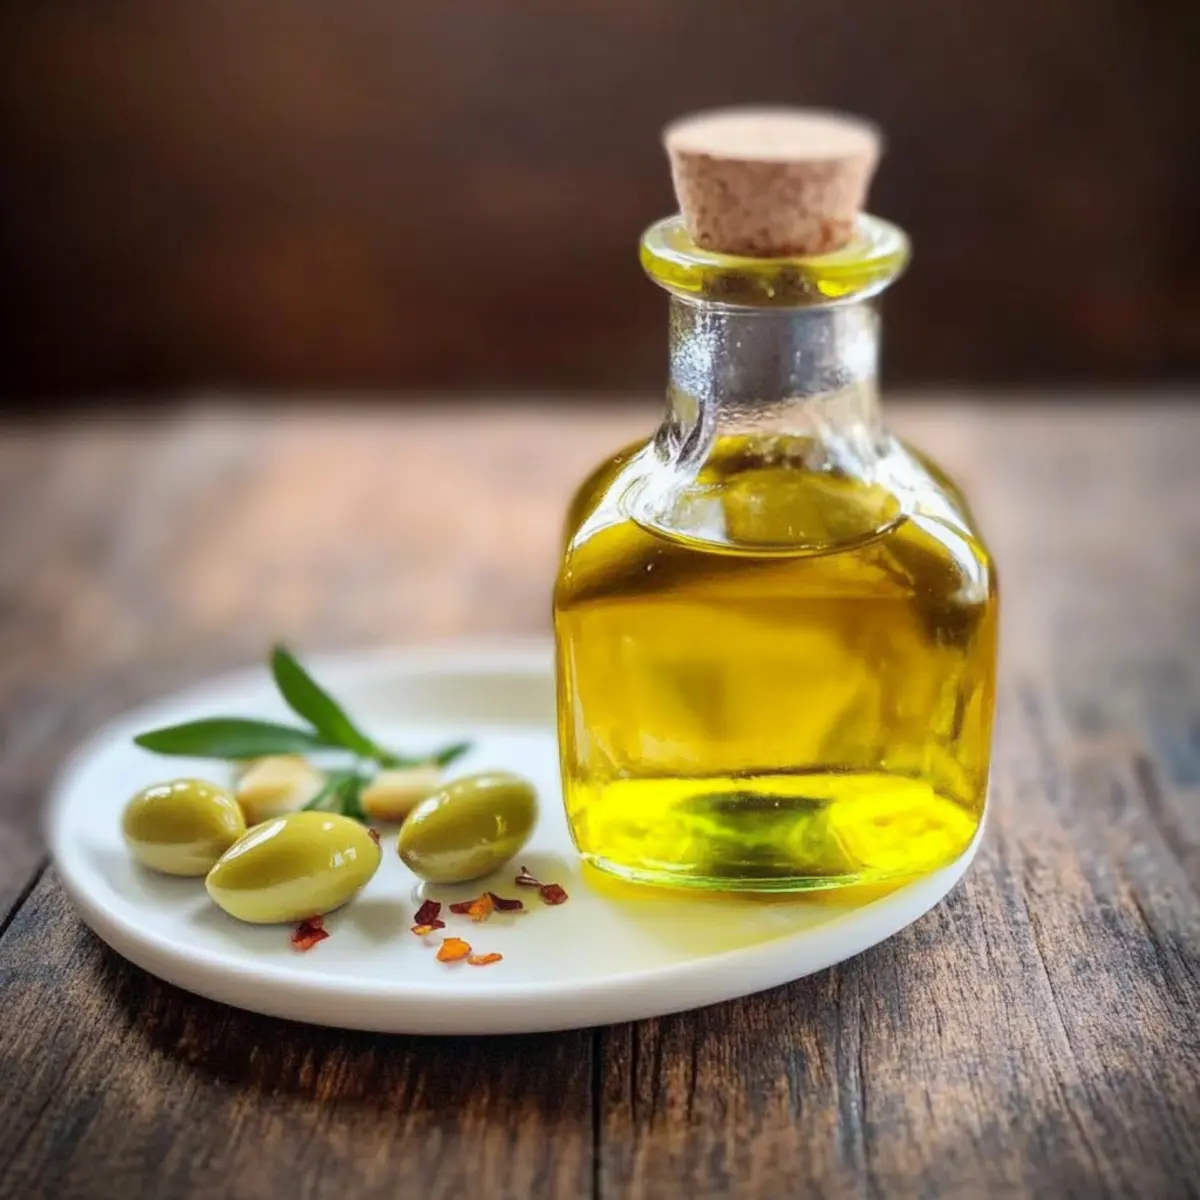
Once satisfied with the flavor, transfer your chili spiced homemade olive oil into a decorative, corked bottle for easy serving. You can either leave the chili flakes in for visual appeal or strain them out for a cleaner look. Store the infused oil in a cool, dark place, where its vibrant flavor will last for 1-2 months.
Expert Tips for Chili Spiced Homemade Olive Oil
• Quality Matters: Use cold-pressed extra virgin olive oil to ensure you're getting the best flavor and health benefits in your chili spiced homemade olive oil.
• Adjust Spice Carefully: Start with a moderate amount of chili flakes; it's easier to add more later than to tone down the heat if you've gone too far.
• Infusion Time: Allowing the oil to infuse longer enhances flavor development, but if you're short on time, even a week can make a difference.
• Shake Daily: Don't forget to shake your jar daily during the infusion process to help the flavors meld together seamlessly.
• Storage Savvy: Store your infused oil in a cool, dark place to maintain its vibrant flavor and ensure it lasts up to 1-2 months.
• Customize Further: Don’t hesitate to add herbs or spices to your chili spiced homemade olive oil for a unique twist that reflects your personal taste!
Variations & Substitutions for Chili Spiced Homemade Olive Oil
Feel free to explore these enticing variations and let your creativity shine through in your spice infusion!
-
Different Chili Flakes: Switch to Aleppo pepper for a subtle heat and a fruity flavor that enhances the oil’s aroma.
-
Herbal Infusions: Try adding fresh rosemary or thyme during infusion for an earthy touch that complements the spiciness beautifully. The herbs will infuse their essence into the oil, creating a Mediterranean masterpiece.
-
Smoky Flavor: Incorporate smoked paprika for a smoky twist that brings a barbecue flair to your dishes. This addition creates a tantalizing blend that’s perfect for dipping grilled meats.
-
Garlic Boost: Use fresh minced garlic instead of garlic granules for a more robust aromatic punch. Fresh garlic will offer a sharper, zestier profile, enhancing your cooking even more!
-
Combine Heat Sources: Mix cayenne pepper with chili flakes for a hot and vibrant oil. Adjust the ratio to match your heat tolerance—this variation is great for spicy food lovers.
-
Citrus Zest: Add a few strips of orange or lemon zest to the infusion for a zesty kick that brightens up your oil. The citrus notes will add a refreshing twist, perfect for summer salads.
-
Infusion Alternatives: Try using avocado oil instead of olive oil for a different flavor profile while keeping healthy fats in play. This swap creates a smoother texture and nutty taste.
For even more exciting ideas, don’t forget to check out my Spiced Brussels Sprouts for delicious seasonal recipes that can partner beautifully with your infused oil!
How to Store and Freeze Chili Spiced Homemade Olive Oil
Cool, Dark Place: Store your chili spiced homemade olive oil in a cool, dark cabinet or pantry to preserve its vibrant flavor and freshness for up to 1-2 months.
Airtight Seal: Use an airtight bottle or jar to minimize exposure to air and keep your oil at its best. A corked bottle not only looks great but also helps maintain quality.
Avoid Direct Sunlight: Keep your infused oil away from direct sunlight, which can degrade its flavor and health benefits over time.
Refrigeration Option: If you want to extend its shelf life even further, consider refrigerating the oil, but note that it may thicken. Just let it come to room temperature before use!
Make Ahead Options
Making this Chili Spiced Homemade Olive Oil ahead of time is a beautiful way to streamline your meal planning and save precious minutes in the kitchen! You can prepare the infusion up to 2 weeks in advance—a perfect fit for busy weeknights. Simply combine the chili flakes, garlic granules, and salt in a jar, add the olive oil, and shake well. To maintain the oil’s vibrant flavors, shake it daily during the infusion process. Once it’s reached your desired spice level, you can store the oil in a decorative bottle and leave the chili flakes in for added flair. When you're ready to serve, just drizzle it over your favorite dishes for an immediate flavor boost!
What to Serve with Chili Spiced Homemade Olive Oil
Elevate your meals with delightful pairings that enhance the vibrant flavors of this spicy oil infusion.
- Crusty Bread: Perfect for dipping, the chewy texture of baguette or ciabatta soaks up the spicy richness beautifully.
- Roasted Vegetables: Drizzle over seasonal veggies, like asparagus or tomatoes, to add a warm kick and complement the natural sweetness.
- Simple Green Salad: Toss your greens in this olive oil for a zesty dressing that brings freshness to every bite.
- Grilled Meats: Use it as a marinade or finishing oil on grilled chicken or steak—adding mouthwatering intensity to each slice.
- Pasta Dishes: Toss it into your favorite pasta recipe for a dash of heat, elevating comforting dishes to gourmet delights.
- Pizza Perfection: Drizzle over homemade or store-bought pizza, transforming a simple meal into a flavor-packed experience.
- Hummus Delight: Mix into hummus or other dips to introduce a surprising depth that excites your palate.
- Dessert Pairing: For the adventurous, try it drizzled over vanilla ice cream for a unique and unexpected treat that balances sweet and spicy.
- Wine Selection: Pair with a crisp white wine or a light-bodied red to complement the rich notes of the oil and the heat of the spices.
- Cheese Plate: Serve alongside a mix of cheeses; the spicy olive oil will cut through the richness and spark refreshing contrasts.
Chili Spiced Homemade Olive Oil Recipe FAQs
How do I choose the right olive oil for my chili spiced homemade olive oil?
Absolutely! For the best flavor, look for cold-pressed extra virgin olive oil. This type retains the rich, fruity notes and health benefits that you'll want in your infusion. It's the quality of the oil that makes your concoction truly special and worth savoring!
How long can I store my chili spiced homemade olive oil?
For optimal freshness, store your infusion in a cool, dark place, and it should last about 1-2 months. I always recommend tasting it before use to ensure the flavors are still bright and satisfying.
Can I freeze my chili spiced homemade olive oil?
Yes, you can freeze your chili spiced homemade olive oil for longer storage! To do this, pour the oil into ice cube trays and freeze until solid. Once frozen, transfer the cubes into a freezer bag or airtight container. They can last for up to 3 months! Just let the cubes thaw at room temperature before using them in your recipes.
What should I do if my infused oil is too spicy?
Very! If your oil turns out spicier than you'd like, simply add more olive oil to dilute it until it reaches your preferred heat level. Another option is to use a small amount of sugar or honey, which can help balance excessive heat without sacrificing flavor.
Are there any dietary considerations I should be aware of with flavored olive oil?
Absolutely! If you're sharing your chili spiced homemade olive oil with family or friends, keep in mind that some people may have allergies to garlic or specific types of chili peppers. Always ask about dietary restrictions and consider labeling the bottle for safety.
How can I enhance the flavor of my chili spiced homemade olive oil?
For a unique twist, try adding fresh herbs like rosemary or thyme during the infusion process. You can also experiment with different types of chili flakes, such as smoked paprika or Aleppo pepper, for varied heat and flavor. Just remember to shake the jar daily to help those flavors blend beautifully!
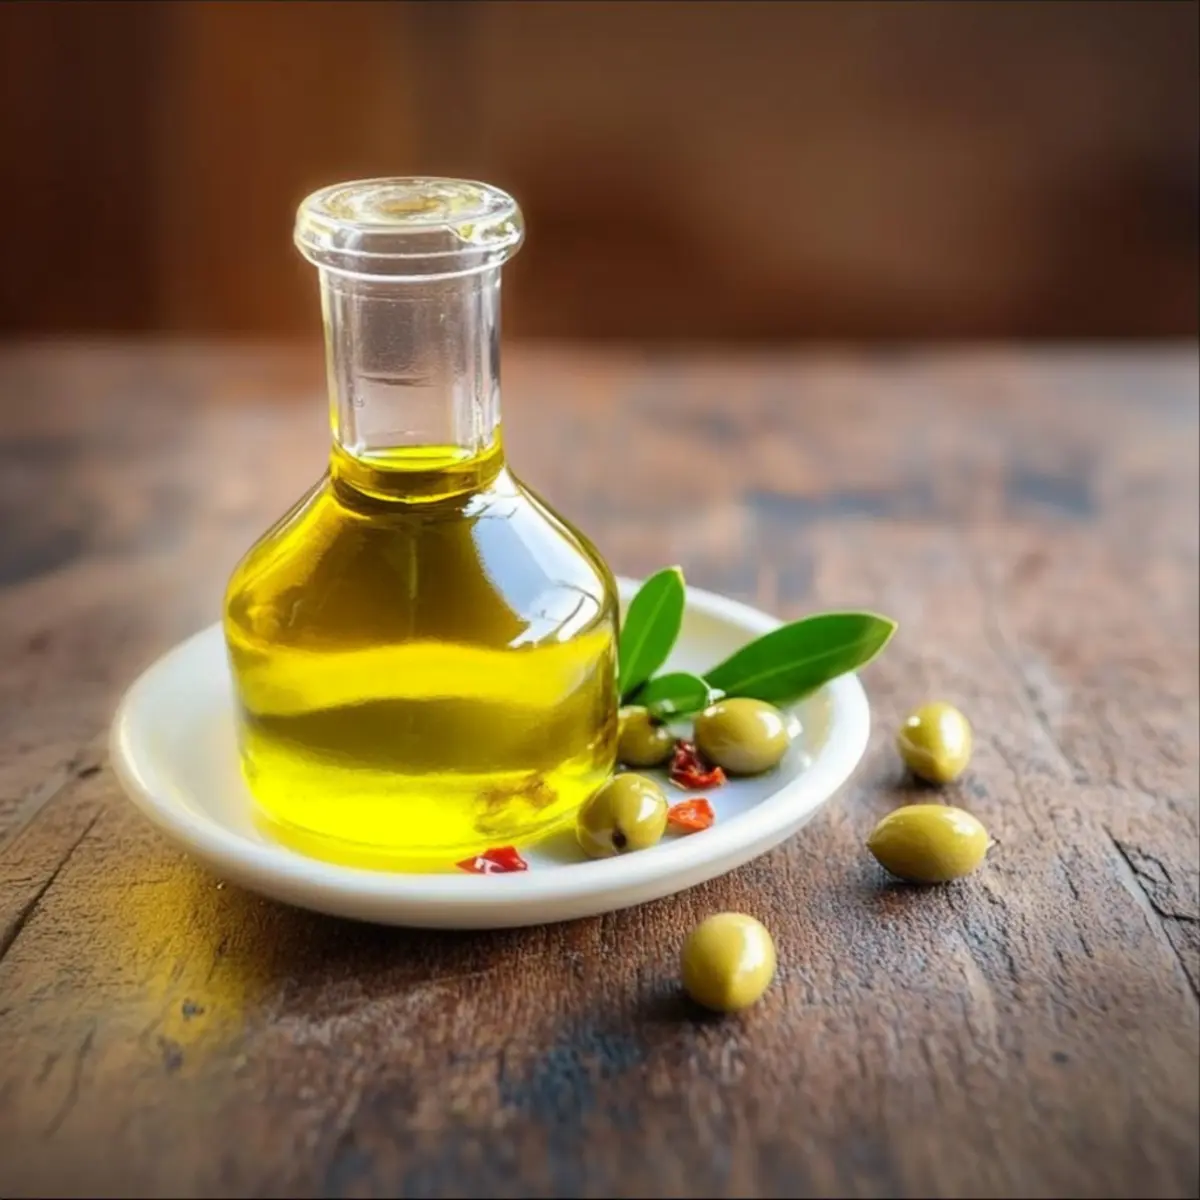
Chili Spiced Homemade Olive Oil for Zesty Flavor Boost
Ingredients
Equipment
Method
- In a pint jar, add chili flakes, garlic granules, and salt. Stir to combine ingredients thoroughly.
- Pour olive oil into the jar, filling it to the top while leaving an inch of space.
- Seal the jar tightly and shake vigorously for about 30 seconds to mix the ingredients.
- Place the jar in a cool, dark area and allow to infuse for at least two weeks, shaking daily.
- After two weeks, taste the oil. Adjust heat by adding more chili flakes or olive oil based on taste.
- Transfer infused oil into a decorative bottle for serving. Store in a cool, dark place.


Leave a Reply