
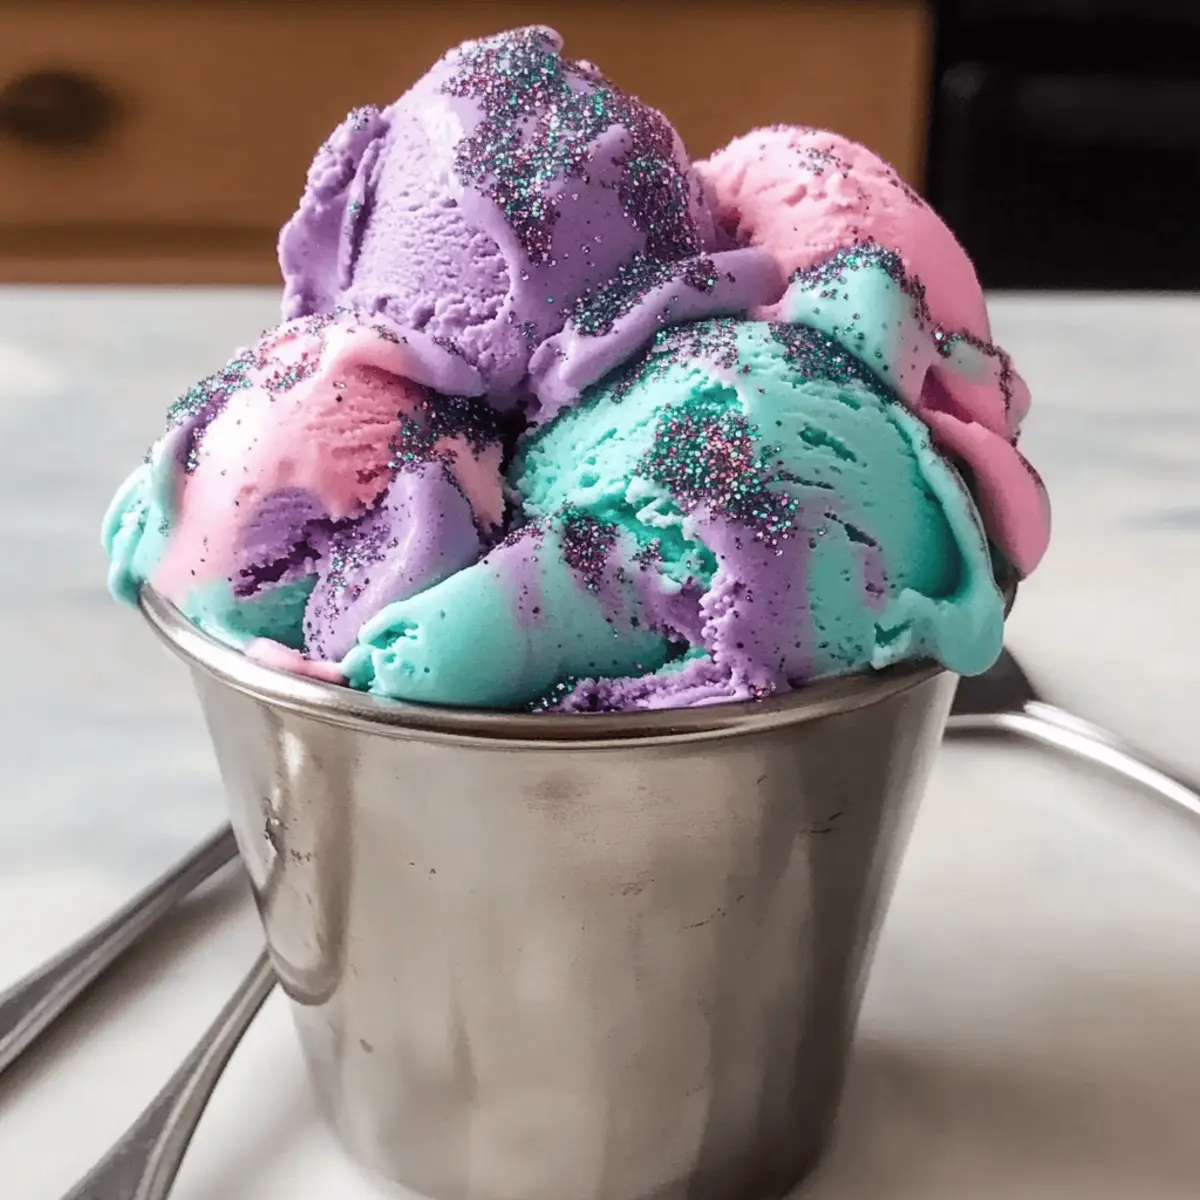
The vibrant, swirling colors of Mermaid Ice Cream transport me to sun-kissed shores and whimsical seas. This no-churn dessert is perfect for adding a splash of fantasy to any celebration, making it the ultimate crowd-pleaser that kids and adults alike can’t resist. With just a handful of ingredients and minimal kitchen fuss, you can whip up a fluffy, dreamy treat that dazzles not only the taste buds but also the eyes. Plus, the customization opportunities are endless—whether you opt for pastel ocean hues or brighter, bolder colors, each scoop feels like a trip under the sea. Are you ready to dive into this magical recipe that’s bound to be the highlight of your next gathering?
Why is Mermaid Ice Cream a Must-Try?
Enchanting Colors: The vibrant pastel hues of teal, pink, and purple bring a splash of whimsy to any table, captivating everyone's eyes.
No-Churn Convenience: Enjoy a delightful dessert without the need for an ice cream maker—just whip, mix, and freeze!
Customizable Options: Tailor the flavors and colors to match any occasion, whether it's a birthday party or a summer gathering. For more inspired ideas, check out Tomato Pasta to serve alongside this delightful treat.
Kid-Friendly Fun: Kids will love not just the taste but the whole experience of making their own unique creations—from fruity swirls to glittery toppings!
Crowd-Pleasing Treat: This Mermaid Ice Cream is a show-stopper that impresses guests of all ages—perfect for family gatherings or friendly get-togethers.
Mermaid Ice Cream Ingredients
For the Base
• Heavy Cream – Provides the fluffy base and creamy texture; substitute with coconut cream for a vegan option.
• Sweetened Condensed Milk – Adds sweetness and creates a smooth consistency; sweetened condensed coconut milk can replace it for a dairy-free version.
• Vanilla Extract – Enhances the flavor profile with a classic essence; no substitutions necessary.
For the Color
• Gel Food Coloring (Pink, Purple, Teal) – Gives the ice cream its cheerful, mermaid-inspired hues; other colors can be used based on theme preferences.
For Decoration
• Edible Glitter or Sprinkles – Adds a magical touch for decoration; any colorful sprinkles will work beautifully here.
Step‑by‑Step Instructions for Mermaid Ice Cream
Step 1: Whip the Cream
In a large mixing bowl, pour in the heavy cream and whisk vigorously with a hand mixer or stand mixer on medium speed until stiff peaks form, about 3–5 minutes. This airy foundation is crucial for the fluffy texture of your Mermaid Ice Cream, so keep an eye on it—stiff peaks should hold their shape but not be grainy.
Step 2: Combine the Base
In a separate bowl, mix the sweetened condensed milk and vanilla extract until well blended. This mixture adds sweetness and creaminess to your ice cream, forming a smooth consistency. Folding it with the whipped cream afterward will create the delightful base for your magical dessert, so make sure it's thoroughly combined.
Step 3: Fold Together
Gently fold the whipped cream into the sweetened condensed milk mixture using a rubber spatula. Start by adding a dollop of whipped cream to lighten the base, then gradually incorporate the rest. Be careful not to over-mix; you want the mixture to stay airy for that cloud-like texture in your Mermaid Ice Cream.
Step 4: Color the Mixture
Divide the fluffy ice cream base into three separate bowls. Add a few drops of gel food coloring to each bowl, choosing pink, purple, and teal for that enchanting look. Stir gently until just combined to achieve vibrant colors while maintaining separate hues, ensuring your dessert has that magical mermaid-inspired appeal.
Step 5: Create the Swirls
Spoon alternating dollops of the colored mixtures into a loaf pan. Using a butter knife, gently swirl the colors together, creating a marbled effect without fully mixing them. This step is all about visual impact, so take your time to achieve those beautiful swirls that will make your Mermaid Ice Cream fun to serve.
Step 6: Add Sparkle
Once your ice cream is successfully swirled, sprinkle edible glitter or colorful sprinkles on top for an extra magical touch. This step not only adds visual allure but also a bit of fun texture to your Mermaid Ice Cream. You’ll want it to shine like a treasure from the deep sea!
Step 7: Freeze to Set
Cover the loaf pan with plastic wrap or a lid, then place it in the freezer. Allow the Mermaid Ice Cream to freeze for at least 6 hours or until firm. Ensure it’s fully set before serving for the best texture and ease of scooping; anticipation makes the first scoop even more delightful!
Make Ahead Options
Mermaid Ice Cream is a fantastic recipe for meal prep, making it easy to have a whimsical treat ready for any occasion! You can prepare the creamy base and swirl the colors up to 24 hours in advance before serving. Simply follow the first five steps of the recipe, then cover the loaf pan securely with plastic wrap and place it in the freezer. For the best quality, avoid adding edible glitter or sprinkles until just before serving, as these toppings will stay fresher that way. When you're ready to impress your guests, simply take it out of the freezer and let it soften for a few minutes before serving scoops of this enchanting dessert. Enjoy the time-saving benefits while delighting your family and friends!
What to Serve with Mermaid Ice Cream
Indulging in a scoop of Mermaid Ice Cream creates a perfect opportunity to pair delightful side dishes that enhance its whimsical charm.
- Fruity Parfait: Layer fresh berries and yogurt to provide a refreshing contrast to the creamy sweetness, adding a burst of color and flavor.
- Sweet Waffle Cones: Serve Mermaid Ice Cream in crispy waffle cones for a fun and crunchy texture, making each bite a little adventure.
- Chocolate Drizzle: A light drizzle of melted chocolate adds a rich, decadent touch; the contrast between the sweet ice cream and dark chocolate is irresistible.
- Ocean-Inspired Cupcakes: Bake aqua-colored cupcakes with sea-themed decorations, creating a harmonious party theme. Each treat compliments the magical ice cream.
- Sparkling Lemonade: A glass of bubbly lemonade refreshes and brightens the palate, balancing the sweetness with a zesty zing that enhances the overall experience.
- Gummy Sea Creatures: Use fun gummy candies shaped like fish and starfish as a playful garnish on top of a scoop of Mermaid Ice Cream, offering a delightful visual and chewy addition.
Expert Tips for the Best Mermaid Ice Cream
Chill the Cream: Ensure your heavy cream is well-chilled before whipping for the fluffiest texture; warm cream won't whip properly.
Gentle Folding: Avoid over-mixing when folding the whipped cream into the condensed milk; this helps keep your Mermaid Ice Cream airy and light.
Use Clear Containers: For the most stunning presentation, serve in a clear or glass container, showcasing those beautiful colors.
Experiment with Flavors: Feel free to mix in fruit purees or extracts; this adds a personal touch and exciting depth to your Mermaid Ice Cream.
Perfect Storage: Keep your ice cream tightly covered in the freezer to maintain its texture and avoid ice crystals forming.
How to Store and Freeze Mermaid Ice Cream
Fridge: Store any leftover Mermaid Ice Cream tightly covered in the refrigerator for up to 2 days, though it’s best enjoyed fresh to maintain its texture.
Freezer: For optimal preservation, keep your Mermaid Ice Cream in an airtight container for up to 2 weeks. This prevents ice crystals and ensures it stays as fluffy as the first scoop.
Reheating: If it's too hard to scoop, let the Mermaid Ice Cream sit at room temperature for about 10 minutes before serving for the perfect consistency.
Make-Ahead Tip: You can prepare the Mermaid Ice Cream 1-2 days in advance and store it in the freezer until you're ready to delight your guests!
Mermaid Ice Cream Variations & Substitutions
Explore the endless possibilities with your Mermaid Ice Cream by making it your own!
-
Vegan Delight: Substitute heavy cream with coconut cream and sweetened condensed milk with sweetened condensed coconut milk for a creamy vegan treat.
-
Colorful Unicorn Twist: Add rainbow colors and a splash of cotton candy flavoring for a magical unicorn-inspired twist that kids will adore.
-
Berry Blast: Incorporate puréed strawberries or blueberries into the base for a delicious fruit infusion that adds both flavor and beautiful color.
-
Galactic Dream: Use deep shades like navy and violet combined with a campfire smoke essence to create an intriguing cosmic look and taste.
-
Ice Cream Sandwiches: Spread your Mermaid Ice Cream between two freshly baked sugar cookies for a fun and whimsical handheld treat.
-
Decadent Toppings: Top with crumbled cookies, chopped nuts, or drizzles of chocolate for extra texture and flavor—imagine the delight in every spoonful!
-
Spiced Up Swirls: Add a pinch of cinnamon or nutmeg for a warm twist, creating a delightful contrast with the sweet creamy base.
To add even more flair to your dessert, consider pairing it with other delicious choices like Pistachio White Chocolate cookies or even a helping of irresistible Crack Chicken Gnocchi for a more savory option. Each variation makes this dreamy treat a real celebration of flavors!
Mermaid Ice Cream Recipe FAQs
What type of heavy cream should I use for the best texture?
Absolutely! For the fluffiest and creamiest Mermaid Ice Cream, use heavy whipping cream with at least 36% fat content. This ensures it whips up nicely into stiff peaks. If you're looking for a non-dairy alternative, coconut cream works brilliantly and provides a rich texture as well.
How should I store leftover Mermaid Ice Cream?
Very! If you have any Mermaid Ice Cream leftovers, store them in an airtight container in the freezer for up to 2 weeks. This helps maintain its fluffy texture and prevents ice crystals from forming. Be sure to cover the surface with plastic wrap before sealing the container to keep it extra fresh!
Can I freeze Mermaid Ice Cream for longer storage?
Yes, indeed! If you're planning on making it ahead of time, Mermaid Ice Cream can be frozen for up to 3 months. Just ensure it is well-covered to avoid freezer burn. When you’re ready to indulge, let it soften at room temperature for about 10-15 minutes for easy scooping.
What if the whipped cream deflates while mixing?
Oh no, that can happen! If your whipped cream starts to lose its fluffy texture, it's likely been over-mixed. To prevent this, gently add dollops of whipped cream to the condensed milk mixture and fold instead of stirring vigorously. This method keeps the air in the cream and ensures a light, airy dessert!
Are there any dietary considerations I should know about?
Yes, there are! The base for Mermaid Ice Cream contains dairy products (heavy cream and sweetened condensed milk), so it may not be suitable for those with dairy allergies. However, you can easily make a dairy-free version by substituting both with coconut cream and sweetened condensed coconut milk, allowing everyone to enjoy this whimsical treat.
What if I want to change the colors for different occasions?
Absolutely! One of the great things about Mermaid Ice Cream is its customization. You can use any gel food coloring to match your theme—think bright colors for a summer picnic, or pastels for a baby shower. Just use your creativity and mix until you achieve the desired shades!
Mermaid Ice Cream: Whimsical No-Churn Delight for All
Ingredients
Equipment
Method
- In a large mixing bowl, pour in the heavy cream and whisk vigorously with a hand mixer or stand mixer on medium speed until stiff peaks form, about 3–5 minutes.
- In a separate bowl, mix the sweetened condensed milk and vanilla extract until well blended.
- Gently fold the whipped cream into the sweetened condensed milk mixture using a rubber spatula.
- Divide the fluffy ice cream base into three separate bowls. Add a few drops of gel food coloring to each bowl, choosing pink, purple, and teal.
- Spoon alternating dollops of the colored mixtures into a loaf pan. Using a butter knife, gently swirl the colors together.
- Sprinkle edible glitter or colorful sprinkles on top for an extra magical touch.
- Cover the loaf pan with plastic wrap or a lid, then place it in the freezer. Allow the Mermaid Ice Cream to freeze for at least 6 hours or until firm.


Leave a Reply