
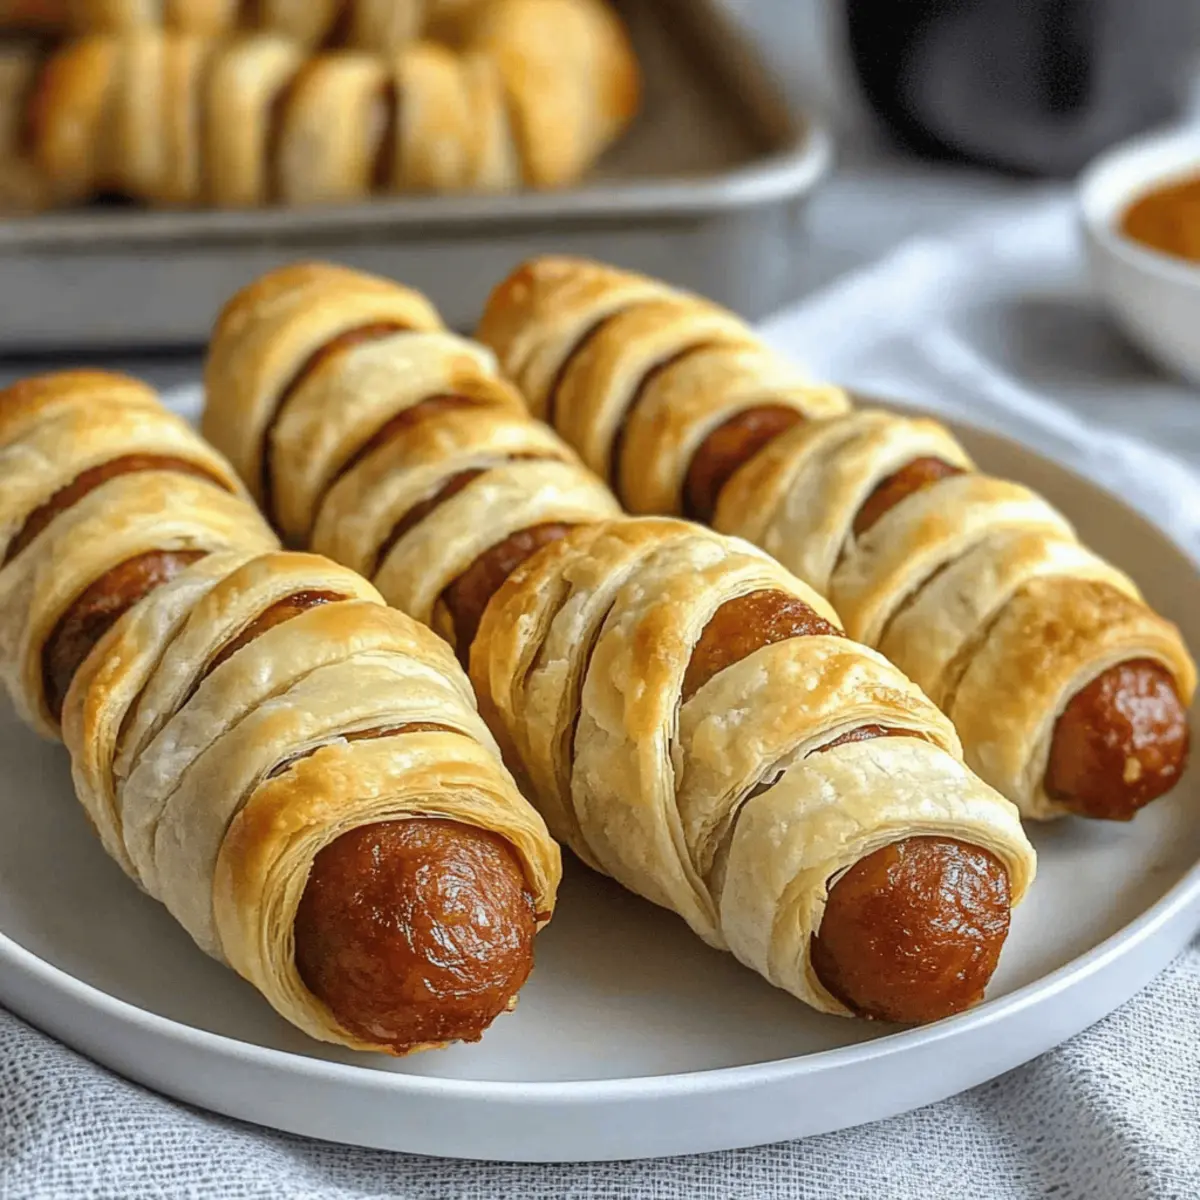
As I stood in the kitchen, the scent of warm pastry mingling with savory sausage wafted through the air, I couldn't help but smile. Mummy Dogs are the perfect Halloween treat, combining flaky dough with juicy, delicious sausage for a fun, approachable snack that’s bound to delight both kids and adults alike. With quick preparation and minimal ingredients, these spooktacular bites make Halloween festivities stress-free and utterly enjoyable. Plus, they’re easily customizable—whether you want to try different sausages or add a dash of your favorite herbs, the possibilities are endless. Ready to add a delightful twist to your Halloween party this year? Let's dive into making these adorable Mummy Dogs!
Why are Mummy Dogs a must-try?
Simplicity: These Mummy Dogs require just a handful of ingredients, making them perfect for home cooks of any skill level.
Crowd-Pleaser: Their playful presentation and delicious flavors make them a hit with both kids and adults alike, ensuring they vanish from the table in no time!
Customizable: With options for different sausage types and dipping sauces, you can tailor them to your family’s taste, whether you prefer turkey, vegetarian, or classic pork sausages.
Quick to Prepare: Ready in under 30 minutes, these spooky snacks fit seamlessly into busy Halloween schedules, letting you focus on the fun.
Perfect for Parties: Pair them with other festive sides, like spiderweb dip, to create a full Halloween menu that enchants your guests. Don't miss out on these delightful treats—your Halloween will be spooktacular with homemade Mummy Dogs!
Mummy Dogs Ingredients
• To embark on your spooky culinary adventure, here’s what you'll need to whip up these delightful Mummy Dogs:
For the Filling
- Sausages – Choose your favorite type! Turkey, chicken, or even vegetarian sausages work well for a tasty, mummy-inspired treat.
For the Dough
- Crescent Roll Dough – This flaky pastry creates a whimsical bandage-like exterior; feel free to use homemade if you love the extra effort!
With these simple ingredients, you’re just steps away from crafting your very own Halloween masterpiece, making every bite a delightful scare!
Step‑by‑Step Instructions for Mummy Dogs
Step 1: Preheat the Oven
Begin your Mummy Dogs adventure by preheating your oven to 375°F (190°C). This warm environment is crucial for creating that golden, flaky crust you’ll love. While the oven heats, gather your ingredients and lay out a parchment-lined baking sheet to prepare for the sausages wrapped in dough.
Step 2: Prepare the Dough
Next, roll out the crescent roll dough on a lightly floured surface. Use a sharp knife or pizza cutter to slice the dough into thin strips about half an inch wide. These strips will mimic mummy bandages as you wrap them around the sausages. Keep the strips even for a more uniform look, which adds to the fun presentation!
Step 3: Wrap the Sausages
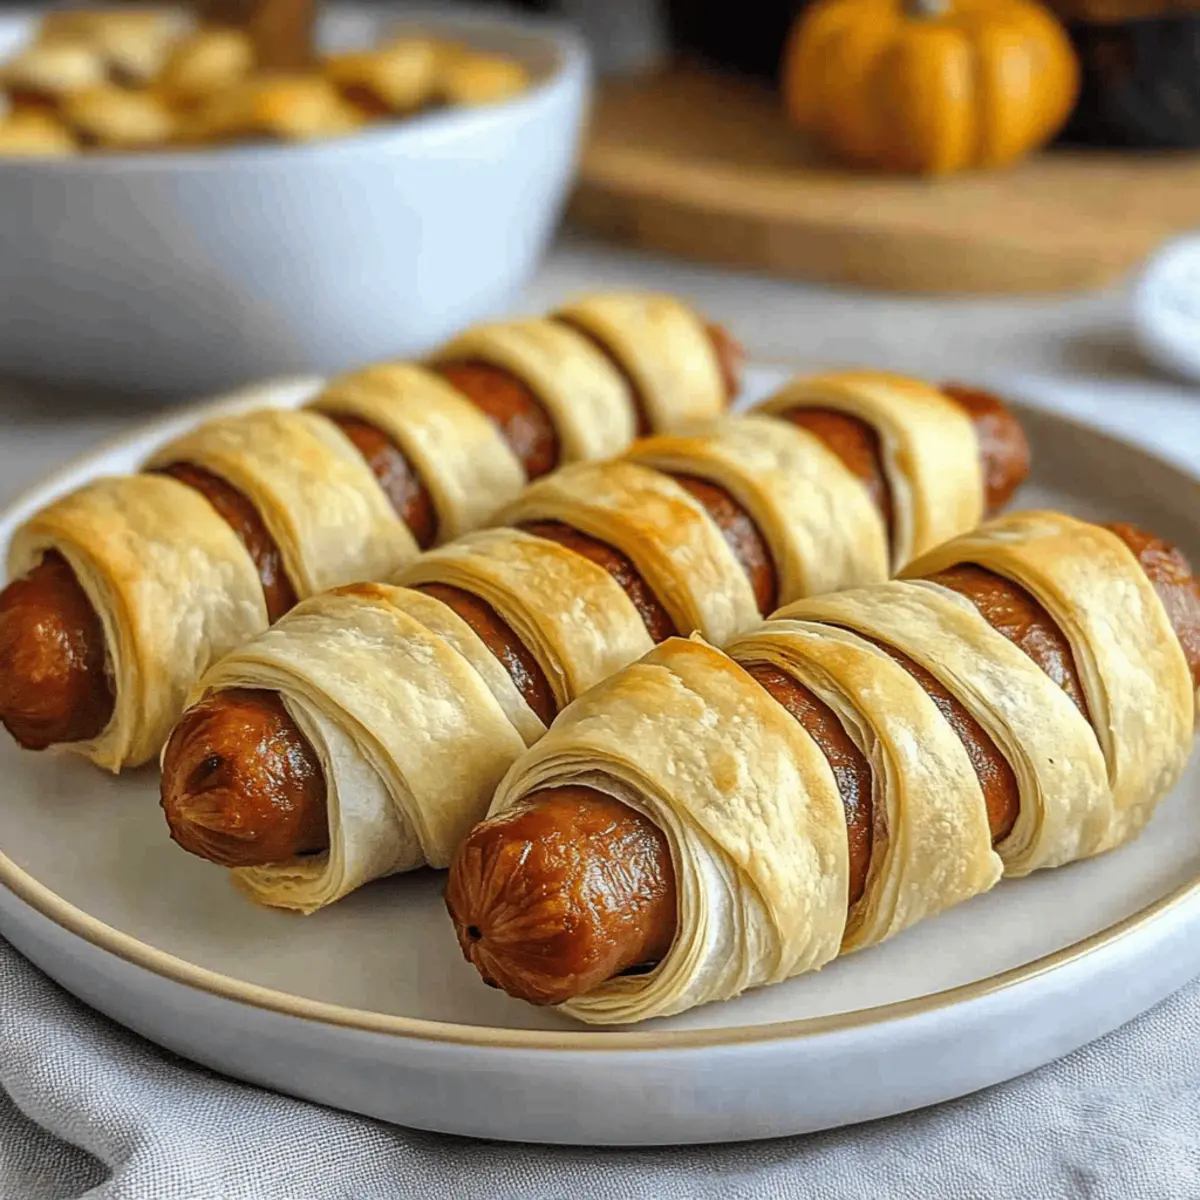
Take a sausage and start wrapping the prepared dough strips around it, leaving a small section at the top exposed to create the “face” of the mummy. Be sure to layer the strips slightly for that authentic wrapped effect. Repeat this process until all sausages are snugly dressed in their doughy bandages, and place them neatly on the baking sheet.
Step 4: Bake to Golden Perfection
Slide the baking sheet into the preheated oven and let the Mummy Dogs bake for 13-15 minutes. Keep an eye on them as they puff and turn golden brown; they are done when the dough is lightly browned and crisp. Their adorable mummy appearance will surely tempt your taste buds as they bake!
Step 5: Serve with Dipping Sauces
Once baked, carefully remove the Mummy Dogs from the oven and allow them to cool for a few minutes. Serve these spooktacular treats warm, and don’t forget to pair them with your favorite dipping sauces—ranch, BBQ, or spicy mayo are all great options. Enjoy the fun and flavors as you share these delightful bites with family and friends!

Mummy Dogs: Fun and Flavorful Twists
Get ready to elevate your Mummy Dogs experience with these delightful variations that will tickle your taste buds!
-
Spicy Kick: Add jalapeño slices into the sausage mix for a delightful heat that pairs wonderfully with the flaky pastry.
Try featuring a spicy dipping sauce alongside for a full flavor adventure! -
Cheesy Delight: Place a slice of cheese inside the dough when wrapping the sausage for a gooey, melty surprise.
Imagine that lovely melted cheese oozing out on a first bite—pure bliss! -
Herbed Dough: Mix in dried herbs like oregano or garlic powder into the crescent roll dough for an aromatic twist.
This will add extra flavor dimensions without complicating the preparation. -
Vegetarian Option: Swap out sausages for your favorite plant-based alternatives, maintaining the fun and flavor.
This variation ensures everyone can enjoy the festivities, including friends with dietary preferences. -
Sweet & Savory: Brush the dough with melted butter and sprinkle with cinnamon sugar for a sweet twist on the classic.
These Mummy Dogs can also double as a fun dessert for your gathering with this variation! -
Mini Mummies: Use cocktail sausages and smaller dough strips for bite-sized Mummy Dogs—perfect for snacking.
These little munchies make excellent finger food for a party atmosphere, delighting guests of all ages. -
Gourmet Dipping Sauces: Serve with unique dipping sauces like honey mustard, avocado ranch, or a piquant sriracha mayo for flavor variety.
It's fun to host a dipping party, allowing everyone to find their favorite pairing!
Don't forget to pair these Mummy Dogs with delightful sides like spiderweb dip or pumpkin spice treats! Feel free to explore different combinations, making your Halloween frightfully delicious and unforgettable!
What to Serve with Mummy Dogs
As the aroma of baked Mummy Dogs fills the air, consider pairing them with delightful sides and drinks to complete your Halloween feast.
-
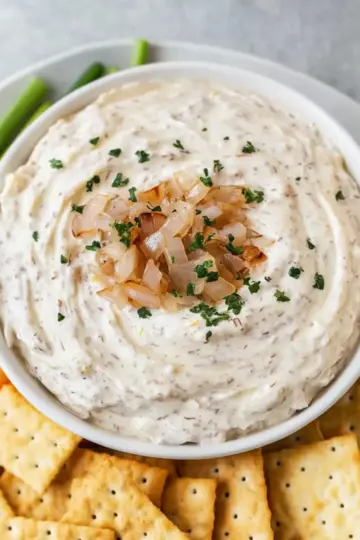
Spiderweb Dip: This creamy, artfully designed dip made from sour cream and guacamole adds a fun but tasty contrast to the savory dogs. Perfect for scooping with tortilla chips or fresh veggies!
-
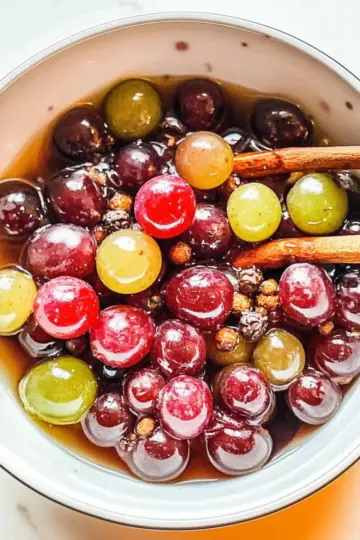
Pumpkin Spice Treats: Embrace the season with these sweet delights—think pumpkin bread or muffins. Their spiced sweetness balances well with the hearty flavors of the Mummy Dogs, creating a charming dessert option.
-
Crispy Veggie Platter: Fresh, colorful vegetables like carrots, bell peppers, and cherry tomatoes provide a refreshing crunch next to the warm, flaky Mummy Dogs. Serve with a zesty ranch or hummus for dipping.
-
Chilling Cider or Punch: A festive apple cider or fruity punch can uplift the atmosphere, making it a go-to drink choice for your Halloween gathering. With its sweet and spicy notes, it's a perfect refreshment.
-
Witch's Brew Soup: A creamy, vibrant soup—think butternut squash—makes for a cozy pairing. This velvety texture complements the flaky Mummy Dogs, creating a flavor combination your guests will adore.
-
Spooky Cupcakes: Finish off the meal with fun Halloween-themed cupcakes adorned with ghostly frosting or boney decorations. These will surely be a hit among kids and adults alike, adding sweetness to your spooky spread.
Each of these accompaniments enriches the experience, creating a memorable feast that's as fun as it is delicious!
Storage Tips for Mummy Dogs
-
Room Temperature: Mummy Dogs can be left out for up to 2 hours during your Halloween party; this allows guests to enjoy them at room temperature without worrying about spoilage.
-
Fridge: Store leftover Mummy Dogs in an airtight container in the refrigerator for up to 3 days. This helps maintain their flaky texture while keeping them safe to eat.
-
Freezer: For longer storage, freeze wrapped Mummy Dogs individually in plastic wrap or an airtight container for up to 2 months. Thaw in the fridge before baking when you're ready to enjoy them again.
-
Reheating: To reheat, place Mummy Dogs in a preheated oven at 350°F (175°C) for about 10 minutes. This method ensures they return to their crispy, golden glory—perfect for sharing!
Make Ahead Options
These Mummy Dogs are perfect for busy home cooks who want to simplify their Halloween festivities! You can prep the wrapped sausages up to 24 hours in advance by following these easy steps: After wrapping each sausage in dough, place them on a lined baking sheet and cover with plastic wrap or aluminum foil to prevent drying out. Refrigerate until ready to bake. When it’s time to serve, simply pop them in a preheated oven and add a couple of extra minutes to the baking time to ensure they reach that delicious golden brown. With this make-ahead method, you’ll enjoy freshly baked, just-as-delicious Mummy Dogs without the last-minute rush!
Expert Tips for Mummy Dogs
-
Prevent Sticking: Use parchment paper or a generously floured surface to keep the dough from sticking, which ensures easy wrapping and perfect shapes.
-
Make Ahead: Wrap the sausages in dough and refrigerate until you’re ready to bake. This way, they’ll be fresh and ready when you want to serve the Mummy Dogs.
-
Reheating Advice: Avoid using the microwave for reheating, as it can result in a soggy dough. Instead, place them in the oven for a few minutes to restore that delightful crispiness.
-
Dough Thickness: Ensure your dough strips are evenly cut; too thick may take longer to cook, while too thin might break easily—balance is key for optimal Mummy Dogs!
-
Customization Options: Feel free to experiment with different sausages or sprinkle herbs on the dough for added flavor, making your Mummy Dogs uniquely yours!

Mummy Dogs Recipe FAQs
How do I select the best sausages for Mummy Dogs?
Absolutely! When choosing sausages for your Mummy Dogs, the flavor is key. Opt for fresh, high-quality sausages without dark spots. If you're looking for healthier options, turkey and chicken sausages work wonderfully, especially when spiced up a bit. For vegetarian versions, seek out plant-based sausages that mimic the texture of meat; they can be just as flavorful and fun!
What’s the best way to store leftover Mummy Dogs?
To keep those delicious Mummy Dogs fresh, store any leftovers in an airtight container in the refrigerator. They will stay good for up to 3 days. I love reheating them in the oven at 350°F (175°C) for about 10 minutes to revive their crispy texture; it works wonders compared to microwaving!
Can I freeze Mummy Dogs for later?
Absolutely! To freeze Mummy Dogs, wrap each one tightly in plastic wrap or place them in an airtight container. They can be stored in the freezer for up to 2 months. When you’re ready to enjoy them again, simply thaw in the fridge, then bake in a preheated oven at 375°F (190°C) for about 15 minutes, or until golden brown.
What should I do if the dough is sticking while wrapping?
Very! If you find the crescent roll dough is sticking, don’t fret. Simply use a well-floured surface or parchment paper while rolling it out and cutting into strips. If you still encounter issues, a light dusting of flour on your hands can help prevent clinginess as you wrap up those tasty sausages.
Are Mummy Dogs okay for kids with allergies?
For dietary considerations, it’s important to check the ingredients in the sausages and dough, as they often contain allergens like gluten or nitrates. Opting for gluten-free crescent roll dough and allergen-free sausage alternatives can help accommodate kids with allergies. As always, consult with a physician or dietitian for specific dietary needs!
How can I customize Mummy Dogs?
So many fun options! You can switch up your sausage choices to include favorites like spicy Italian or even low-fat versions. For an added kick, try sprinkling some herbs or spices on the dough before wrapping the sausages. Once baked, serve them with a variety of dipping sauces—BBQ sauce, ranch dressing, or even a spicy mustard—for endless flavor combos!
Mummy Dogs: Easy Halloween Treats for Fun Family Nights
Ingredients
Equipment
Method
- Preheat your oven to 375°F (190°C) and prepare a parchment-lined baking sheet.
- Roll out the crescent roll dough on a floured surface and cut into thin strips.
- Wrap the dough strips around the sausages, leaving a section at the top exposed.
- Bake for 13-15 minutes or until the dough is golden brown.
- Cool for a few minutes before serving with dipping sauces.
Leave a Reply