
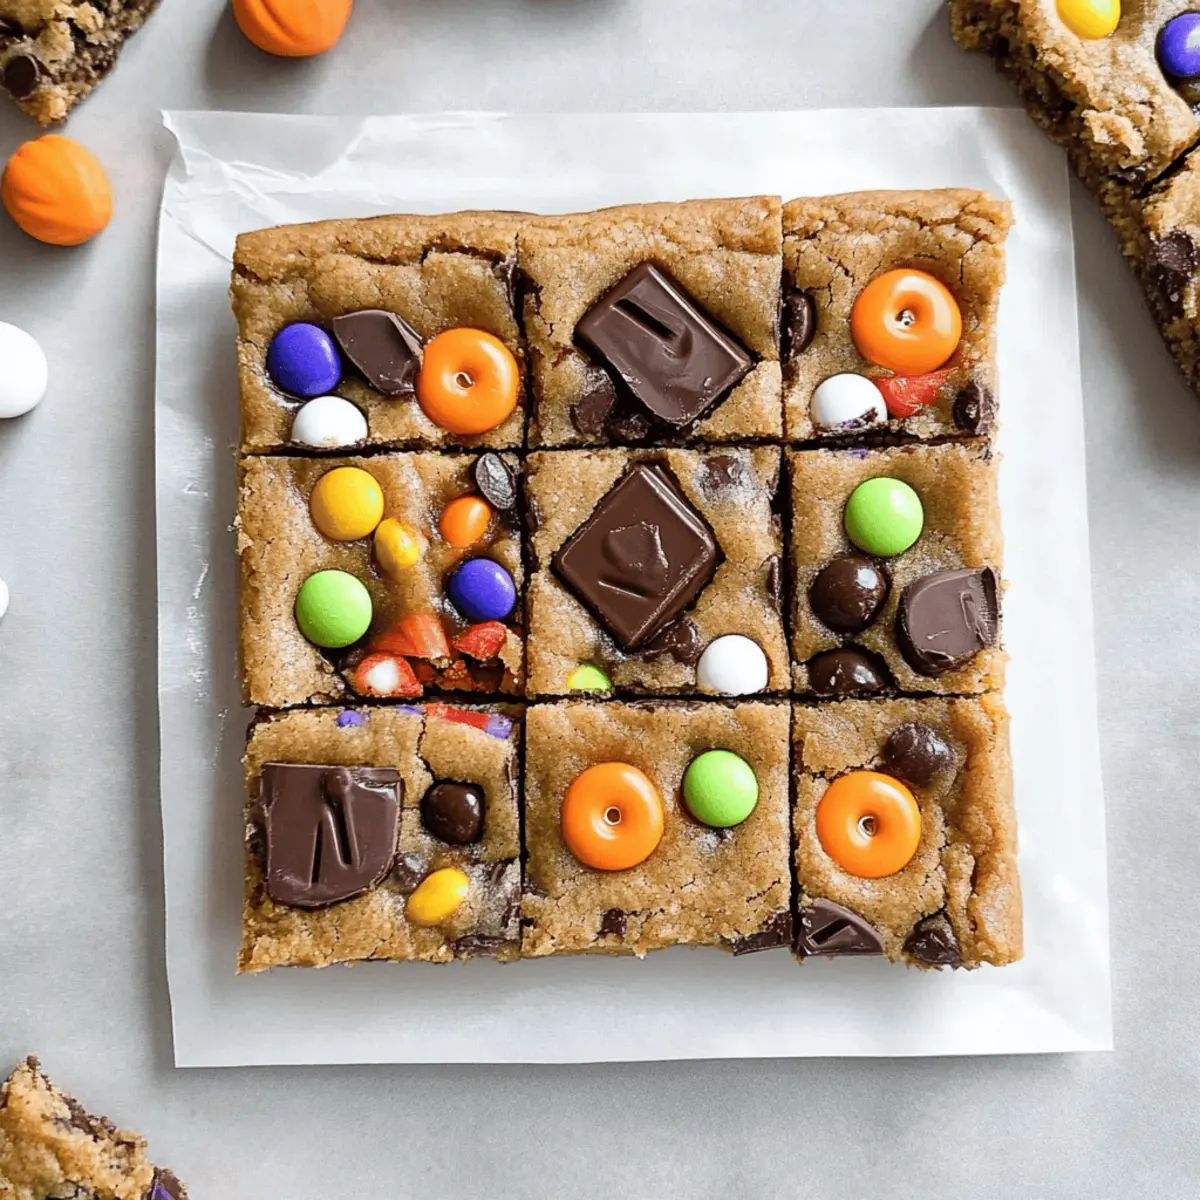
As I rummaged through the remnants of our epic Halloween candy haul, a sweet little idea struck me—why not transform those leftovers into something unforgettable? Enter the Halloween Candy Cookie Bars! These delightful treats combine a buttery cookie base with a riot of colorful chocolates and nutty goodness, turning your excess candy into a festive, shareable dessert. Not only are they a fun way to repurpose your Halloween stash, but they also deliver that perfect blend of chewy and crunchy textures we all crave. Plus, the customization possibilities are endless—mix in your favorite candies or whatever you're looking to use up. Curious to discover how to whip up these playful, spooky delights? Let’s dive in!
Why Are Halloween Candy Cookie Bars Perfect?
Irresistible Flavor: The combination of rich, buttery cookie and a medley of colorful candies creates a flavor explosion that will delight your taste buds.
Easy Customization: Use any leftover Halloween candy you have on hand! Whether it’s Snickers, Twix, or your favorite chocolate, these bars beckon creativity.
Texture Delight: Enjoy the best of both worlds with a chewy, soft cookie base topped with crunchy candy for a fun bite every time.
Quick to Make: With just a few simple steps, you can have a batch of festive treats ready in less than 30 minutes—perfect for last-minute gatherings!
Shareable Treat: These bars are ideal for parties or potlucks, making them a hit with friends and family. Pair them with warm apple cider for a seasonal touch!
Creative Twist: If you’re looking for more festive baking ideas, check out our delightful Soft Baked Bars or Peach Crumble Bars for delicious alternatives!
Halloween Candy Cookie Bars Ingredients
For the Cookie Base
• Unbleached All-Purpose Flour – Provides structure and chewiness; swap with gluten-free flour for a gluten-free treat.
• Baking Soda – A leavening agent that helps achieve the perfect texture; make sure it’s fresh for the best rise.
• Kosher Salt – Enhances flavor; feel free to use sea salt or table salt as a substitute.
• Unsalted Butter – Adds rich flavor; ensure it's at room temperature for easier mixing and can be replaced with margarine if preferred.
• Dark Brown Sugar – Contributes moisture and depth of flavor; light brown sugar works interchangeably.
• Granulated Sugar – Adds sweetness and helps with browning; avoid direct substitutes for best results.
• Large Eggs – Vital for binding ingredients and adds necessary structure; for a vegan option, consider using flax eggs (1 tablespoon ground flaxseed + 3 tablespoon water per egg).
• Real Vanilla Extract – Enhances overall flavor; you can use vanilla essence in a pinch if needed.
For the Candy Mix-Ins
• Reese's Pieces – Adds that beloved chocolaty and peanut buttery flavor; can be substituted with other chocolate candies.
• Chocolate M&M's – Provides a colorful, crunchy texture; feel free to swap with similar candies to match your taste.
• Leftover Halloween Candy – Customize your bars with favorites like Snickers or Twix; get creative with your candy choices!
For the Fun Finish
• Candy Eyes – Adds a whimsical touch; they’re optional, but highly recommended for that perfect spooky effect!
Step‑by‑Step Instructions for Halloween Candy Cookie Bars
Step 1: Preheat the Oven
Begin by preheating your oven to 350℉ (180℃). While the oven warms, prepare your 9x13x2 baking pan by lining it with parchment paper. Then, lightly spray the parchment with nonstick cooking spray to ensure your Halloween Candy Cookie Bars release easily after baking.
Step 2: Mix the Dry Ingredients
In a mixing bowl, sift together 2 cups of unbleached all-purpose flour, 1 teaspoon of baking soda, and ½ teaspoon of kosher salt. This combination will provide the perfect structure and texture for your bars. Set this dry mix aside, allowing the baking soda to activate and the flavors to meld while you prepare the wet ingredients.
Step 3: Cream the Butter and Sugars
In a stand mixer, cream together ½ cup of unsalted butter with ¾ cup of dark brown sugar and ½ cup of granulated sugar until the mixture is smooth and light in color, about 2-3 minutes. The creaming process is essential for fluffy, delicious bars, so scrape down the sides of the bowl as needed to ensure everything is well combined.
Step 4: Incorporate the Eggs and Vanilla
Add 2 large eggs to the creamed mixture, one at a time, mixing well after each addition. Then, pour in 1 teaspoon of real vanilla extract with the last egg, continuing to mix until everything is thoroughly blended. You'll know it's ready when the mixture is creamy and homogenous, ready to meld with the dry ingredients.
Step 5: Combine Wet and Dry Ingredients
Gradually add the flour mixture to your wet ingredients, mixing on low speed until just combined. Be careful not to overmix; you want the dough to remain tender and chewy for the Halloween Candy Cookie Bars. If you see streaks of flour, gently fold it in with a spatula instead of mixing vigorously.
Step 6: Fold in the Candies
Using a spatula, gently fold in 1 cup of Reese's Pieces and 1 cup of chocolate M&M's. Take your time here, ensuring that the candies are evenly distributed throughout the dough. Feel free to customize with your favorite leftover Halloween candy for an extra festive touch in these delightful bars.
Step 7: Transfer and Flatten the Dough
Transfer the dough into the prepared baking pan and use your hands (lightly greased to prevent sticking) to spread it evenly across the bottom. Make sure to press down gently for uniform thickness, creating a solid base for the Halloween Candy Cookie Bars that will bake evenly throughout.
Step 8: Bake to Perfection
Place the pan in your preheated oven and bake for 18-20 minutes, rotating halfway through. The edges of the cookie bars should turn golden brown while the center remains slightly soft—this is the secret to achieving that perfect chewy texture. Keep an eye on them to avoid overbaking!
Step 9: Add the Toppings
Once baked, remove the pan from the oven and immediately press assorted pieces of leftover Halloween candy into the top of the hot bars. Allow the candy to stick nicely for a few seconds as the heat warms them, creating an irresistible topping for your bars.
Step 10: Cool and Slice
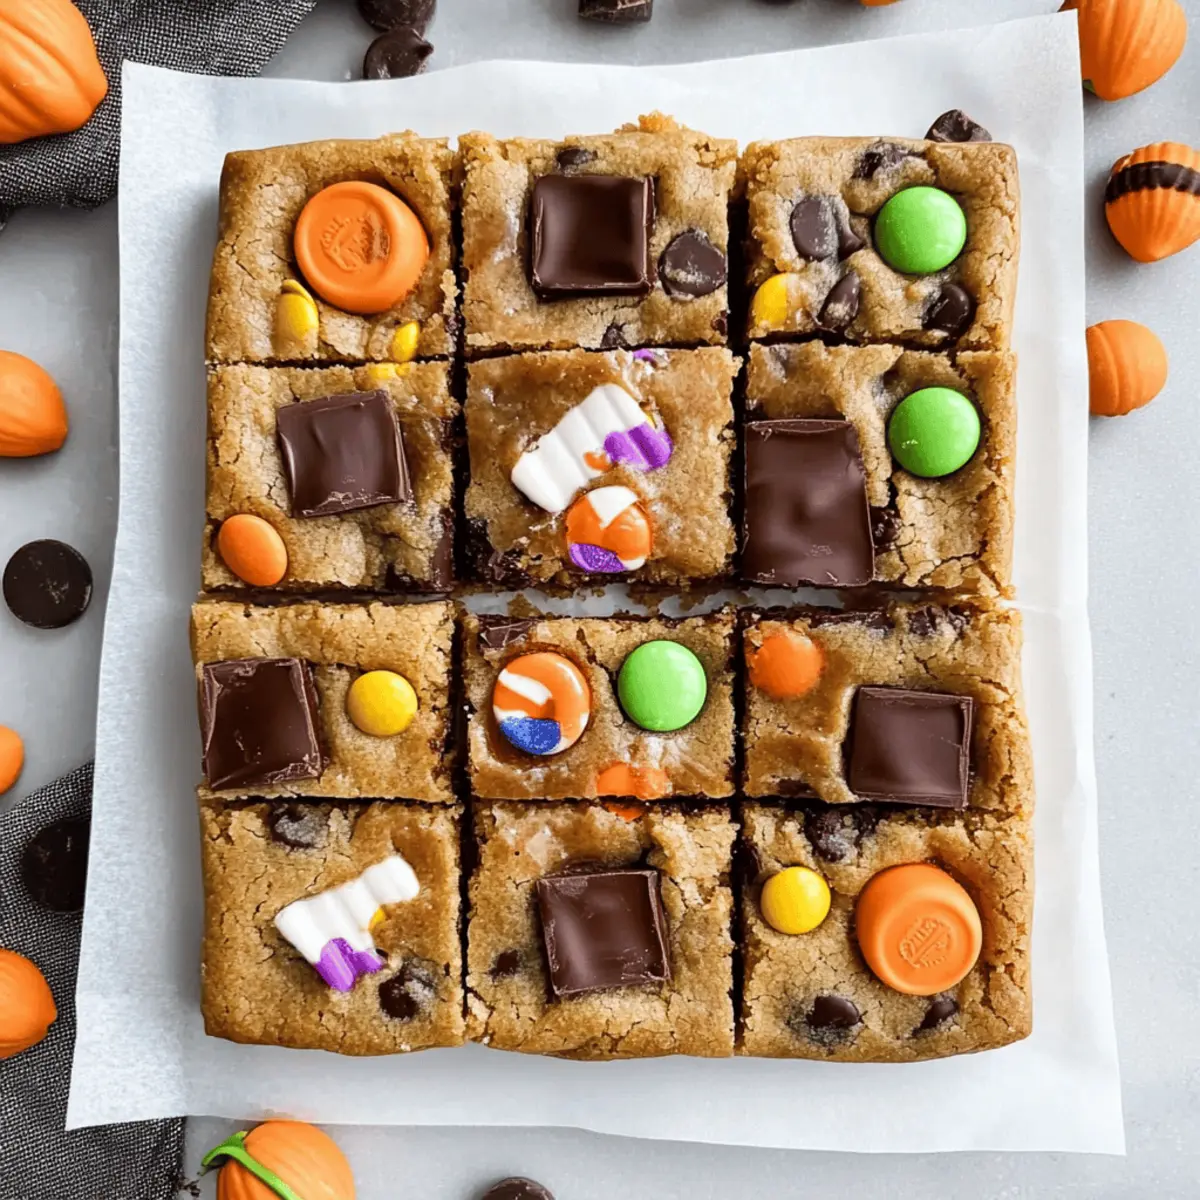
Let the Halloween Candy Cookie Bars cool completely in the pan before slicing. This will ensure cleaner cuts and allow the flavors to deepen. Once cooled, use a serrated knife for perfect squares, showcasing the colorful candy pieces throughout each chewy bar.
What to Serve with Halloween Candy Cookie Bars
Indulge in the festive spirit and elevate your homemade treats with delightful pairings that will leave everyone wanting more!
-
Creamy Vanilla Ice Cream: The rich, creamy texture of vanilla ice cream complements the chewy cookie bars, making each bite a melt-in-your-mouth experience. A scoop on top transforms dessert into a delicious sundae!
-
Warm Apple Cider: Serve with a warm mug of apple cider, infusing the sweet, spiced aroma of fall into your dessert experience. It’s a cozy pairing that enhances the season’s flavors!
-
Festive Hot Chocolate: Top off your Halloween gathering with a cup of rich hot chocolate, perhaps drizzled with marshmallow fluff. This pairing brings out the sweet chocolate notes of your cookie bars.
-
Whipped Cream: A dollop of freshly whipped cream on the side adds a light, airy texture that enhances the indulgence of the bars. Pair it with a sprinkle of cinnamon for an autumn twist!
-
Chocolate Milk: The nostalgic combo of chocolate milk with your candy bars will remind you of carefree childhood days. This drink balances flavors beautifully, making it a hit with kids and adults alike!
-
Pumpkin Spice Cookies: For an extra festive flair, serve alongside pumpkin spice cookies. This duo celebrates both Halloween and Thanksgiving, creating a delightful assortment of seasonal treats.
-
Candy Corn: Keep the theme going by placing a bowl of candy corn on the side. It adds a touch of whimsy and nostalgia, perfectly aligning with your festive dessert platter.
-
Nutty Granola: A side of crunchy, nutty granola provides a textural contrast to the soft cookie bars, rounding out the dessert course with wholesome goodness.
-
Mini Pumpkin Pies: Wow your guests by offering mini pumpkin pies for a fun-filled dessert table featuring seasonal favorites. The creamy, spiced custard complements the sweetness of your candy bar treats.
-
Coffee or Espresso: Enhance your dessert experience with a strong cup of coffee or espresso. The bitterness perfectly contrasts the sweetness of the Halloween Candy Cookie Bars, balancing the flavors harmoniously.
Make Ahead Options
These Halloween Candy Cookie Bars are perfect for meal prep, allowing you to enjoy delicious treats with ease! You can prepare the cookie base up to 24 hours in advance; simply mix the ingredients, press the dough into the pan, and cover tightly with plastic wrap before refrigerating. The baked bars can also be made up to 3 days ahead and stored in an airtight container to keep them fresh and chewy. When you’re ready to serve, ensure they're topped with candy right after baking for optimal adhesion. This way, you'll have festive, indulgent bars ready to go whenever you need them, making your busy weeknights much sweeter!
Expert Tips for Halloween Candy Cookie Bars
-
Press Gently: After baking, press the candy into the bars while hot to ensure they stick, or they may slide off later.
-
Watch the Bake: Keep an eye on the oven; overbaking can turn your chewy Halloween Candy Cookie Bars into a dry treat.
-
Cool Completely: Allow the bars to cool fully before slicing; this helps with cutting clean squares and enhances the texture.
-
Mix It Up: Feel free to swap in any leftover Halloween candy you love; creative combinations make each batch special!
-
Use Good Tools: A serrated knife works wonders for slicing through the chewy texture without squishing the bars.
Storage Tips for Halloween Candy Cookie Bars
-
Room Temperature: Keep the bars in an airtight container at room temperature for up to 4 days to maintain their chewy texture and flavor.
-
Fridge: If you prefer a longer shelf life, store the Halloween Candy Cookie Bars in the refrigerator for up to 1 week. Just be sure to let them warm up a bit before serving for the best taste.
-
Freezer: For even longer storage, freeze the bars wrapped tightly in plastic wrap and then foil for up to 3 months. Thaw at room temperature before enjoying!
-
Reheating: For a warm treat, reheat individual bars in the microwave for about 10-15 seconds. Enjoy the melty candies all over again!
Halloween Candy Cookie Bars Variations
Feel free to get creative and make these Halloween Candy Cookie Bars truly yours with these fun suggestions!
-
Nut-Free: Substitute peanut butter candies with caramels or milk chocolate for a nut-free delight. Think of the smooth, gooey texture and sweet taste!
-
Vegan: Replace eggs with flax eggs and use vegan butter in place of regular butter for a vegan-friendly version. This alternative keeps the deliciousness intact while catering to your plant-based pals.
-
Gluten-Free: Swap all-purpose flour for gluten-free flour to make these bars celiac-friendly while keeping the chewiness we all love. Enjoy a tasty treat without any worries!
-
Caramel Swirl: Drizzle caramel sauce over the top before baking for an indulgent twist. The gooey caramel will add a layer of richness that will take your bars over the top!
-
Oatmeal Boost: Mix in rolled oats for added texture and a wholesome spin. You’ll love the heartiness they bring to every chewy bite.
-
Spicy Kick: Add a pinch of cayenne pepper or cinnamon to the dough for a surprising warmth that beautifully complements the sweetness. A little heat goes a long way in creating a unique flavor profile!
-
Peanut Butter Cup: Swap Reese's Pieces for chopped mini peanut butter cups for an intense peanut butter flavor. A chocoholic’s dream come true, these bars will have everyone coming back for more!
For more delightful transformations, don’t forget to check out our delicious Oatmeal Cookies Chewy or the exciting Pineapple Cookies Tropical for more festive baking inspiration!

Halloween Candy Cookie Bars Recipe FAQs
How do I select the best leftover Halloween candy for my bars?
Absolutely! Use your favorite candies, but aim for a mix of chocolate and chewy options for a delightful contrast. Look for candies that don’t have a lot of dark spots or are overly melty. Classics like Snickers, Twix, and Butterfinger not only add flavor but also a fun texture to your Halloween Candy Cookie Bars.
What’s the best way to store leftover Halloween Candy Cookie Bars?
I recommend keeping the bars in an airtight container at room temperature for up to 4 days. They stay wonderfully chewy this way! Alternatively, if you want to keep them fresh longer, you can refrigerate them for up to a week. Just be sure to let them come to room temperature again before enjoying.
Can I freeze my Halloween Candy Cookie Bars?
Yes, you can! For the best results, wrap the bars tightly in plastic wrap, then cover in aluminum foil to prevent freezer burn. They will keep well for up to 3 months in the freezer. When you’re ready to enjoy them, just thaw at room temperature for a few hours or pop them in the microwave for 10-15 seconds for that freshly baked feel!
What should I do if my cookie bars are too crumbly or dry?
Oh no! This can happen if they were overbaked or not enough butter was used. Ensure that your oven is correctly calibrated and bake until just golden around the edges while the center is still slightly soft. If you face this issue, you could mix a little frosting or add a scoop of ice cream on top during serving for a delicious remedy!
Are there any dietary considerations I should keep in mind?
Very! If you're making these bars with little ones or friends that have allergies, be mindful of the ingredients in your leftover Halloween candy. Common allergens include nuts, dairy, soy, and gluten. You can make a gluten-free version by substituting the regular flour for a gluten-free blend and ensuring all candies are free from problematic ingredients.
Can I substitute any ingredients for a healthier version?
Certainly! You can replace half the sugar with unsweetened applesauce for reduced sweetness and calories. To make these bars even healthier, consider adding oats or flaxseeds for extra fiber and nutrition, or swap out the butter for coconut oil as a dairy-free option. Enjoy experimenting!
Halloween Candy Cookie Bars That Transform Leftovers into Magic
Ingredients
Equipment
Method
- Preheat your oven to 350℉ (180℃) and prepare your baking pan with parchment paper and a light spray of nonstick cooking spray.
- In a bowl, sift together the flour, baking soda, and salt. Set this mixture aside.
- Cream together the unsalted butter, dark brown sugar, and granulated sugar until light and fluffy.
- Incorporate the eggs and vanilla into the creamed mixture, mixing well until combined.
- Gradually add the dry ingredients to the wet mixture, mixing on low until just combined.
- Fold in the Reese's Pieces and chocolate M&M's evenly into the dough.
- Transfer the dough to the prepared baking pan and spread evenly.
- Bake in the oven for 18-20 minutes, rotating half-way through until golden on the edges.
- Immediately press assorted Halloween candy into the hot bars when they come out of the oven.
- Cool completely in the pan before slicing into squares.


Leave a Reply