
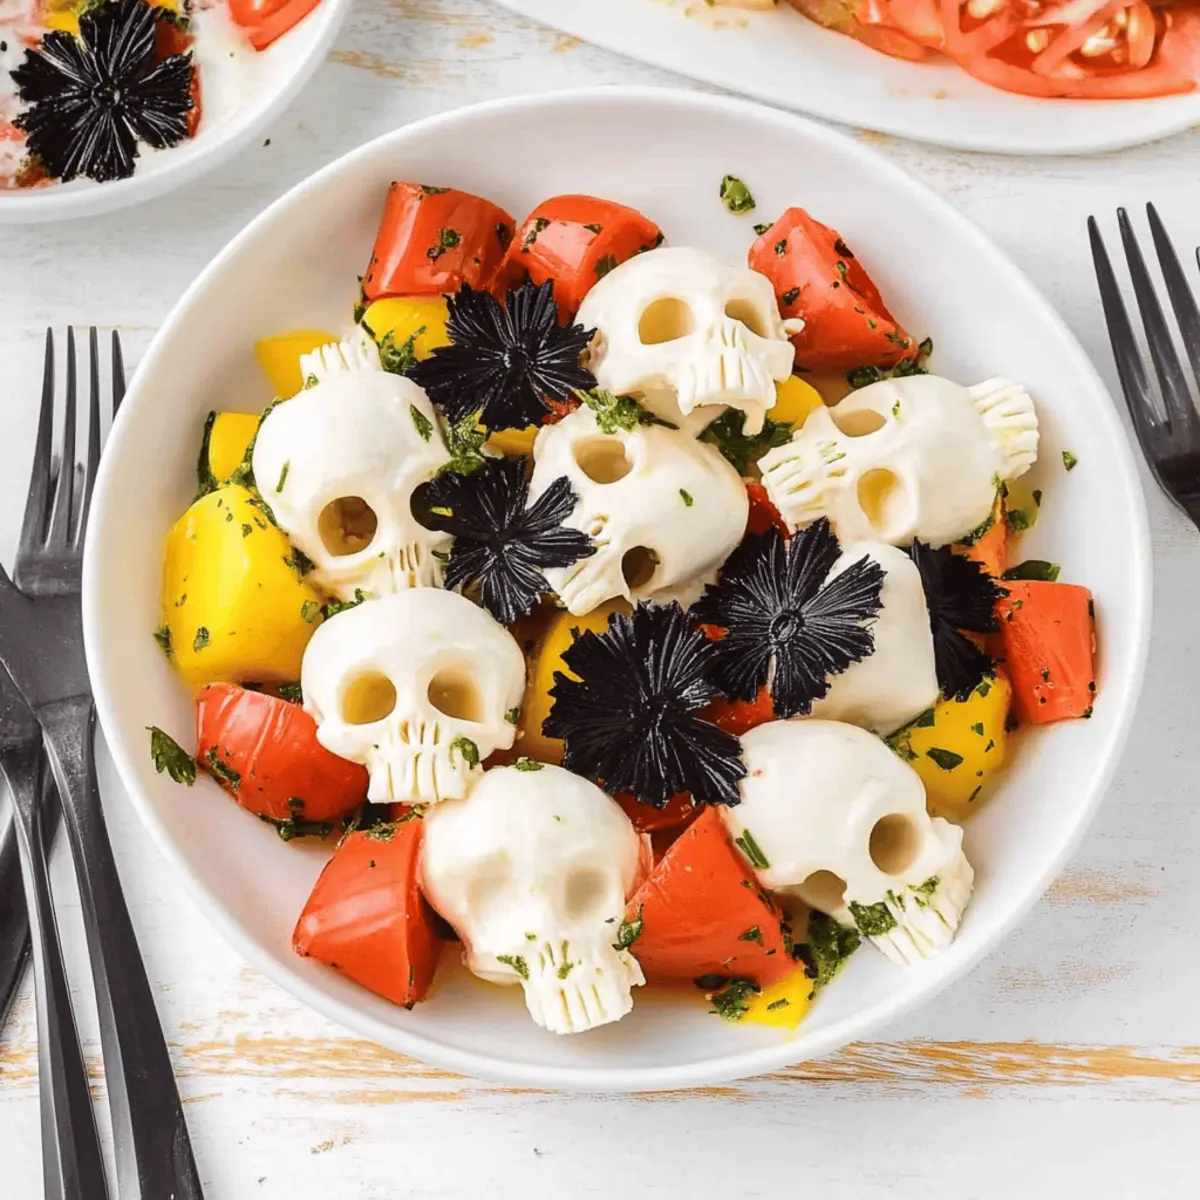
As I unwrapped my first mini mozzarella ball, the creamy texture reminded me of my childhood Halloween parties—festive gatherings that were always filled with spooky surprises. This year, I’m excited to share how to make Mozzarella Cheese Skulls, a fun twist on traditional party food that will not only delight your guests but also elevate your charcuterie boards. These whimsical cheese shapes are incredibly easy to whip up, making them a must-have for your Halloween festivities. Not only do they look striking on the table, but they’re also a deliciously creamy treat that pairs perfectly with balsamic glaze or fresh veggies. Ready to conjure up a new Halloween favorite? Let’s dive into this delightful recipe!
Why Are Mozzarella Cheese Skulls a Must-Try?
Whimsical Presentation: These spooky mozzarella cheese skulls transform ordinary gatherings into unforgettable celebrations, instantly capturing your guests’ attention.
Easy to Make: With just a few simple steps, you can create these fun shapes, perfect for even beginner cooks.
Crowd-Pleasing Flavor: Soft and creamy, they offer a delightful pop of flavor that pairs wonderfully with balsamic glaze or pesto, similar to One Pot Cheeseburger and other party favorites.
Versatile Serving Options: Use them in your charcuterie boards alongside a variety of meats and veggies or add to Halloween-themed salads for a festive touch!
Inexpensive Fun: This recipe is not only a great way to impress guests but is also budget-friendly, making it a win-win for any gathering.
Mozzarella Cheese Skulls Ingredients
For the Cheese Skulls
• Mini Mozzarella Balls (Ciliegine) – These soft cheese balls provide the perfect texture and shape for your mozzarella cheese skulls.
• Silicone Skull Molds – Essential for creating the spooky shape; make sure they’re heat safe for shaping the cheese.
For Serving Suggestions
• Balsamic Glaze – A drizzle of this adds a tangy sweetness that complements the creamy mozzarella beautifully, enhancing the overall taste of your spooky treats.
• Fresh Vegetables – Pair these mozzarella skulls with crisp veggies like celery and cherry tomatoes for a colorful, healthy addition to your party spread.
Optional Garnishes
• Herbs (Basil or Oregano) – Mixing fresh herbs into the mozzarella before baking can add an aromatic flavor twist, making your mozzarella cheese skulls even more delightful at your Halloween gathering!
Step‑by‑Step Instructions for Mozzarella Cheese Skulls
Step 1: Preheat and Prepare
Begin by preheating your oven to 350°F (175°C). While the oven heats, take each mini mozzarella ball and gently blot them with a paper towel to remove any excess moisture. This step is crucial to ensure a good shape later, as too much moisture may prevent the mozzarella from forming a solid skull shape in the mold.
Step 2: Mold the Cheese
Once the oven is ready, carefully place one mozzarella ball into each cavity of your silicone skull mold. Make sure to fill all cavities to create the desired number of skulls. It’s important to arrange the mozzarella balls without overcrowding to ensure they bake evenly, allowing for a smooth transition into the next steps.
Step 3: Bake and Shape
Place the filled silicone mold in the preheated oven and bake for about 8-10 minutes. Watch for the mozzarella to soften but not melt completely; it should be squishy to the touch. This is the ideal moment to turn them into skull shapes, so keep an eye on the time to achieve perfect Mozzarella Cheese Skulls.
Step 4: Press into Shape
After baking, carefully remove the mold from the oven. While the mozzarella is still warm, use the back of a spoon to gently press the melted cheese into the skull mold more firmly. This action will help define the skull features and make them look more visually striking once unmolded.
Step 5: Blot Again
Allow the shaped mozzarella to cool for a couple of minutes, then take another paper towel and blot any excess moisture that may have surfaced on top. This helps improve texture and firmness when cooling, ensuring the final product is not too watery or fragile when you unmold them.
Step 6: Chill and Unmold
Finally, transfer the molded mozzarella skulls to the refrigerator and let them chill for about 10 minutes. This cooling process helps the cheese set and hold its shape. Once cooled, gently flex the silicone mold to release the cheese skulls, taking care not to break them as they come out.
Step 7: Serve and Enjoy
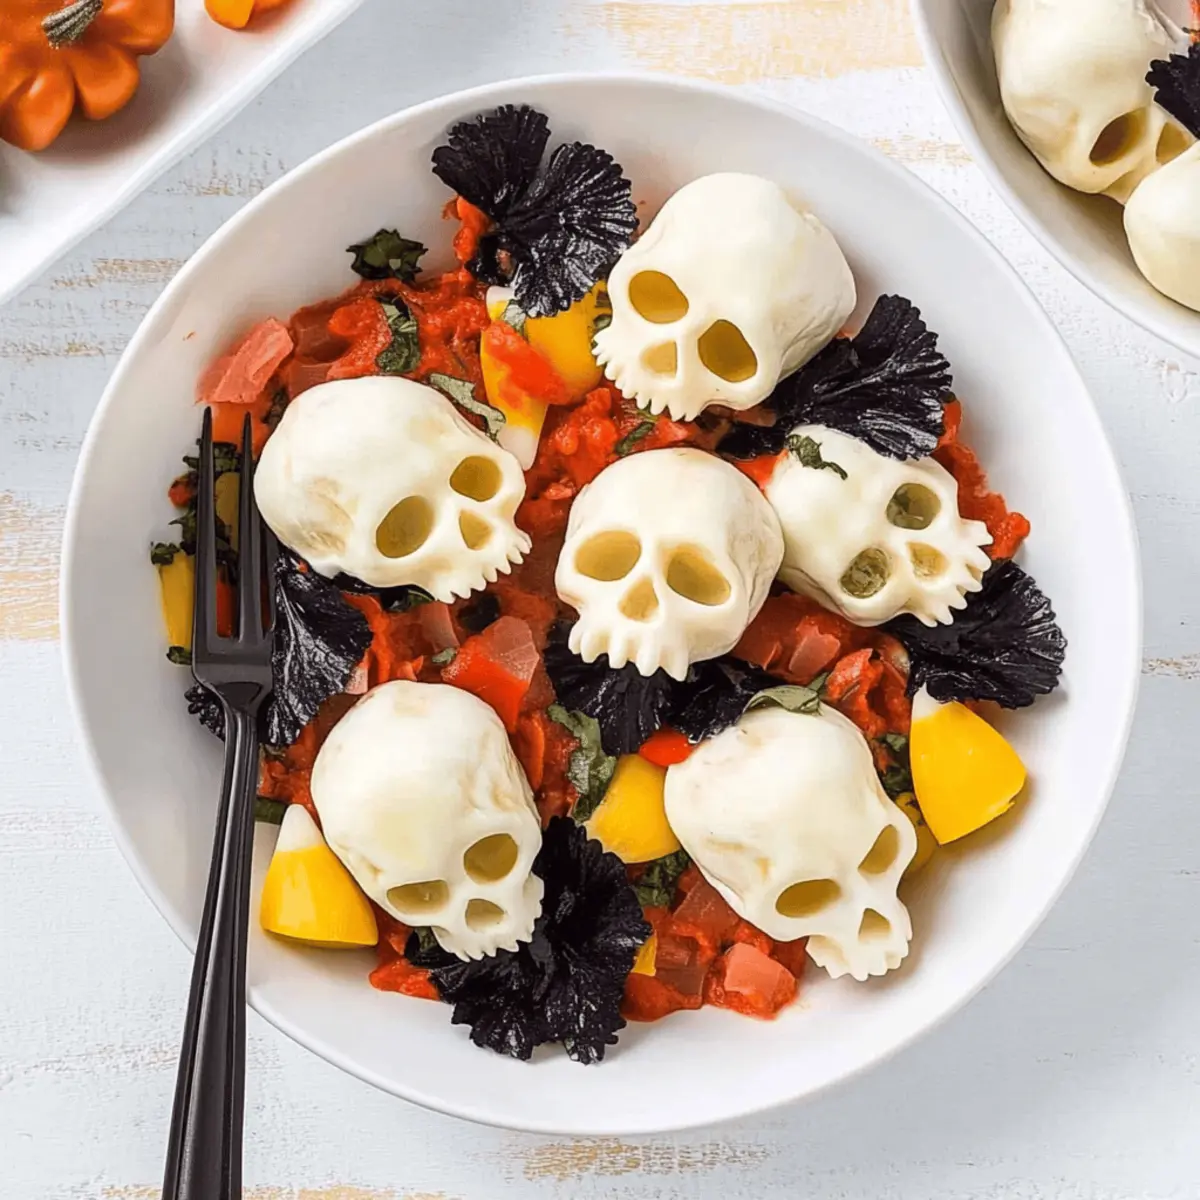
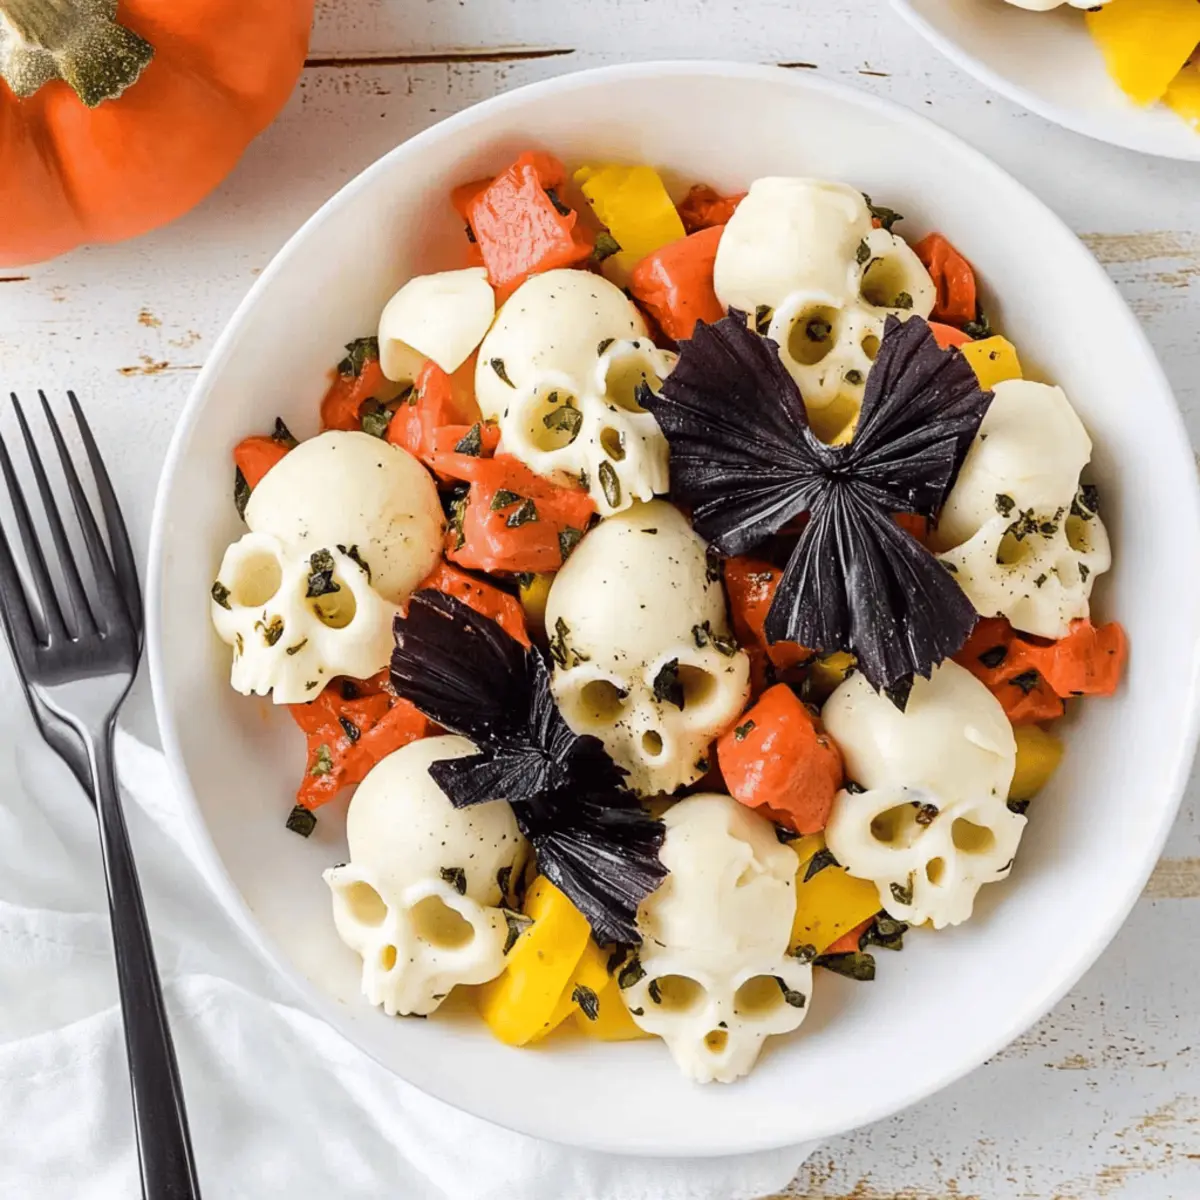
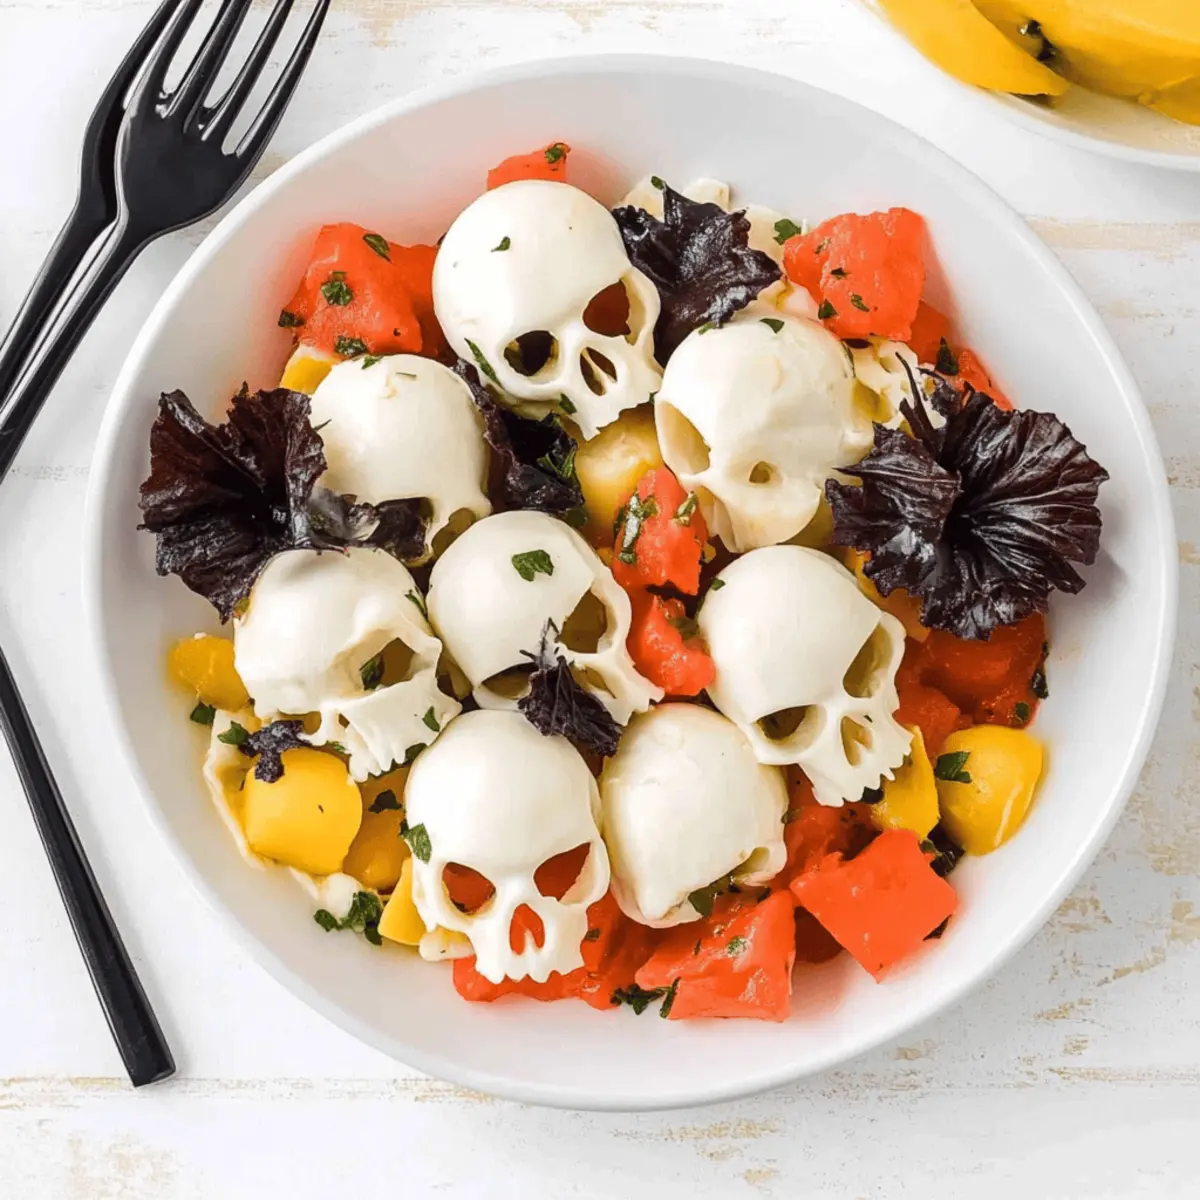
Your delightful Mozzarella Cheese Skulls are now ready! Arrange them on a festive platter alongside balsamic glaze and fresh vegetables for an eye-catching Halloween spread. These creamy, spooky treats will be a hit at your celebration, embodying both festive spirit and delicious flavor!
What to Serve with Spooky Mozzarella Cheese Skulls?
Elevate your Halloween gatherings with accompaniments that will make your spooky cheese treats even more irresistible.
- Crispy Baguette Slices: Perfect for spreading cheese or balancing on a charcuterie board, these crunchy bites add a delightful textural contrast.
- Tangy Balsamic Glaze: A drizzle of this flavorful glaze adds a sweet and tangy touch that beautifully complements the creamy texture of the mozzarella skulls.
- Fresh Veggies Platter: Crisp, vibrant vegetables like bell peppers, cucumbers, and cherry tomatoes not only add color but also a refreshing crunch to balance the richness of the cheese.
- Herbed Olive Oil Dip: A simple mix of olive oil and herbs creates an aromatic dip, inviting guests to experiment with flavors while enjoying the mozzarella.
- Spooky Fruit Skewers: Thread seasonal fruits like grapes and oranges on skewers for a sweet contrast. Their natural sweetness enhances the savory depth of your cheese skulls.
- Charcuterie Delights: Pair with assorted meats—salami, prosciutto, or pepperoni—for a meaty, savory addition. The combination is sure to please both cheese lovers and meat enthusiasts.
- Halloween-Themed Cookies: End the feast on a sweet note with spooky-shaped cookies. Their festive appearance will charm guests and create a well-rounded menu.
- Chilled White Wine: A crisp, chilled Sauvignon Blanc or Pinot Grigio pairs wonderfully, cutting through the richness of the cheese while offering a refreshing palate cleanser.
Make Ahead Options
These Mozzarella Cheese Skulls are perfect for busy cooks looking to streamline Halloween festivities! You can prepare the cheese skulls up to 24 hours in advance by following the initial baking and molding steps, then store the shaped skulls in an airtight container in the refrigerator. To ensure they remain just as delicious, it's best to keep excess moisture at bay by blotting them before chilling. When it's time to serve, simply let them sit at room temperature for a few minutes before presenting them on your charcuterie board alongside your chosen garnishes. This way, you’ll have delightful spooky treats ready with minimal effort!
Expert Tips for Perfect Mozzarella Cheese Skulls
-
Mold Matters: Ensure your silicone molds are high-quality and heat-safe to prevent warping, ensuring perfectly shaped mozzarella cheese skulls.
-
Moisture Control: Blotting the mozzarella balls is essential. Excess moisture can lead to misshapen skulls or overly soft cheese.
-
Watch the Bake Time: Avoid overbaking; cooking for too long can change the texture from creamy to rubbery. Aim for that perfect soft consistency.
-
Press Gently: After baking, gently press the cheese into the mold with the back of a spoon while still warm to achieve defined skull features.
-
Chill to Set: Don’t skip the chilling step! Refrigerating the molded skulls helps them firm up, making it easier to unmold without breaking.
How to Store and Freeze Mozzarella Cheese Skulls
Fridge: Store mozzarella cheese skulls in an airtight container in the refrigerator for up to 3 days to maintain their freshness and creamy texture.
Freezer: For longer storage, mozzarella cheese skulls can be frozen for up to 2 months. Wrap them individually in plastic wrap and place them in a freezer-safe bag or container.
Thawing: When ready to enjoy, thaw the mozzarella skulls in the fridge overnight before serving to retain their shape and flavor.
Reheating: If desired, gently reheat in a warm oven (around 200°F) for a few minutes, but avoid overcooking to keep them creamy and delicious!
Mozzarella Cheese Skulls: Creative Twists
Customize these spooky mozzarella cheese skulls to excite your taste buds and impress your Halloween guests!
- Herbed Delight: Add finely chopped basil or oregano to the mozzarella before baking for a fresh flavor explosion.
- Cheddar Blend: Mix in shredded cheddar cheese for a tangy twist that amps up the flavor profile—who doesn't love a rich, cheesy treat?
- Spicy Variation: Incorporate a pinch of crushed red pepper flakes into the mixture for a subtle heat that'll surprise your guests!
- Pumpkin Shaped Fun: Switch to a pumpkin mold instead for a unique twist on traditional Halloween shapes, adding variety to your spooky spread.
- Garlic Infused: Toss in minced garlic with the mozzarella for a savory scent that will have your guests coming back for more.
- Olive Eyes: Garnish with sliced black olives on the finished skulls for a whimsical and spooky touch, making them even more fun and inviting.
- Balsamic Drizzle: A drizzle of balsamic glaze right before serving can elevate the dish, adding a sweet-tangy flavor that pairs perfectly with the cheese.
- Crispy Skin: After molding, brush the outside with a bit of olive oil and bake at a lower temperature for a few minutes for a crispy finish, enhancing texture.
These variations not only keep things exciting but also allow you to cater to different tastes and preferences. For more cheesy goodness, give these delicious bites a try as a part of your charcuterie board alongside options like Keto Cottage Cheese or Grilled Cheese Burrito. Enjoy the creativity!
Mozzarella Cheese Skulls Recipe FAQs
How do I choose the right mini mozzarella balls for this recipe?
Absolutely! When selecting mini mozzarella balls (ciliegine), look for those that are fresh and packed in water or brine. This ensures you're getting a creamy texture that will shape well. Avoid any that have dark spots or feel excessively dry.
What is the best way to store leftover mozzarella cheese skulls?
To keep your mozzarella cheese skulls fresh, store them in an airtight container in the refrigerator for up to 3 days. If you want to prepare in advance for a party, you can even make them a day ahead, just remember to keep them chilled until serving!
Can I freeze mozzarella cheese skulls?
Yes! To freeze mozzarella cheese skulls, wrap each piece individually in plastic wrap. Then, place them in a freezer-safe bag or container. They can be stored this way for up to 2 months. When you're ready to enjoy them, thaw in the refrigerator overnight to maintain their delightful texture.
What should I do if my mozzarella skulls didn't hold their shape?
If you find your mozzarella didn't hold its shape well, it could be due to excess moisture. Next time, ensure to blot the mozzarella balls thoroughly before baking. Additionally, make sure not to overbake, as this can alter the texture. If necessary, press them firmly into the mold right after baking, but do it gently to avoid breaking.
Are these mozzarella skulls suitable for everyone?
Very! These mozzarella cheese skulls are a great snack for most people, but if you’re serving guests with dietary restrictions, always check for dairy allergies. You can use lactose-free mozzarella for those who are sensitive to dairy; it maintains similar textures while still being party-ready!
What’s a fun way to serve mozzarella skulls at a party?
How fun! You can present these spooky treats on a charcuterie board alongside olives, veggies, and some tasty dipping sauces like balsamic glaze or pesto. For added flair, skewer them with toothpicks for easy snacking, and let your guests enjoy these delicious cheese skulls as they mingle!
Delightful Mozzarella Cheese Skulls for Spooky Celebrations
Ingredients
Equipment
Method
- Preheat your oven to 350°F (175°C). Blot mini mozzarella balls with a paper towel to remove excess moisture.
- Place one mozzarella ball into each cavity of the silicone skull mold, filling all cavities without overcrowding.
- Bake in the preheated oven for about 8-10 minutes until the mozzarella softens.
- After baking, remove the mold and press the melted cheese into shape using the back of a spoon.
- Allow the shaped mozzarella to cool for a couple of minutes and blot any excess moisture.
- Transfer the molded mozzarella skulls to the refrigerator to chill for about 10 minutes.
- Flex the silicone mold to release the cheese skulls and arrange them on a platter.


Leave a Reply